How to Install Git on Ubuntu 22.04 | Step-by-Step


Having the power to track changes or revert back to a former state of your coding project takes your software development to another level and helps to improve collaboration. With Git, you can achieve this. This step-by-step guide will teach you how to install Git on Ubuntu 22.04, including the setup and how to configure Git on your system.
#What is Git?
But first, what is Git? Git is a distributed version control system. What does that mean? It means that Git is a tool that helps you keep track of changes made to your coding project. It lets you have different versions of your code and easily [collaborate with other developers] (https://www.cherryservers.com/blog/what-is-devops-an-intersection-of-culture-processes-and-tools) on the same project, while Git keeps everything organized.
#How to use Git?
With Git, you can go back to a particular time and undo changes. It is designed to be fast and efficient even with large codebases, ensuring the integrity and security of your project, and developers can still make commits offline and later synchronize when online.
With this, you'd agree that Git is a valuable tool under your belt; let's get on to see how to install git on Ubuntu 22.04!
#Prerequisites
This guide includes hands-on demonstrations. To follow along, be sure to have the following:
- Basic knowledge of the Linux command-line interface (CLI)
- Ubuntu 22.04 server
#Installing Git on Ubuntu 22.04
There are two basic methods to get Git up and running Ubuntu 22.04: using the Ubuntu package manager or downloading the official Git distribution. Let's look at them briefly:
- Package Manager: A package manager lets you install software directly from the Ubuntu software repositories. This method guarantees easy maintenance and updates through the package management system.
- Official Git Distribution: Alternatively, you can choose to download and install the official Git distribution directly from the Git project's website. This method provides the latest version of Git with all its features and enhancements.
Based on your needs, you can use any of the methods.
#Option 1 - Install Git with the default package manager (apt)
Installing Git with a package manager like apt offers you ease of installation; it also allows you easily manage and update Git. The version of Git you get with this method may not be the latest version.
Ubuntu 22.04 should have git installed by default. Run the following command to check if you have git installed:
git --version
If Git is already installed, the version will be displayed in the terminal. If it isn’t, you will get an error message. If, for any reason, you don't have it installed on your system, you can do so with apt in the following steps:
Step 1 - Update System Package
First, you want to update the system packages to make sure that you're using the latest packages.
sudo apt update
Step 2 - Install Git Using Apt
Next, install git using apt by running the following command:
sudo apt install git
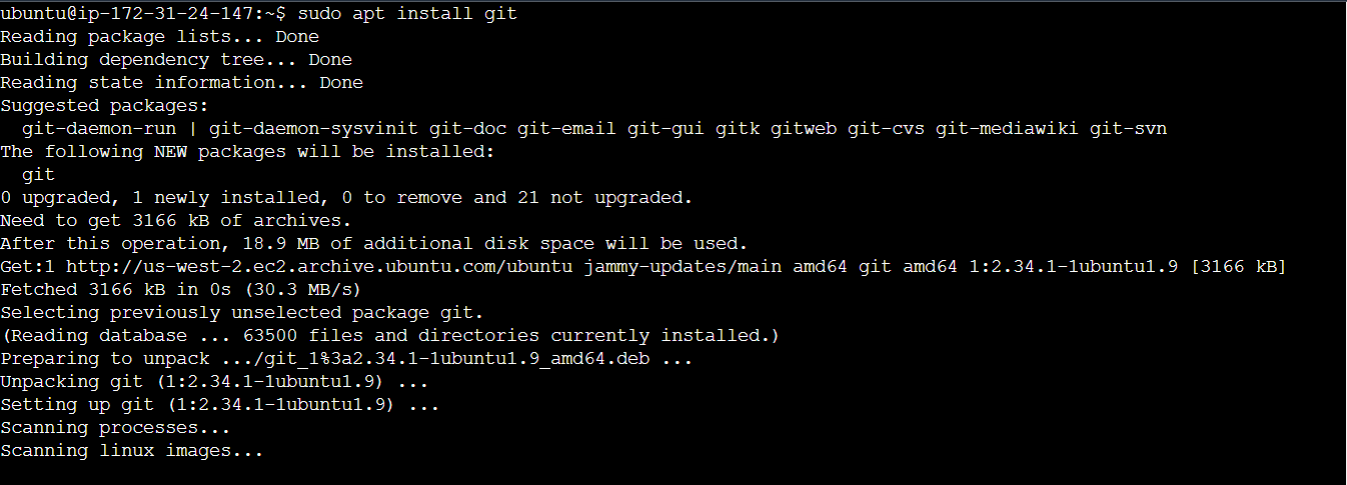
Once the installation is complete, you can start running git commands from the terminal.
#Option 2 - Install Git from the Source
This method, though not as simple as the first method, will provide you with the latest version of Git.
Step 1 - Install required dependencies
First, you need to install some packages that are required for the successful installation and functioning of Git. Install the dependencies using the following code:
sudo apt install libz-dev libssl-dev libcurl4-gnutls-dev libexpat1-dev gettext cmake gcc
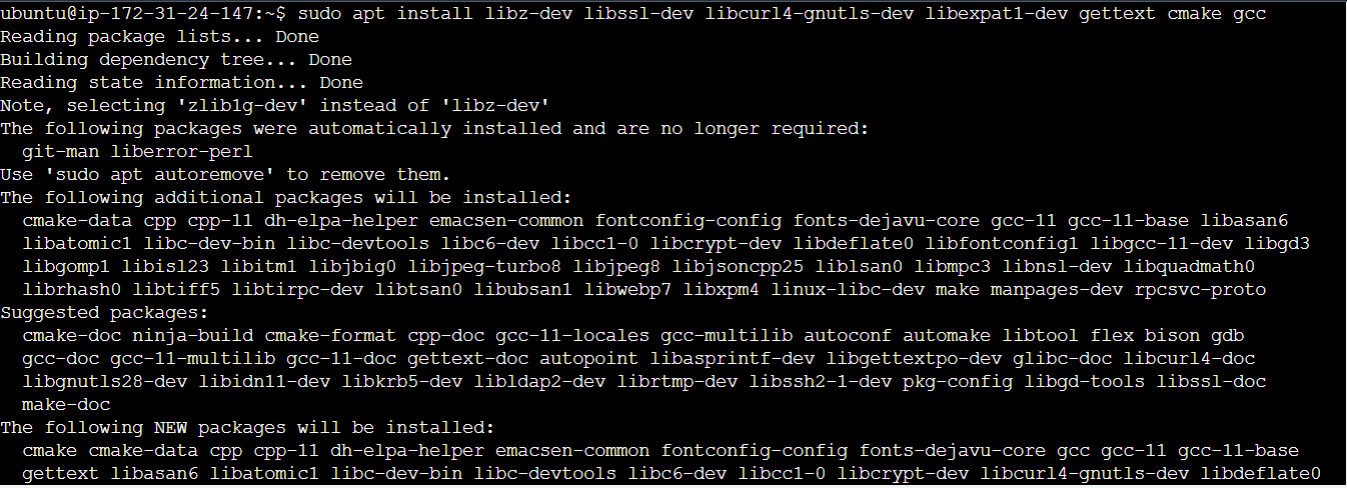
At some point, you'll be asked if you would like to continue, type "y" to indicate yes and press enter. These packages are needed for building and compiling Git.
Step 2 - Download the Git Source Code
Once the packages have been installed, you can go on to download Git. You can get the download link for the latest version from the download page.
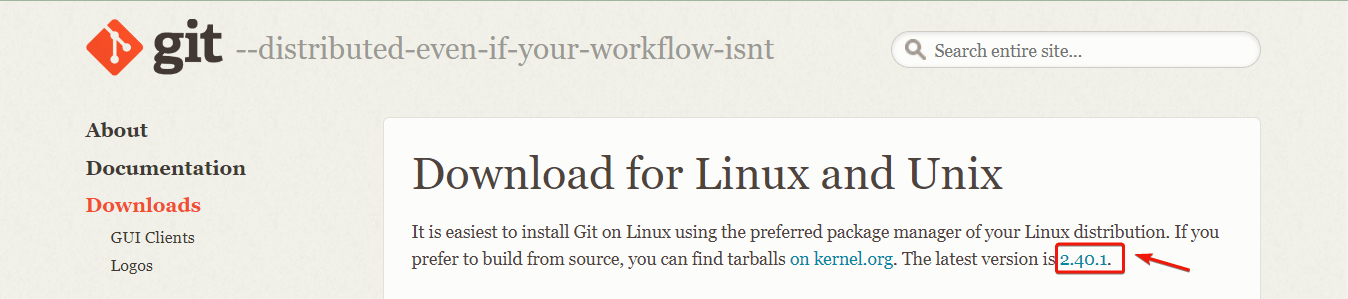
To download the latest version of Git as at the time of this writing, run the following code:
wget https://www.kernel.org/pub/software/scm/git/git-2.40.1.tar.gz -O git.tar.gz
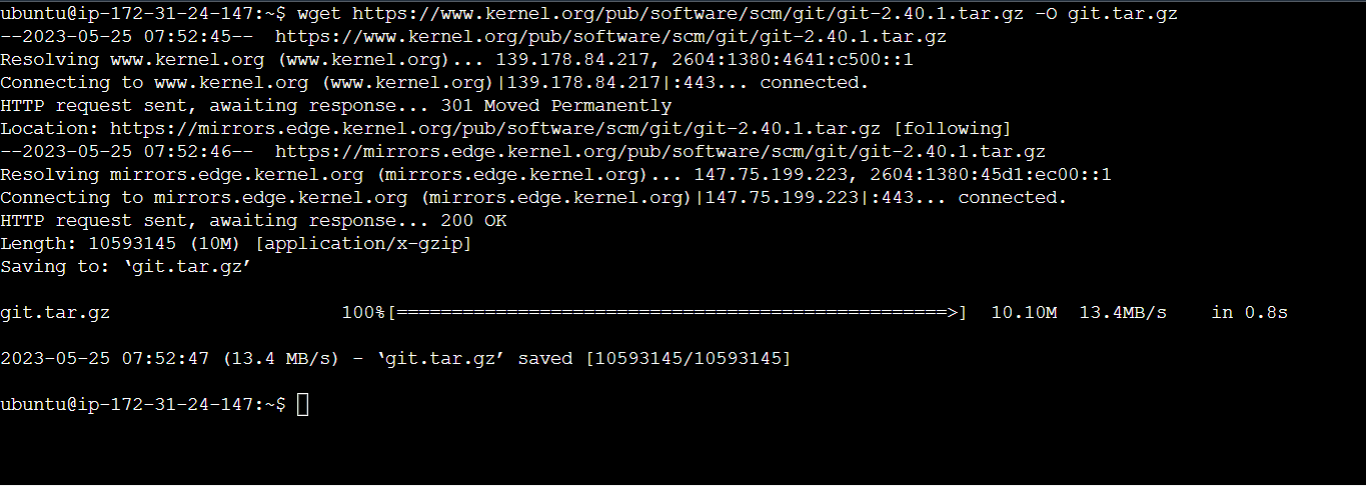
This will download the git source code archive for version 2.40.1 and save it as git.tar.gz in the current directory.
Step 3 - Extract the Git Source code
After Git has been downloaded, extract the contents of the file using:
tar -zxf git.tar.gz

Step 4 - Navigate to the Extracted Directory
Next, change from the current directory to the extracted git source code directory by running the following in the terminal:
cd git-*

Step 5 - Compile and Install Git
Once in the extracted git source code directory, you can proceed with the installation of Git. Run the following commands to compile the git source code and install git and also restart the bash shell to save the changes and ensure that the changes are reflected in the current shell session.
# Compile Git with the specified
sudo make prefix=/usr/local all
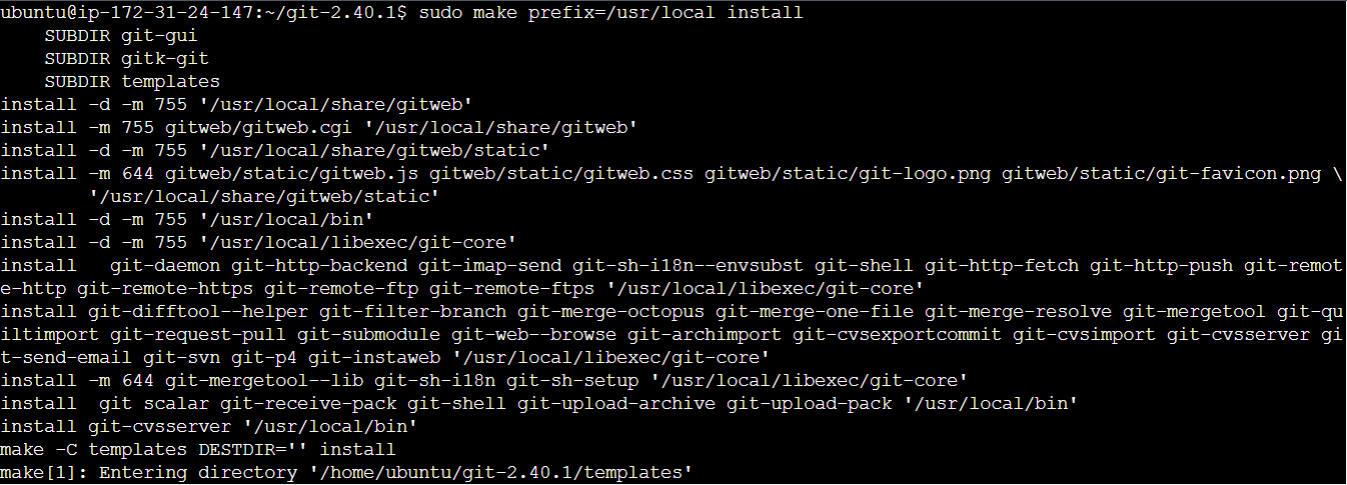
# Install Git with the specified prefix
sudo make prefix=/usr/local install
# Restart the bash shell to ensure changes take effect
exec bash


#Setting up Git on Ubuntu
Great work on successfully installing Git on your system! Now you need to configure Git on your system by adding your username and email address. This will allow Git to associate your commits with your identity. When you make changes to a repository, Git tracks the authorship of each commit. So make sure to provide accurate and consistent identification.
To list the current configuration for Git on your system, run the following command:
git config --list

This will not return anything as you haven't added any configuration setting yet.
#Basic Git Configuration
The basic Git configuration settings involve adding user-specific configurations like your username and email address.
Step 1 - Add Username and Email
You can add a global username and email address for Git on your system by running the following:
git config --global user.name "Your Name"
git config --global user.email "youremail@domain.com"

Adding these settings will establish consistent authorship across your Git repositories. It helps identify who made specific changes and enables proper collaboration and communication within a team or open-source community.
Step 2 - Verify Configuration
To verify the configuration settings you just added, run the following code:
# View the current Git configuration
git config --list

To view the Git configuration file in the nano text editor, run:
# Open the Git configuration file in the nano text editor
nano ~/.gitconfig
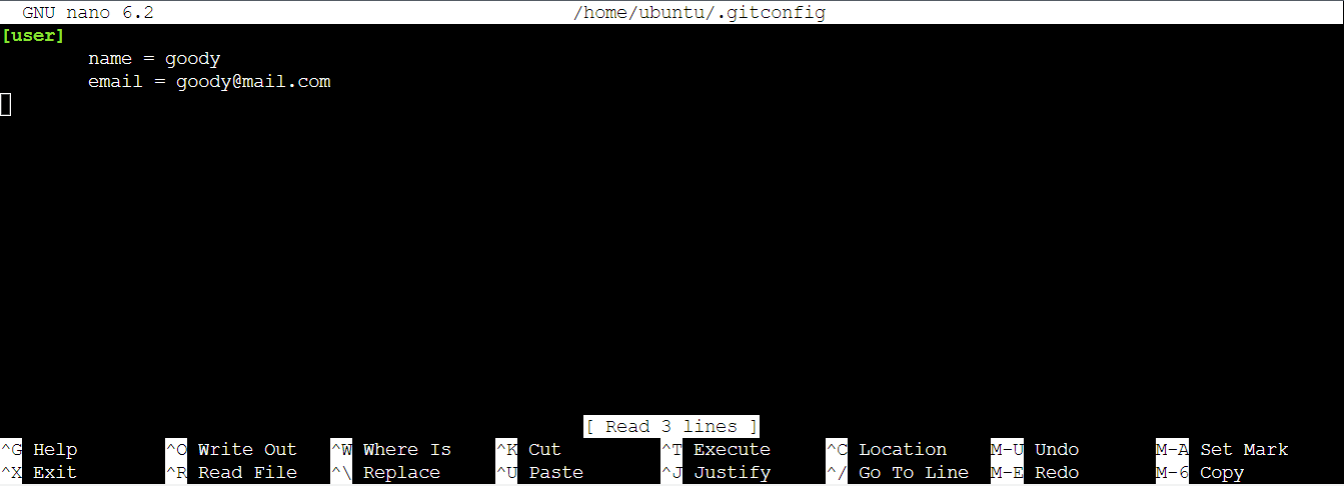
The ~/.gitconfig file is typically edited when you want to make manual adjustments to Git configurations that are not accessible via the git config command. It provides more fine-grained control over the Git settings and allows for customization beyond the basic configurations.
#Conclusion
Congratulations on successfully installing Git on your Ubuntu 22.04 system! Git empowers you to track changes, collaborate seamlessly, and maintain control over your software projects.
This guide highlighted two installation methods: installing Git with the default package manager (apt) and building Git from the source. Whatever method you decided to use, you now have Git at your fingertips, ready to enhance your development workflow.
But installing Git is just the beginning. As you embark on your Git journey, don't hesitate to dive deeper into its powerful features by taking advantage of Git's documentation and online resources. Explore branching and merging to experiment with different code versions.


