How to Install Ubuntu Server in Minutes | Step–by–Step Setup


Ubuntu Server is a lightweight, GUI-free Linux distribution designed for production workloads such as web hosting, databases, and containerized applications.
In this tutorial, you will deploy an Ubuntu server on Cherry Servers' bare metal hardware, generate and upload an SSH key, connect to your server, harden the SSH configuration, set up a firewall, and prepare the system for hosting services.
#What is Ubuntu?
Ubuntu is a free, open-source Linux distribution based on Debian. Canonical, the company behind Ubuntu, releases a new version every six months and designates every fourth release as an LTS (Long Term Support) version with five years of security updates.
Ubuntu Server is the server-oriented variant. It ships without a graphical interface, excludes desktop drivers and applications, and runs a minimal set of services to maximize CPU, RAM, and disk resources for your workloads.
#How to install Ubuntu server
You can install Ubuntu Server on bare-metal hardware, in a virtual machine (VirtualBox, QEMU, KVM), or via a public cloud platform such as AWS or Azure. For manual installations from an ISO image, visit the official Ubuntu download page. Ubuntu supports x86-64, ARM, POWER, RISC-V, and IBM Z architectures.
In this tutorial, we will deploy Ubuntu Server on a Cherry Servers bare-metal dedicated server. Cherry Servers pre-installs the OS automatically during provisioning, so you skip the manual installer entirely and connect to a ready-to-use system within minutes. The same steps work if you choose a virtual server instead.
#Prerequisites
Before you begin, make sure you have:
-
A local workstation (Linux, macOS, or Windows with an SSH client) to connect to the remote server
-
A Cherry Servers account with a valid payment method for server provisioning
#Step 1: Generate and upload an SSH key
SSH keys replace password-based login with public-key cryptography. Your workstation holds a private key, and the server holds the matching public key. When you connect, SSH verifies the pair without transmitting a password.
Cherry Servers lets you upload your public key before deployment, so the server is ready for key-based access from the first boot.
1. Generate SSH key pair
Open a terminal on your local workstation and generate a new Ed25519 key pair:
ssh-keygen -t ed25519 -C "Cherry Servers"
The -t ed25519 flag generates an Ed25519 key, which offers stronger security and shorter key length than RSA. The -C switch adds a comment so you can identify the key later.
When prompted for a passphrase, leave it blank and press Enter to use no passphrase.
Your keys are generated in ~/.ssh/ by default.
cd ~/.ssh/
ls
Outputid_ed25519 id_ed25519.pub
2. Upload SSH key to Cherry Servers' profile
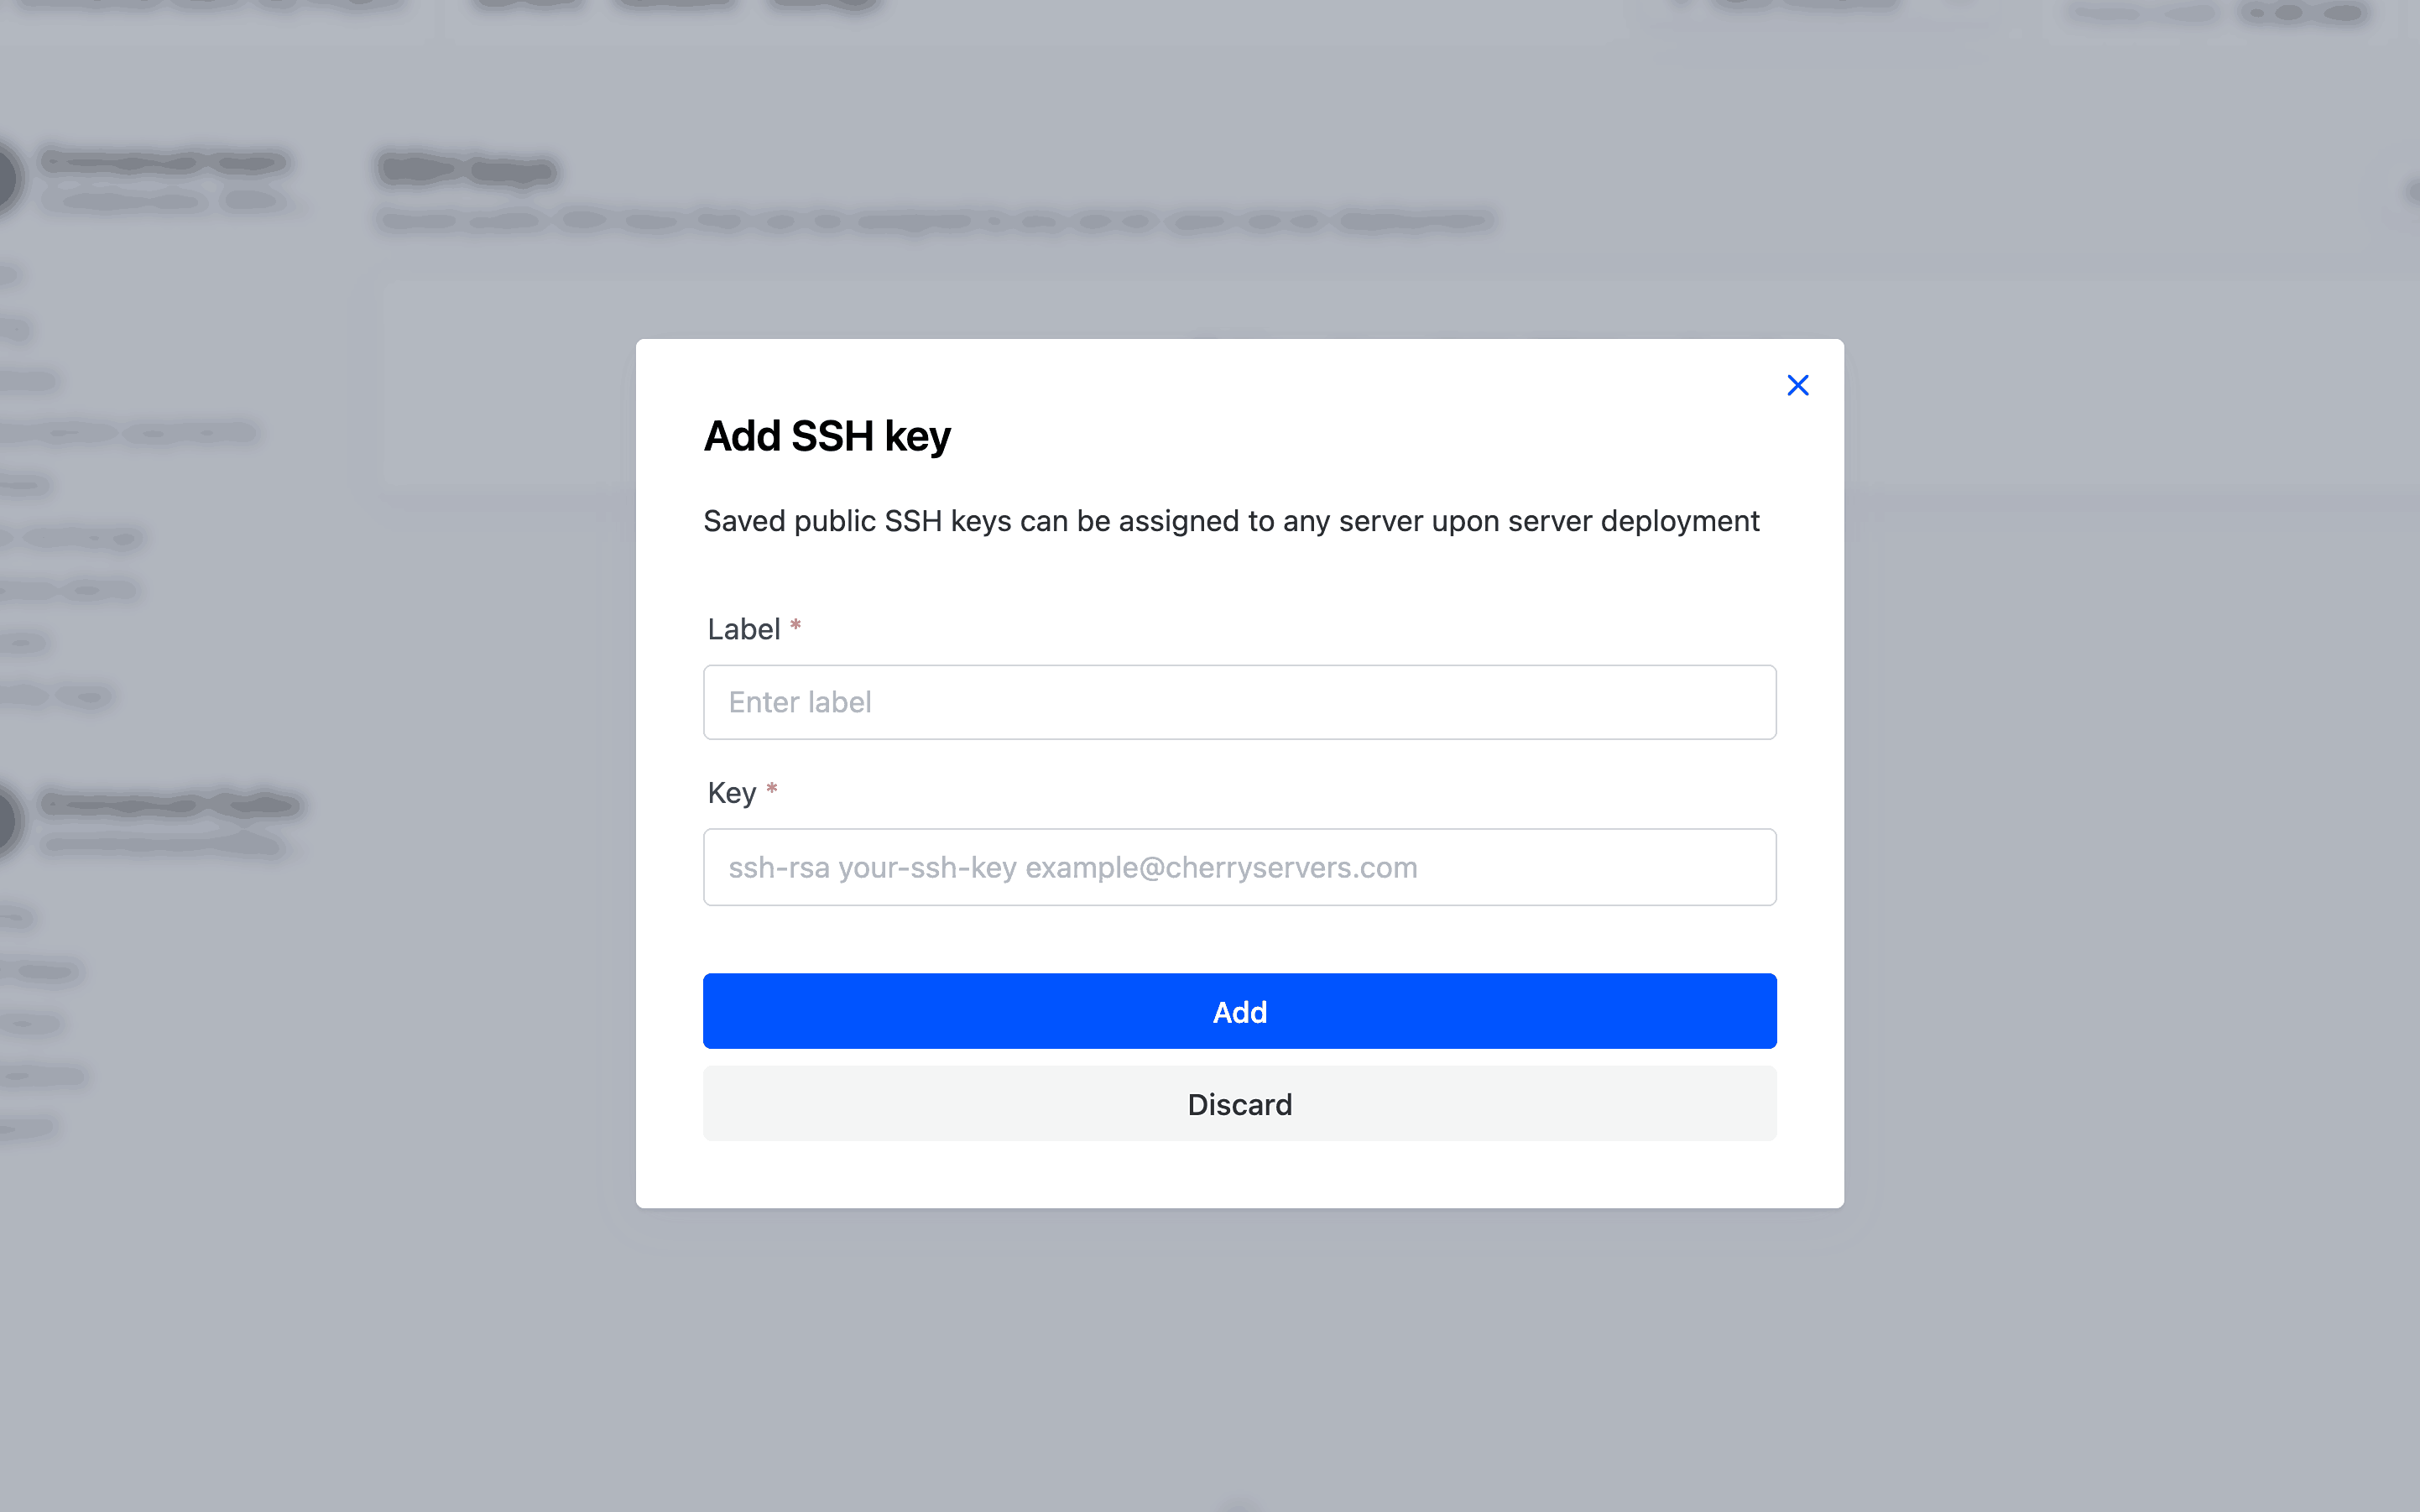
Log in to the Cherry Servers portal and navigate to SSH Keys settings. Click Add SSH key:
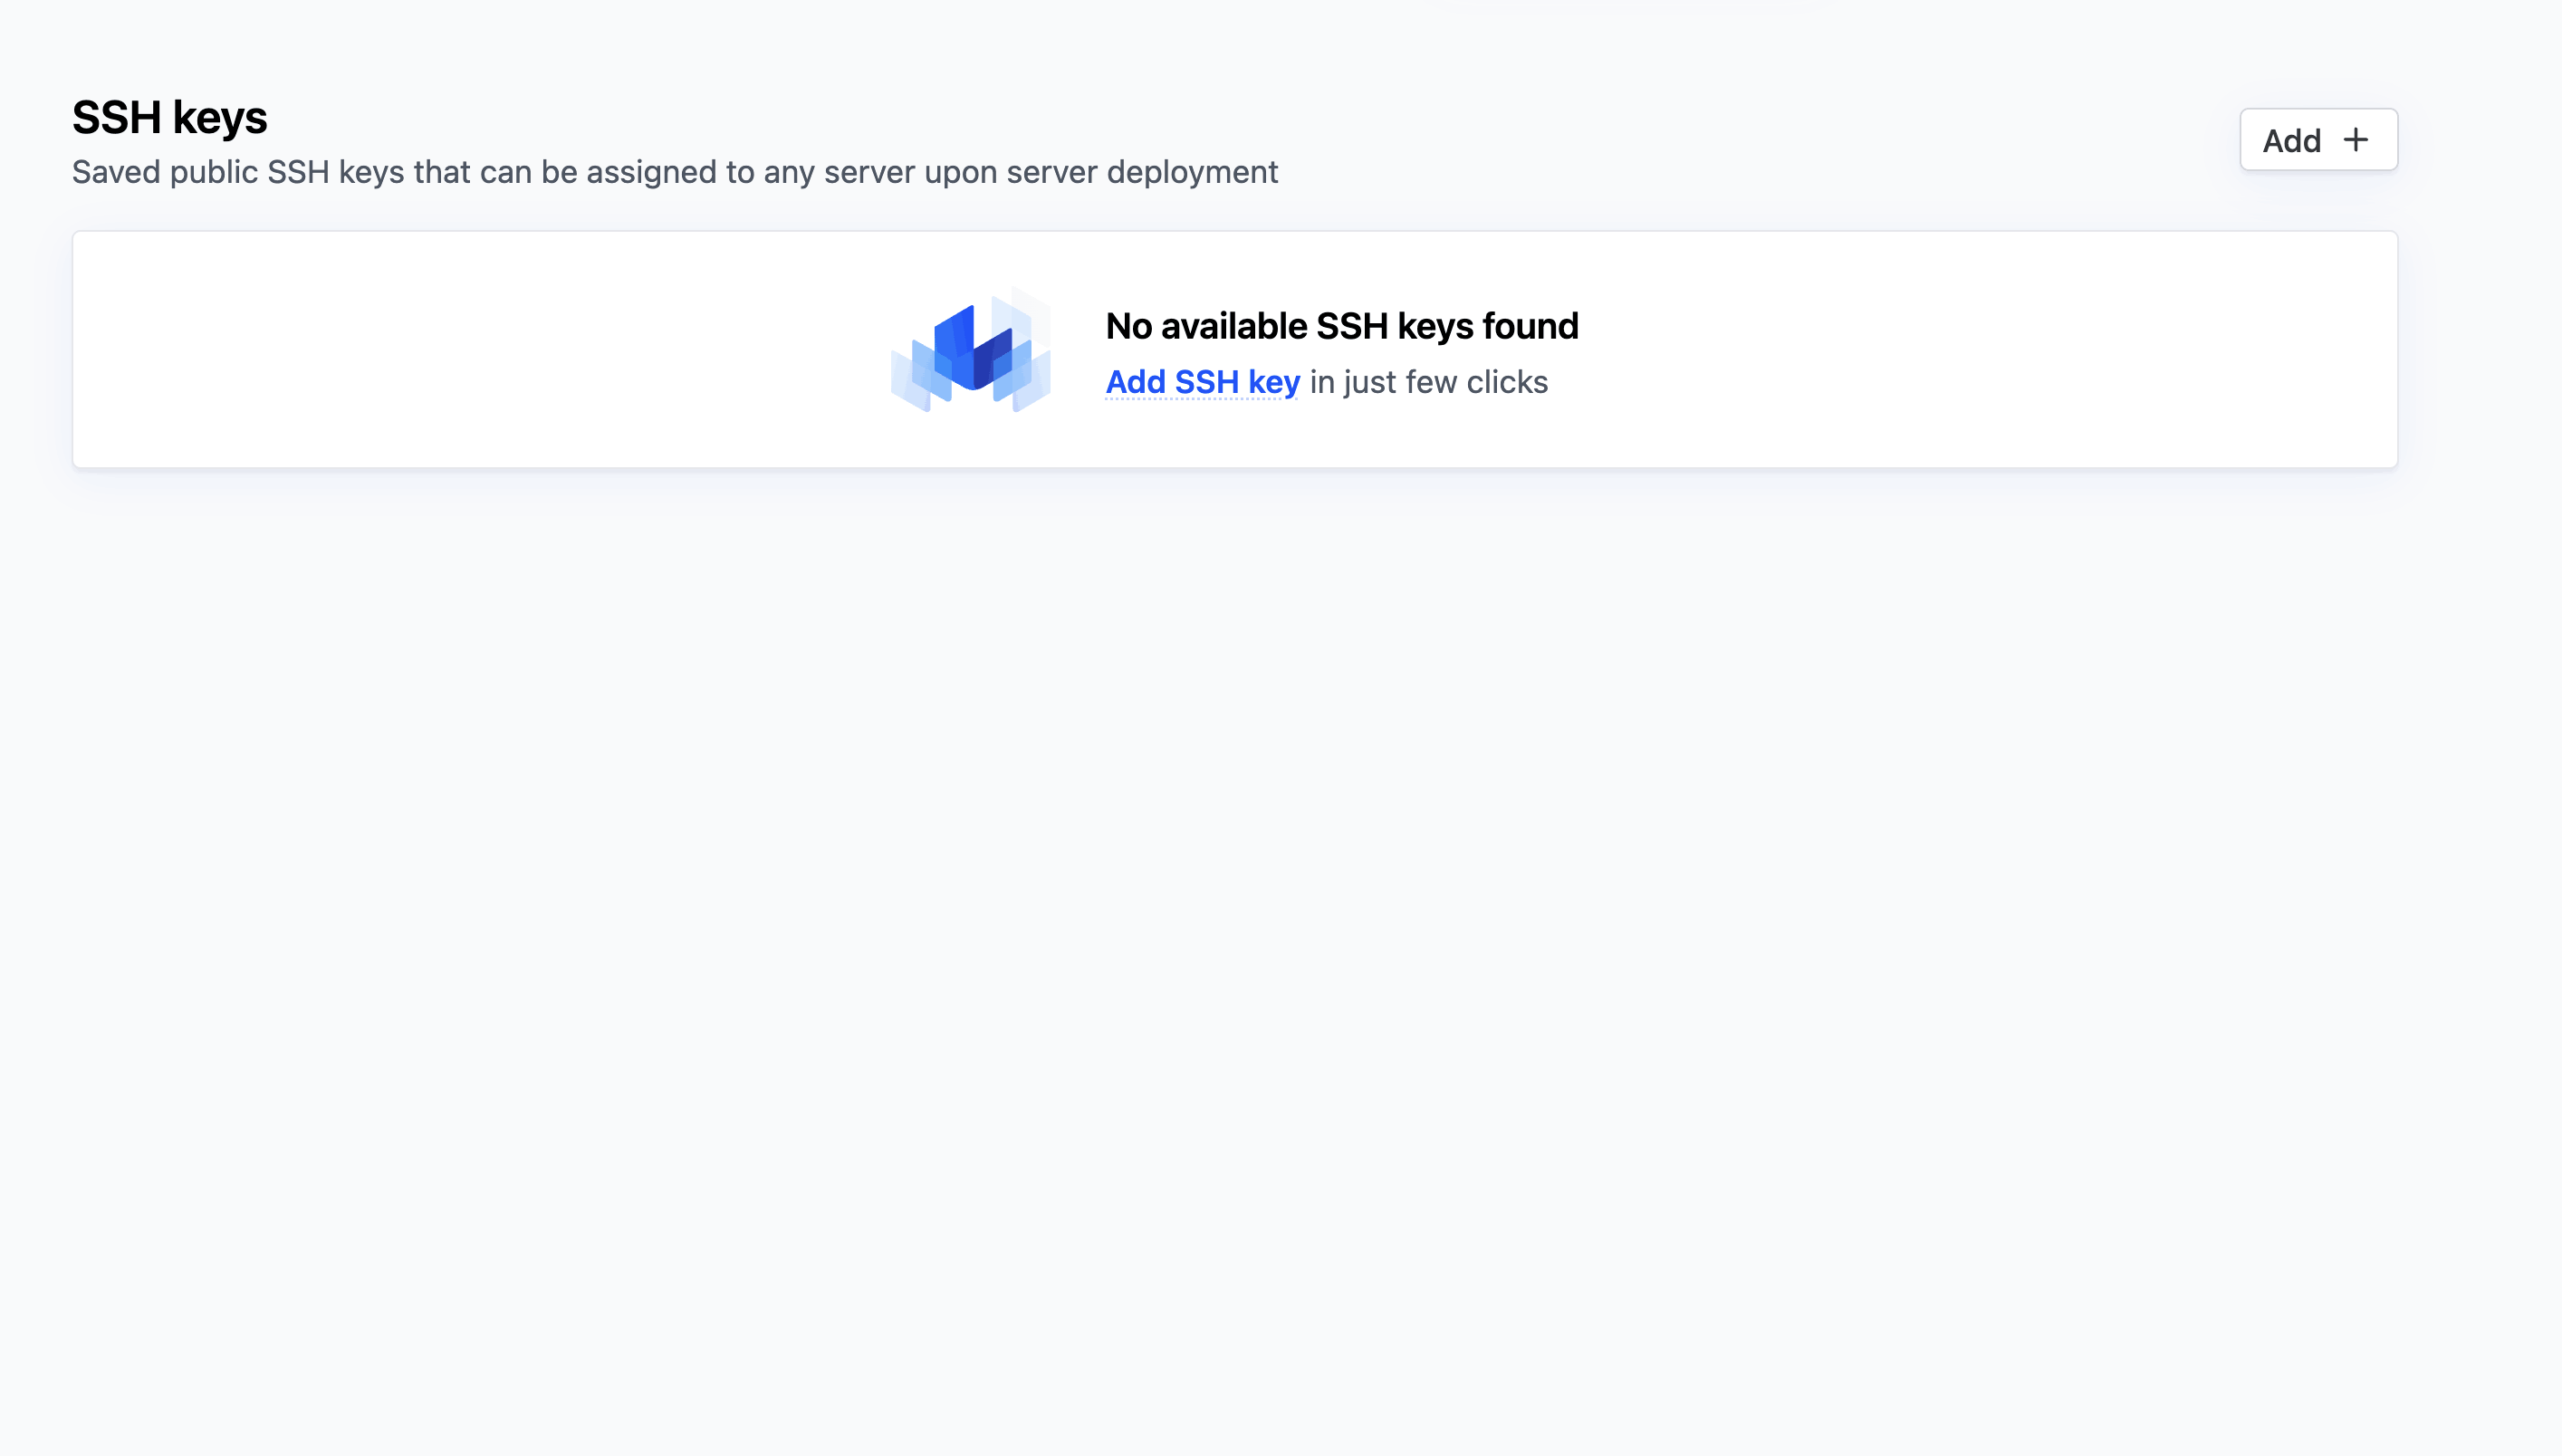
Copy the contents of your public key file and paste it into the key field. On Linux or macOS, you can print the key with cat ~/.ssh/id_ed25519.pub. Give the key a recognizable name and save it. Cherry Servers will inject this key into every new server you deploy.
#Step 2: Deploy an Ubuntu server
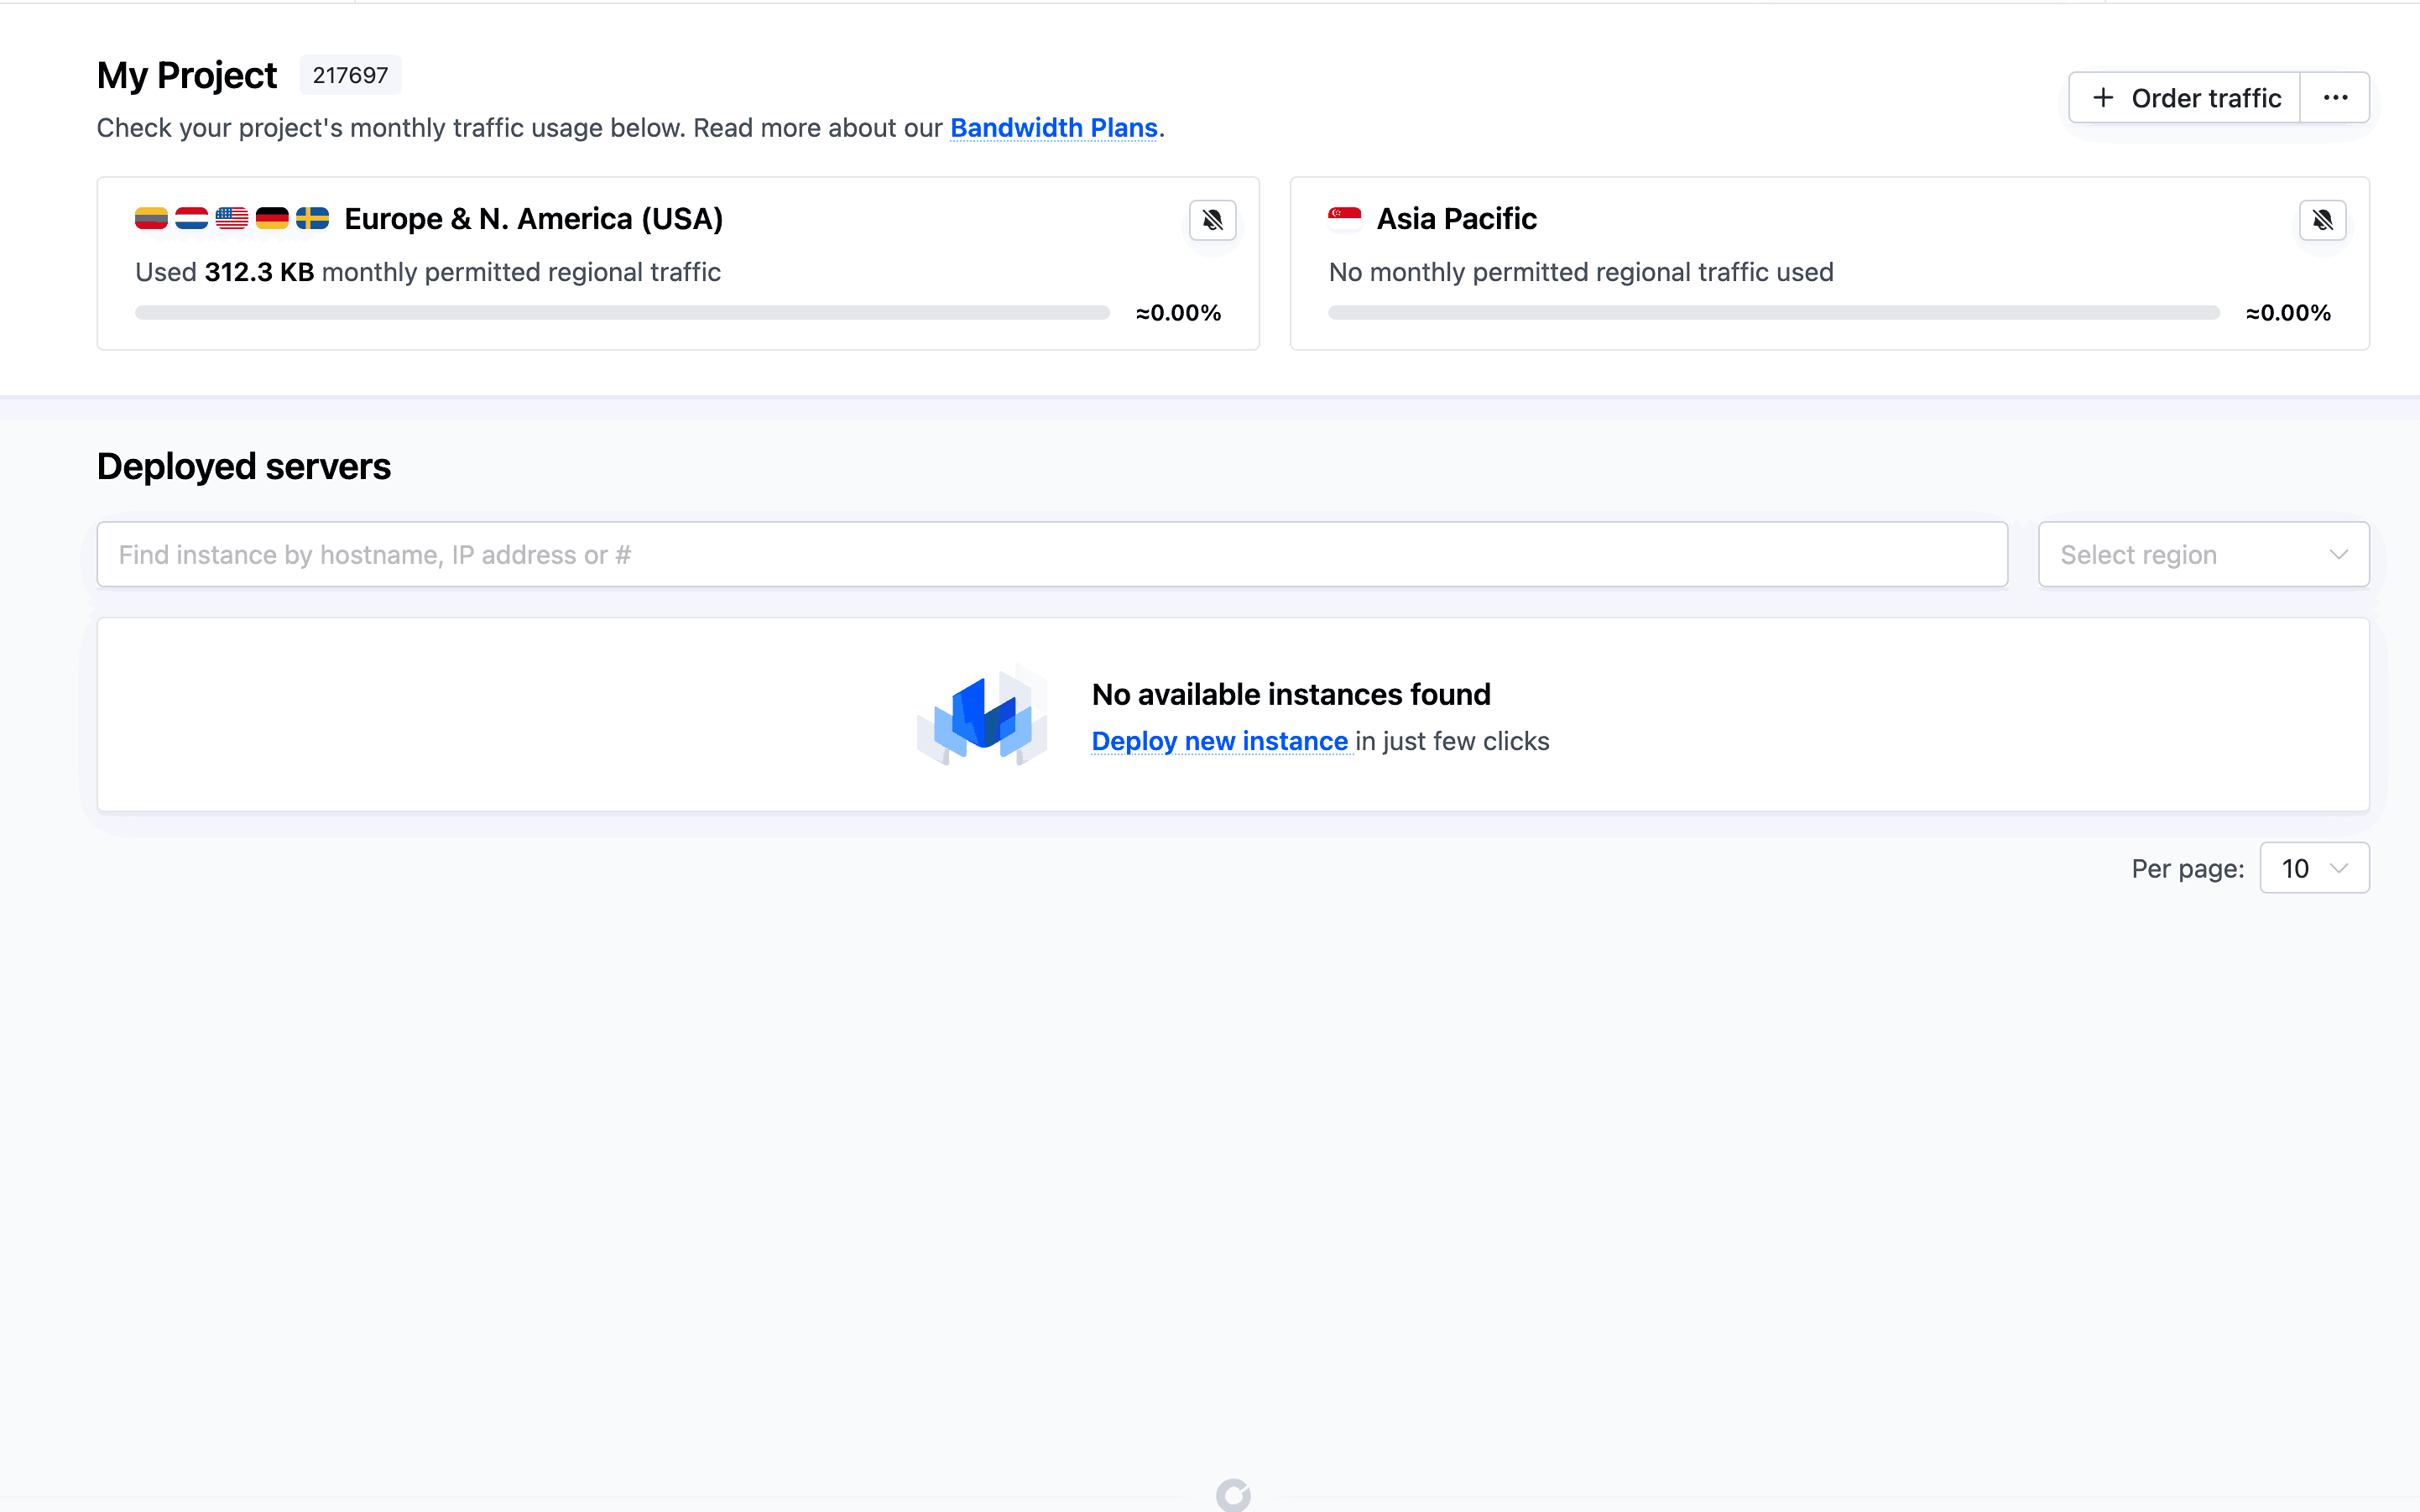
Log in to the Cherry Servers Client Portal and click Deploy New Instance to start the provisioning workflow.
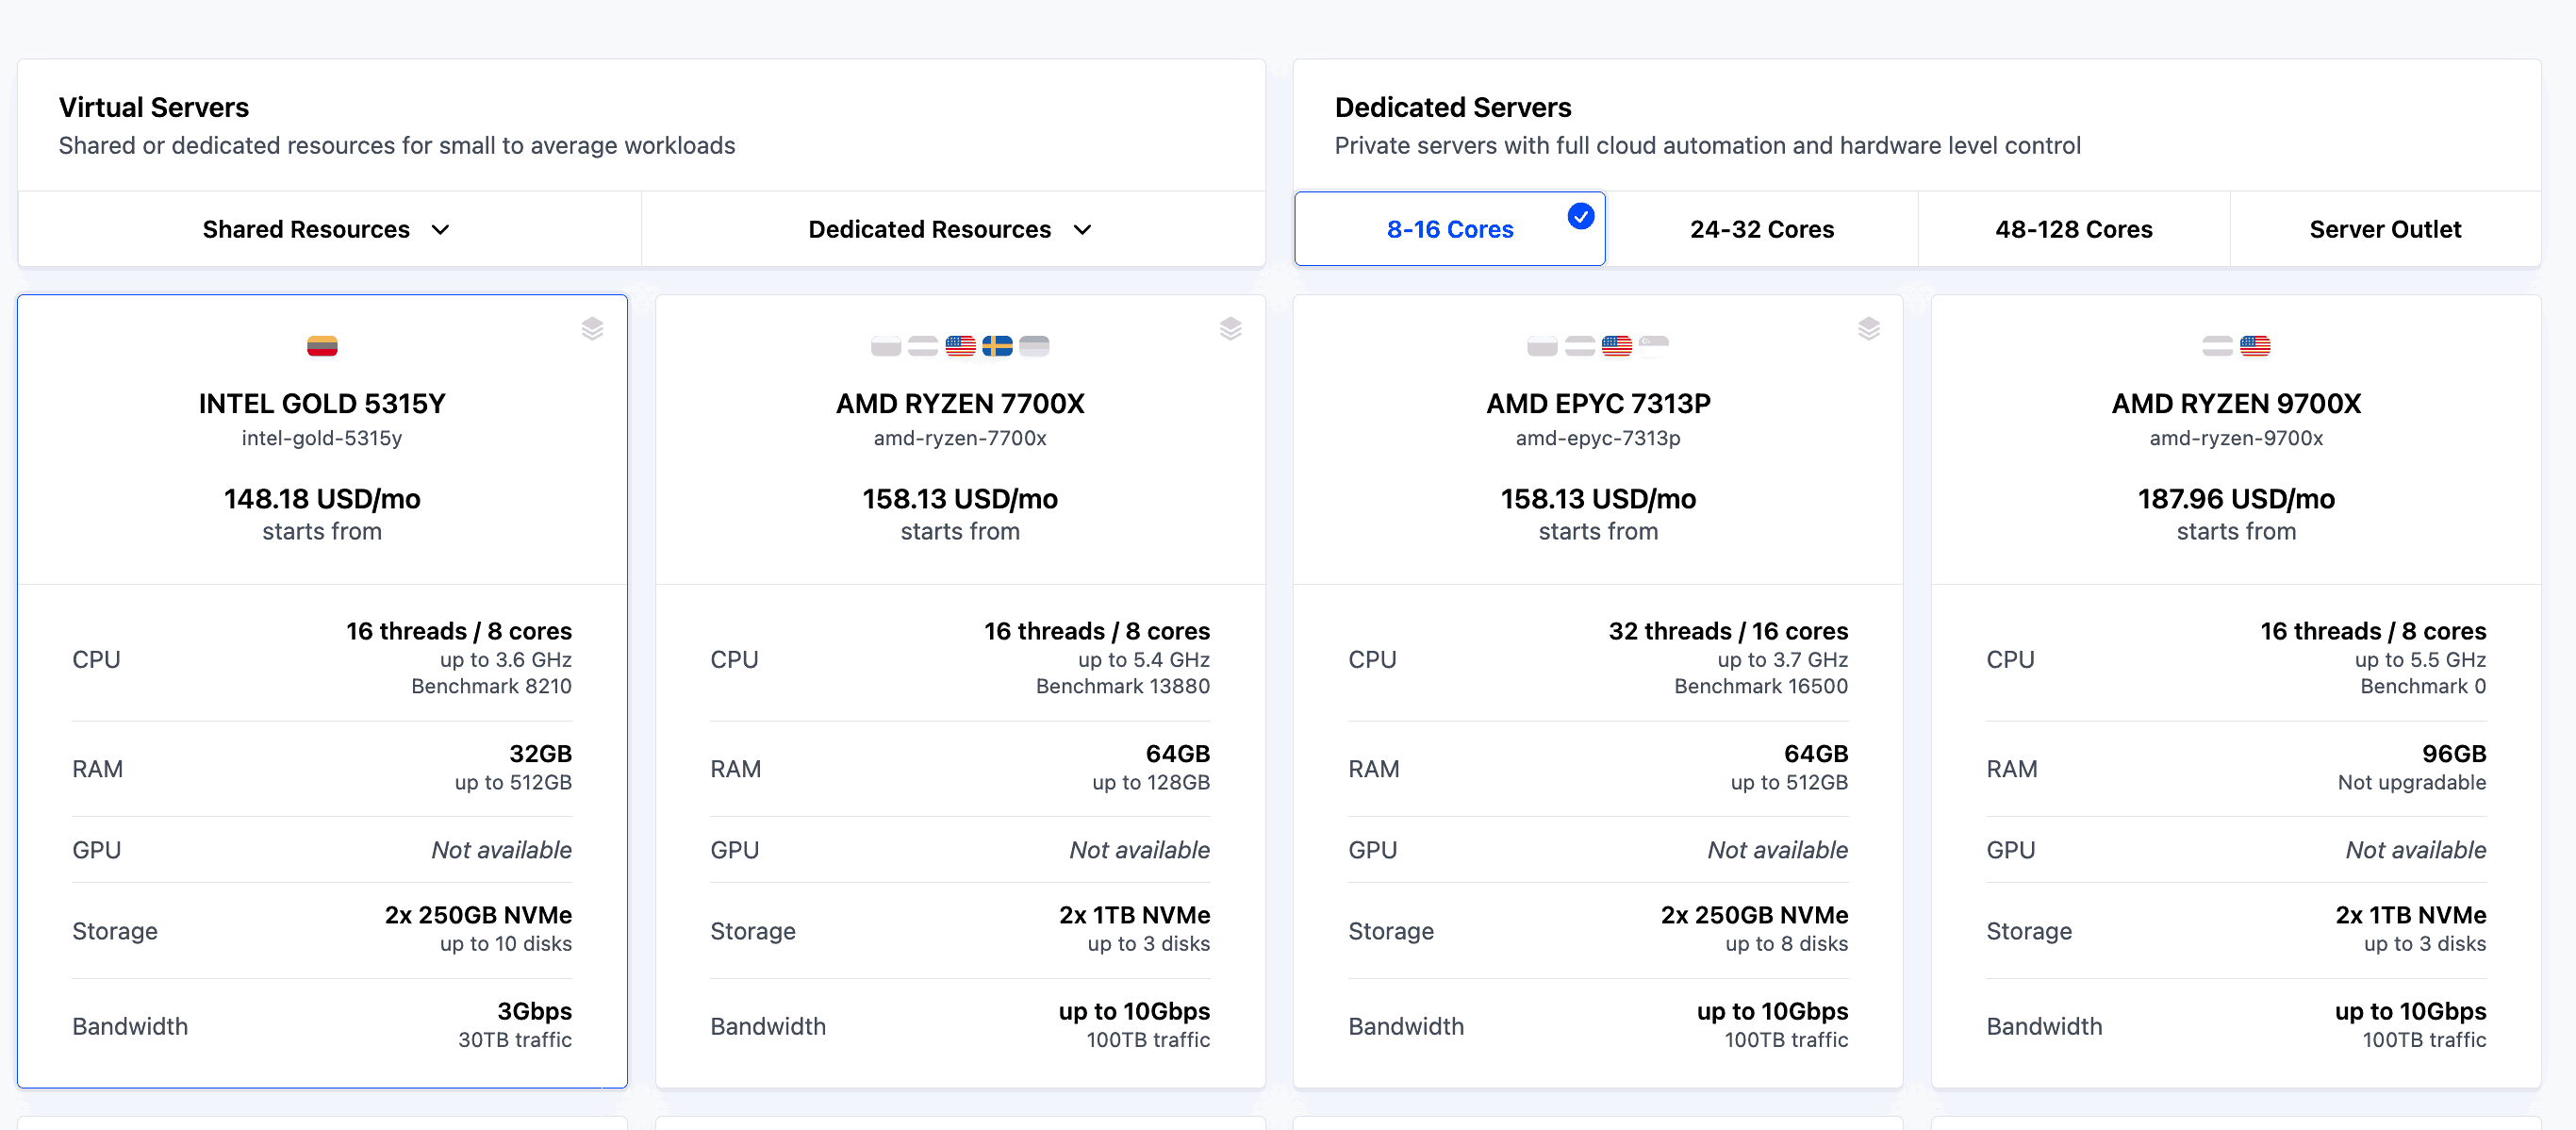
1: Choose server plan
Select a server plan based on your workload requirements. Cherry Servers offers plans across multiple regions (Lithuania, Netherlands, USA, Singapore, Sweden, Germany) with processors ranging from 8-core Intel to 128-core AMD EPYC. For this tutorial, we pick a dedicated server with 8 cores and 32 GB of RAM:
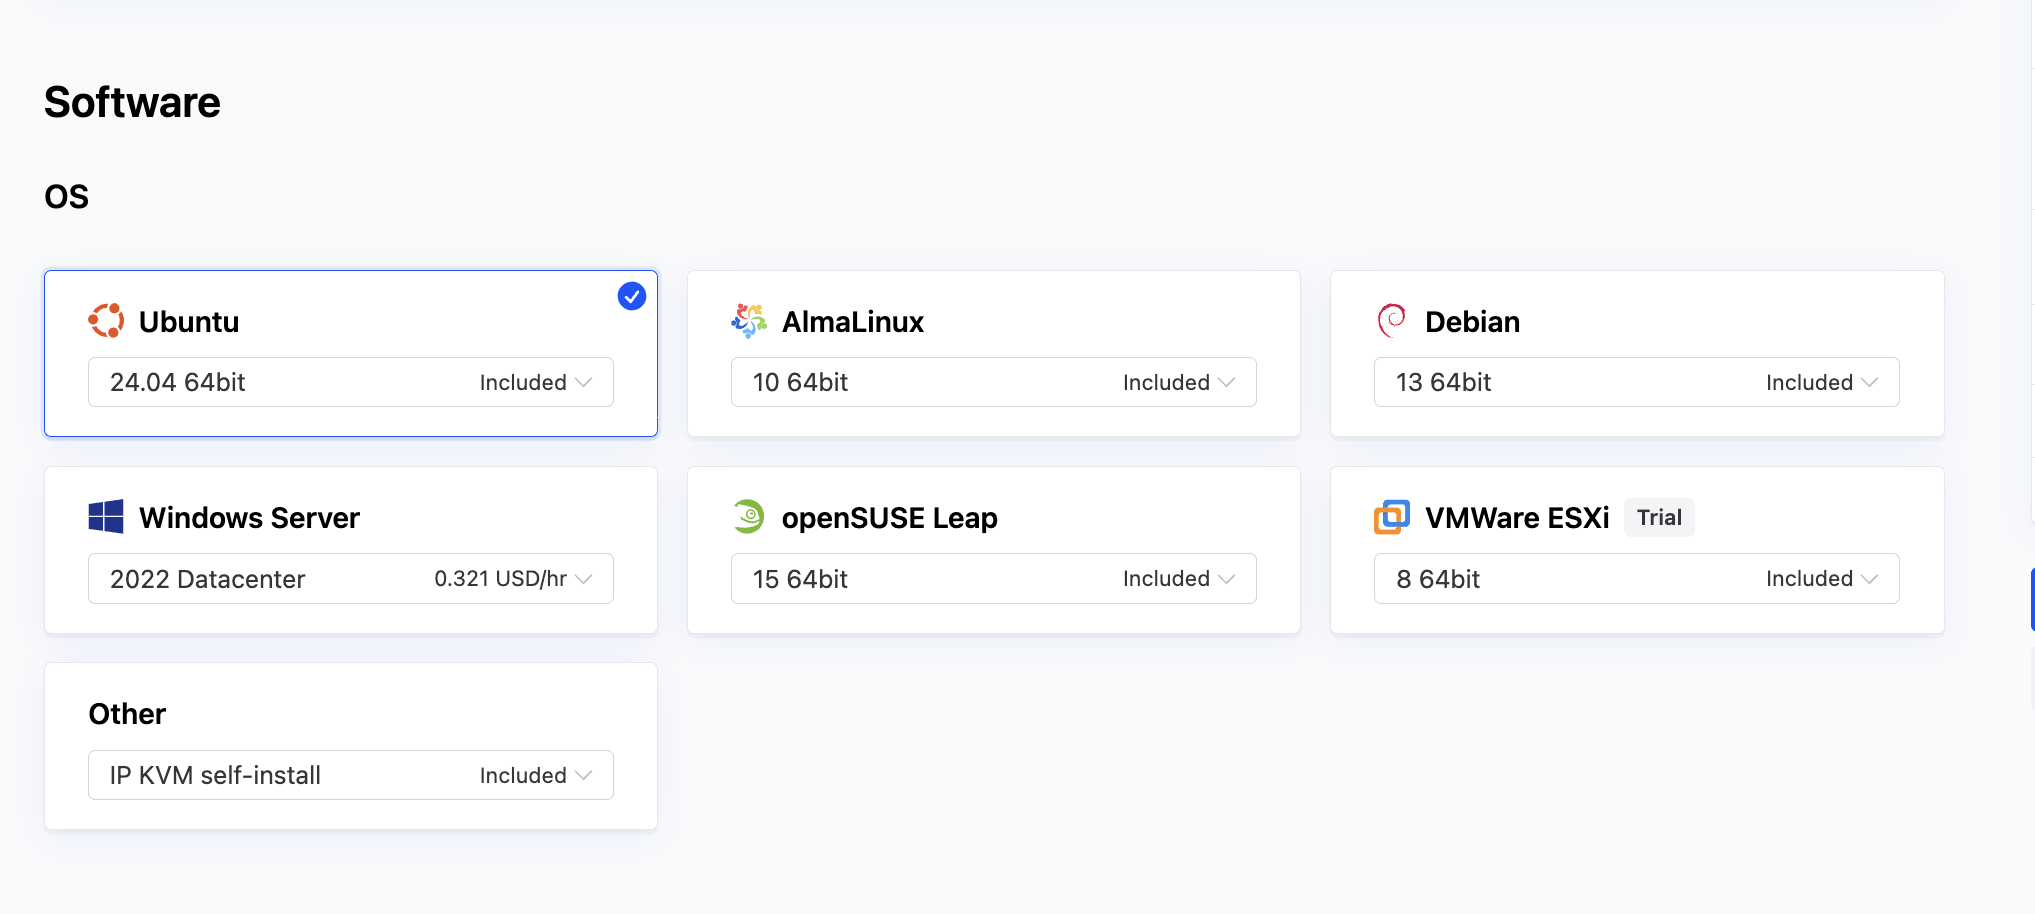
2: Select operating system
Choose Ubuntu from the operating system list. Cherry Servers provides pre-configured Ubuntu 24.04 LTS images that deploy automatically. The provisioning system formats the disk, installs the OS, configures networking, and injects your SSH key without manual intervention. Linux servers typically finish provisioning in 15 to 30 minutes.
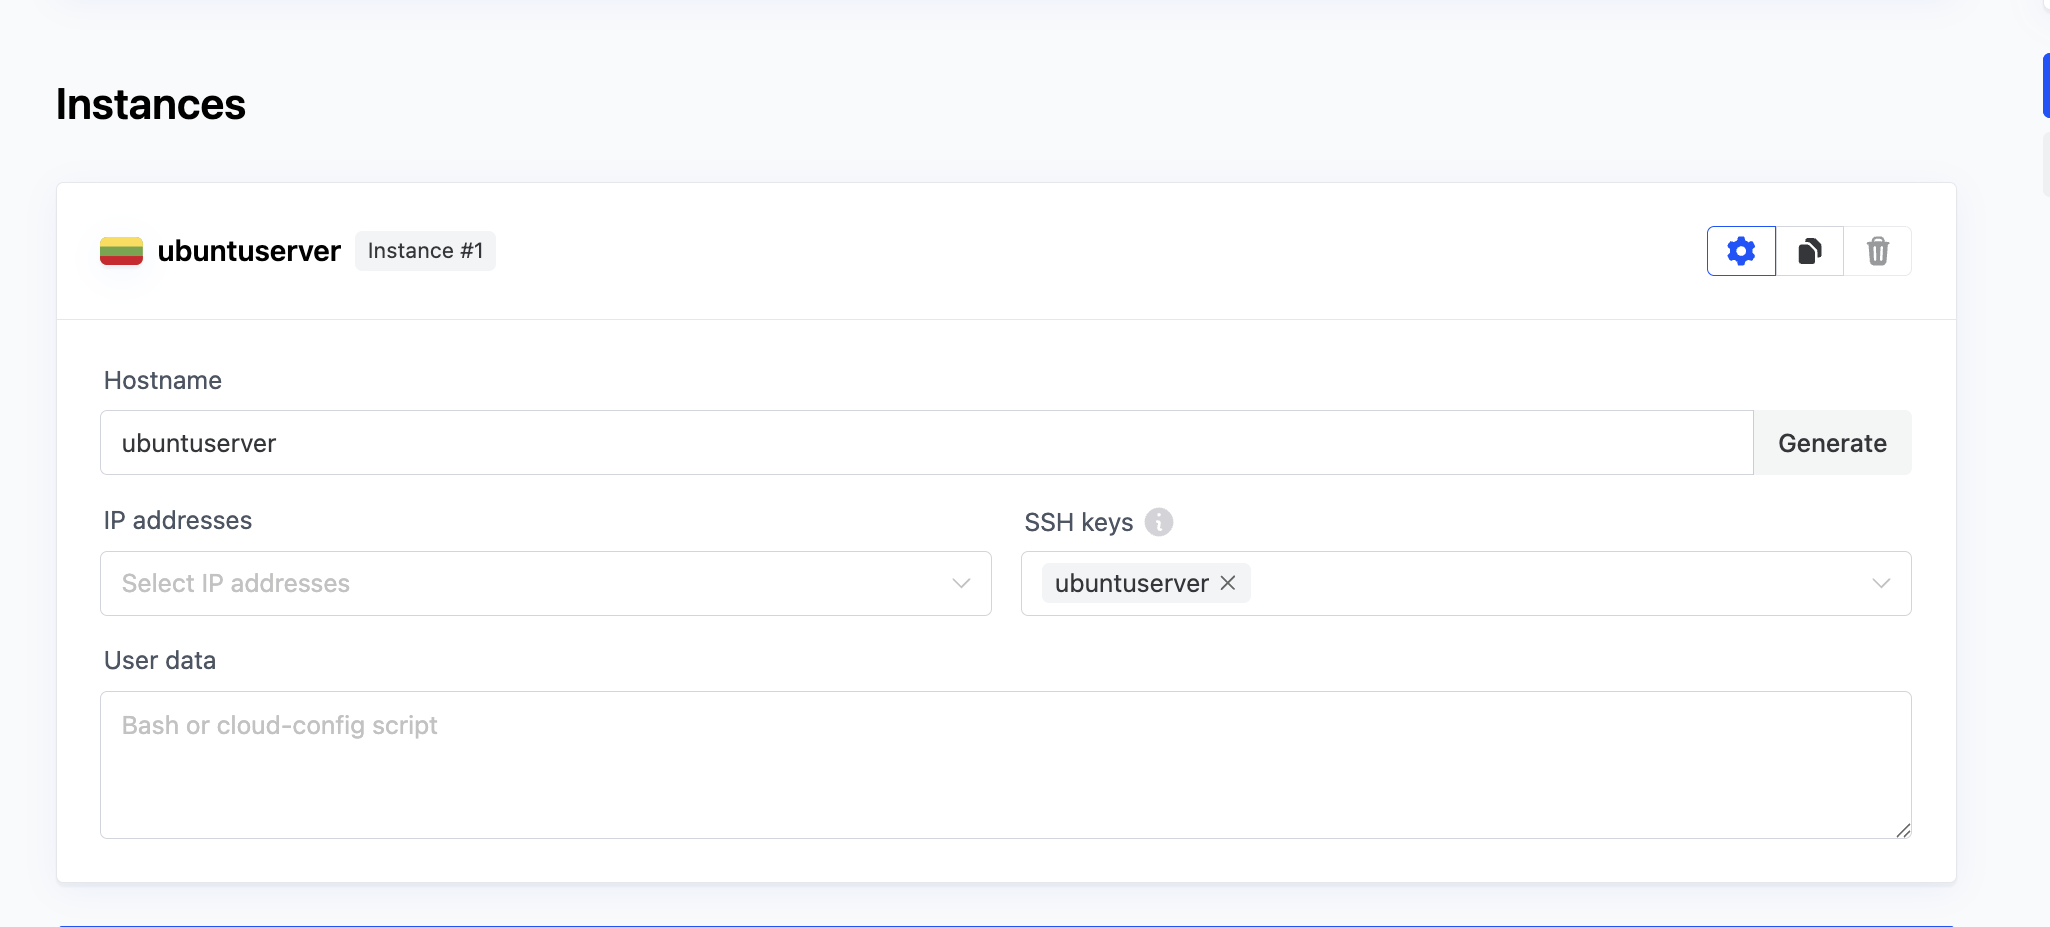
3: Set instance name and SSH key
Give your server a descriptive hostname that identifies its role (e.g., web-prod-01 or db-staging). Confirm that the SSH key you uploaded earlier is selected. The provisioning system will add this key to the root user's ~/.ssh/authorized_keys file during setup.
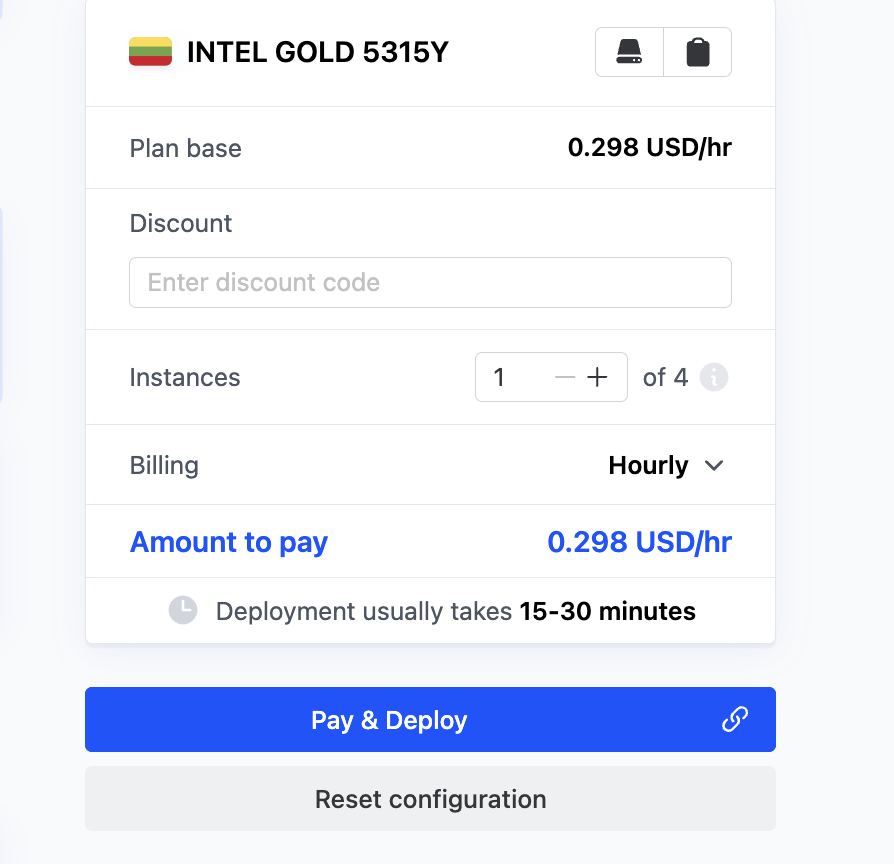
4: Review and deploy
Review your server configuration, billing cycle, and total cost. Click Pay & Deploy Now to start provisioning. You will receive an email with your server's IP address and access details once the deployment completes.
Also read: How to Upgrade from Ubuntu 24.04 to Ubuntu 25.04
#Step 3: Initial server setup
After provisioning completes, Cherry Servers sends an email with your server's IP address and login credentials. You also get access to a KVM console for out-of-band access if SSH becomes unavailable.
Connect via SSH
Open a terminal on your workstation and connect using the SSH key you deployed:
ssh root@<IP of server> -i ~/.ssh/id_ed25519
Replace <IP of server> with the IP address from your deployment email or the Cherry Servers portal. On first connection, SSH will ask you to verify the server's fingerprint. Type yes to accept and add it to your ~/.ssh/known_hosts file.
After a successful login, you will see the root shell prompt:
root@ubuntuserver:~#
If the connection times out or is refused, verify that the server has finished provisioning in the portal. You can also connect through the KVM console to check the server's network status.
Update system packages
A fresh Ubuntu deployment may include packages that are out of date with the latest security patches. Update the package index and upgrade all installed packages:
sudo apt update && sudo apt upgrade -y
The apt update command refreshes the list of available packages from all configured repositories. The apt upgrade -y command applies all available updates without prompting for confirmation. When asked about updating the sshd configuration, choose the default option: Keep the local version.
If the upgrade includes a kernel update, reboot the server afterward to load the new kernel:
sudo reboot
Secure SSH access
Password-based SSH login is vulnerable to brute-force attacks. Since your server already accepts key-based authentication, disable password login entirely.
Open the SSH configuration file:
sudo nano /etc/ssh/sshd_config
Find the PasswordAuthentication line and set it to no:
PasswordAuthentication no
You can also disable root login over SSH for additional security. Find the PermitRootLogin line and change it to:
PermitRootLogin no
Save the file and restart the SSH service:
sudo systemctl restart ssh
After this change, only users with a matching SSH key can log in. Make sure your non-root user (created in the next step) has key access before disconnecting the root session.
Create a non-root user with sudo privileges
Running everything as root increases the risk of accidental system damage. Create a regular user account and grant it sudo privileges for administrative tasks:
adduser your_username
Follow the prompts to set a password and fill in optional user details. Then add the user to the sudo group:
usermod -aG sudo your_username
Copy the SSH key to the new user so you can log in directly:
mkdir -p /home/your_username/.ssh
cp ~/.ssh/authorized_keys /home/your_username/.ssh/
chown -R your_username:your_username /home/your_username/.ssh
chmod 700 /home/your_username/.ssh
chmod 600 /home/your_username/.ssh/authorized_keys
Replace your_username with your actual username.
Test the new login from your workstation before closing the root session:
ssh your_username@<IP of server> -i ~/.ssh/id_ed25519
Verify automatic security updates
Ubuntu enables the unattended-upgrades service by default. It downloads and applies security patches automatically in the background. Verify the service is active:
sudo systemctl status unattended-upgrades.service
Output● unattended-upgrades.service - Unattended Upgrades Shutdown
Loaded: loaded (/usr/lib/systemd/system/unattended-upgrades.servi>
Active: active (running) since Fri 2026-04-17 14:02:51 UTC; 11min>
Docs: man:unattended-upgrade(8)
Main PID: 1413 (unattended-upgr)
Tasks: 2 (limit: 37793)
Memory: 11.7M (peak: 12.1M)
CPU: 79ms
CGroup: /system.slice/unattended-upgrades.service
└─1413 /usr/bin/python3 /usr/share/unattended-upgrades/un>
If the service shows as inactive, enable and start it:
sudo systemctl enable --now unattended-upgrades
You can review the update configuration in /etc/apt/apt.conf.d/50unattended-upgrades to customize which packages get auto-updated and whether the system reboots automatically after kernel patches.
#Essential post-setup configuration
After the initial setup, a few additional steps will prepare your server for production use.
#Set the hostname
A descriptive hostname makes the server easier to identify in logs, monitoring dashboards, and multi-server environments. Set it with:
sudo hostnamectl set-hostname your-server-name
Verify the change:
hostnamectl
#Configure the timezone
Set the correct timezone so that log timestamps, cron jobs, and certificate expiration checks use the right clock:
sudo timedatectl set-timezone Your/Timezone
Replace Your/Timezone with a valid timezone like Europe/Vilnius or America/New_York. List all available options with timedatectl list-timezones.
To ensure your clock stays accurate, enable Network Time Protocol (NTP) with sudo timedatectl set-ntp true command.
#Set up a basic firewall with UFW
Ubuntu includes UFW (Uncomplicated Firewall) but leaves it disabled by default. Enable it to restrict incoming traffic to only the services you need.
Allow SSH before enabling the firewall to avoid locking yourself out:
sudo ufw allow OpenSSH
Enable the firewall:
sudo ufw enable
Check the current rules:
sudo ufw status
Add rules for other services as you deploy them. For example, sudo ufw allow 80/tcp opens HTTP traffic for a web server.
#Common server software to install next
With your server secured and configured, here are the most common packages new Ubuntu server users deploy. Each entry includes a one-line install command and a link to the full Cherry Servers tutorial.
Nginx serves web content and works as a reverse proxy for backend applications:
sudo apt install nginx -y
See our full guide: How to install Nginx on Ubuntu 24.04
Docker runs containerized applications in isolated environments:
sudo apt install docker.io -y
See our full guide: How to install Docker on Ubuntu 24.04
PostgreSQL provides a robust relational database for web apps and analytics:
sudo apt install postgresql -y
See our full guide: How to install PostgreSQL on Ubuntu 24.04
MySQL is another widely used relational database, common in LAMP stacks:
sudo apt install mysql-server -y
See our full guide: How to install MySQL on Ubuntu 24.04
#Troubleshooting common Ubuntu server issues
#SSH connection refused after deployment
If ssh returns "Connection refused," the SSH service may not be running or the firewall may block port 22. Connect through the Cherry Servers KVM console and check the service status:
sudo systemctl status ssh
If the service is inactive, start it with sudo systemctl start ssh. Also verify that UFW allows SSH traffic with sudo ufw status.
#Locked out after disabling password authentication
If you disabled PasswordAuthentication before uploading your SSH key, you cannot log in via SSH. Access the server through the Cherry Servers KVM console, edit /etc/ssh/sshd_config, set PasswordAuthentication yes temporarily, and restart SSH with sudo systemctl restart ssh. Upload your key, test the key-based login, then disable password authentication again.
#Package upgrade failures
If apt upgrade reports held-back packages, run:
sudo apt full-upgrade
If dpkg reports a lock error like "Could not get lock /var/lib/dpkg/lock-frontend," another process is using the package manager. Wait for it to finish, or find the blocking process with sudo lsof /var/lib/dpkg/lock-frontend and decide whether to terminate it.
#Server does not boot after kernel upgrade
Access the KVM console from the Cherry Servers portal. At the GRUB menu, select an older kernel version under "Advanced options for Ubuntu." Once booted, remove the problematic kernel with sudo apt remove linux-image-<broken-version> and update GRUB with sudo update-grub.
#Conclusion
You now have a production-ready Ubuntu server with SSH key authentication, a non-root sudo user, automatic security updates, a configured hostname and timezone, and a basic UFW firewall. You also know how to recover from common deployment problems like SSH lockouts, package conflicts, and failed kernel upgrades.
From here, deploy the services your project requires. For web hosting, start with Nginx or WordPress. For containerized workloads, set up Docker or Kubernetes. You can find the full range of Cherry Servers dedicated and virtual server options on our pricing page.
FAQs
Which Ubuntu version should I use for a server?
Use the latest LTS (Long Term Support) release for production servers. LTS versions receive security updates for five years. The current LTS is Ubuntu 24.04 (Noble Numbat). Non-LTS releases are supported for only nine months and require more frequent upgrades.
Can I install Ubuntu Server without a GUI?
Yes. Ubuntu Server ships without a graphical interface by default. All management happens through the command line over SSH. If you later need a GUI, you can install one separately.
How do I connect to my Ubuntu server remotely?
Use SSH from any terminal: `ssh username@server-ip`. For key-based authentication, specify the key file with the `-i` flag. Cherry Servers also provides a KVM console for out-of-band access when SSH is unavailable.
How long does it take to deploy an Ubuntu server on Cherry Servers?
Pre-configured Ubuntu servers deploy in 15 to 30 minutes through automated provisioning. Custom hardware configurations may take up to 24 to 72 hours, depending on component availability.
Should I use RSA or Ed25519 for SSH keys?
Ed25519 is recommended. It provides stronger security with shorter key lengths and faster key generation compared to RSA. Most modern SSH clients and servers support Ed25519. Use RSA only if you need compatibility with very old systems that lack Ed25519 support.
How do I keep my Ubuntu server updated?
Ubuntu enables automatic security updates through the `unattended-upgrades` service by default. For manual updates, run `sudo apt update && sudo apt upgrade` periodically. Major version upgrades between LTS releases require `do-release-upgrade`.


