How to Install curl on Ubuntu 22.04 | Step-by-Step


curl or "Client URL" is one of the most popular open-source command-line utilities that transfers data in URLs. This tutorial will show how to install curl on Ubuntu 22.04; we will demonstrate the pre-installation steps, installation commands, and how to configure host machine access and test the overall setup.
#What is curl?
curl, a popular tool in open-source circles, operates from the command line and specializes in data transfer using URL formats. This utility is compatible with several internet protocols, such as HTTP, HTTPS, and FTP, to name a few.
#What does curl command do?
The primary functions of the curl command include downloading and uploading data, facilitating API interactions, and streamlining various web-related tasks. curl's proficiency in working with various data types and protocols renders it an important resource for developers and system administrators. The efficiency curl brings to data handling and network communication proves its importance in an Ubuntu environment.
#What is curl command used for?
curl is used by many IT professionals, including developers and system administrators, and in DevOps for several tasks. For instance, it is used to send data and for API testing, protocol debugging, file uploads, and downloads. Furthermore, you can install curl on any operating system.
#Prerequisites
For this tutorial, you only need a machine with Ubuntu 22.04 installed and sudo privileges.
We will first cover how to install curl on Ubuntu, then how to use curl, and finally, how to uninstall and remove it.
#How to install curl on Ubuntu in 3 steps
Installing curl is a very straightforward process. It primarily involves running the install curl command. Let's see how to install curl on Ubuntu without any errors or issues and how to verify that the installation is successful.
Installing curl on Ubuntu includes the following three steps:
- Verifying
sudoprivileges and updating system packages - Installing curl on Ubuntu
- Verifying the curl installation
#Step 1: Verify sudo privileges and update system packages
To verify that you have sudo privileges, open the terminal and run any sudo command. If it doesn’t give any errors, you have sudo privileges.
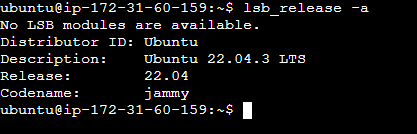
Also, check the available Ubuntu versions on your machine using the lsb_release -a command.
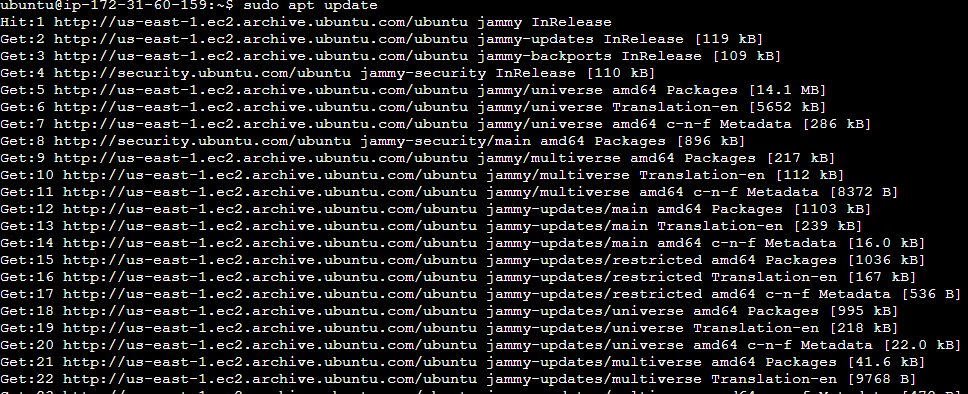
It is a good practice to update the existing packages and repositories before starting the curl installation. It ensures that the packages have their newest versions. As the next step, type the following update command to fetch the latest updates.
sudo apt update
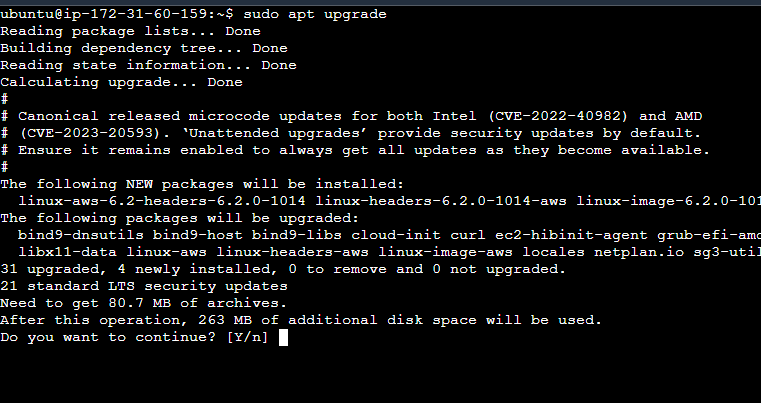
After that, execute the following command to upgrade the installed packages on your system.
sudo apt upgrade
You can even combine and run both commands simultaneously, as shown below.
sudo apt update && sudo apt upgrade
#Step 2: Install curl on Ubuntu
As the second step, use the following command to install the curl utility.
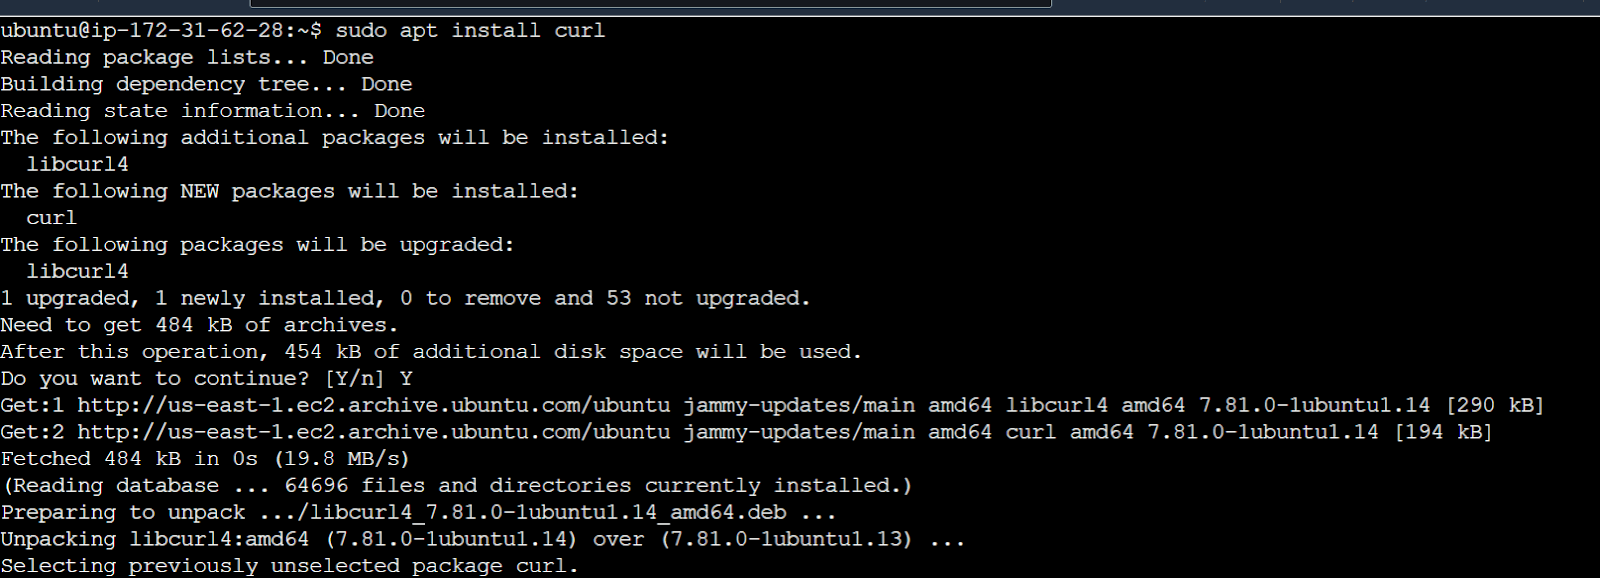
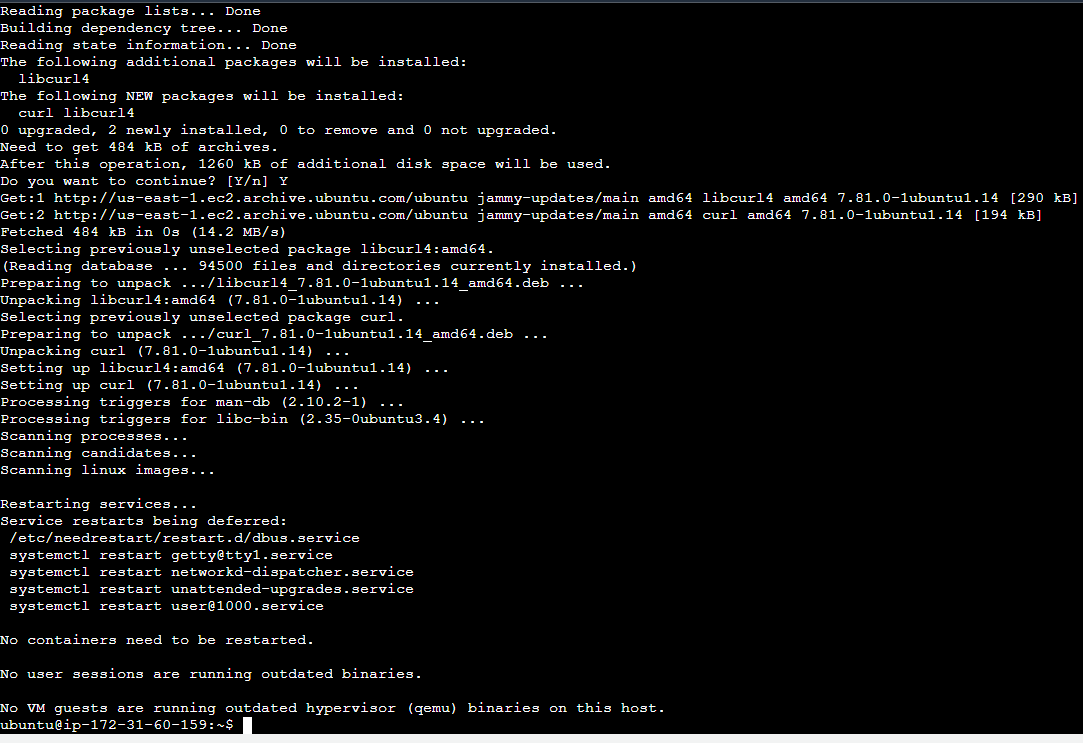
sudo apt install curl
You will be prompted to provide authorization to continue with this installation. Type Y and press Enter to continue with the curl installation. This command will fetch the curl software package, resolve any dependencies required, and install curl on the system.
#Step 3: Verify the curl installation
To verify the curl installation, use the --version option with the curl command. If the installation is successful, the --version option will print information about your curl tool in the terminal.
curl --version

Let’s see what information this command displays.
- curl 7.81.0 - The version of the installed curl software and the Linux system it is compiled for.
- The libraries and their versions curl is dependent on.
- libcurl/7.81.0 - libcurl library.
- OpenSSL/3.0. - OpenSSL
- zlib/1.2.11 - Compression library.
- brotli/1.0.9 - Brotli compression library.
- zstd/1.4.8 - Zstandard compression library.
- libidn2/2.3.2 - Internationalized domain names support library.
- libpsl/0.21.0 - Public Suffix List library.
- libssh/0.9.6 - SSH client library version.
- nghttp2/1.43.0 - HTTP/2 support library.
- librtmp/2.3 - RTMP support library.
- OpenLDAP/2.5.16 - OpenLDAP support version.
- Release Date: 2022-01-05 - The release date of the installed curl version.
- Protocols - A list of supported protocols.
- Features - A list of supported features
- HTTP2 - HTTP/2 support.
- IPv6 - IPv6 support.
- SSL - Secure Sockets Layer support.
- Zstd - Zstandard compression support.
- AsynchDNS - Asynchronous DNS resolution support.
- HSTS - HTTP Strict Transport Security support.
#How to use curl command
There are different ways you can use the curl command. First, run the help command and see the available options.
#1. The Help command
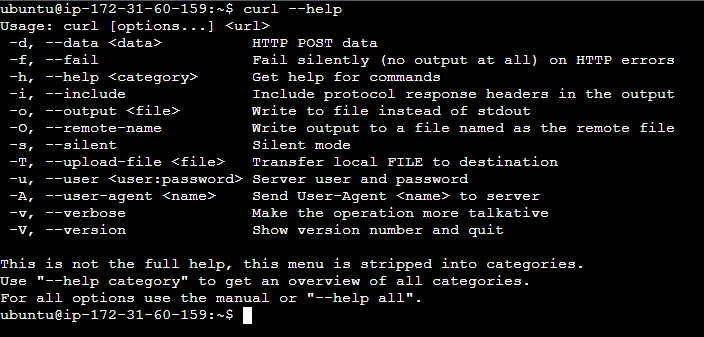
To explore the range of functionalities curl offers, you can use the --help option. This will display a list of all available options and their brief descriptions.
curl --help
curl is commonly used for tasks like fetching data from APIs and downloading files from the internet.
#2. Fetching data using curl
The following is an example of how to fetch data from the Realtor API in Rapid API. If the API endpoint requires authentication headers, use the -H flag to specify headers enclosed in quotes.
curl -X GET "https://realtor.p.rapidapi.com/locations/v2/auto-complete?input=new%20york&limit=10" \
-H "X-Rapidapi-Key: <api_key>" \
-H "X-Rapidapi-Host: realtor.p.rapidapi.com" \
-H "Host: realtor.p.rapidapi.com"
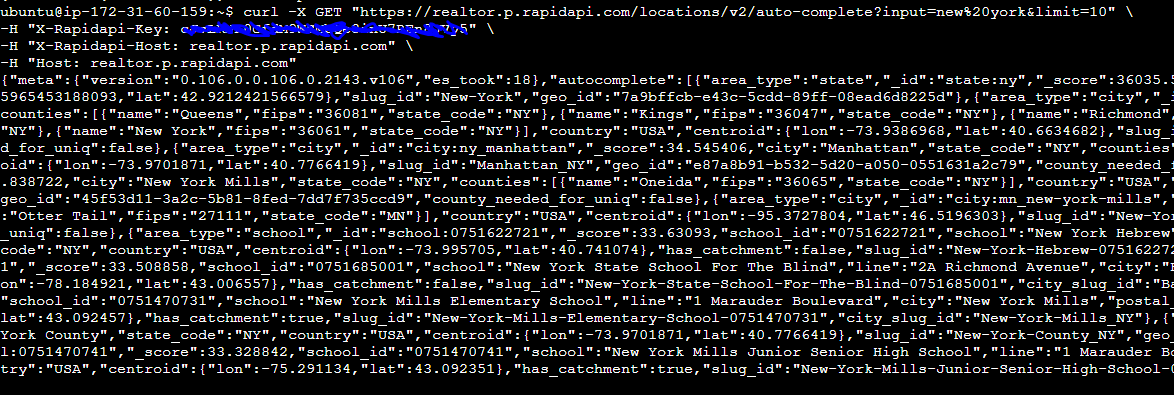
This command sends a GET request to the specified URL. It includes headers for the API key and host, essential for accessing the data.
#3. Downloading data using curl
curl is also effective for downloading files. For example, you can use the following command to download the Ubuntu 22.04 desktop ISO file:
curl -O [https://releases.ubuntu.com/22.04/ubuntu-22.04.1-desktop-amd64.iso](https://releases.ubuntu.com/22.04/ubuntu-22.04.1-desktop-amd64.iso)

The -O flag is used here to specify that the downloaded file should be saved on the local machine with the same name as the filename in the URL.
#How to uninstall or remove curl from Ubuntu
Here are the three different methods to uninstall or remove curl software packages from Ubuntu 22.04.
#Method 1: Remove only the curl package
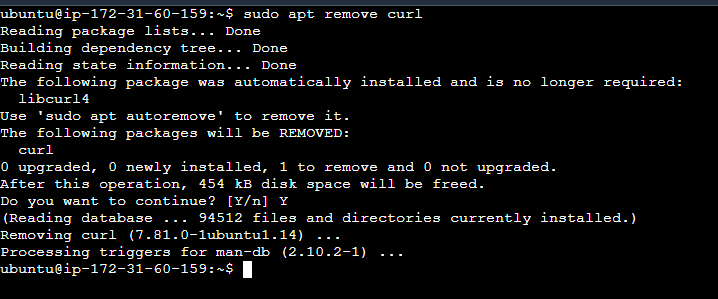
To uninstall just the curl package without affecting its dependencies, use the following command:
sudo apt remove curl
You will also be prompted to provide authorization to continue with this installation. Type Y and press Enter to proceed.
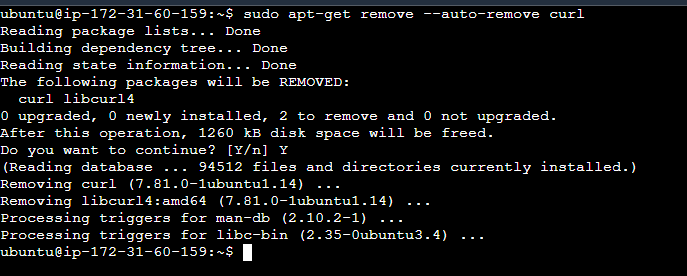
#Method 2: Remove curl with dependencies
If you wish to remove curl and any dependencies that were installed specifically for curl and are no longer needed, use the following command:
sudo apt-get remove --auto-remove curl
#Method 3: Remove curl with dependencies and configurations
Use the following command to remove curl along with its dependencies and configurations.
sudo apt-get purge curl
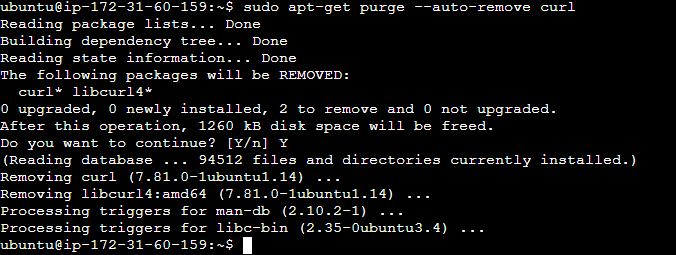
To extend this clean-up and remove all unused packages and dependencies, add the --auto-remove option.
sudo apt-get purge --auto-remove curl
#Conclusion
In this tutorial, we explained how to install curl on Ubuntu 22.04. The process started with updating the machine to update packages and repositories into the latest versions. Once you successfully install the curl utility, you can use it to run specific curl commands. For more information, refer to curl’s official documentation.


