How to Install Node.js on Ubuntu 22.04 | Step-by-Step


Node.JS is a popular JavaScript runtime environment that offers cross-platform support for developing scalable applications. This step-by-step tutorial will show you three different ways on how to install Node.JS on Ubuntu 22.04 system, including setting up the Node.js environment.
#What is Node.js?
Node.JS is an open source cross-platform server environment that can run on various operating systems, including Linux, Windows, Unix, and macOS. It allows developers to run JavaScript code both on the server (server-side) and in a web browser (client-side), using the same language. Therefore, enabling developers to build scalable and high-performance network applications more easily using the same codebase throughout their web apps.
#What is Node.js used for?
Node.js is commonly used for building scalable and real-time web applications. For example, in API development for RESTful APIs (Application Programming Interfaces), in microservices architecture, for applications that involve data streaming like video and audio, command-line tools and scripts, IoT applications to manage the communication between devices and the cloud, and to build proxy servers or reverse proxies and distribute traffic across multiple servers, as well as things like building scheduling apps (for example, for scheduling Facebook posts). These are just a few examples of Node.js use cases.
#Prerequisites:
Before we begin, let's ensure we have the necessary prerequisites.
-
Check the current Ubuntu version: Open a Ubuntu terminal and enter the following command:
cat /etc/lsb-releaseThis will display information about your Ubuntu version. Ensure that you are running Ubuntu 22.04 like below:

-
Check the availability of the 'sudo' command:
In the same terminal, run the following command:
sudo echo "Hello, Node.js"If prompted for your password and you see the "Hello, Node.js" message, you have sudo privileges and can proceed with the installation.
-
Check if Node.js and npm are already installed:
To verify if Node.js and the Node Package Manager or npm are already installed on your system, run the following commands:
node -v npm -vIf you see the version numbers displayed for both Node.js and npm, they are already installed.
Otherwise, let's move on to the installation steps. We will follow three different approaches to installing Node.JS in Ubuntu 22.04. The choice to choose any approach for installation is entirely yours!

#Option 1: Install Node.js and NPM using the Ubuntu repository
This section will install Node.js and npm using the Ubuntu repository. This method provides a straightforward and hassle-free installation process.
Step 1: In the terminal, run the below command to update the package lists:
sudo apt update
This command connects to the package repositories configured on your system and checks for updates to the available packages. After running this command, your package manager knows the most recent versions of software packages available in the repositories.
Step 2: Install Node.js and npm by running the below command in the terminal:
sudo apt install nodejs npm
Next, you will see a prompt like the one below. Enter “Y” to confirm the installation:

This initiates the installation process like the below

It can take a couple of minutes, depending on the system specifications.
Step 3: Confirm the installation of Node.js and npm by running the following command in the terminal:
node -v
You should now see the version numbers below:
![]()
#Option 2: Install Node.JS and NPM from NodeSource
If you prefer to install the latest version of Node.js and npm, you should use the NodeSource repository. This repository provides up-to-date releases of Node.js, allowing you to leverage the latest capabilities and improvements in your development projects. So you can easily access the latest features, bug fixes, and security updates related to Node.js.
Let’s start the installation!
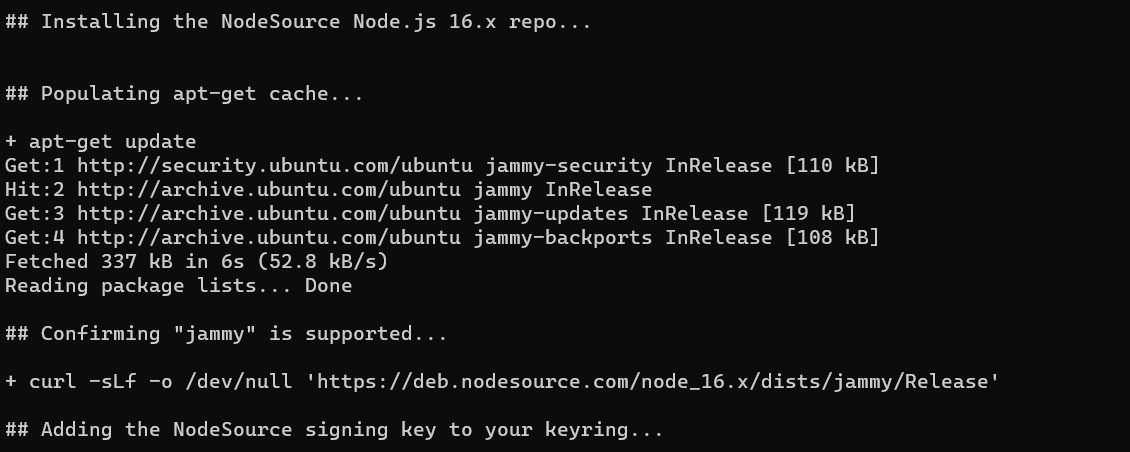
Step 1: In the Ubuntu terminal, run the below command to add the NodeSource repository:
curl -fsSL https://deb.nodesource.com/setup_16.x | sudo -E bash -
The command fetches the NodeSource setup script using curl, and then passes the script to sudo and executes it with bash. This script adds the NodeSource repository to your package sources, allowing you to install Node.js and npm from that repository.
This initiates the NodeSource repository installation process:
Next, you will see a prompt like the one below. Enter “Y” to confirm the installation:
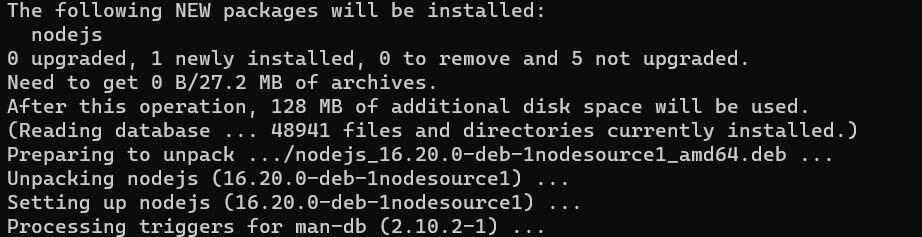
Step 2: Once the repository is added, install Node.js and npm by running the below command in the terminal:
sudo apt install -y nodejs
This command initiates the installation process of Node.js like below:

It can take a couple of minutes, depending on the system specifications. Finally, you will see the below message in the terminal:
Step 3: Verify the installation by running the following commands in the terminal:
node --version
npm --version
You should now see the version numbers of Node.js and npm below:

#Option 3: Install Node.js and npm using NVM (Node Version Manager)
Installing Node.js and npm using NVM (Node Version Manager) offers significant advantages. NVM allows you to manage multiple versions of Node.js on your system. This method is helpful if you need to switch between different Node.js versions for different projects.
Now, let’s start the installation process!
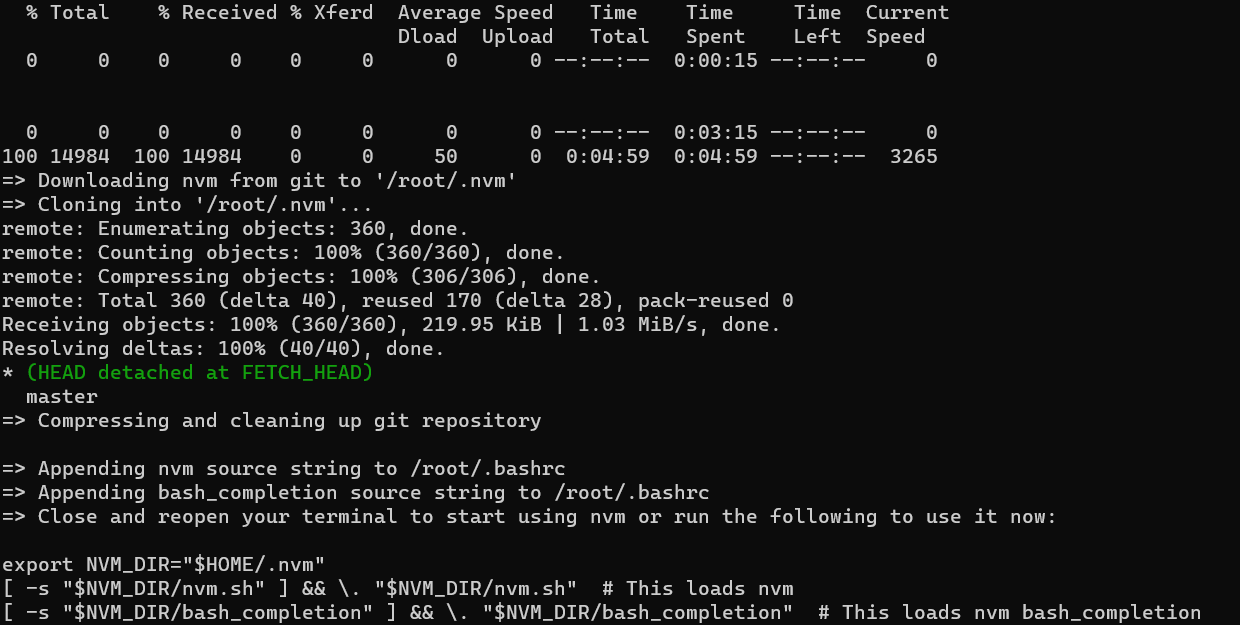
Step 1: Install Node Version Manager or NVM by running the below command in the terminal:
curl -o- https://raw.githubusercontent.com/nvm-sh/nvm/v0.39.0/install.sh | bash
When you run this command, curl downloads the NVM installation script from the specified URL. Next, bash executes the script for setting up NVM on your system.
Once the installation completes, you will see the below message:
Now, Activate the NVM using the below command:
source ~/.bashrc
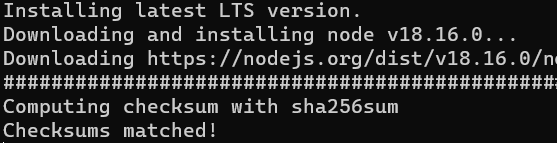
Step 2: Install the latest LTS version of Node.js by running the below code:
nvm install --lts
The installation will begin:
Now, set the default version of NVM by running the below code:
nvm alias default 18.16.0
You choose your desired LTS version number in the above code.
Step 3: Confirm the installation of Node.js by running the below code:
node -v npm -v
You should now see the version numbers of Node.js and npm below:
![]()
#Set up the Node.js Environment
Now that you have Node.js and npm installed, you must set up the Node.js environment by creating a new Node.js project.
#Step 1: Make a new Node.js project/directory
Create a new directory for your Node.js project by running the following command:
mkdir my-node-project
You can navigate into the project directory by using the below command:
cd my-node-project
This changes the project directory from root@Admin:~# to root@Admin:~/my-node-project#.
#Step 2: Initialize a new Node.js project
Inside the project directory, initialize a new Node.js project using the below npm command:
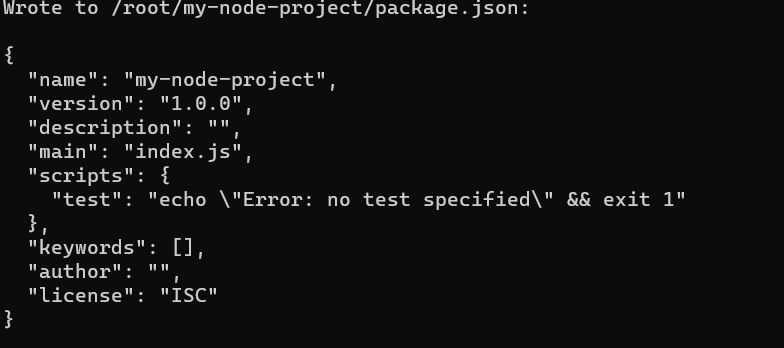
npm init -y
This command will create a package.json file containing your project's metadata and dependencies. Here is the JSON output:
#Step 3: Run the setup with a simple program
Create a new file called ‘app.js’ using the text editor of Ubuntu and add the following code:
sudo nano app.js
Once the text editor opens, type the below code:
console.log("Hello, Node.js!");
Save the file by pressing (Ctrl+O) and (Enter). Next, press (Ctrl+X) to return to the Ubuntu terminal. Run the program by executing the following command:
root@Admin:~# node app.js
You should see the message "Hello, Node.js!" printed in the terminal, confirming that your Node.js setup is working correctly.
![]()
#Conclusion
Node.js's flexibility, scalability, and rich ecosystem of packages make it a perfect choice for a wide range of applications. You now know three different ways to install Node.js: the Ubuntu repository, the NodeSource repository, and Node Version Manager. If you followed each step, you successfully installed Node.js on Ubuntu 22.04.
Remember to refer to the official Node.js and Ubuntu documentation for further information. Here are some additional resources:
- Node.js official website
- Ubuntu documentation
- Node.js tutorial on the Google Developers website


