How to Install Python3 on Ubuntu 22.04 | Step-by-Step


This step-by-step guide demonstrates how to install Python3 on Ubuntu 22.04. Afterward, you will also learn how to set up a local Python3 virtual environment and test it using a simple Python program.
#What is Python used for?
Python is a high-level, interactive, and object-oriented programming language developed by Guido van Rossum in 1991. It's a general-purpose and open-source programming language that is used in diverse domains, including Data Science, Machine learning, Artificial Intelligence (AI), and web development, to mention a few.
Python is beginner-friendly thanks to its code-readability and easy-to-learn syntax. It remains a top choice for experienced python developers due to its flexibility and great support from a large community of developers.
#Prerequisites
Before getting started, here is a list of requirements that you need:
- A running instance of Ubuntu 22.04 server.
- SSH access to the server with a sudo user configured.
#How to install Python on Ubuntu 22.04: Step-by-step
Follow the steps below to install Python on Ubuntu 22.04, and set up a local Python 3 virtual environment.
Deploy and scale your Python projects effortlessly on Cherry Servers' robust and cost-effective dedicated or virtual servers. Benefit from an open cloud ecosystem with seamless API & integrations and a Python library.
#Step 1: Install Python on Ubuntu 22.04: Two options
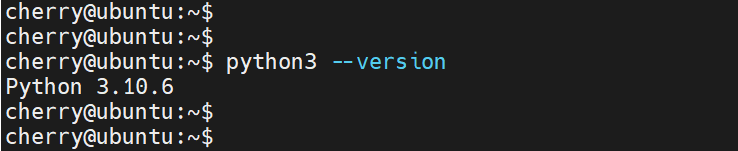
Ubuntu 22.04 ships with Python3 out of the box. To confirm this, run the command:
python3 --version
You should get the following output. Python3.10 comes preinstalled by default on Ubuntu 22.04
If you want to install the latest Python version, you can use two options: installing from a PPA or from source. Let’s go over each of these methods.
Option 1: Install Python3 from DeadSnakes PPA
To get off the ground, update the local package index as shown.
sudo apt update
Next, install dependencies that will be required during the installation of Python.
sudo apt install build-essential software-properties-common -y
Once that’s done, add the deadsnakes PPA as follows.
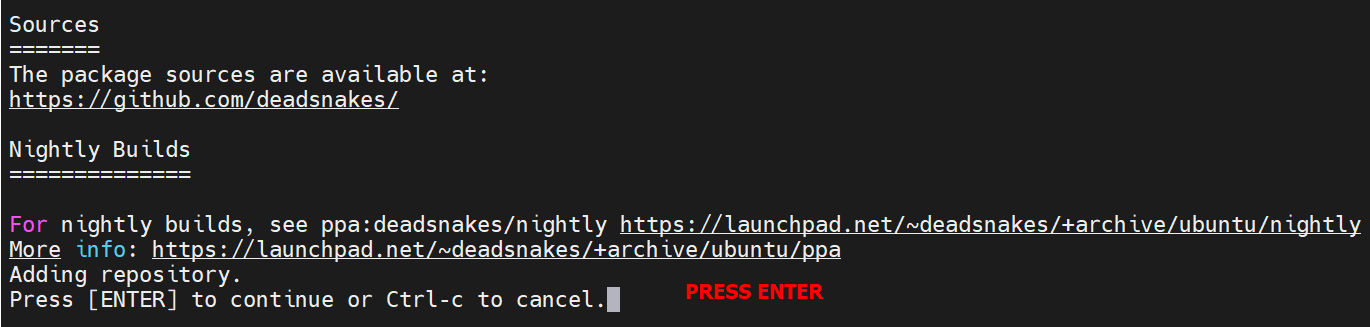
sudo add-apt-repository ppa:deadsnakes/ppa
The command populates information about the deadsnakes PPA as shown below. Take your time and brush over the information provided on your terminal.
The deadsnakes PPA provides Python 3.7, Python 3.9, and Python 3.11 for Ubuntu 22.04. As discussed earlier, Python 3.10 is provided by Official Ubuntu repositories and is preinstalled by default.

When prompted to continue, hit ENTER on the keyboard.
Once the repository is added, update the package lists once again to update the packages index with the newly added PPA.
sudo apt update
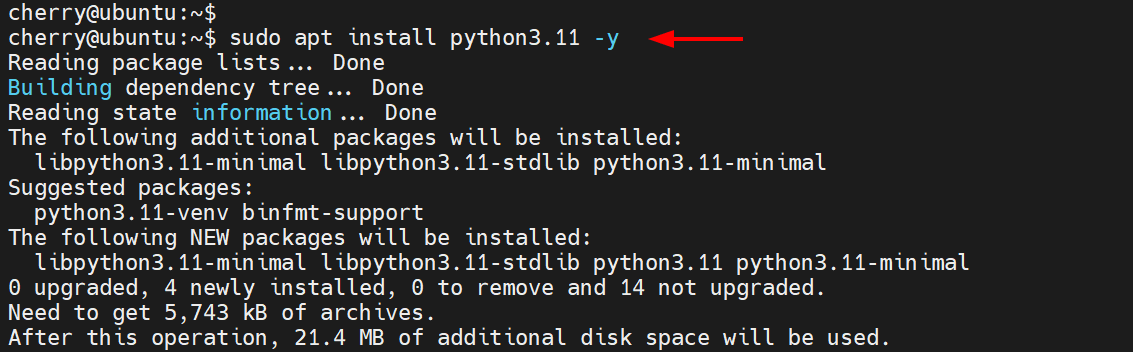
Next, install Python3.11 using the APT package manager, as shown.
sudo apt install python3.11 -y
This installs Python3.11 along with associated Python3.11 libraries.
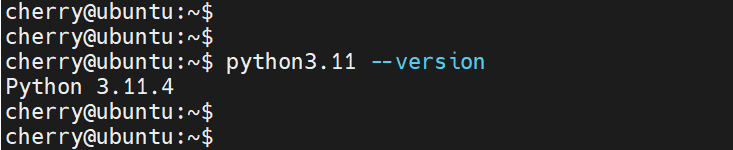
To confirm that you have installed Python 3.11, run the command:
python3.11 --version
The following output confirms that we have installed the latest version of Python, Python 3.11.4.

Option 2: Install Python3 From Source
Installing Python from source is the best approach if you want to install the latest version of Python. This is a longer method of installing Python but the most recommended if you intend to install the latest Python release.
As mentioned earlier, Python 3.11.4 is the latest stable version of Python. The latest version might be different by the time you are reading this guide. For this guide, we will install Python3.11.4 for demonstration.
To get started, update the local package repository.
sudo apt update
Next, install the dependencies required to build and compile Python code, as shown.
sudo apt install build-essential software-properties-common libssl-dev libffi-dev python3-dev libgdbm-dev libc6-dev libbz2-dev libsqlite3-dev tk-dev libffi-dev zlib1g-dev -y
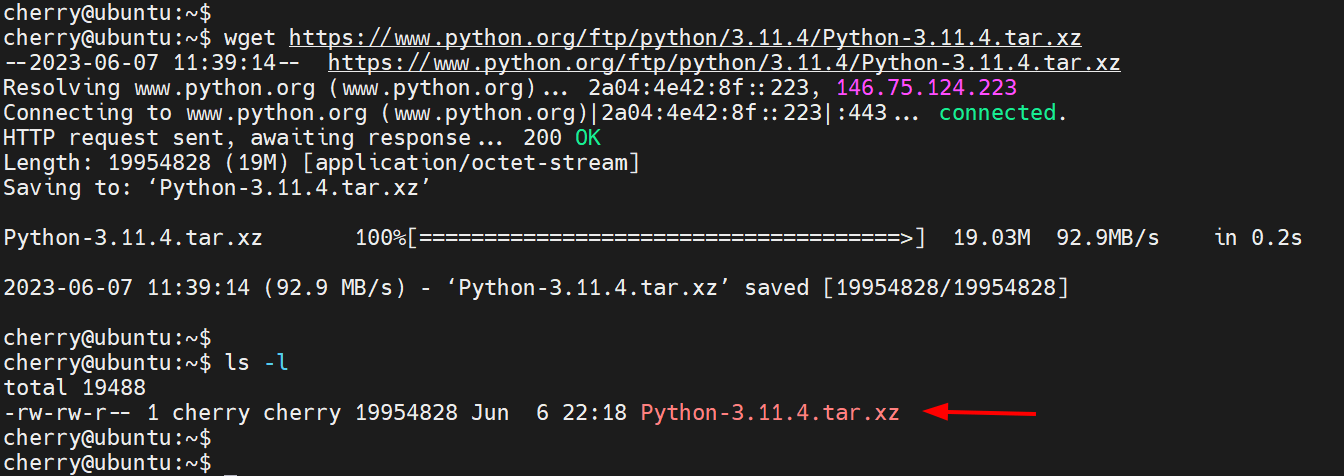
Now head over to Python’s download page and download the latest release of Python using the wget command:
wget https://www.python.org/ftp/python/3.11.4/Python-3.11.4.tgz
Once downloaded, verify the integrity of the tarball file by checking its MD5 checksum using the md5dsum command.
md5dsum Python-3.11.4.tgz

This prints out a checksum, a string that combines letters and digits that act as a fingerprint for the file. This string should match the MD5 checksum on the official website, as shown.

Next, extract the tarball file.
tar -xvf Python-3.11.4.tgz
Next, navigate to the uncompressed folder:
cd Python-3.11.4/
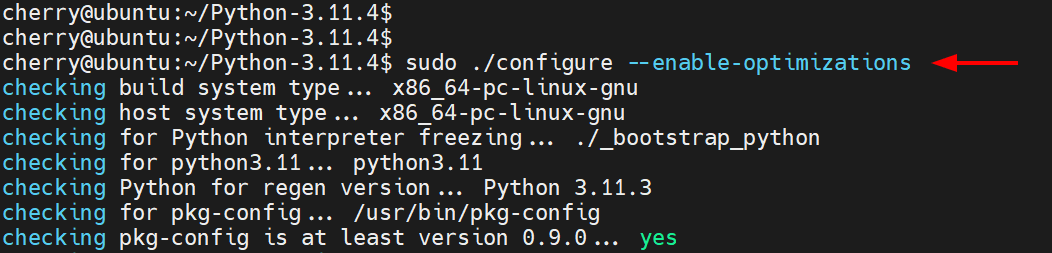
Then execute the following configure command. The command runs a thorough test to check if all the dependencies for installing Python3 are met.
sudo ./configure --enable-optimizations
Next, initiate the build process.
sudo make -j 2
The -j option specifies the number of CPU cores on your system.
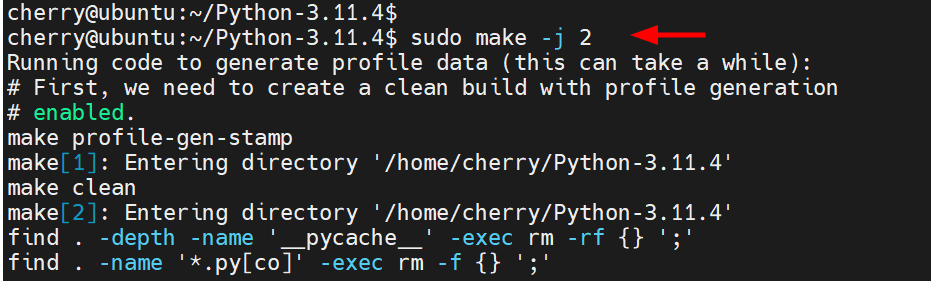
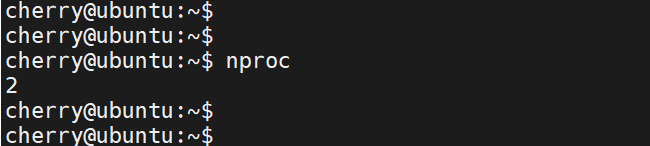
In our case, our server instance has 2 CPU cores.
nproc
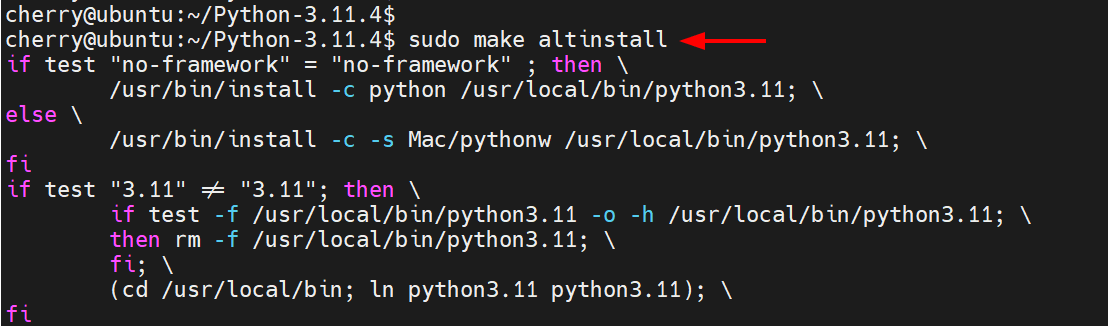
Finally, install the Python binaries as shown. The altinstall command ensures that the default Python library on your system is not overwritten.
sudo make altinstall
Upon installation of all the required Python libraries, now confirm the version of Python installed.
python3.11 --version
The output below confirms that we have installed Python 3.11.4
#Step 2: Set up a Virtual Environment for Python3 ( Optional )
A virtual environment provides an isolated space on your system to run Python projects. It ensures that each Python project runs separately from the rest and has its own set of dependencies. This provides greater control over your Python projects and is especially crucial when projects have different sets of requirements.
A virtual environment is essentially a folder with libraries, dependencies, and a few scripts. To set up a virtual environment, start by installing the python3-venv module.
sudo apt install -y python3-venv
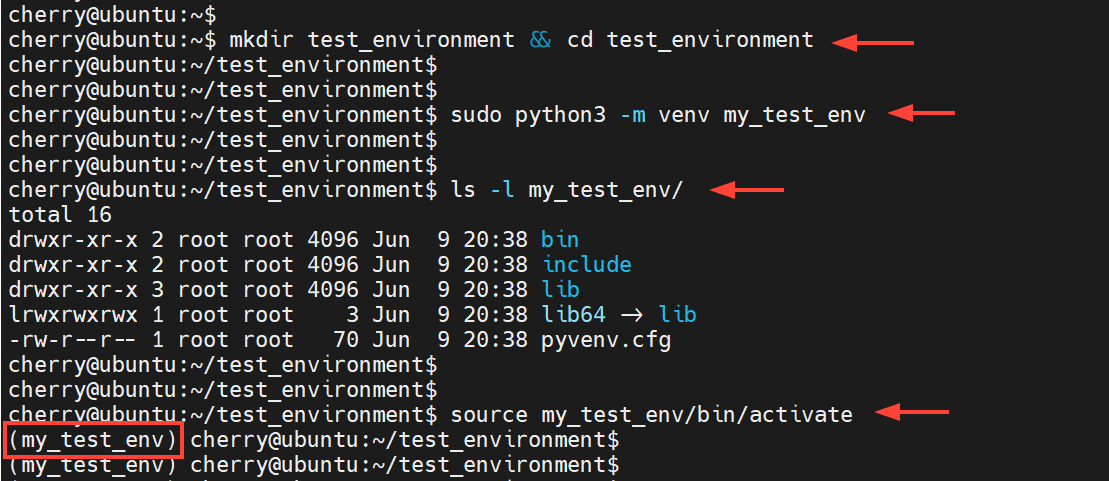
With that module installed, you can set up your environment in any directory of your preference. In this case, we will create a new directory and navigate into it.
mkdir test_environment && cd test_environment
Next, create a virtual environment using the following command. Here, we are creating an environment called my_test_env.
sudo python3 -m venv my_test_env
You can view the contents of the virtual environment using the ls command as shown.
ls my_test_env
To activate the virtual environment, run the command shown below.
source my_test_env/bin/activate
After activating the virtual environment, you will notice that the command prompt is prefixed with the name of your environment enclosed in parentheses, in this case, my_test_env.
The prefix shows that the virtual environment is currently active. All the applications created and tested here will be restricted to using this particular environment’s packages, libraries, settings, and scripts.
#Step 3: Create a Simple Python Program
With the virtual environment set up, we are going to create a simple Python program that prompts a user to provide two numbers and later sums them up and prints out the result. This will let us test our environment and confirm if we can run Python programs.
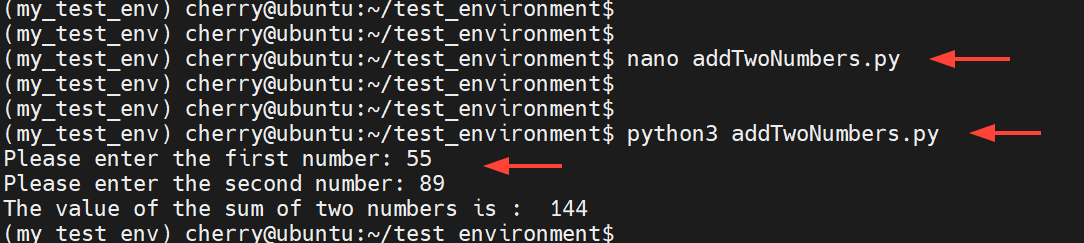
To accomplish this, we'll create a simple Python file using the Nano text editor. Here, our Python file is called ‘addTwoNumbers.py’.
nano addTwoNumbers.py
Next, we’ll add the following lines of code, which will define the program for adding two numbers provided by the user.
num1 = int(input("Please enter the first number: "))
num2 = int(input("Please enter the second number: "))
total = num1 + num2

print("The value of the sum of two numbers is : ", total)
You can create just about any Python program you deem fit for testing purposes. Be sure to save the changes by pressing ‘CTRL + O and exit the nano editor by pressing ‘CTRL + Y.
Finally, we will run the program as follows.
python3 addTwoNumbers.py
From the output, you can see that the program runs just as expected and prints out the sum of the numbers provided by the user.
#Conclusion
In this tutorial, we have walked you through how to install Python on Ubuntu 22.04 in various ways. In addition, we have gone a step further and set up a virtual python3 programming environment for running Python programs in isolation from other projects.


