How to Install and Use Composer on Ubuntu 22.04 | Step-by-Step


Composer is an essential tool if you're a PHP developer looking to streamline your project dependencies. Composer simplifies package management and allows you to integrate external libraries into your projects effortlessly.
This guide will show you how to install Composer on Ubuntu 22.04 operating system and allow you to take full advantage of its powerful features. Let’s first understand what Composer is and why you should use it.
#What is Composer?
Composer is a popular dependency manager for PHP. Composer works differently compared to traditional package managers such as Yum or Apt. For example, it takes inspiration from npm in Node.js and bundler in Ruby.
Instead of managing packages globally, Composer focuses on project-specific libraries. These libraries are installed in a dedicated directory, like "vendor," within your project. In other words, Composer handles packages on a per-project basis.
#Why use Composer?
Composer has various benefits, making it a preferred choice among PHP developers. Firstly, Composer helps you manage versions of your packages and dependencies. You can define specific versions to be installed, ensuring the stability and consistency of dependencies in your projects. Composer also helps you easily reproduce your project in another place.
This tool allows you to collaborate on projects as a team since the composer.json file works as a shared file for configuration. It helps team members easily synchronize their project environments. Composer also ensures that each member will work with the same dependency list and packages.
Furthermore, Composer provides an autoloader to let you include classes in your projects. It avoids the need to include classes from the installed packages manually. This feature will help you structure your code.
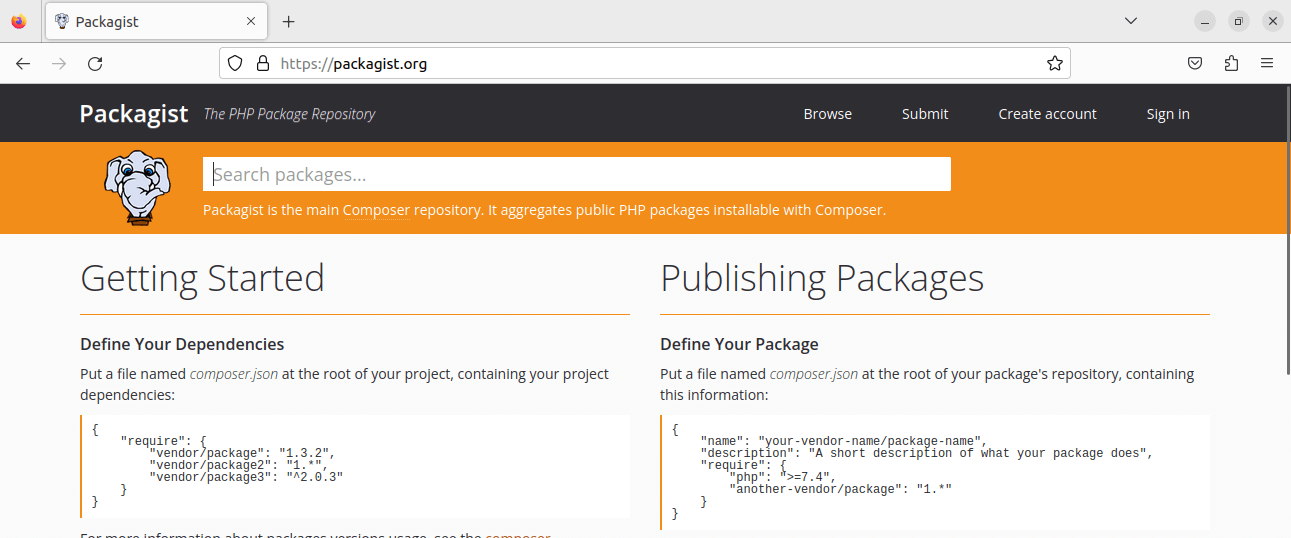
Code reusability is another advantage of using Composer. The [packagist](https://packagist.org/) has a massive collection of open-source PHP packages. Composer allows you to use these packages easily, saving you the time and effort of developing common functionalities from scratch.
Moreover, you can use custom scripts with Composer. These scripts will let you run asset compilation, tests, generate documentation, and many more actions for your projects. Furthermore, Composer provides hooks to customize the installation process.
#Prerequisites
You should have the following prerequisites before proceeding with the guide.
- An Ubuntu 22.04 installed computer.
- You need to have installed a PHP version that suits the Composer version you are going to install.
- A
rootuser account or a user withsudoprivileges.
#How to install Composer on Ubuntu: Step-by-step process
Now, let’s go through the necessary steps to install Composer on Ubuntu 22.04.
#Step 1: Update system packages
Run the following command to update system packages. It retrieves information about available updates from repositories and updates all the package lists.
sudo apt-get update

#Step 2: Install curl and PHP
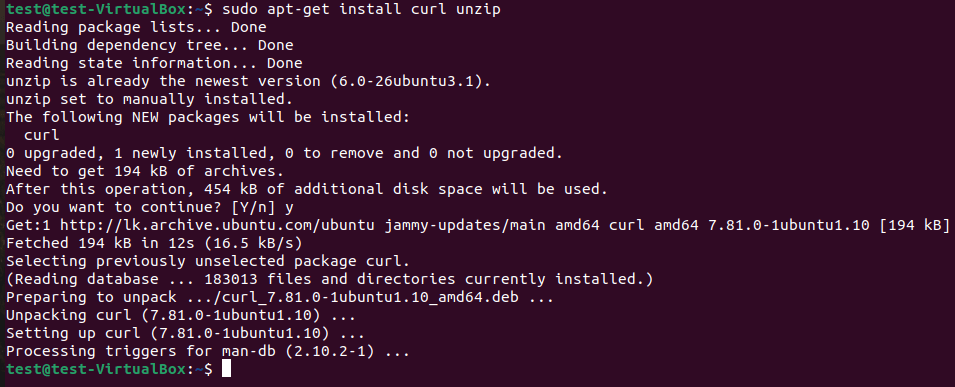
We need curl to download Composer. Usually, curl already comes with Ubuntu 22.04; however, if you don't have it run the following command to install it.
sudo apt-get install curl
Next, install PHP with the following command.
sudo apt-get install php php-curl
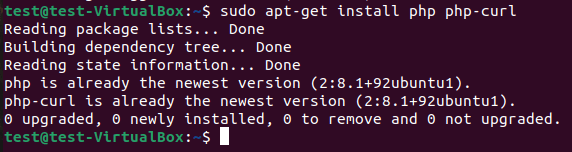
If the terminal requests confirmation, press y to proceed with the installation.
#Step 3: Download Composer
Download the Composer using the following command.
curl -sS https://getcomposer.org/installer -o composer-setup.php
![]()
#Step 4: Install Composer
Finally, run the following command to install Composer on your computer.
sudo php composer-setup.php --install-dir=/usr/local/bin --filename=composer

You can use the below command to update Composer in the future. It will install the newest version of Composer on your computer.
sudo composer self-update
If you have the latest version, you will see the same output as shown in the following image.

#Step 5: Check the Composer version
Run the following command to test whether the installation was successful. It will print the version number of the Composer you installed.
composer -v
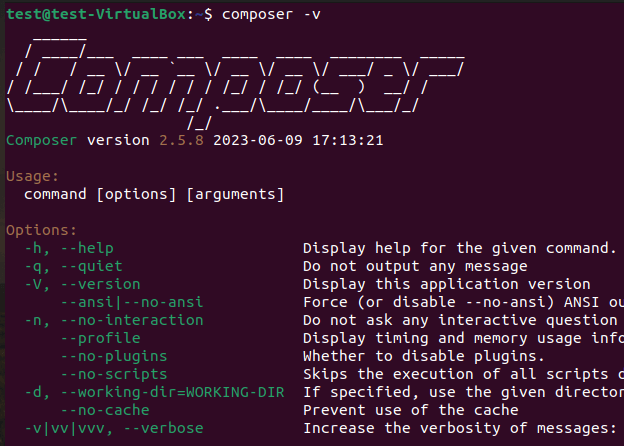
Great! Now you have successfully installed Composer on Ubuntu 22.04 operating system.
#How to use Composer?
After installing Composer, you can now try to use it on a PHP project. This section describes how to manage dependencies in your projects using Composer.
#1. Create a new project folder
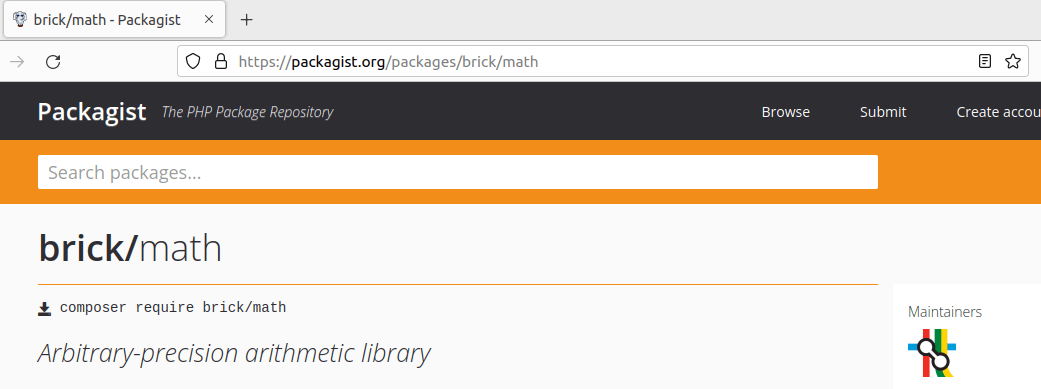
Here we are going to use an Arbitrary-precision arithmetic library called [brick/math](https://packagist.org/packages/brick/math) with the Composer.
Let's create a new folder for your project and go to that directory using the following commands:
mkdir ~/brickMath
cd ~/brickMath

#2. Install the required package
Now we need to install our package brick/math to use it in a PHP script. As you can see in the below image, the brick/math package is very popular among developers. It has many GitHub stars and downloads.
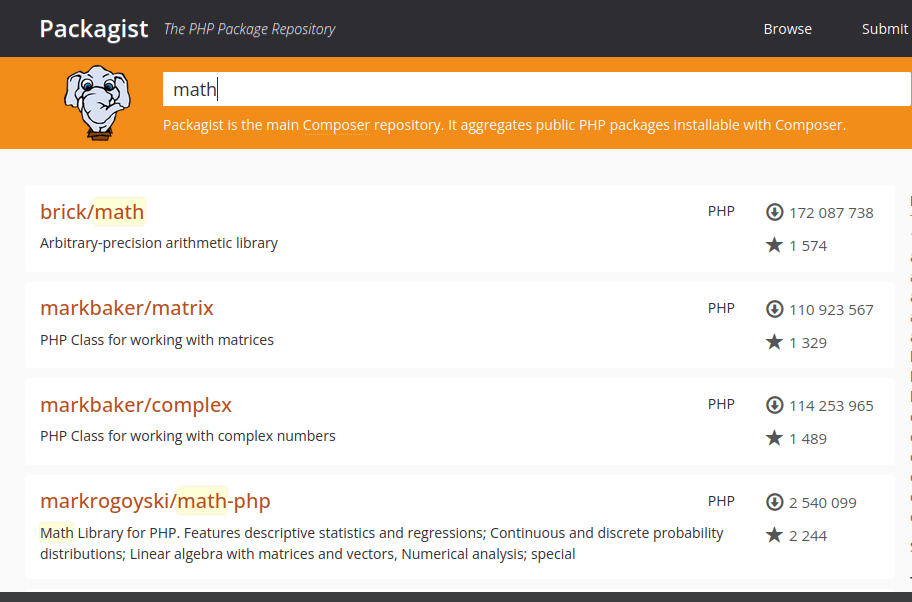
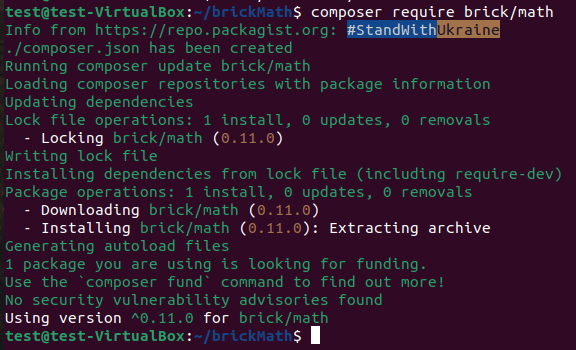
You can use the following command to install the package. You can install any package from Packagist in the same way.
composer require brick/math
#3. Check installed packages
Go to the directory to see the installed packages. It will show you the new files created inside your project folder. You can see a directory named vendor and two files called composer.json and composer.lock. You can use the command ls -l to see the installed packages.
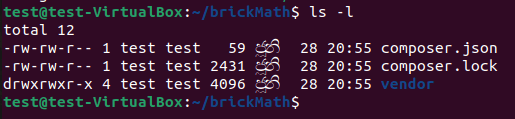
- The
vendordirectory is the place where the project dependencies are stored. - The
composer.lockfile stores information about all the installed packages and their versions. It locks the project to specific versions. - The
composer.jsonfile describes the PHP project, including the dependencies and metadata related to your project.
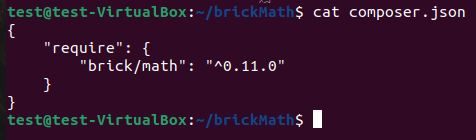
Then you can check the composer.json file to know the installed packages and versions. You may use any text editor or just the cat command, cat composer.json to output the contents of the composer.json file.
#4. Create and run a PHP script
Now it's time to create a PHP script file and write our first code. We can use the newly installed brick/math package to do some math.
Note: PHP does not load the necessary classes automatically. Therefore, we can use the PHP autoloader provided by Composer to load packages instead of mentioning all of them inside script files. The only thing you need to do is include the vendor/autoload.php file in your PHP scripts.
First, you should create your first script file. Here we are creating a file called brickmath.php using the BigInteger class from brick/math to get the sum of two numbers.
<?php
require __DIR__ . '/vendor/autoload.php';
use Brick\Math\BigInteger;
$n1 = BigInteger::of(123456);
$n2 = BigInteger::of(789101);
$sum = $n1->plus($n2);
echo “sum of $n1 and $n2 is - “.$sum.”\n”;
Save the file and run the following command to run the script.
php brickmath.php

#5. Update project packages
You can use the command composer update to update your project packages. It will check for newer versions of the installed packages and update the packages if there is a newer version.
#6. Remove an installed package
Just as we installed new packages using Composer, we should also know how to remove them when necessary. For example, let’s see how to remove the brick/math package from our project.
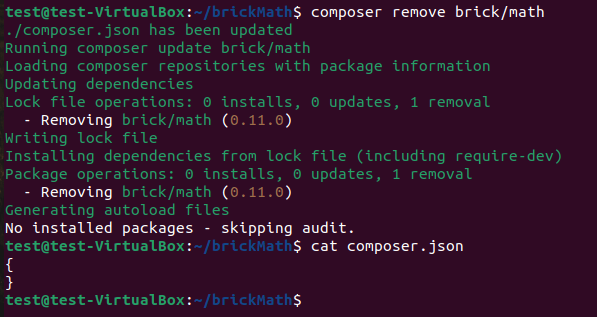
You can use the below commands to remove that package and check if it is also removed from the composer.json file.
composer remove brick/math
cat composer.json
#How to uninstall Composer?
You need to know how to remove and uninstall Composer from your machine as well. Go to the /usr/local/bin directory using the cd /usr/local/bin/ command and remove the Composer directory from the system using the following command.
sudo rm -r composer

#Conclusion
As you can see, Composer is a great tool that you need to have in your arsenal, as it allows developers to manage external libraries and packages easily. If you followed along, you now know how to install Composer on Ubuntu 22.04 and how to use Composer in your projects. By developing projects using other libraries in Packagist, you can improve your skills and gain more experience with Composer.


