How to Install LAMP Stack on Ubuntu 22.04 [6 Steps]

![How to Install LAMP Stack on Ubuntu 22.04 [6 Steps]](/v3/img/containers/blog_main/linux.jpg/748968b22f1e35f466bfd77a447e6134/linux.jpg?id=1739046670)


Not using Ubuntu 22.04? Check our previous guide on how to install LAMP Stack on Ubuntu 20.04.
The LAMP server, also known as the LAMP stack, provides developers with an easy-to-use software bundle for building dynamic web applications. To start using the LAMP stack, we will show you how to install it on your Ubuntu 22.04 machine.
Although the LAMP stack typically includes MySQL as the usual database management system, some Linux distributions use MariaDB to replace MySQL due to its overall better performance.
Therefore, this step-by-step tutorial will show you how to install LAMP on Ubuntu 22.04, using MariaDB as the database management system. We also include instructions on hosting multiple domains on the same server by configuring Apache virtual hosts.
#What is a LAMP stack in Linux?
LAMP is an acronym for Linux, Apache, MySQL, and PHP; these four components in the LAMP server or LAMP stack work in tandem to provide a stable and high-performance environment for running web applications.
#What is a LAMP stack used for?
LAMP stack is a widely used solution stack for hosting web applications. Below is a breakdown of each component in the LAMP stack and a brief explanation of what each is used for.
Linux - This free and open-source operating system underpins the software stack. It's popular in hosting applications thanks to its high stability and performance compared to other operating systems.
Apache - Apache is a free and open-source HTTP web server that serves HTTP requests. It makes applications available to clients on the front end via a web browser.
MySQL - MySQL is a popular and open-source relational database management system for storing data that can be queried using SQL. It's a perfect choice for storing structured data organized in rows and columns inside tables.
In the LAMP stack, MariaDB is often preferred to MySQL owing to its scalability, higher query speeds, enhanced security, and overall better performance. For detailed instructions, check how to install and start using MariaDB on your Ubuntu server.
PHP - PHP is a recursive acronym for PHP: Hypertext Preprocessor. It's an open-source general-purpose scripting language primarily used for web development.
#Prerequisites
To follow along in this guide, ensure you have the following list of requirements in place.
- A server instance on Ubuntu 22.04 LTS with a sudo user configured;
- A FQDN (Fully Qualified Domain Name) pointing to the server's public IP address. Although not mandatory, this will come in handy in configuring an Apache virtual host. For this guide, we will use
domain.comfor demonstration purposes.
#How to install LAMP on Ubuntu 22.04: Step-by-step
In the outlined steps below, we will walk you through how to install LAMP stack on Ubuntu 22.04. We will show you the installation of the Apache web server, MariaDB database server, and PHP. In addition, we will test each of the components and check if they are functioning as expected.
#Step 1: Install Apache Web server
As the first step, we will install Apache Web server. To start, log into your server instance. The first step is to update the package manager cache and ensure the package index is up to date.
sudo apt update
When prompted, provide your password and hit ENTER.
Next, install the Apache web server from the default Ubuntu repository using the APT package manager.
sudo apt install apache2 -y
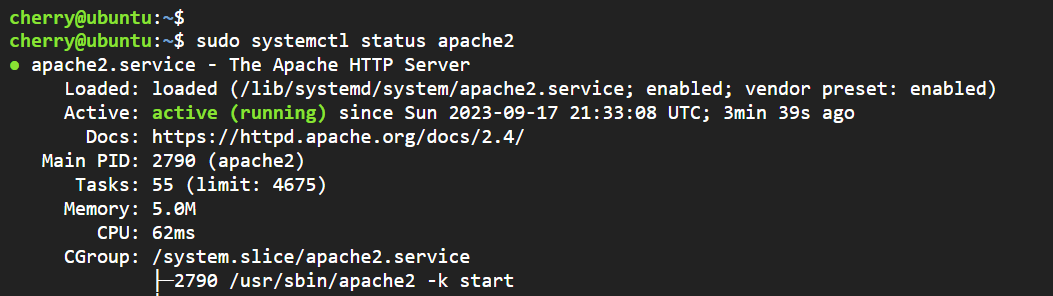
The command installs Apache alongside all the necessary libraries and dependencies. By default, Apache starts automatically upon installation. To confirm this, run the command:
sudo systemctl status apache2
If you have a UFW firewall enabled, you need to adjust the firewall settings to allow HTTP traffic. UFW, short for Uncomplicated Firewall, is Ubuntu's default firewall configuration.
To allow HTTP traffic, you need to allow connections on port 80. To accomplish this, run the following command:
sudo ufw allow 80/tcp
To apply the changes, reload the firewall.
sudo ufw reload
To confirm the status of the firewall, run the following command:
sudo ufw status
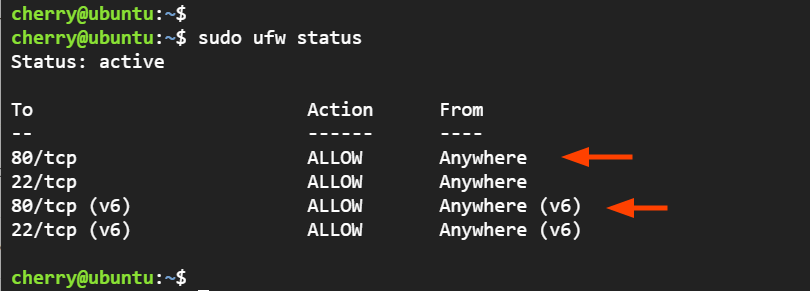
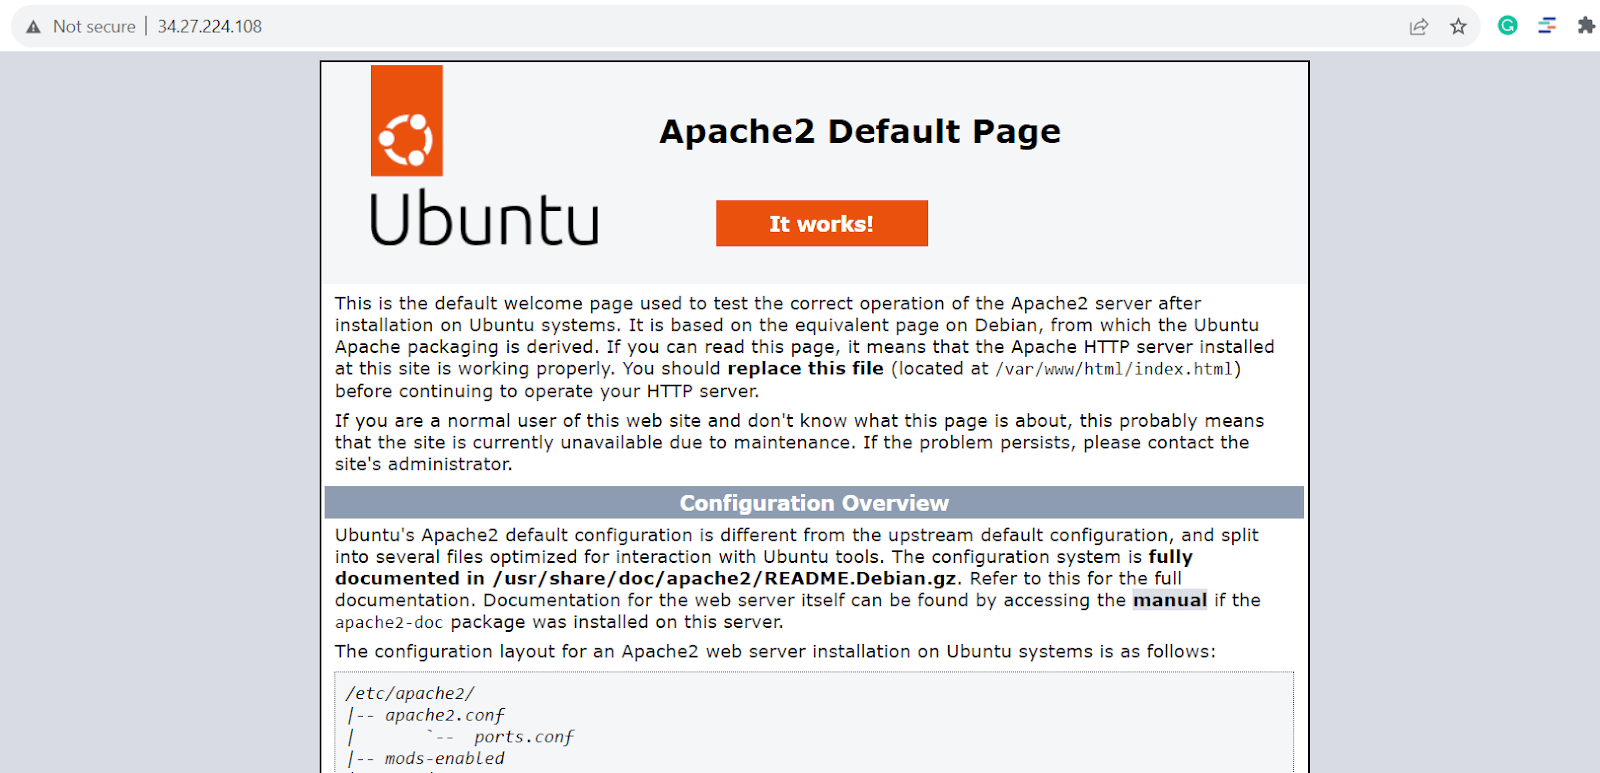
From the output, we can see that port 80 is open on the firewall, and HTTP traffic is allowed. You can confirm this by visiting the server’s IP address.
http://server-ip-address
The default Apache web page should be displayed on your browser.
#Step 2: Install MariaDB database server
In this step, we will install the MariaDB database server instead of MySQL. MariaDB provides a rich feature set and improved performance that makes it a perfect drop-in replacement for MySQL.
MariaDB is hosted on Ubuntu repositories by default, and you can install it right away as follows.
sudo apt install mariadb-server mariadb-client -y
However, the Ubuntu repository does not provide the most recent version of MariaDB, which installs MariaDB 10.6. To install the latest version, install it from the MariaDB repositories.
To do this, be sure to add the GPG signing key.
sudo apt-key adv --fetch-keys 'https://mariadb.org/mariadb_release_signing_key.asc'
With the GPG key in place, add the MariaDB repository to the sources list file.
sudo add-apt-repository 'deb [arch=amd64] http://mariadb.mirror.globo.tech/repo/10.11/ubuntu jammy
main'
Refresh the local APT cache as shown.
sudo apt update
Once the package index is updated, install the MariaDB server and client as shown.
sudo apt install mariadb-server mariadb-client -y
At this point, the MariaDB server, alongside the client, has successfully been installed. You can confirm the version installed as follows.
mariadb --version

#Step 3: Secure MariaDB database server
The default installation of MariaDB comes with weak settings, which pose potential risks to your databases. Therefore, performing a few hardening operations to secure your database server is highly recommended.
To improve the security of MariaDB, run the security script, which is included as part of MariaDB installation.
sudo mysql_secure_installation
The script walks you through a couple of prompts.
The first prompt asks for the database root password. By default, MariaDB comes with a database root account. This is an administrative account with absolute privileges over the databases. Note that this account is different from the system root account.
By default, the root password is blank since the installation is fresh and no configuration changes have been made. So, press ENTER to proceed.
Next, you will be required to set the root password by switching to the unix_socket authentication, which is the default authentication for MariaDB. It allows other users to use OS credentials when accessing MariaDB using the local Unix socket file. This can pose a security risk if one of the users is compromised by an attacker or if users have weak passwords. To be safe, decline by pressing n and hit ENTER.
Next, be sure to provide a strong database root password and confirm it.
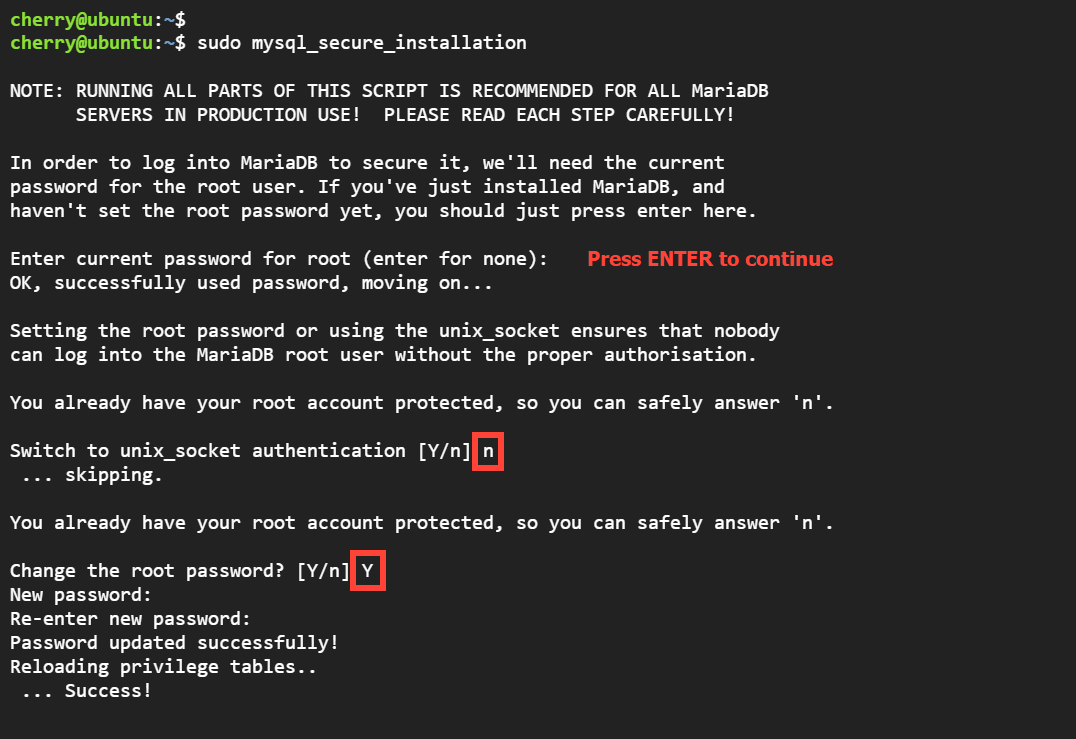
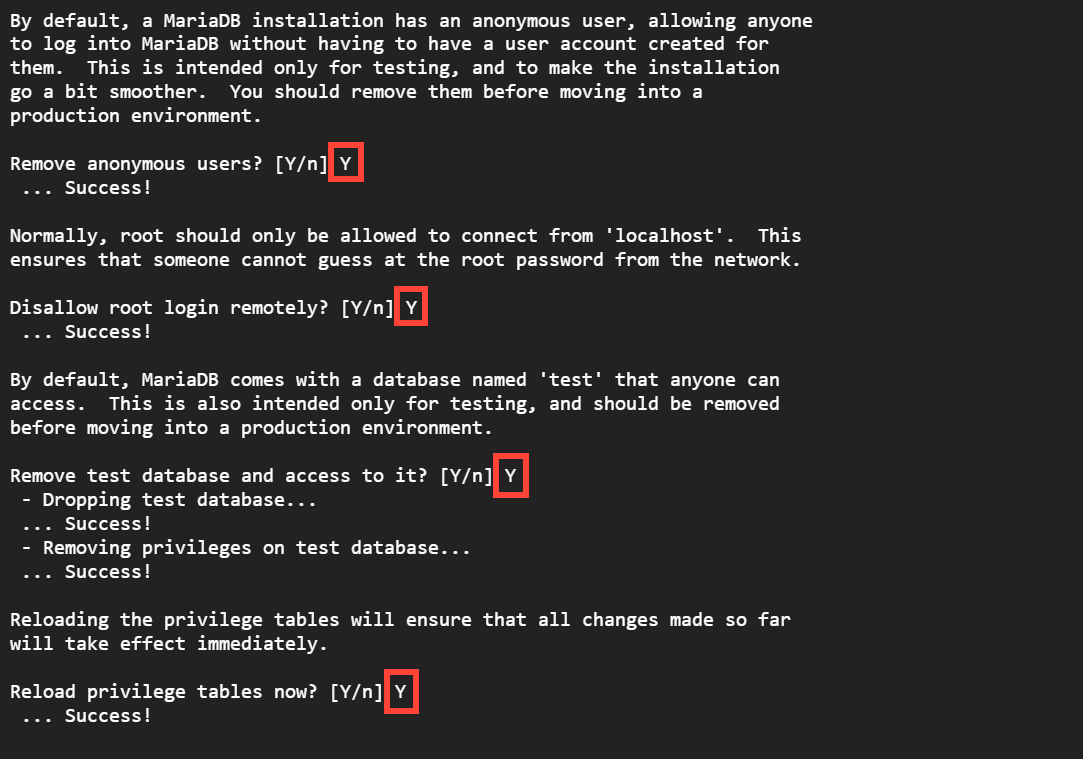
As the next step, press 'Y' for the remaining prompts to accept the default options, this removes a default anonymous user that would allow anyone to log in without a user account, disallows remote root login, removes the test database, and finally reloads the privilege tables to save the changes.
#Step 4:Install PHP and PHP modules
The last component of the LAMP stack is to install PHP. Ubuntu 22.04 already provides PHP 8.1 on its repository. You can install it as follows.
sudo apt install php -y
However, PHP 8.2 is the latest stable version of PHP at the time of writing this guide. To have this release, you need to install it from the Ondrej Sury PPA. It is a repository that provides the latest versions of PHP, such as the PHP 8.x series.
Back on the command line, add the Ondrej PPA as shown.
sudo add-apt-repository ppa:ondrej/php
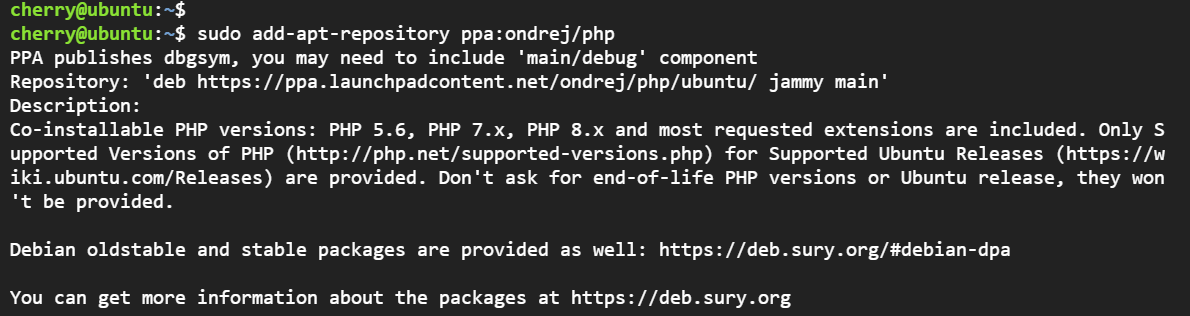
When prompted to continue, press ENTER. The command adds the OndreJ repository to the /etc/apt/sources.list.d directory and the GPG signing key.

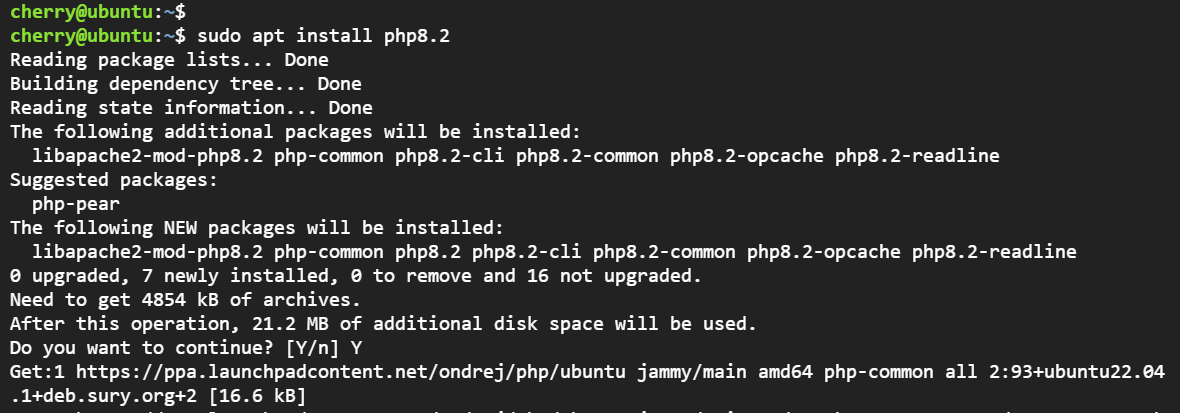
Next, install PHP 8.2 using the APT package manager.
sudo apt install php8.2 -y
The command installs PHP 8.2 alongside other additional packages and PHP extensions such as php8.2-cli, a command-line interface for executing PHP scripts from the command line, and php8.2-common, which includes common files for PHP packages.
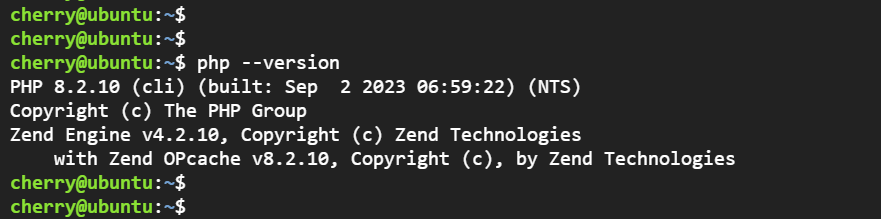
To view the version of PHP installed, run the command:
php --version
Use the syntax below to install additional PHP extensions.
sudo apt install php8.2-[extname]
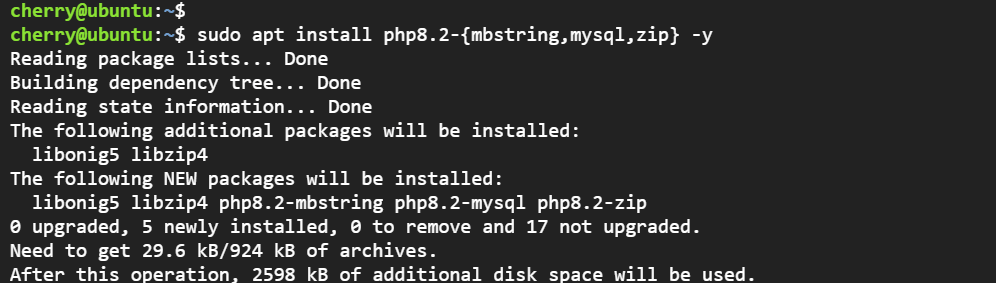
For example, to install php-mbstring, php-mysql and php-zip extensions, run the command:
sudo apt install php8.2-{mbstring,mysql,zip} -y
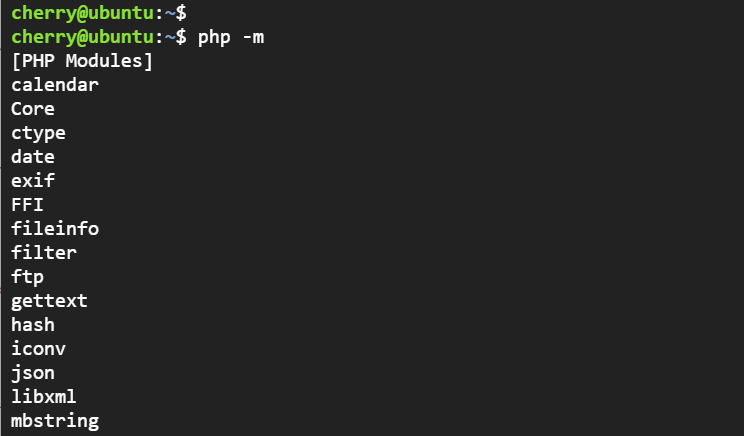
To list all the installed PHP modules, run the command:
php -m
#Step 5: Test PHP installation from a browser
We have already seen how to check the version of PHP installed on the command line. You can also verify the PHP installation from a browser using the following simple steps.
First, create an info.php file that displays comprehensive details about your site’s PHP configuration.
sudo nano /var/www/html/info.php
Next, paste the following lines.
<?php
phpinfo();
?>
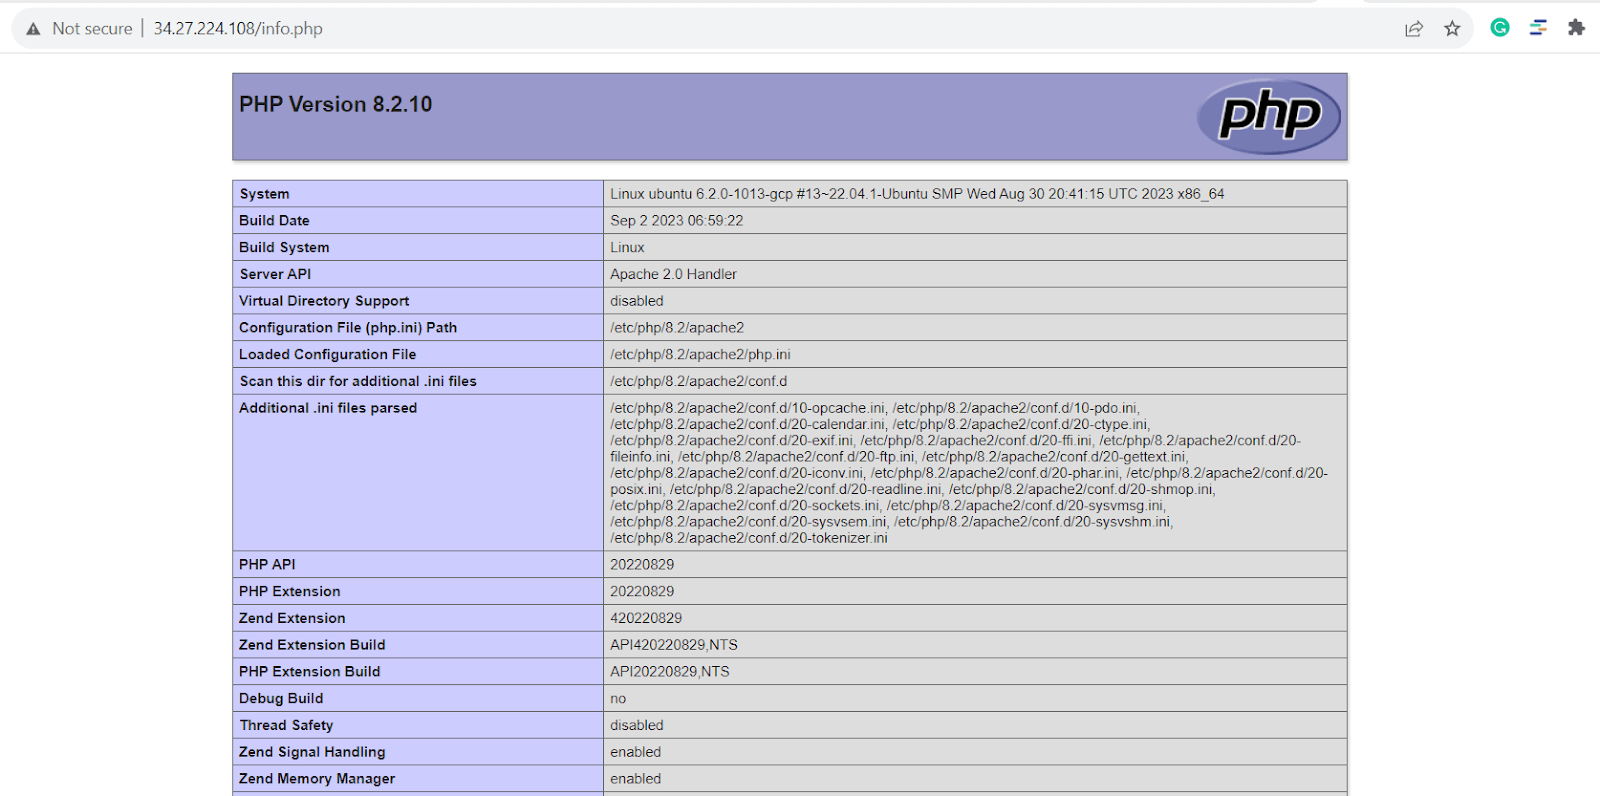
The phpinfo() is a function that displays your site’s PHP configuration, including the PHP version, OS environment, header information, etc.
Save the changes and exit the file. Next, visit the server URL
http://server-ip/info.php
The PHP configuration page will be displayed on the browser.
#Step 6: Configure Apache virtual host [optional]
Apache web server provides a modular design that allows you to host multiple domains or websites using virtual hosts. Virtual hosting is a concept that allows you to host multiple websites on a single server. A virtual host file is a configuration file that defines the domain to be hosted on the server. It also defines the path of the domain’s website files and other crucial parameters.
In this section, we will configure an Apache virtual for our domain.
To get started, create a website directory for your domain in the /var/www/ path.
sudo mkdir -p /var/www/domain.com
Next, assign the following directory ownership.
sudo chown -R $USER:$USER /var/www/domain.com
The $USER environment specifies the currently logged-in user. This implies that the website directory will be owned by the logged-in user and not by root.
Next, assign directory permissions.
sudo chmod -R 755 /var/www/domain.com
Moving on, create a sample html file inside the website directory. This will be used to prove that the virtual host is working. So, create an index.html file using your preferred text editor. In this case, we are using nano editor.
sudo nano /var/www/domain.com/index.html
Paste the following lines of code.
<!DOCTYPE html>
<html lang="en">
    <head>
        <title>Welcome to our sample domain!</title>
    </head>
    <body>
        <h1>Success!  The sample domain virtual host is working!</h1>
    </body>
</html>
Save and exit. Next, create a virtual host configuration file in the /etc/apache2/sites-available/ directory.
sudo nano /etc/apache2/sites-available/domain.com.conf
Paste the following lines of code and save the changes.
<VirtualHost *:80>
    ServerAdmin webmaster@localhost
    ServerName domain.com
   	 ServerAlias www.domain.com
   	 DocumentRoot /var/www/domain.com
    ErrorLog ${APACHE_LOG_DIR}/error.log
    CustomLog ${APACHE_LOG_DIR}/access.log combined
</VirtualHost>
Once done, save and close the file. Next, enable the virtual host site using the a2ensite tool.
sudo a2ensite domain.com.conf
Next, disable the default site, 000-default.conf, using the a2dissite command line tool.
sudo a2dissite 000-default.conf
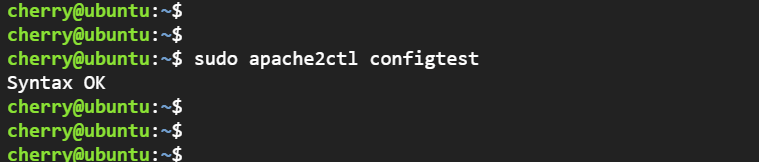
To ensure that the Apache configuration is correct, run the command:
sudo apache2ctl configtest
Finally, restart Apache to apply all the changes made.
sudo systemctl restart apache2
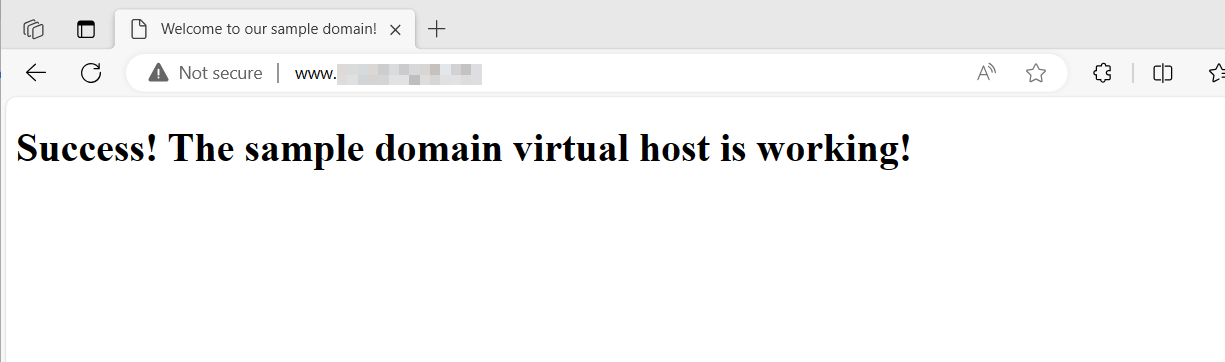
Now verify that your domain name is being served by Apache by visiting your domain’s URL
http://www.domain.com
If all goes well, you should get the following web page, a confirmation that the virtual host configuration is working.
#Conclusion
The LAMP stack is a popular software bundle among developers for building full-stack web applications; this guide taught you how to install LAMP on Ubuntu 22.04. In addition, you have learnt how to host multiple domains on the same server by configuring Apache virtual hosts.
Thank you for learning with Cherry Servers!
Our on-demand cloud servers provide a scalable, highly available LAMP stack—high-performance dedicated and virtual servers with flexible billing and free 24/7 technical support to scale your infrastructure efficiently.


