How to Deploy a Solana Firedancer Validator [Step-by-Step]

![How to Deploy a Solana Firedancer Validator [Step-by-Step]](/v3/img/containers/blog_main/blockchain.jpg/0ee7c10cd1b2699b0fec51a87d63af75/blockchain.jpg?id=1739046670)


Within the broader discussion around Solana client diversity and performance, Firedancer is steadily gaining attention—especially as more operators experiment with it on testnet and share results from real-world deployments. What most people run today is commonly referred to as Frankendancer, a hybrid setup that makes it possible to operate a validator while Firedancer continues to mature.
The purpose of this tutorial is to show you how to deploy a Frankendancer testnet validator and confirm it is working properly through a few practical checks, including local RPC responses and gossip visibility. We will also enable Firedancer’s built in GUI and access it safely through an SSH tunnel, so you have a simple visual way to confirm the node is alive and behaving as expected.
#Prerequisites
Before you start, make sure your environment matches the baseline requirements for running a Frankendancer validator on testnet.
Hardware
• CPU: minimum 12 cores for testing, recommended 24 to 32 plus cores for a smoother validator experience
• RAM: minimum 192GB ECC, recommended 384GB ECC
• Storage: minimum 2× 1TB NVMe SSDs, recommended 2× 1TB NVMe plus 2× 4TB NVMe for more headroom
Operating system
• Ubuntu: Ubuntu 20.04 LTS or newer
• Kernel: Linux kernel 4.18 or newer, needed for XDP support
Build toolchain
• GCC: GCC 8.5+ is required, but only GCC 11, 12, and 13 are supported and tested
• Rust: installed via rustup
• Build tools: clang, git, and make
That’s all you need in place. Next, we’ll start the setup by updating the OS and installing the required packages.
#How to deploy a Solana Firedancer validator: Step-by-step
Follow the below detailed steps to set up a Soalan Firedancer validator.
#Step 1: Spin up the server and install build dependencies
If you already have a dedicated server that matches the prerequisites, you can skip straight to the SSH step below.
If you want to follow this tutorial using the exact same setup, you can deploy the same preconfigured server profile we used here: Deploy the same server profile
Once the server is provisioned and you have the public IP, SSH into it:
ssh root@<your_server_ip>
#Update the system packages
sudo apt update
sudo apt -y upgrade
#Install the required build dependencies
sudo apt install -y \
  git make clang pkg-config curl ca-certificates \
  build-essential
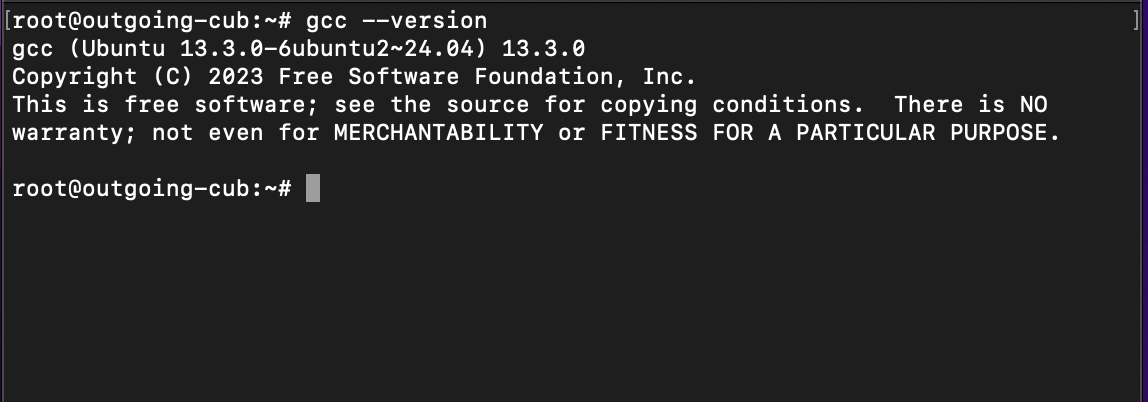
#Check your GCC version
gcc --version
At this point, your box is ready for the next step: installing Rust and pulling the Firedancer source code.
#Step 2: Install Rust (required for building Frankendancer)
Frankendancer is built from source, and the build process pulls in components that require a working Rust toolchain. The Firedancer docs recommend installing Rust using rustup, which keeps your toolchain consistent and easy to update.
Run this on the same user you are using to build Firedancer (root is fine if that is how you are setting up the server):
curl --proto '=https' --tlsv1.2 -sSf https://sh.rustup.rs | sh -s -- -y
source "$HOME/.cargo/env"
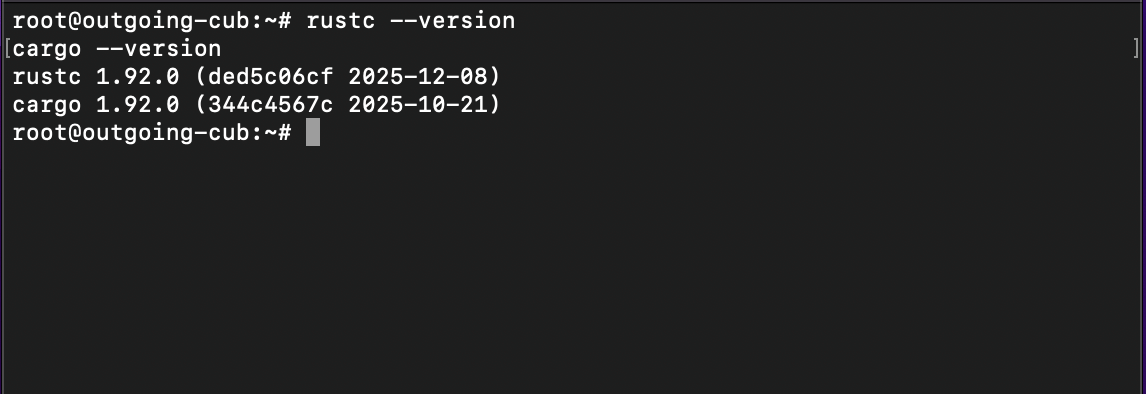
Confirm everything is available:
rustc --version
cargo --version
If you open a new terminal later and cargo is “not found”, just run this again:
. "$HOME/.cargo/env"
Next, we’ll clone the Firedancer repository and checkout the latest tagged Frankendancer release before building fdctl and the Solana CLI.
#Step 3: Clone Firedancer
Now that Rust is installed, the next step is pulling the Firedancer source code and switching to a tagged release. This matters because Frankendancer moves fast, and a release tag gives you something predictable to build and troubleshoot.
Start in your home directory and clone the repo with submodules:
cd ~
git clone --recurse-submodules https://github.com/firedancer-io/firedancer.git
cd firedancer
Fetch tags and take a quick look at what’s available:
git fetch --tags
git tag --list 'v0.*' --sort=-v:refname | head
For this tutorial, we will use the v0.806.30102 tag :
git checkout v0.806.30102
git submodule update --init --recursive
If you see a newer v0.* tag when you list them, you can swap v0.806.30102 with that newer tag and keep the rest of the steps exactly the same.
Next, we’ll install Firedancer’s additional system dependencies and compile fdctl and the Solana CLI binaries.
#Step 4: Install Firedancer dependencies and build the binaries
With the repository ready, you can now install the extra dependencies Firedancer needs and compile the tools we’ll use for the rest of this guide.
#Install Firedancer dependencies
From inside the firedancer directory, run:
./deps.sh
#Build fdctl and the Solana CLI
make -j fdctl solana
Once the build completes, you should have the binaries under ./build/native/gcc/bin.
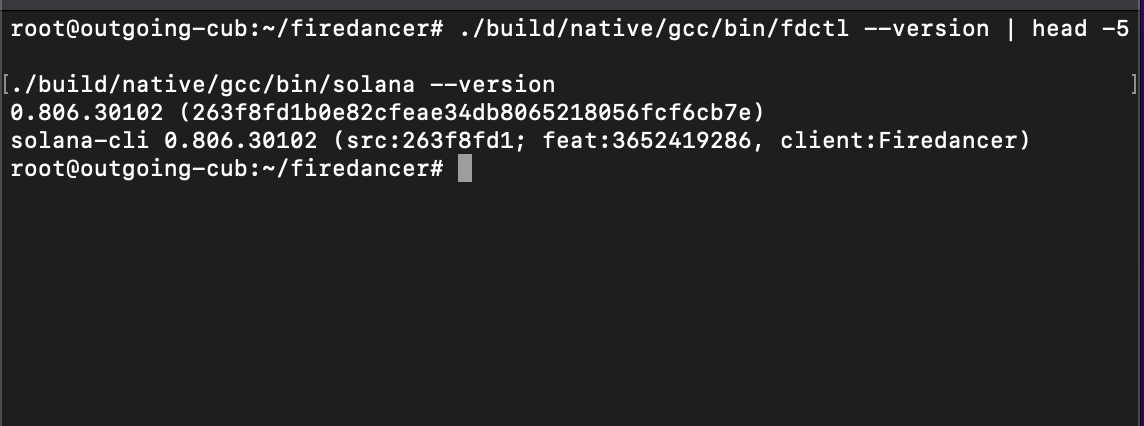
You can quickly sanity check that the build worked:
./build/native/gcc/bin/fdctl --version | head -5
./build/native/gcc/bin/solana --version
#Step 5: Create the runtime user and write the testnet config
Before we generate keys or start the validator, we need two things in place.
First is a dedicated Linux user that the validator will run as. Even though you will start Frankendancer with sudo for the low level networking setup, the process should still drop down to a normal user for the rest of its runtime. Creating a separate user also keeps your validator files, keys, and logs in one predictable home directory.
Second is a single configuration file that tells Frankendancer how to join Solana testnet, where your keys live, which port to expose RPC on, and which address the built in GUI should bind to.
#Create the runtime user
sudo adduser --disabled-password --gecos "" firedancer
This creates /home/firedancer, which is where we will store your validator identity keypair and vote keypair later.
#Create the testnet configuration file
We will store the config as ~/testnet.toml for this tutorial, so it is easy to edit and reference. If you are logged in as root, ~ will point to /root. That is fine for running the validator, but keep in mind that anything you run as the firedancer user will not be able to read files inside /root. In this guide, we will keep the commands consistent so you do not run into permission errors.
Create the file with vim:
sudo vim ~/testnet.toml
Paste the following config:
user = "firedancer"

[gossip]
entrypoints = [
  "entrypoint.testnet.solana.com:8001",
  "entrypoint2.testnet.solana.com:8001",
  "entrypoint3.testnet.solana.com:8001",
]

[consensus]
identity_path = "/home/firedancer/validator-keypair.json"
vote_account_path = "/home/firedancer/vote-keypair.json"
known_validators = [
  "5D1fNXzvv5NjV1ysLjirC4WY92RNsVH18vjmcszZd8on",
  "dDzy5SR3AXdYWVqbDEkVFdvSPCtS9ihF5kJkHCtXoFs",
  "Ft5fbkqNa76vnsjYNwjDZUXoTWpP7VYm3mtsaQckQADN",
  "eoKpUABi59aT4rR9HGS3LcMecfut9x7zJyodWWP43YQ",
  "9QxCLckBiJc783jnMvXZubK4wH86Eqqvashtrwvcsgkv",
]

[layout]
net_tile_count = 1

[rpc]
port = 8899
full_api = true
private = true

[tiles.gui]
enabled = true
gui_listen_address = "127.0.0.1"
gui_listen_port = 8890

[reporting]
solana_metrics_config = "host=https://metrics.solana.com:8086,db=tds,u=testnet_write,p=c4fa841aa918bf8274e3e2a44d77568d9861b3ea"
A quick explanation of what you just added, so the file does not feel like magic.
-
user = "firedancer"tells Frankendancer which Linux user to run as after it finishes its privileged initialization. -
The
gossip.entrypointslist are the bootstrap nodes your validator uses to discover peers on Solana testnet. -
Under
consensus, theidentity_pathis your validator’s identity keypair, andvote_account_pathis the keypair that controls your vote account. -
known_validatorshelps your node connect to trusted peers during startup. -
The
rpcblock enables a local RPC endpoint on port 8899. We keep it private so it is not advertised publicly. -
The
tiles.guiblock turns on the built in GUI, but binds it only to127.0.0.1, which means it is not exposed to the public internet. -
The
reportingline enables testnet metrics reporting.
Save and exit vim by pressing ESC, typing :wq, then pressing Enter.
Finally, confirm the file exists and looks correct:
cat ~/testnet.toml
Next, we will generate your validator identity keypair and vote keypair, and make sure they match the paths you just set in this config.
#Step 6: Generate the validator identity and vote keypairs
With the runtime user and config in place, the next step is generating the two keypairs your node needs to behave like a real validator on testnet.
You will create:
• The validator identity keypair, which represents your node on the network
• The vote keypair, which will be used to create and control your vote account
Both files will live under /home/firedancer, because that is the same location we referenced in ~/testnet.toml.
First, make sure the directory exists:
sudo mkdir -p /home/firedancer
sudo chown -R firedancer:firedancer /home/firedancer
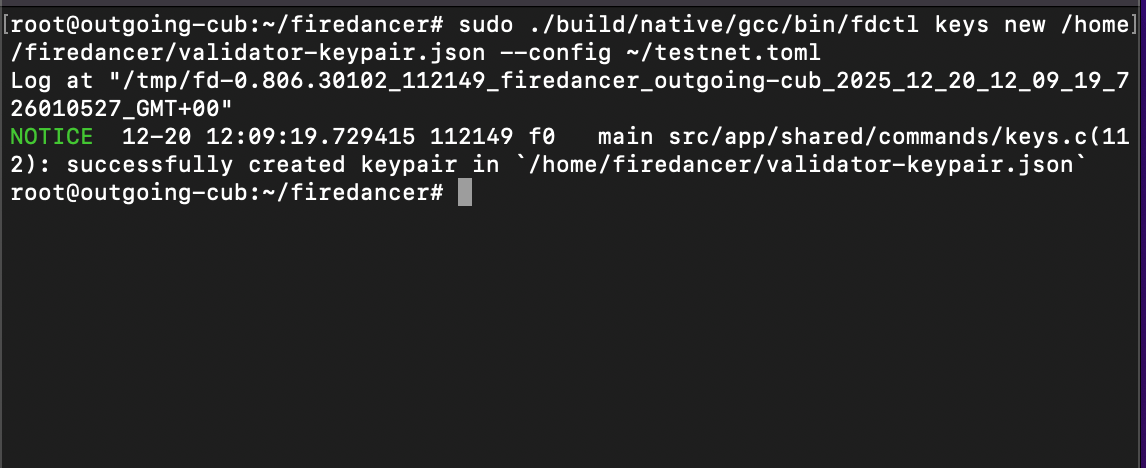
Now generate the keypairs using fdctl. We run this with sudo because we are using the config file in ~/testnet.toml, and we want to keep the command flow consistent with the rest of the guide.
cd ~/firedancer
sudo ./build/native/gcc/bin/fdctl keys new /home/firedancer/validator-keypair.json --config ~/testnet.toml
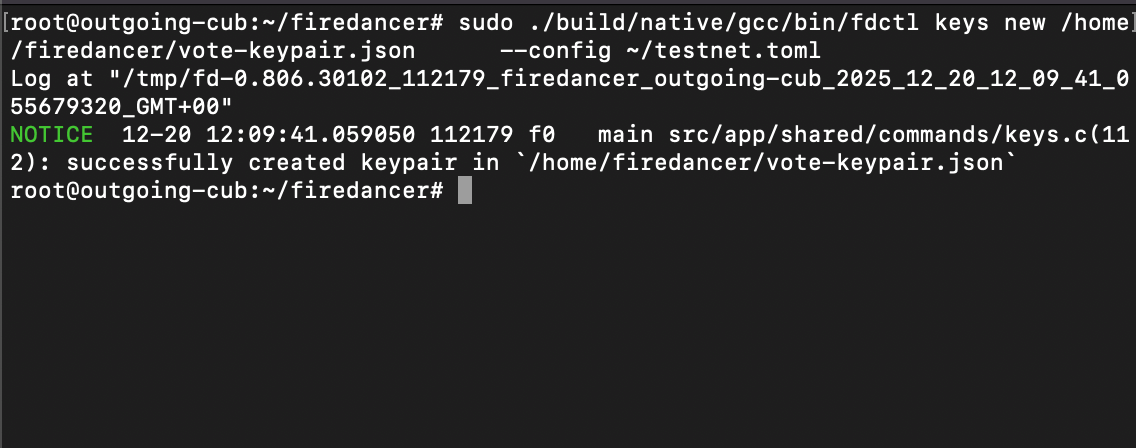
sudo ./build/native/gcc/bin/fdctl keys new /home/firedancer/vote-keypair.json --config ~/testnet.toml
To sanity check, print the public keys:
sudo ./build/native/gcc/bin/fdctl keys pubkey /home/firedancer/validator-keypair.json --config ~/testnet.toml
sudo ./build/native/gcc/bin/fdctl keys pubkey /home/firedancer/vote-keypair.json --config ~/testnet.toml
If these commands succeed, you now have the identity and vote keypairs created exactly where your config expects them.
#Step 7: Fund the validator identity and create the vote account on testnet
At this point, you already have your validator identity keypair and vote keypair saved in /home/firedancer. Next, you’ll fund the validator identity on testnet and create the vote account on-chain.
Point Solana CLI to testnet and the validator identity keypair
cd ~/firedancer

./build/native/gcc/bin/solana config set --url https://api.testnet.solana.com
./build/native/gcc/bin/solana config set --keypair /home/firedancer/validator-keypair.json
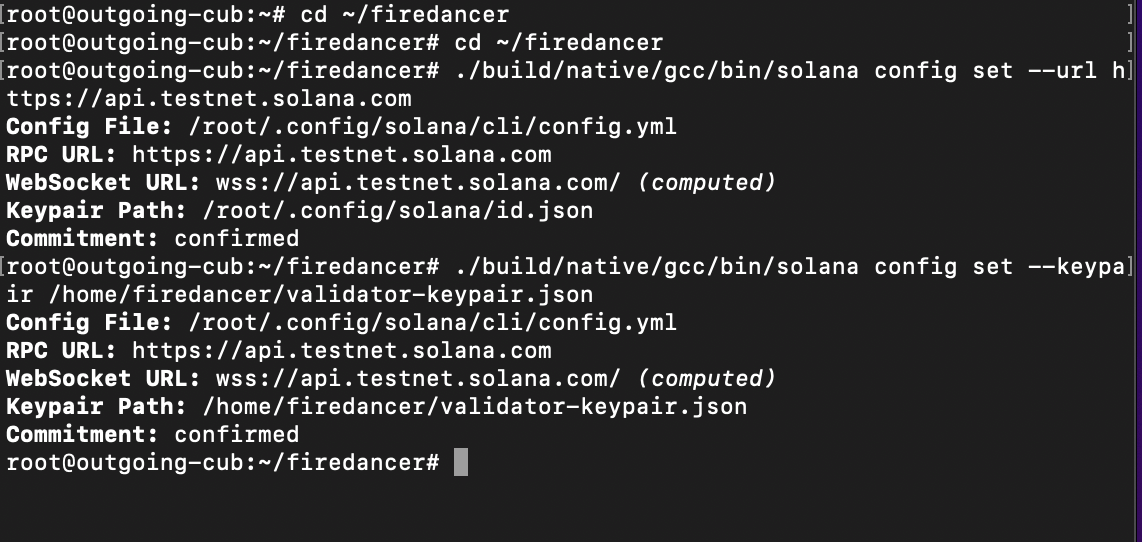
You can confirm the active address (this is the address you’ll fund):
./build/native/gcc/bin/solana address
#Fund the identity with a testnet airdrop
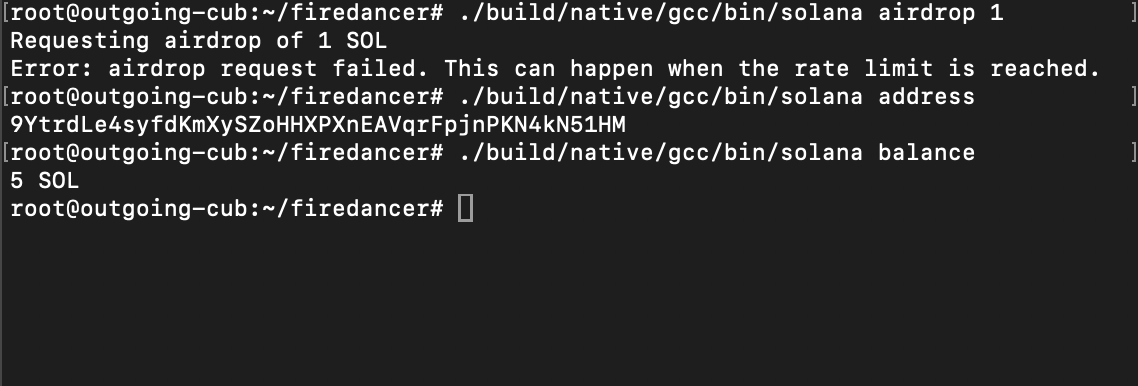
./build/native/gcc/bin/solana airdrop 1
./build/native/gcc/bin/solana balance
If the airdrop fails due to rate limits, you can fund the same address using Solana’s faucet. Grab your address with:
./build/native/gcc/bin/solana address
Then open the faucet and make sure you select Testnet (not Devnet), then request SOL:
Once funded, re-check your balance:
./build/native/gcc/bin/solana balance
#Generate the authorized withdrawer keypair
This key controls withdrawals from the vote account. For testnet, we’ll generate it, use it to create the vote account, then remove it from the server.
sudo ./build/native/gcc/bin/fdctl keys new /home/firedancer/authorized-withdrawer-keypair.json --config ~/testnet.toml
#Create the vote account
./build/native/gcc/bin/solana create-vote-account \
  /home/firedancer/vote-keypair.json \
  /home/firedancer/validator-keypair.json \
  /home/firedancer/authorized-withdrawer-keypair.json
Once that succeeds, delete the withdrawer key from the server:
sudo rm -f /home/firedancer/authorized-withdrawer-keypair.json
Next, we’ll run the Firedancer host initialization step and start the validator.
#Step 8: Initialize the host and start the validator
Before you start the validator, Firedancer expects a few system level settings to be applied. This is what the fdctl configure init step is for. It prepares things like kernel and networking settings that Frankendancer relies on.
From inside the Firedancer repo, run the full init step:
cd ~/firedancer
sudo ./build/native/gcc/bin/fdctl configure init all --config ~/testnet.toml
Once initialization is done, you can start the validator:
sudo ./build/native/gcc/bin/fdctl run --config ~/testnet.toml

At this point, leave this terminal running. In the next section, we’ll open a new terminal and verify that the node is responding through RPC and that it is visible in gossip.
#Step 9: Verify the validator is running
After you start fdctl run, give the node a little time to settle. On a fresh setup, it can take a few minutes to sync and fully come online. On our testnet box, this was around 8 minutes, so do not panic if things look quiet immediately.
Open a new terminal session and SSH back into the server:
ssh root@<your_server_ip>
#Check RPC is responding
Run these against your local RPC endpoint:
cd ~/firedancer

./build/native/gcc/bin/solana -u http://127.0.0.1:8899 cluster-version
./build/native/gcc/bin/solana -u http://127.0.0.1:8899 slot
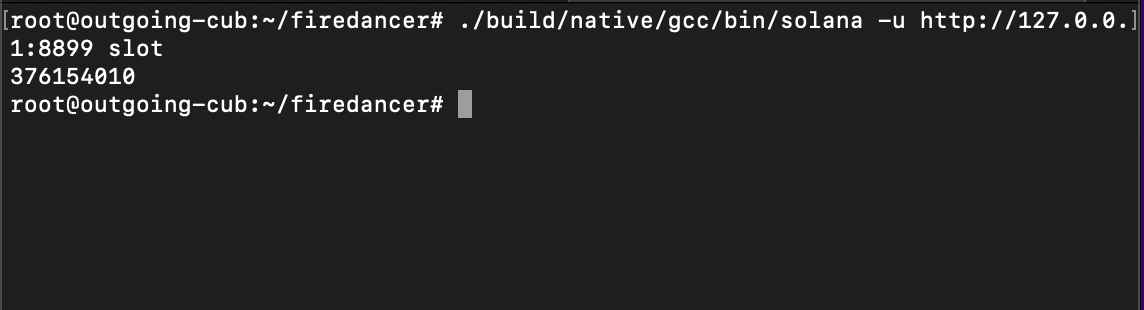
If both commands return output, RPC is up.
#Check gossip visibility
./build/native/gcc/bin/solana -u http://127.0.0.1:8899 gossip | head -20 || true
If you see a list of peers, your node is connected to testnet gossip.
Next, we’ll enable and access the GUI so you can visually confirm what the node is doing.
#Step 10: Visualize the node with the built in GUI
In your ~/testnet.toml, we already enabled the GUI and bound it to localhost:
[tiles.gui]
enabled = true
gui_listen_address = "127.0.0.1"
gui_listen_port = 8890
Because it is listening on 127.0.0.1, the GUI is not publicly accessible from the internet, which is exactly what we want. To view it from your laptop, you will tunnel that port over SSH.
On your local machine, run:
ssh -L 8890:127.0.0.1:8890 root@<your_server_ip>
Now open your browser and visit:
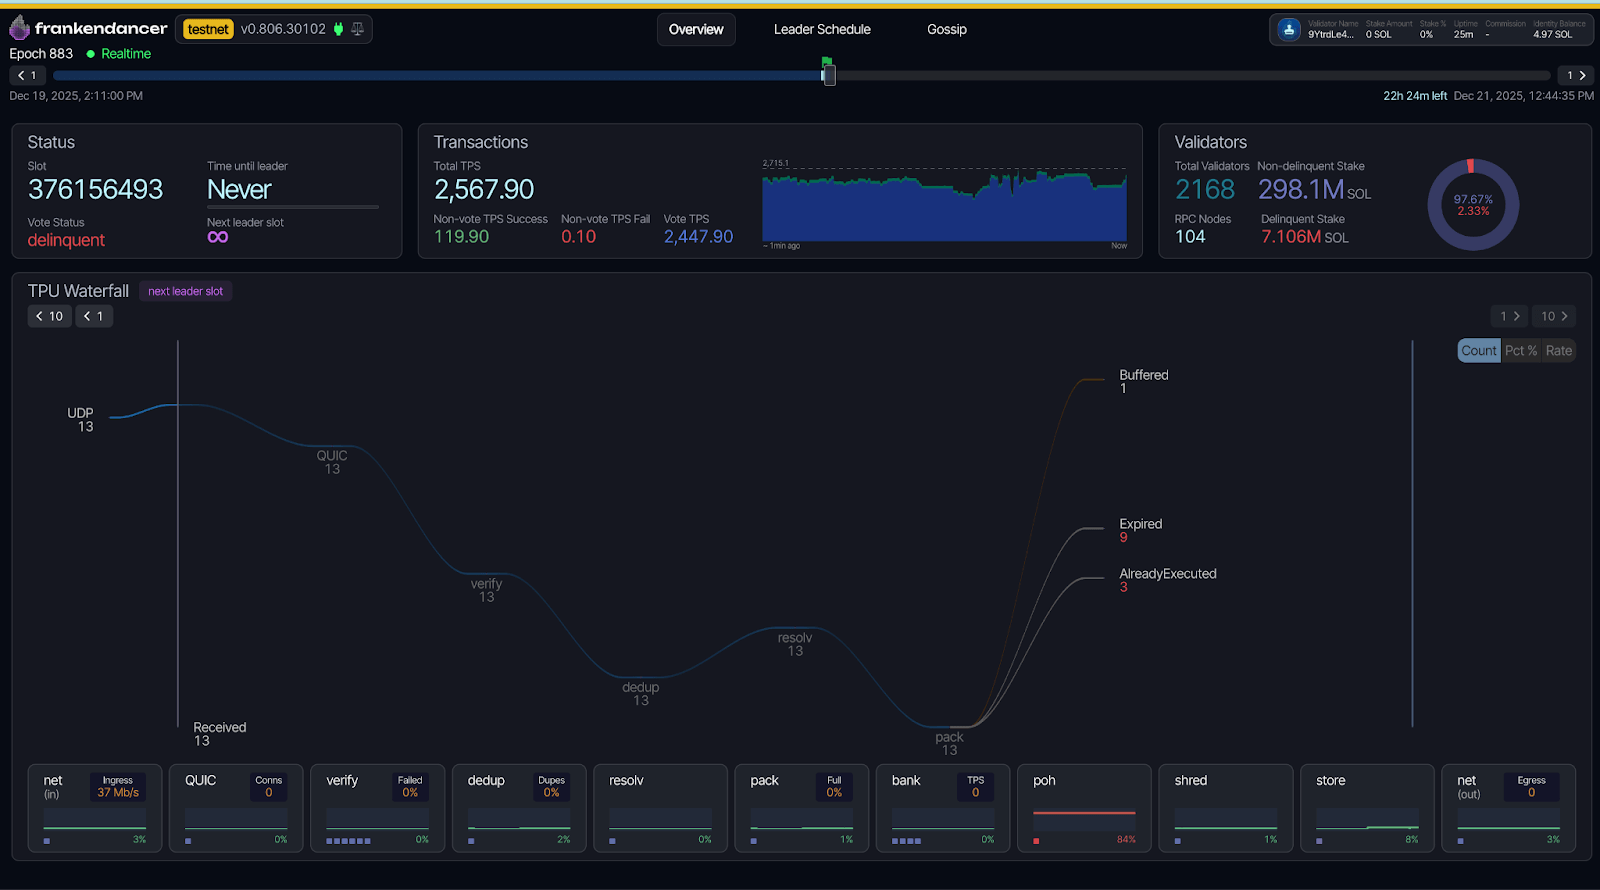
http://localhost:8890
If the validator is running, you should see a live dashboard view. This is a quick way to visually confirm that the node is healthy without relying only on terminal commands.
If you need a terminal based view instead, you can also use fdctl monitor:
cd ~/firedancer
sudo ./build/native/gcc/bin/fdctl monitor --config ~/testnet.toml
#Conclusion
In this tutorial, we deployed a Frankendancer testnet validator from scratch.
We started by provisioning a fresh Ubuntu server, then installed the build dependencies and Rust toolchain needed to compile Firedancer. After that, we cloned the Firedancer repository, checked out a stable release tag, ran the dependency script, and built the fdctl and solana binaries.
With the build done, we created a dedicated firedancer runtime user, wrote a testnet configuration file, generated the validator identity and vote keypairs, and funded the validator identity with testnet SOL so we could create a vote account. Finally, we ran the host initialization step, started the validator, waited a few minutes for it to sync, and verified everything through local RPC and gossip. To round it off, we enabled the built in GUI and accessed it securely using an SSH tunnel.
If you want to keep this node running longer term, the next practical improvements are setting it up as a systemd service so it starts automatically after a reboot, and tightening key management so any sensitive keys do not remain on the server longer than they need to.