How to Install Graylog on Ubuntu 22.04 | Step-by-Step


Graylog's open-source nature, extensive features, flexibility, and scalability make it a popular log management platform. In this tutorial, I’ll show how to install Graylog on Ubuntu 22.04, including configuring the Graylog server package and accessing the Graylog web UI.
#What is Graylog?
Graylog is one of the world's leading centralized open-source log management solutions used to centralize, store, visualize, and monitor terabytes of machine data in real-time, used by DevOps engineers, security analysts, and application developers.
#What is Graylog used for?
Graylog is a widely used tool across industries like technology, media, retail, and more for monitoring a vast range of network activity and pinpointing any issues impacting performance. It helps to gain insights from logs at a large scale to support faster problem resolution and business continuity with little downtime.
The Graylog server comprises the following salient components:
- Elasticsearch - A search and analytics engine that stores and indexes data.
- MongoDB - An open-source NoSQL document database that stores metadata such as user information.
- Graylog Server - Main component used in capturing, storing, and analyzing real-time machine data. It visualizes data to spot trends and anomalies and triggers alerts in case of any incidences. Also, you can build reports to comply with set standards and management needs.
Now, let’s continue with the Graylog Ubuntu installation instructions, first defining prerequisites.
#Prerequisites
Ensure you have the following requirements in place:
- An instance of Ubuntu 22.04 server with SSH connection;
- At least 4 GB RAM and 2 CPUs;
- A sudo user configured on the server.
#Install Graylog on Ubuntu 22.04: Step-by-step process
To install Graylog on Ubuntu 22.04, you have to follow a relatively straightforward process. It includes installing prerequisite packages like OpenJDK, Elasticsearch, and MongoDB. After that, download and configure the Graylog server package, then set up Nginx as a reverse proxy to access the Graylog web UI.
Let's dive right in. Follow the steps below to get Graylog installed and running on your Ubuntu 22.04 server.
#Step 1: Update the local package index
To start, log into your server and update the local package index.
sudo apt update
Next, install the following set of dependencies needed during the installation of the Graylog server.
sudo apt install curl wget apt-transport-https
Once installed, head over to the next step.
#Step 2: Install OpenJDK
Before installing Graylog, we need to install Java. We will install OpenJDK, a free and open-source implementation of Java currently maintained by Oracle. The latest version of Graylog - Graylog 5.2 - requires at least OpenJDK 17.
To install OpenJDK 17, run the command:
sudo apt install openjdk-17-jre-headless -y
Once installed, you can confirm the version of Java installed as shown.
java -version

#Step 3: Install ElasticSearch
Elasticsearch is another critical component in the Graylog installation. It’s a distributed search and analytics engine widely used for full-text search, log analysis, business analytics, and analyzing security events.
In Graylog, Elasticsearch stores, searches, and analyzes logs and messages from external sources.
Elasticsearch is not hosted on official Ubuntu repositories. Hence, we are going to install it from the Elasticsearch repository. To do so, first, download and add the Elasticsearch GPG Key.
curl -fsSL https://artifacts.elastic.co/GPG-KEY-elasticsearch | sudo apt-key add -
Next, switch to the root user.
sudo su -
And add the Elasticsearch repository to the system.
echo "deb https://artifacts.elastic.co/packages/7.x/apt stable main" | sudo tee -a /etc/apt/sources.list.d/elastic-7.x.list
Next, update the local cache to notify the system of the newly added repository.
apt update
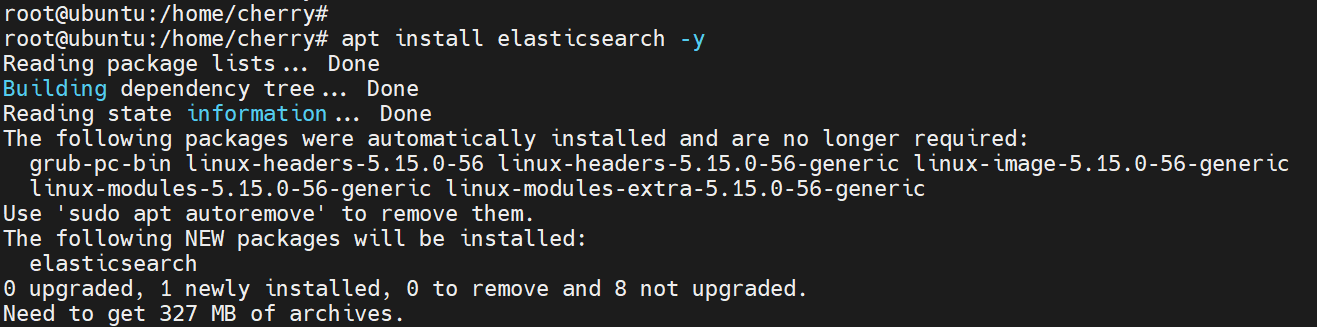
Once the local cache is updated, install Elasticsearch from the repository using the APT package manager.
apt install elasticsearch -y
Once the installation is complete, you need to make a few tweaks to the main Elasticsearch configuration file. Use your preferred text editor to access the file. Here, we are using the nano command-line editor.
nano /etc/elasticsearch/elasticsearch.yml
Set your preferred cluster name and add the action.auto_create_index: false line below it.
cluster.name: graylog
action.auto_create_index: false
Once done, save the changes and exit. Reload systemd for the change to apply and start Elasticsearch.
systemctl daemon-reload
systemctl start elasticsearch
You can verify the status of Elasticsearch as shown.
sudo systemctl status elasticsearch
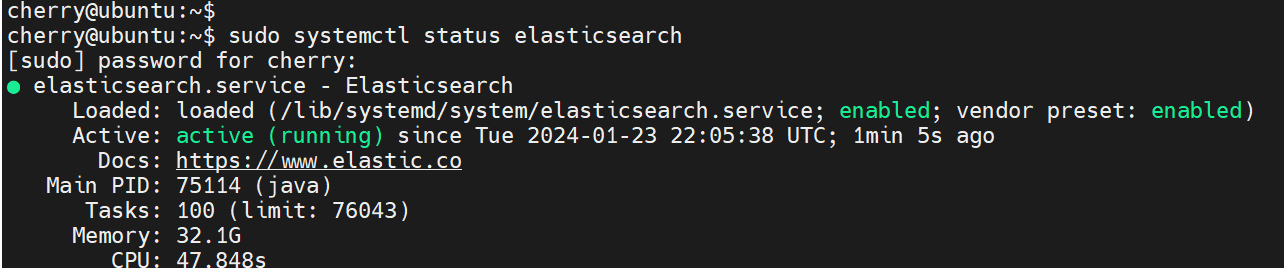
From the output, you can see that the Elasticsearch service is up and running.
In addition, consider enabling the Elasticsearch service to start on boot.
systemctl enable elasticsearch
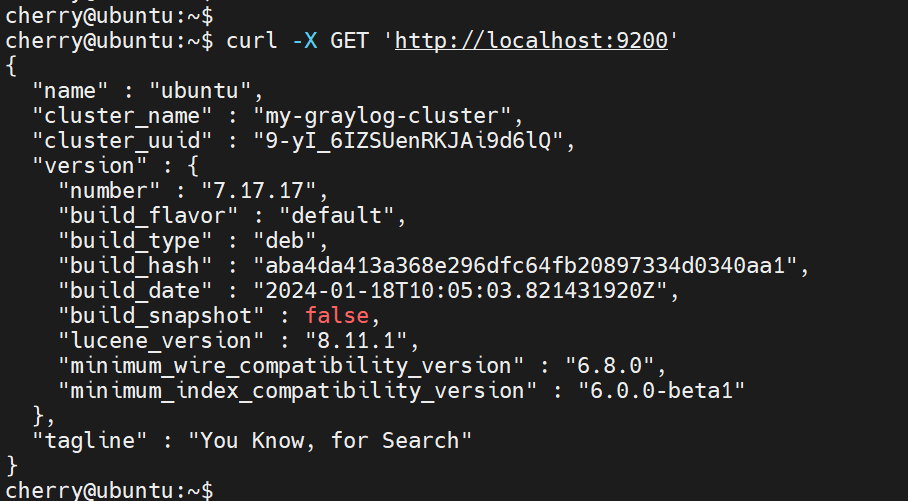
You can send a GET request to your node using the curl command-line tool to view detailed information about Elasticsearch.
curl -X GET http://localhost:9200
#Step 4: Install MongoDB server
In the Graylog server, the MongoDB database stores configuration information and user data. The latest version of Graylog requires MongoDB 5.x and 6.x releases. For this guide, we will install MongoDB 6.0 from the MongoDB repository.
So, add the MongoDB GPG signing key.
curl -fsSL https://pgp.mongodb.com/server-6.0.asc | \
sudo gpg --dearmor -o /etc/apt/trusted.gpg.d/mongodb-server-6.0.gpg
Next, add the MongoDB repository to the sources.list.d directory on your system.
echo "deb [ arch=amd64,arm64 signed=/etc/apt/trusted.gpg.d/keyrings/mongodb-server-6.0.gpg ] https://repo.mongodb.org/apt/ubuntu jammy/mongodb-org/6.0 multiverse" | sudo tee /etc/apt/sources.list.d/mongodb-org-6.0.list
With the repository added to your system, update the local APT cache.
sudo apt update
Then install the MongoDB database server.
sudo apt install mongodb-org -y

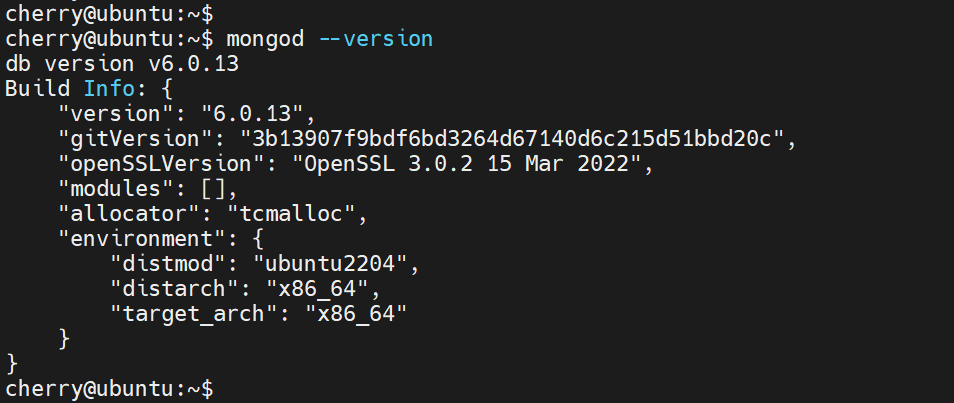
To verify the version installed, run the command:
mongod --version
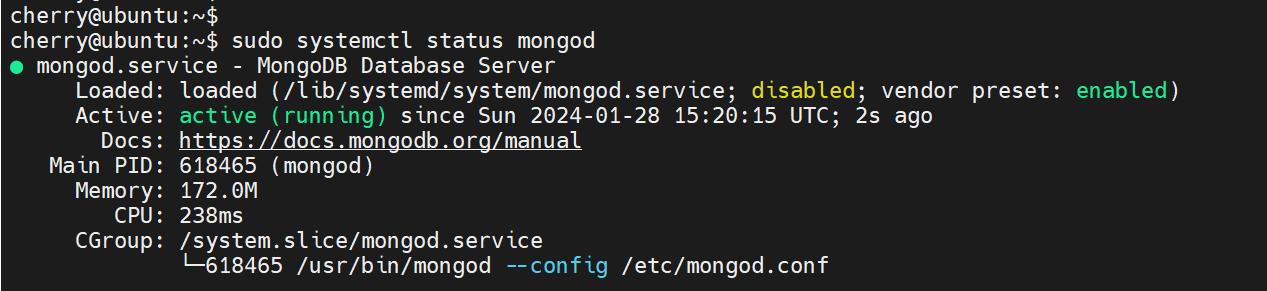
MongoDB does not start automatically upon installation, so start it as shown.
sudo systemctl start mongod
Confirm that the MongoDB database service is running:
sudo systemctl status mongod
In addition, consider enabling the service to auto-start on boot.
sudo systemctl enable mongod
With the MongoDB database server installed, the next step is to install the Graylog server.
#Step 5: Install Graylog server
We are now ready to install Graylog server on Ubuntu. By default, the Graylog server package is not available on Ubuntu repositories. Therefore, we are going to install Graylog from the official Graylog repository.
So, download the Graylog Debian package.
wget https://packages.graylog2.org/repo/packages/graylog-5.2-repository_latest.deb
Next, run the dpkg command to run the package.
sudo dpkg -i graylog-5.0-repository_latest.deb
Next, update the local APT cache.
sudo apt-get update
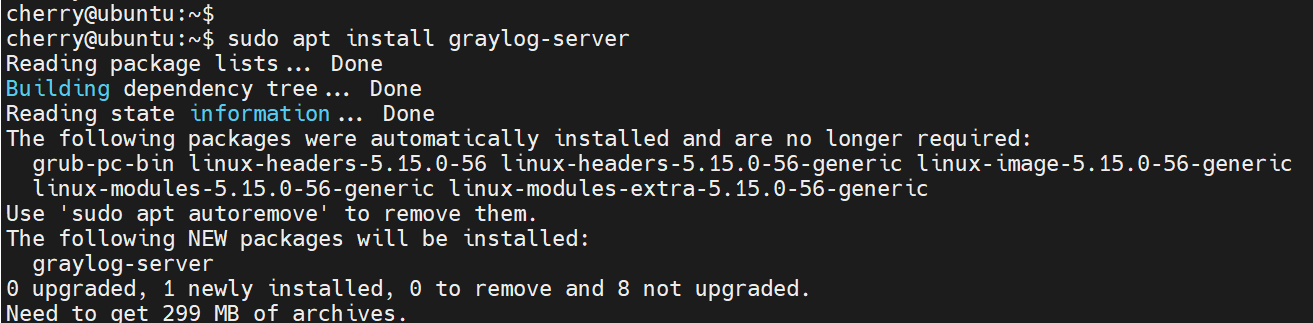
Finally, install the Graylog server as follows.
sudo apt install graylog-server -y
Once you have installed the Graylog server, you need to generate a secret to secure the user passwords and an encrypted password for the admin user.
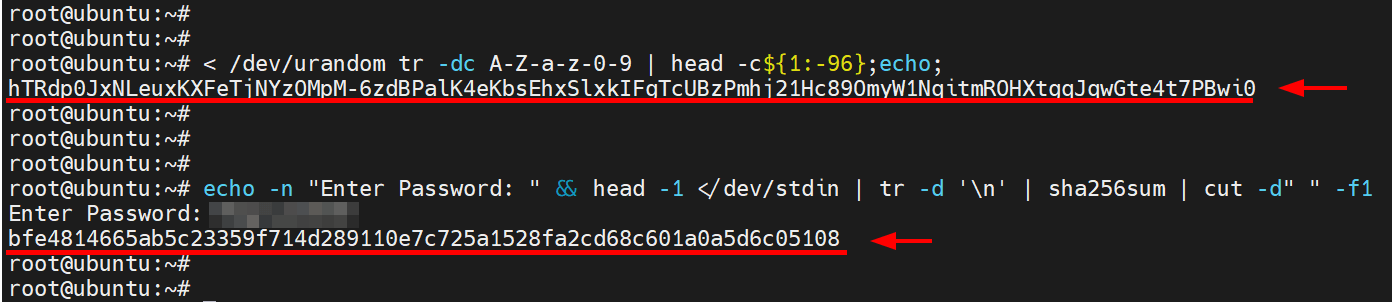
To generate a secret password for securing user passwords, run the following command:
< /dev/urandom tr -dc A-Z-a-z-0-9 | head -c${1:-96};echo;
The encrypted password, composed of alphanumeric characters, will be displayed on the terminal.
Next, generate an encrypted password for the Graylog admin login user.
echo -n "Enter Password: " && head -1 </dev/stdin | tr -d '\n' | sha256sum | cut -d" " -f1
When prompted, type in the password and hit ENTER. The encrypted password will be displayed on the screen.
Copy and paste the two encrypted passwords somewhere and open the Graylog configuration file.
nano /etc/graylog/server/server.conf
Update the password_secret and root_password_sha2 with the encrypted passwords generated.
password_secret = hTRdp0JxNLeuxKXFeTjNYzOMpM-6zdBPalK4eKbsEhxSlxkIFgTcUBzPmhj21Hc89OmyW1NqitmROHXtgqJqwGte4t7PBwi0

root_password_sha2 = bfe4814665ab5c23359f7114d289110e7c725a1528fa2cd68c601a0a5d6c05108
Next, specify the IP address on which the Graylog HTTP interface will listen using the http_bind_address. By default, this is set to localhost or the loopback address. nsure you set it to the IP assigned to your network interface and specify the port Graylog listens on ( port 9000 ).
http_bind_address = 208.117.84.72:9000
Save the changes and exit the configuration file. Next, reload systemd to notify the system of the changes made.
systemctl daemon-reload
Next, start the Graylog service.
systemctl start graylog-server
The Graylog daemon or service should now be running. You can confirm this as shown.
systemctl status graylog-server
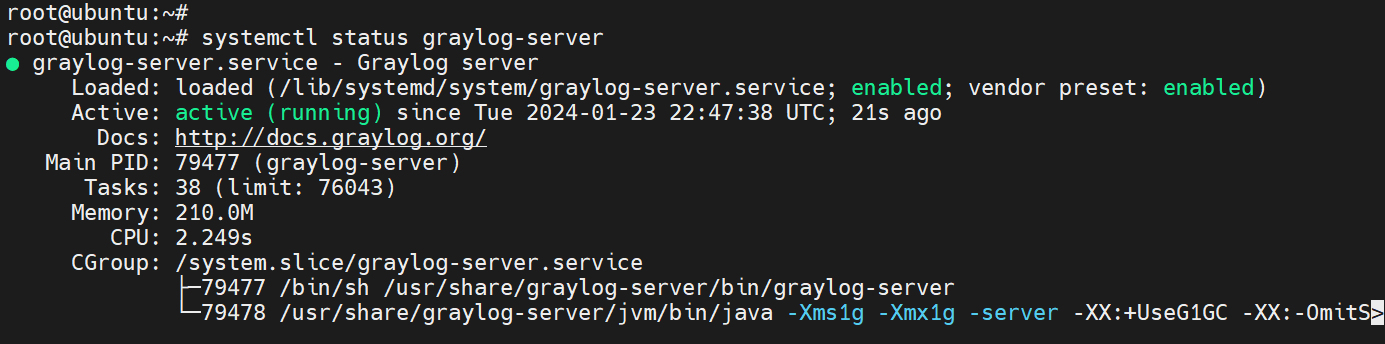
Consider enabling the service to start on system startup.
systemctl enable graylog-server
#Step 5: Configure Nginx as a reverse proxy
On its own, Graylog can act as a frontend and does not require a web server. However, you can configure a web server as a reverse proxy for port 80 to port 9000, on which Graylog listens. This also simplifies configuring an SSL certificate for Graylog.
In our case, we will use Nginx as our preferred option for a web server. To install Nginx, run the command:
apt install nginx
Once installed, create a virtual host file for Graylog.
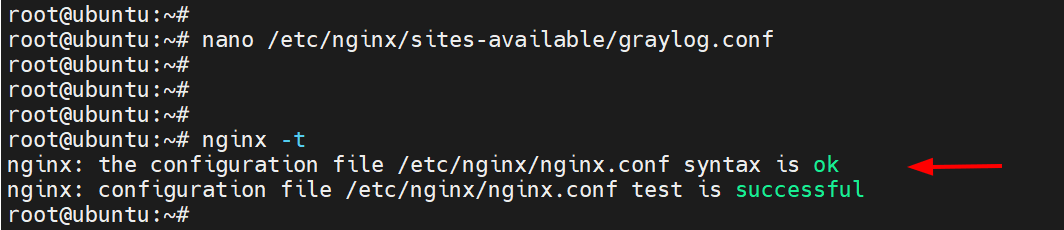
nano /etc/nginx/sites-available/graylog.conf
Add these lines of code, and make sure to specify your server's IP for the proxy_pass attribute.
server {
    listen 80;
    server_name graylog.example.org;

location /
    {
      proxy_set_header Host $http_host;
      proxy_set_header X-Forwarded-Host $host;
      proxy_set_header X-Forwarded-Server $host;
      proxy_set_header X-Forwarded-For $proxy_add_x_forwarded_for;
      proxy_set_header X-Graylog-Server-URL http://$server_name/;
      proxy_pass       http://208.117.84.72:9000;
    }

}
Save the changes and exit the configuration file. Then, run the following command to verify that your webserver’s configuration syntax is okay.
nginx -t
If all looks good, enable the Nginx virtual host file.
ln -s /etc/nginx/sites-available/graylog.conf /etc/nginx/sites-enabled/
Remember to delete the default virtual host file, as this will override the newly enabled virtual host configuration.
rm -rf /etc/nginx/sites-enabled/default
To apply the changes made, restart the Nginx web service
systemctl restart nginx
And ensure that it is running as expected.
systemctl status nginx

#Step 6: Access Graylog web interface
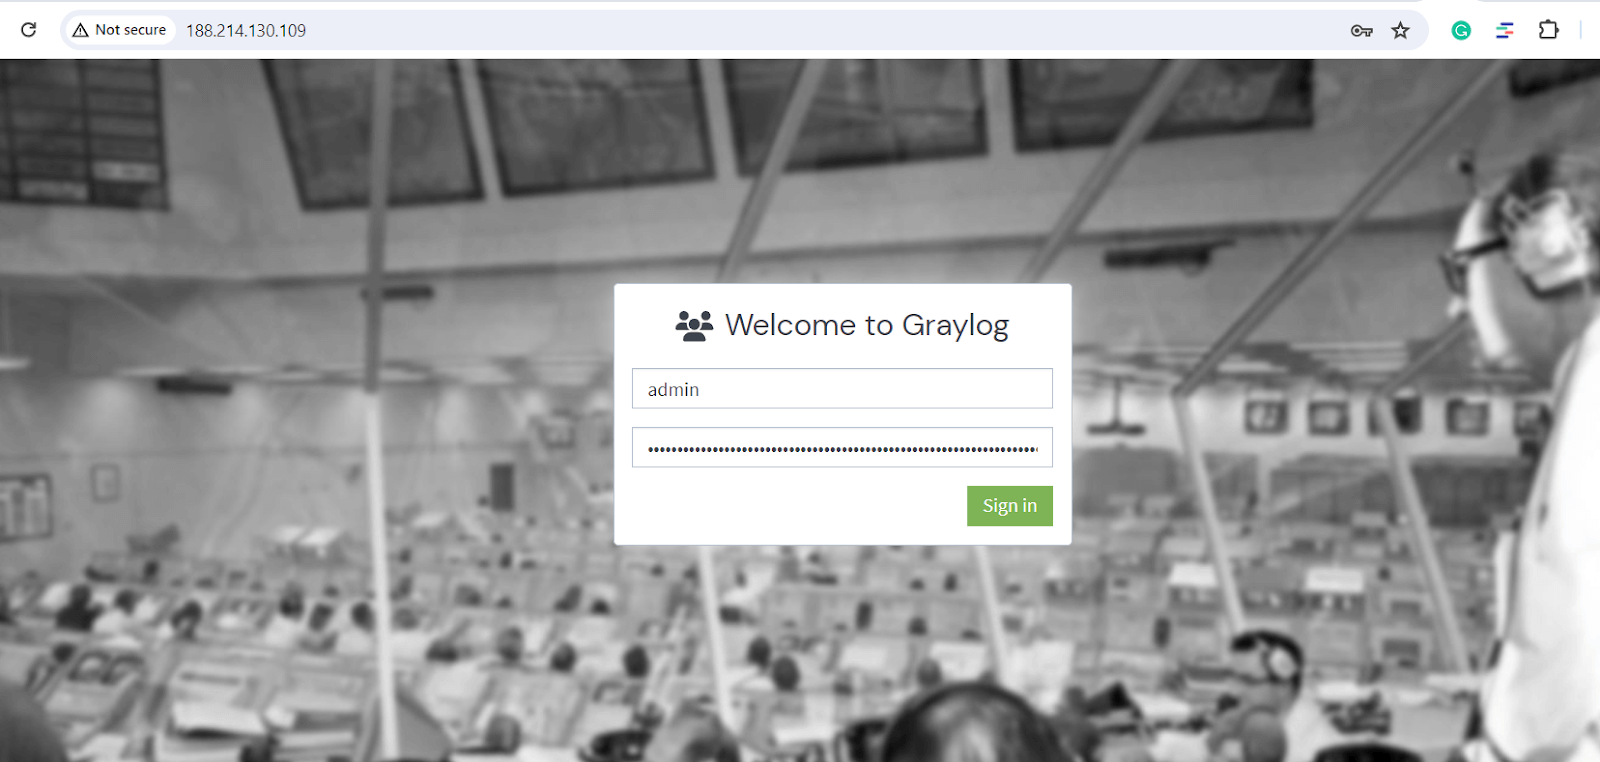
To access the Graylog web interface, visit the following URL on your web browser.
http://server-ip
You will see the web page shown. Log in using the username admin and the root user password you specified in plain text in step 5. Then click the Sign In button.
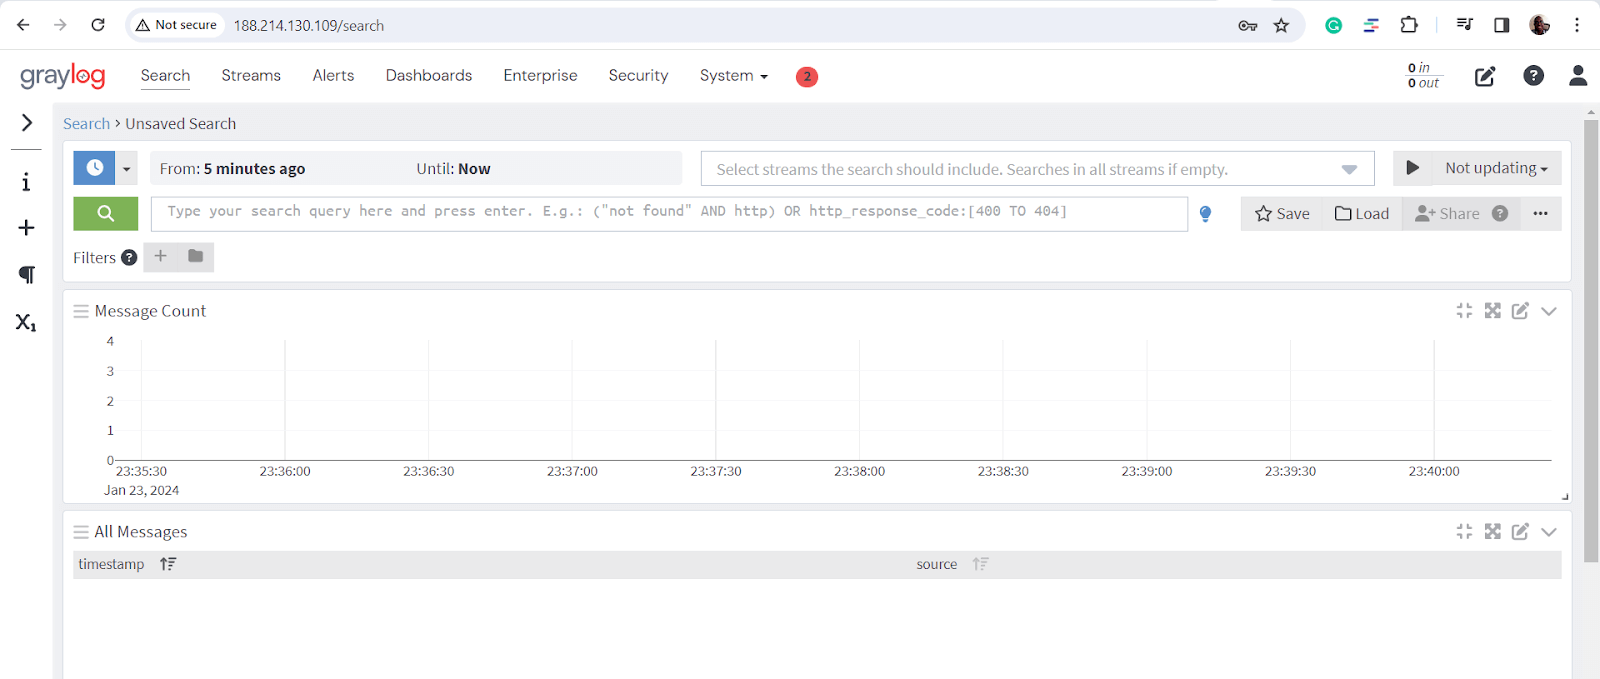
Once logged in, you should see the Graylog web UI. From here, you can add data sources for real-time data analysis.
#Conclusion
That’s it; in this tutorial, I’ve demonstrated how to install Graylog on Ubuntu 22.04 server, including the configuration. Check out the official documentation for more information about Graylog.


