How to Run a Bitcoin Node? Step-by-Step



Want to verify Bitcoin transactions yourself instead of trusting third parties? Want to help secure the Bitcoin network? Running a node lets you do these. Running a Bitcoin node allows you to host a copy of the entire Bitcoin blockchain, previous transactions, and the rules that govern the network.
This guide will walk you through setting up and running a Bitcoin node on Ubuntu 24.04, giving you control over how you interact with Bitcoin.
#Prerequisites
You need the following to run a full node:
-
Hardware:
-
A dedicated server (Linux, Windows, or macOS)
-
Memory: At least 2GB of RAM (4GB recommended)
-
Storage: About 600GB of free disk space for the initial blockchain download (plus 5–10GB monthly) for a full node or 10GB for a pruned node
-
-
Internet:
- A broadband connection with a minimum upload speed of 400 kbps
-
Uptime:
- Ideally, the node should run continuously, or at least 6 hours per day
A dedicated server running Ubuntu 24.04 is used in the demonstration in this guide.
#Understanding Bitcoin nodes
#What is a Bitcoin node?
The Bitcoin blockchain is like a shared database or record kept up to date and stored by thousands of independent computers worldwide. These computers also check every new entry to ensure it's valid.
A Bitcoin node therefore is a computer running Bitcoin software that does this checking and record-keeping, helping to keep Bitcoin secure and decentralized.
#Why run a Bitcoin node?
Running a Bitcoin node offers benefits both for you and for the network as a whole. Here are some of the reasons why you might want to run a Bitcoin node;
-
Enhanced decentralization: Each node stores a copy of the blockchain, making the network more resilient to attacks, censorship, or shutdown attempts.
-
Trustless verification: With your node, you don’t have to rely on third parties to confirm transactions.
-
Improved privacy: Running your node protects your privacy by preventing the need to send your transaction queries to remote nodes that might log your activity.
-
Learning opportunity: Setting up and operating your own Bitcoin node helps you understand better how Bitcoin works.
#How to run a Bitcoin node: Step-by-step process
In this section, you’ll follow the steps for setting up and running a Bitcoin node on a Linux system. For this demonstration, a dedicated Ubuntu 24.04 server was used.
#Step 1: Update system packages
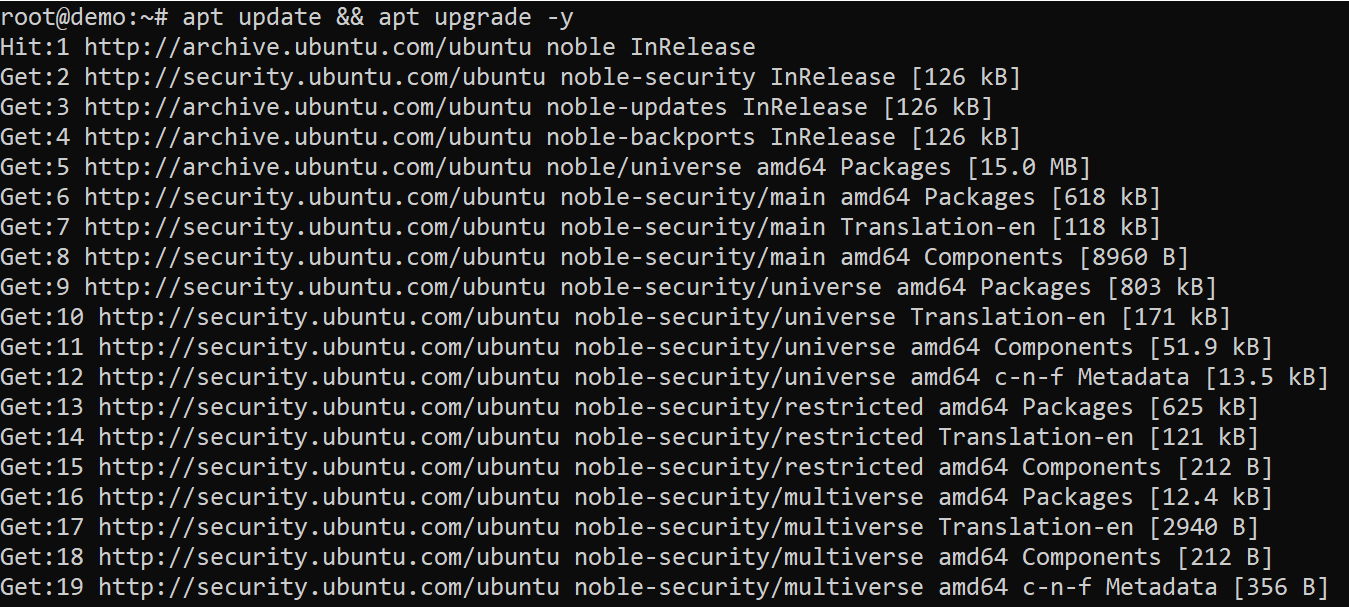
Start with ensuring your system is up to date by running the following command to refresh your package lists and upgrade installed packages:
apt update && apt upgrade -y
#Step 2: Create a non-root user with sudo privileges
Next, create a new user for running Bitcoin core:
adduser btc-user
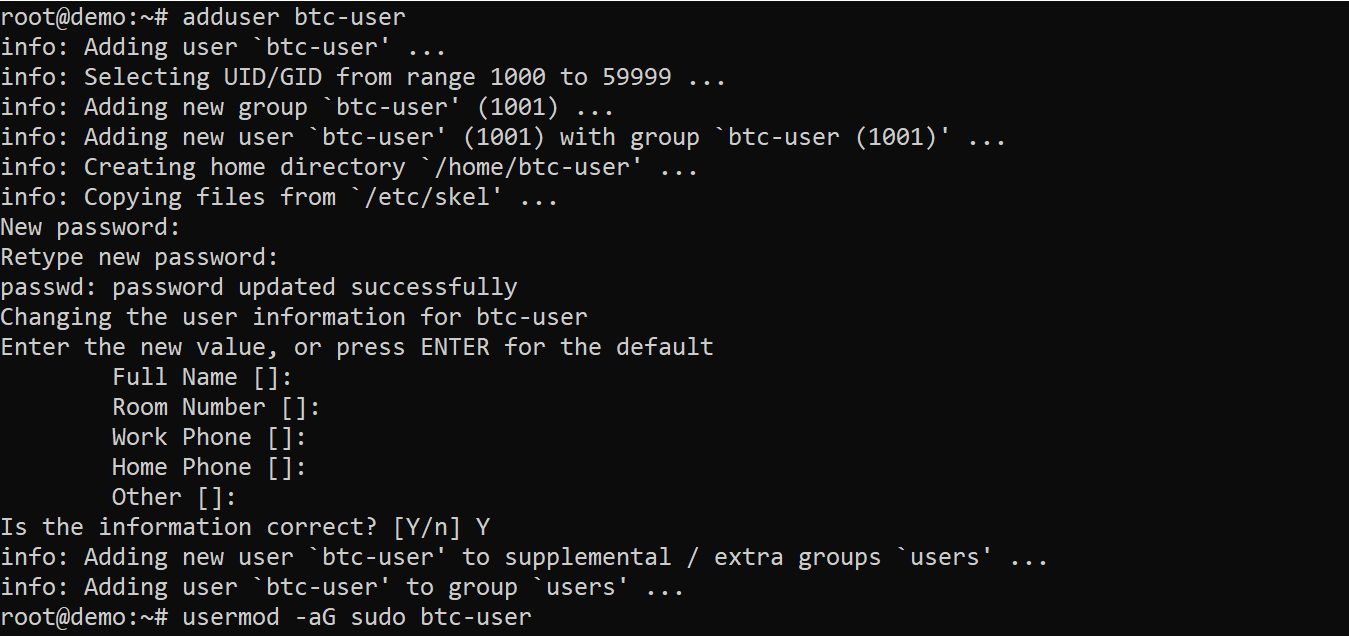
Add the user to the sudo group and switch to the new user:
usermod -aG sudo btc-user
su - btc-user
Once you switch to the new user, the terminal prompt will change to reflect that you’re now logged in as the new user.

#Step 3: Download and verify Bitcoin core
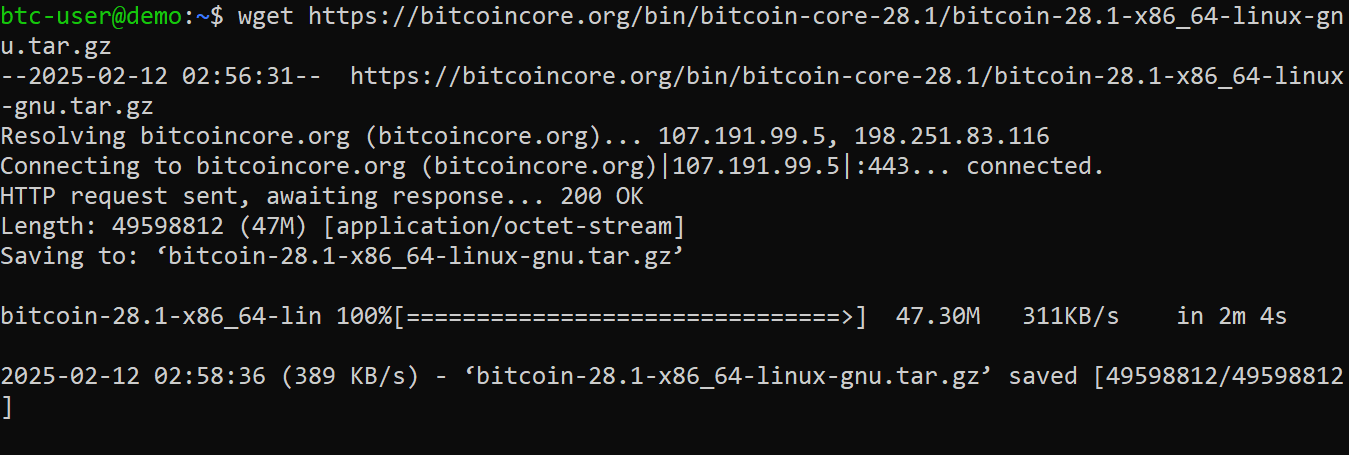
Now on the Bitcoin Core Downloads page, download the latest version (currently 28.1 at the time of this writing) of the binary. For Ubuntu server, run:
wget https://bitcoincore.org/bin/bitcoin-core-28.1/bitcoin-28.1-x86_64-linux-gnu.tar.gz
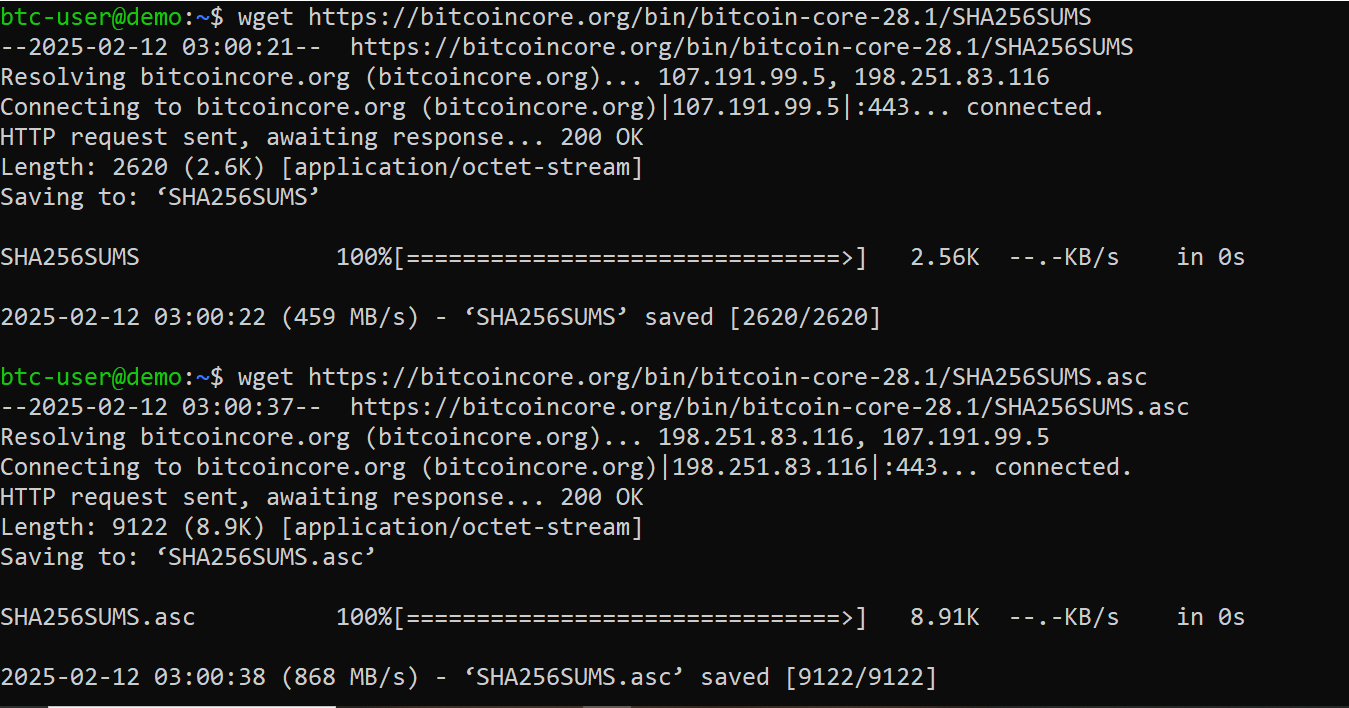
Next, download the verification files (the SHA256 checksum and signature files):
wget https://bitcoincore.org/bin/bitcoin-core-28.1/SHA256SUMS

wget https://bitcoincore.org/bin/bitcoin-core-28.1/SHA256SUMS.asc
Then, to check that the SHA256 hash of the binary matches the values in the checksum file run:
sha256sum --ignore-missing --check SHA256SUMS
If the checksum matches, it confirms that the downloaded file hasn't been tampered with and you should see an "OK" appear next to the file name.

Now verify the digital signature. Confirm the SHA256SUMS file downloaded was created by the Bitcoin Core developers. To do this, clone the repository containing the public keys and import them:
git clone https://github.com/bitcoin-core/guix.sigs

gpg --import guix.sigs/builder-keys/*
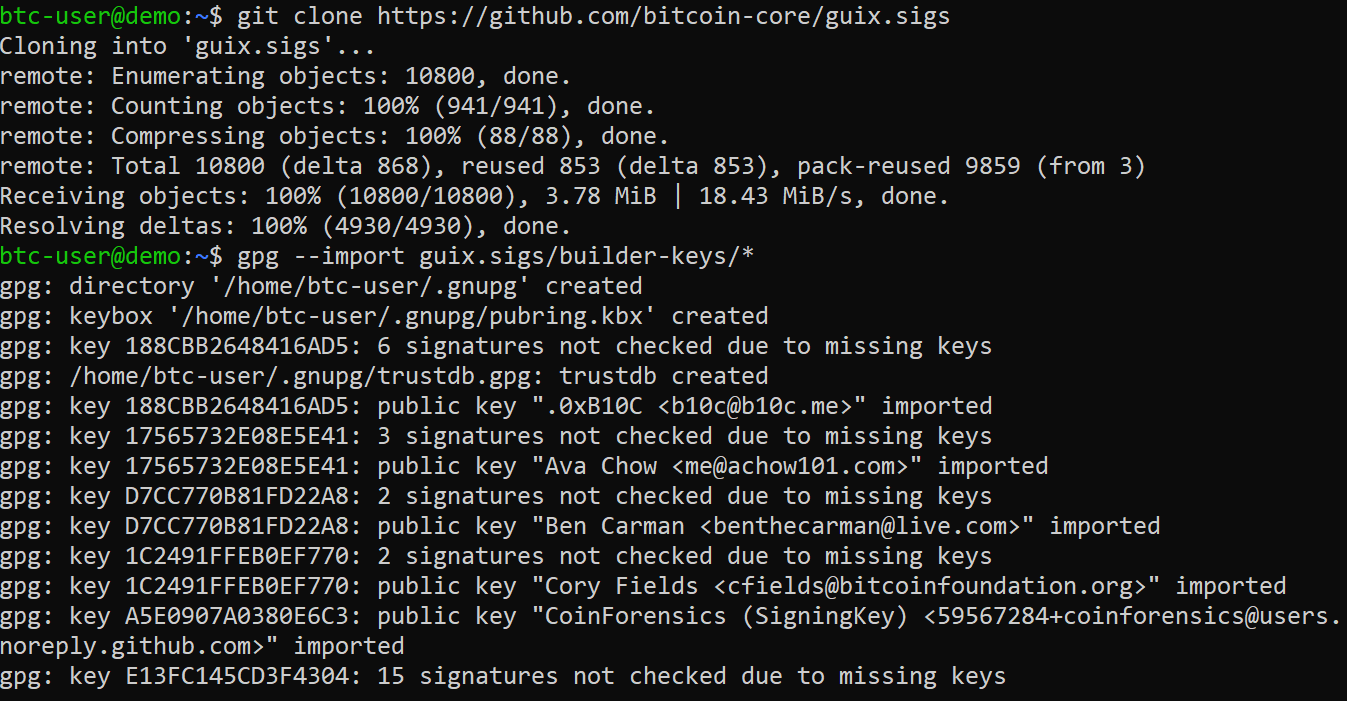
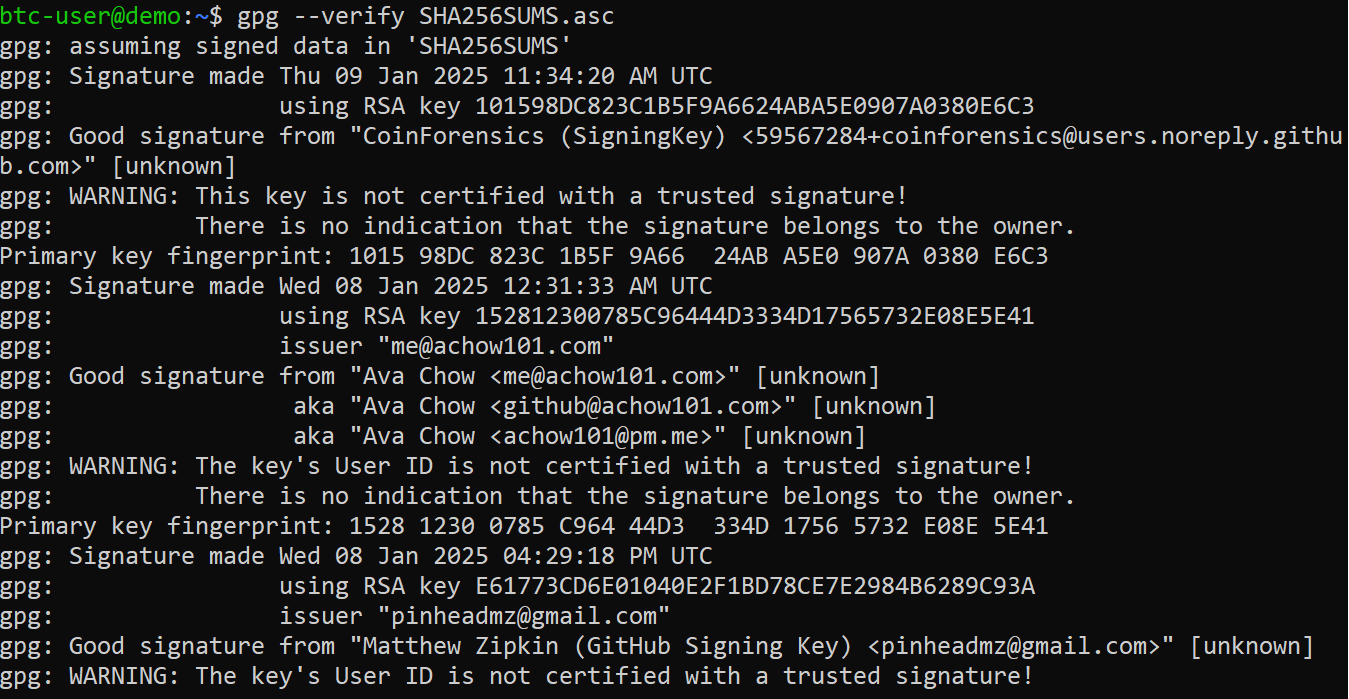
Then confirm the authenticity of the checksum file by verifying its PGP signature:
gpg --verify SHA256SUMS.asc
A successful verification will display a message indicating a "good signature" from a Bitcoin Core developer.
#Step 4: Extract the downloaded file
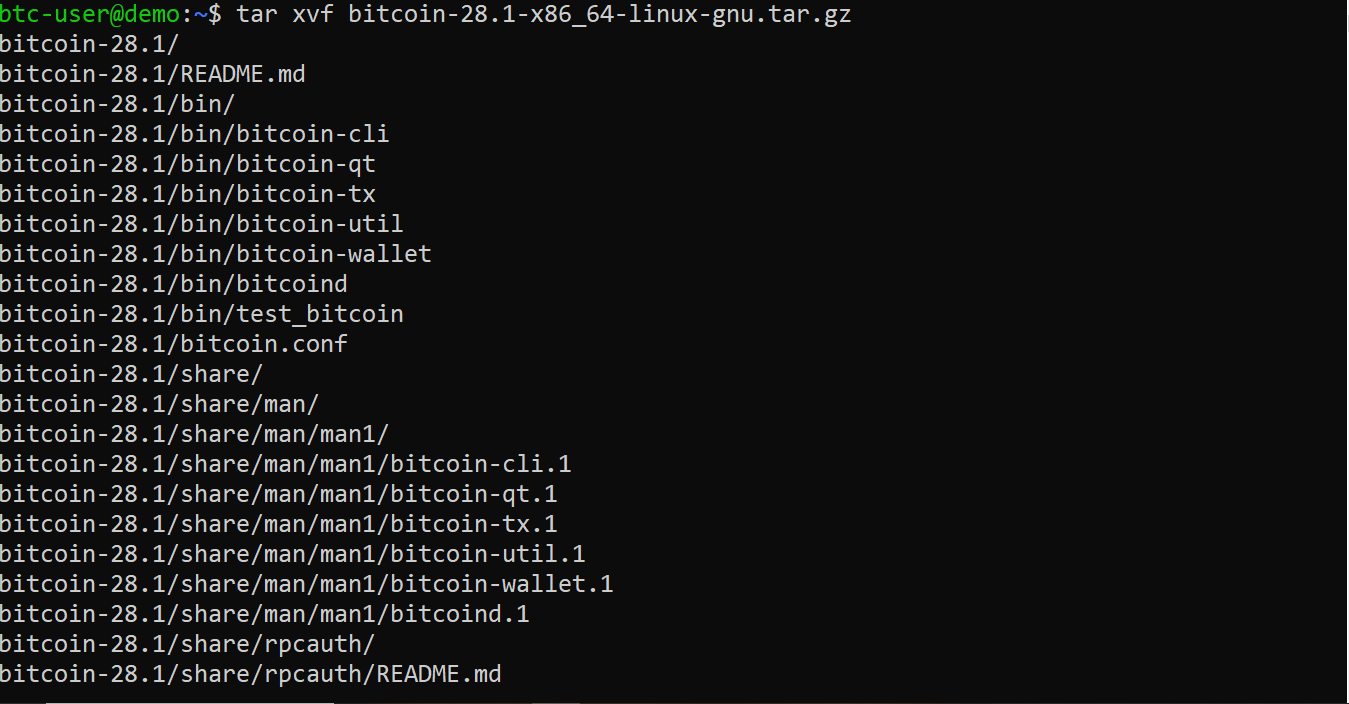
Now that you've downloaded and verified the Bitcoin Core archive, extract its contents using the following command:
tar xvf bitcoin-28.1-x86_64-linux-gnu.tar.gz
#Step 5: Install Bitcoin core
Next, install the executable files by running:
sudo install -m 0755 -o root -g root -t /usr/local/bin bitcoin-28.1/bin/*

#Step 6: Configure your node
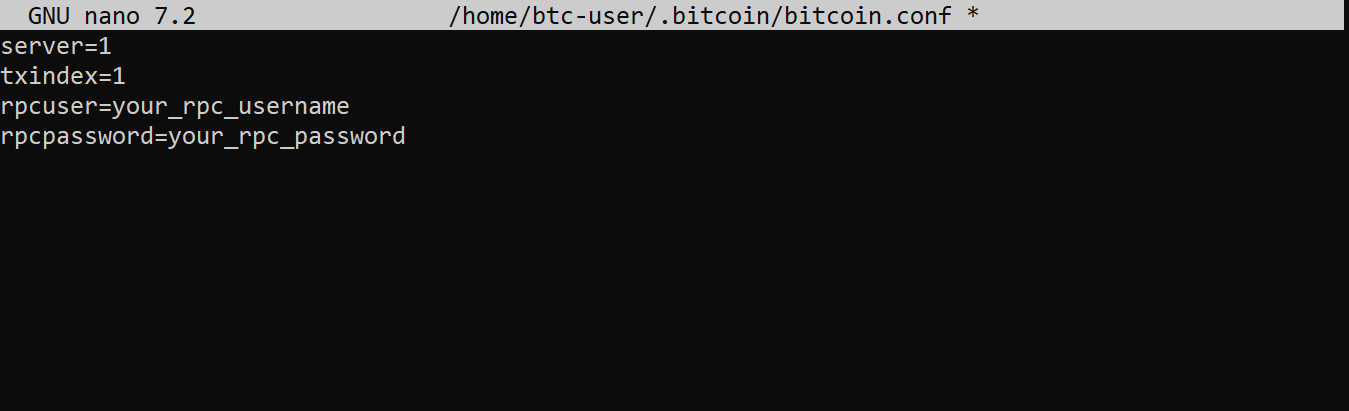
The Bitcoin configuration file (bitcoin.conf) lets you customize your node. Run the following command to create and open it using the nano editor:
mkdir -p ~/.bitcoin
nano ~/.bitcoin/bitcoin.conf

Add the basic configuration to the file adjusting values as needed:
server=1
txindex=1
rpcuser=your_rpc_username
rpcpassword=your_rpc_password
For more configuration options, see the bitcoin.conf examples page.
#Step 7: Allow connections
To allow your Bitcoin node to communicate with other nodes on the network and receive incoming connections, configure your firewall to allow inbound connections to port 8333:
sudo ufw allow 8333/tcp
sudo ufw enable

#Step 8: Run the Bitcoin node
With Bitcoin Core installed and your configuration file set up, start your node to begin synchronizing with the Bitcoin network:
bitcoind -daemon
The -daemon option runs bitcoind in the background.
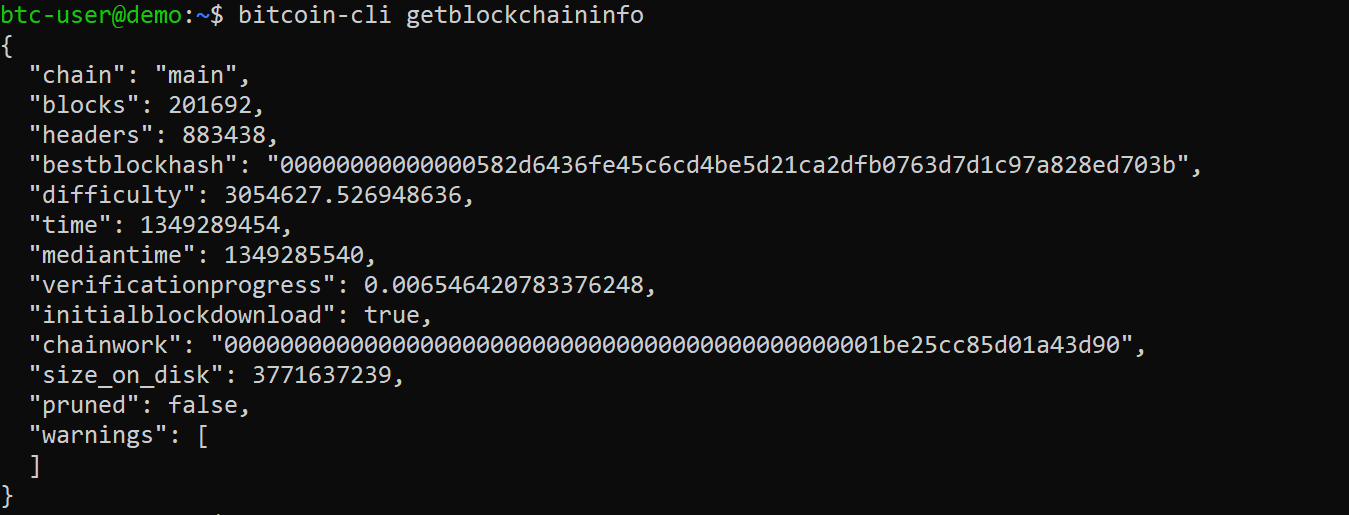
You can check if the node is running correctly by getting information from the node with the command below:
bitcoin-cli getblockchaininfo
#Step 9: Create a Bitcoind service
To ensure your Bitcoin node starts automatically at boot, create a systemd service.
If your node is currently running, stop it first:
bitcoin-cli stop

Next, create and open the service file using the nano text editor:
sudo nano /etc/systemd/system/bitcoind.service
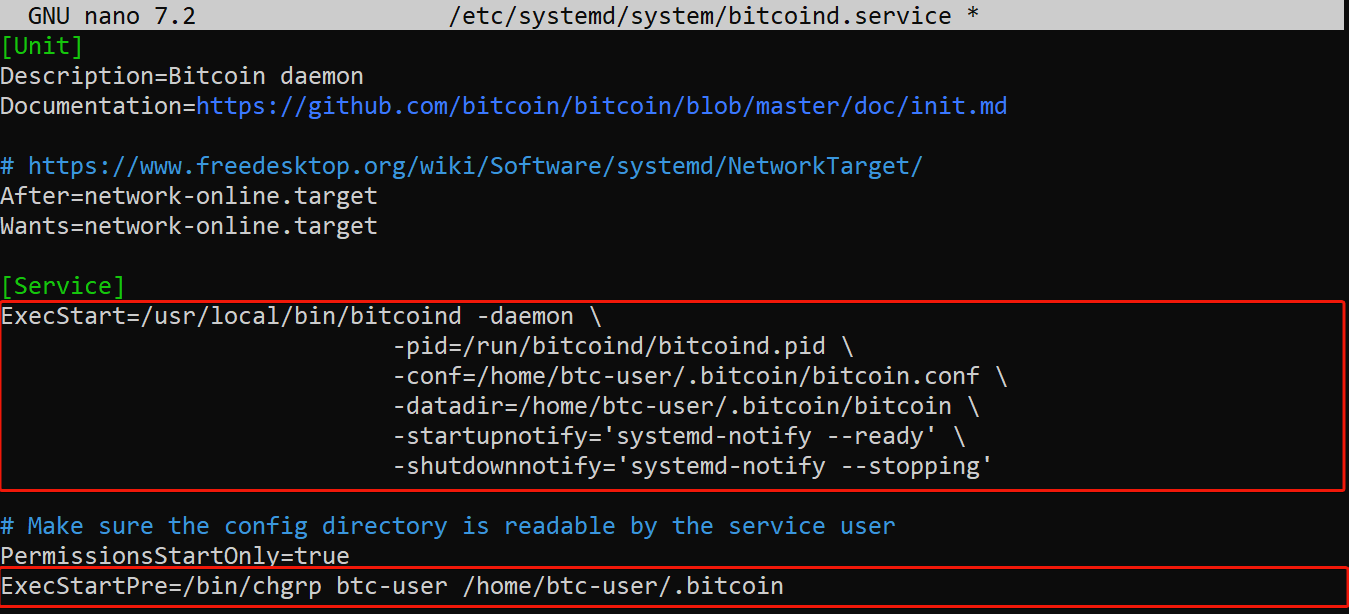
Then add the following content to the file:
[Unit]
Description=Bitcoin daemon
Documentation=https://github.com/bitcoin/bitcoin/blob/master/doc/init.md

# https://www.freedesktop.org/wiki/Software/systemd/NetworkTarget/
After=network-online.target
Wants=network-online.target

[Service]
ExecStart=/usr/local/bin/bitcoind -daemon \
                            -pid=/run/bitcoind/bitcoind.pid \
                            -conf=/home/btc-user/.bitcoin/bitcoin.conf \
                            -datadir=/home/btc-user/.bitcoin \
                            -startupnotify='systemd-notify --ready' \
                            -shutdownnotify='systemd-notify --stopping'

# Make sure the config directory is readable by the service user
PermissionsStartOnly=true
ExecStartPre=/bin/chgrp btc-user /home/btc-user/.bitcoin

# Process management
####################

Type=notify
NotifyAccess=all
PIDFile=/run/bitcoind/bitcoind.pid

Restart=on-failure
TimeoutStartSec=infinity
TimeoutStopSec=600

# Directory creation and permissions
####################################

# Run as bitcoin:bitcoin
User=btc-user
Group=btc-user

# /run/bitcoind
RuntimeDirectory=bitcoind
RuntimeDirectoryMode=0710

# /etc/bitcoin
ConfigurationDirectory=bitcoin
ConfigurationDirectoryMode=0710

# /var/lib/bitcoind
StateDirectory=bitcoind
StateDirectoryMode=0710

# Hardening measures
####################

# Provide a private /tmp and /var/tmp.
PrivateTmp=true

# Mount /usr, /boot/ and /etc read-only for the process.
ProtectSystem=full

# Deny access to /home, /root and /run/user
#ProtectHome=true

# Disallow the process and all of its children to gain
# new privileges through execve().
NoNewPrivileges=true

# Use a new /dev namespace only populated with API pseudo devices
# such as /dev/null, /dev/zero and /dev/random.
PrivateDevices=true

# Deny the creation of writable and executable memory mappings.
MemoryDenyWriteExecute=true

# Restrict ABIs to help ensure MemoryDenyWriteExecute is enforced
SystemCallArchitectures=native

[Install]
WantedBy=multi-user.target
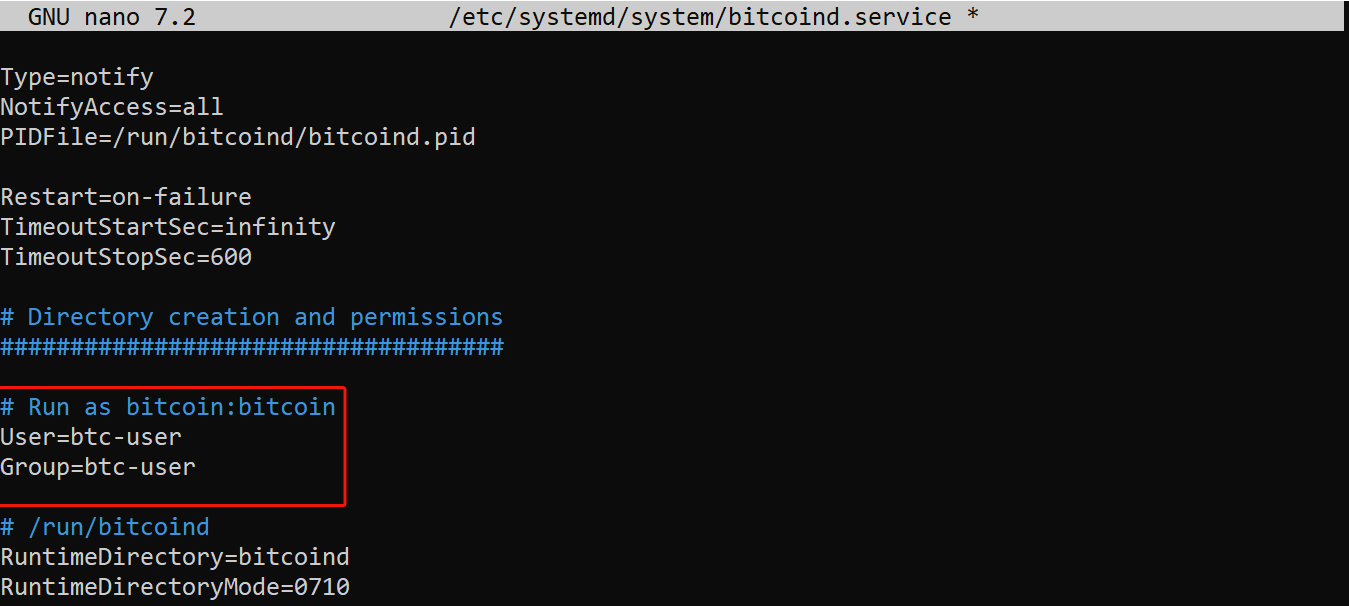
Note: If you use different installation paths or a different user/group, update the ExecStart, ExecStartPre, User, and Group values accordingly.
After saving the file, reload systemd, enable the service, and start it:
sudo systemctl daemon-reload
sudo systemctl enable bitcoind.service
sudo systemctl start bitcoind
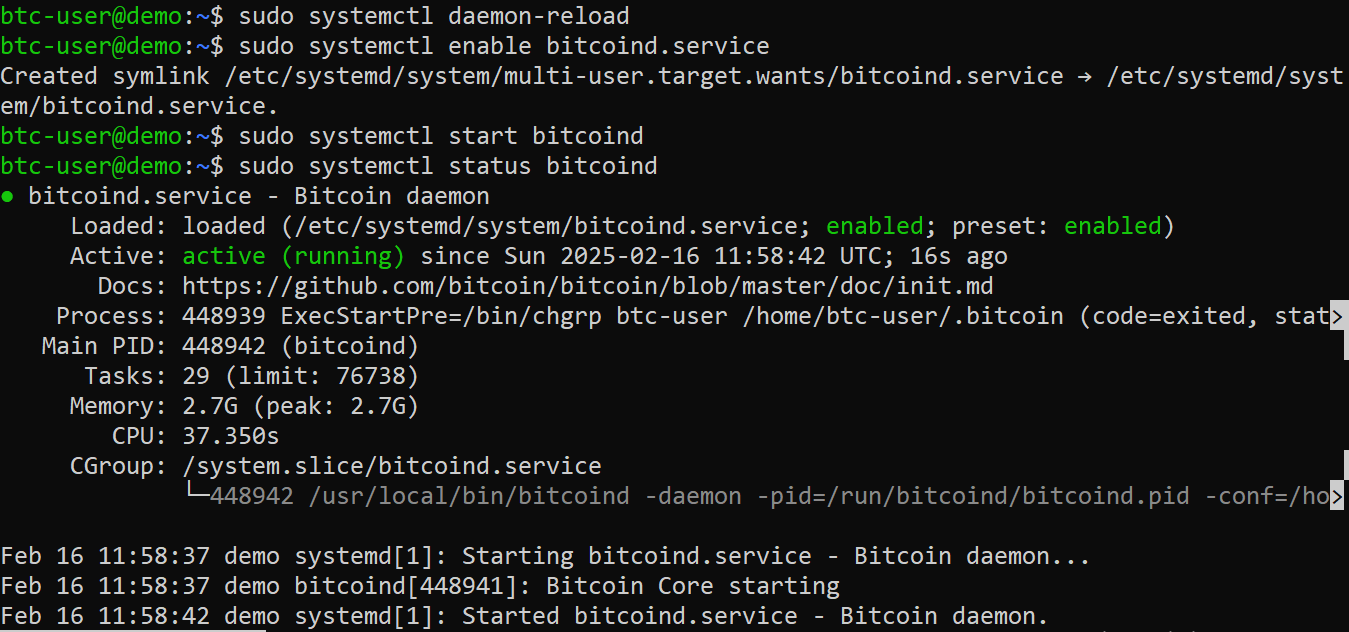
Finally, verify that your Bitcoin node is running correctly by checking its service status:
sudo systemctl status bitcoind
If all goes well, you should see the active and running.
Press q or Ctrl+C to exit the process and check the node information using:
bitcoin-cli getblockchaininfo
#Step 10: Verify node synchronization
Depending on your connection speed and the current size of the blockchain, synchronization can take anywhere from a few hours to several days. The node in this demonstration synced in about 14 hours.
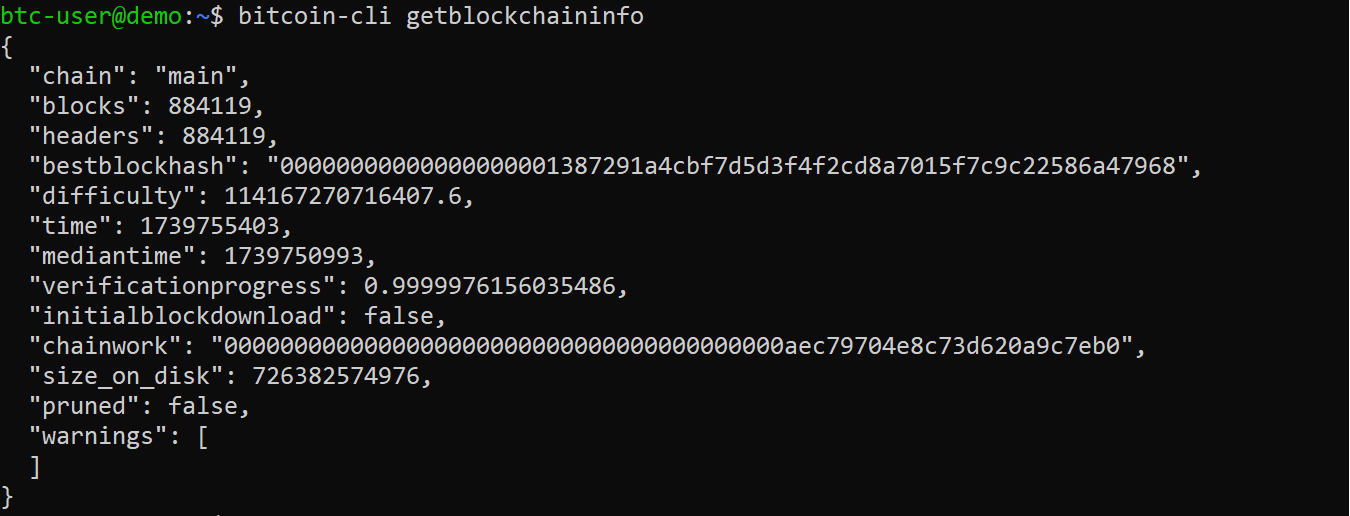
Once your node is fully synced, you should see the verificationprogress label close to 1.0 (100%), initialblockdownload change to false, and for a full node, the number of blocks should equal the number of headers.
#Step 11: Test inbound connections
Once your node is fully synced, test its ability to accept inbound connections using the BitNodes online tool. With your node running, go to the BitNodes website, enter your public IP in the field provided, and click CHECK NODE.
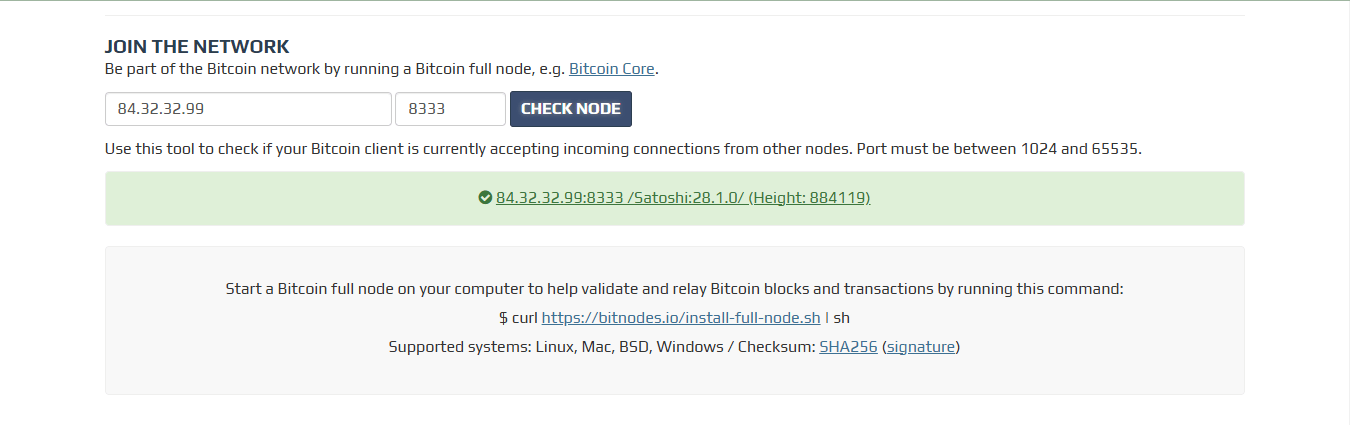
The tool will inform you whether your port is open or not. A green box indicates your port is open, while a red box means it is closed.
#Conclusion
You’ve learned how to run a Bitcoin node on Ubuntu 24.04. From system setup and creating a non-root user to downloading, verifying, and configuring Bitcoin Core. At this point, you should understand how a full node enhances privacy, security, and network decentralization.
With your node up and running, why not explore advanced features like integrating Tor for enhanced privacy or connecting your node to a Lightning Network node to enable faster, low-cost transactions? You can also try creating your own Bitcoin wallet on your node with the command bitcoin-cli create wallet. For more on this and other commands, refer to the Bitcoin Core RPC reference.