How to Install Nextcloud AIO on Docker | Step-by-Step


Nextcloud has become a go-to solution for secure file hosting and collaboration. Now, picture a Nextcloud setup that's remarkably simple. A setup where you don't need to worry about complex configurations or your limited Docker knowledge - that's what the Nextcloud All-in-One (AIO) offers.
In our previous Nextcloud installation tutorial, we covered the installation process using the regular Nextcloud Docker image. Here, you'll see how it is done with the Nextcloud AIO Docker image, promising a simplified deployment process.
#What is Nextcloud AIO?
Nextcloud All-in-One (AIO) is a web frontend that lets you set up your Nextcloud and its add-on Docker containers and simplifies the process. The Nextcloud AIO image simplifies the Nextcloud installation process by bundling all the necessary components (Nextcloud, web server, and database) into a single image.
Unlike the regular image, the AIO image significantly reduces configuration steps. It also provides easy installation, deployment, and maintenance of your Nextcloud application, making it an attractive option for those looking for simplicity and those with limited knowledge of Docker.
Ready to supercharge your Docker infrastructure? Scale effortlessly and enjoy flexible storage with Cherry Servers bare metal or virtual servers. Eliminate infrastructure headaches with free 24/7 technical support, pay-as-you-go pricing, and global availability.
#Prerequisites
This Nextcloud AIO tutorial involves a hands-on demonstration. To follow along, make sure you have the following:
-
An Ubuntu server (we'll be using a server from Cherry Servers in this tutorial);
-
A domain pointing to your server;
-
Docker Installed on the server;
#Install Nextcloud AIO on Docker: Step-by-Step process
The steps below show you how to install Nextcloud AIO on Docker; the process is split into two parts. In the first part, you’ll set up the project environment and learn how to configure a few settings on your server. After the server is ready, the second part shows how to install Nextcloud without relying on additional web server or proxy configurations.
#Part 1: Set up the project environment
Here, you'll start by configuring a few settings on your server for the Nextcloud installation.
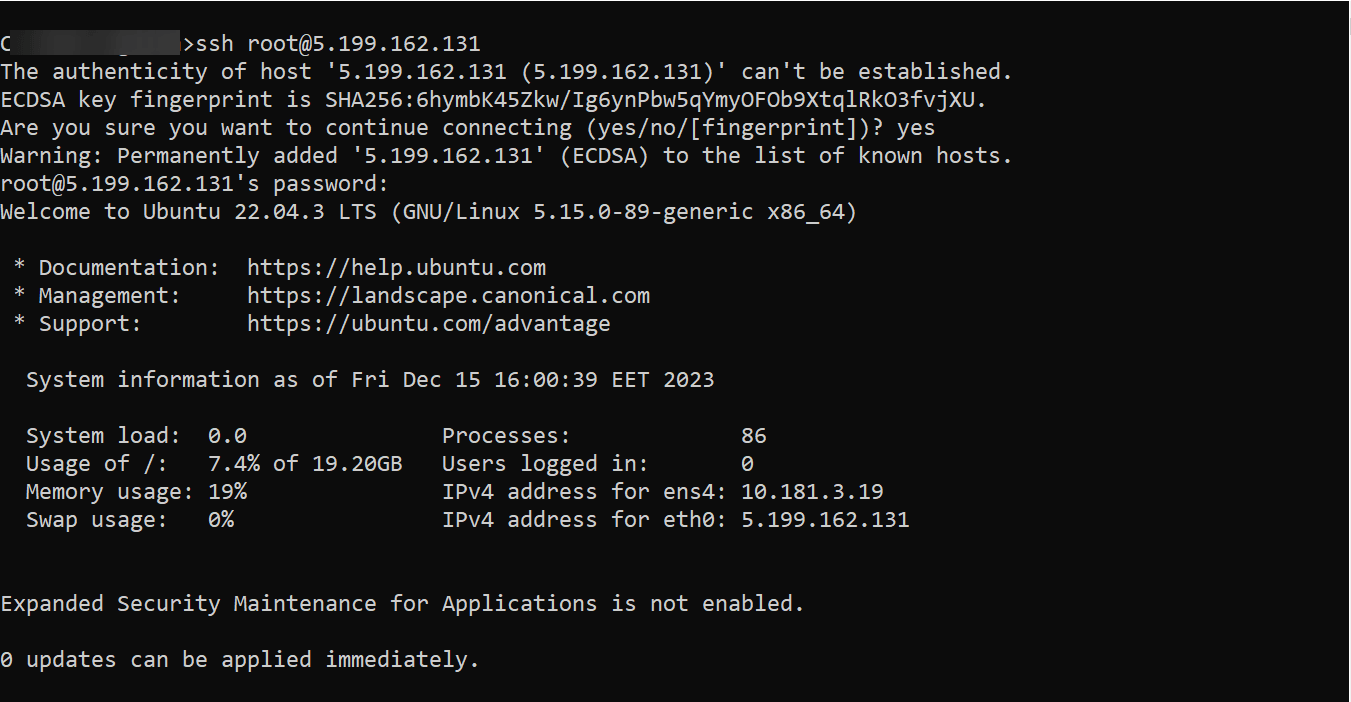
#Step 1 - Connect to the server
Begin by connecting to your server through SSH. In your terminal, type the following command:
ssh user@your_server_IP
Replace "user" with your username and "your_server_IP" with your server's IP address.
#Step 2 - Verify Docker installation
Now confirm that you have Docker installed on your server using the command:
systemctl is-active docker

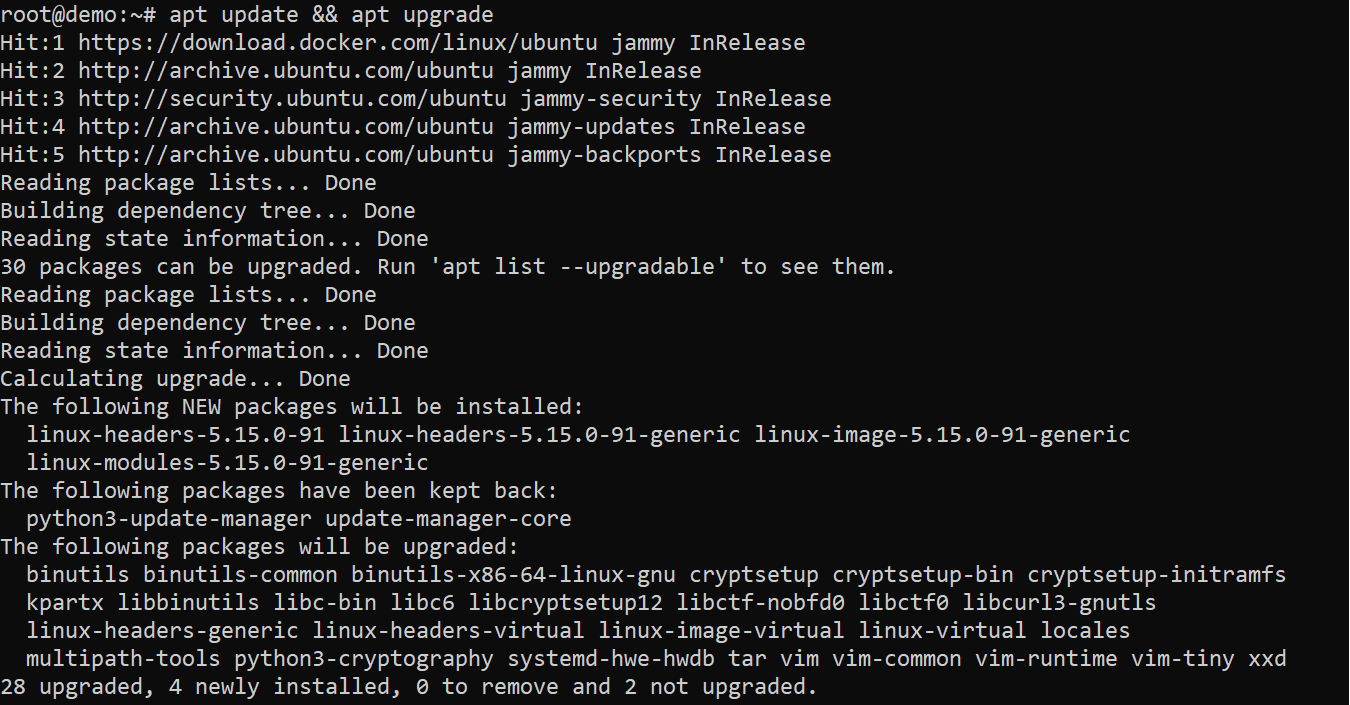
#Step 3: Update system packages
Next, update the server's system packages by running:
apt update && apt upgrade
#Step 4 - Update server hostname
Next, update the server hostname to match the domain pointing to your server. Using the Nano editor, open the hostname file using the following command:
sudo nano /etc/hostname
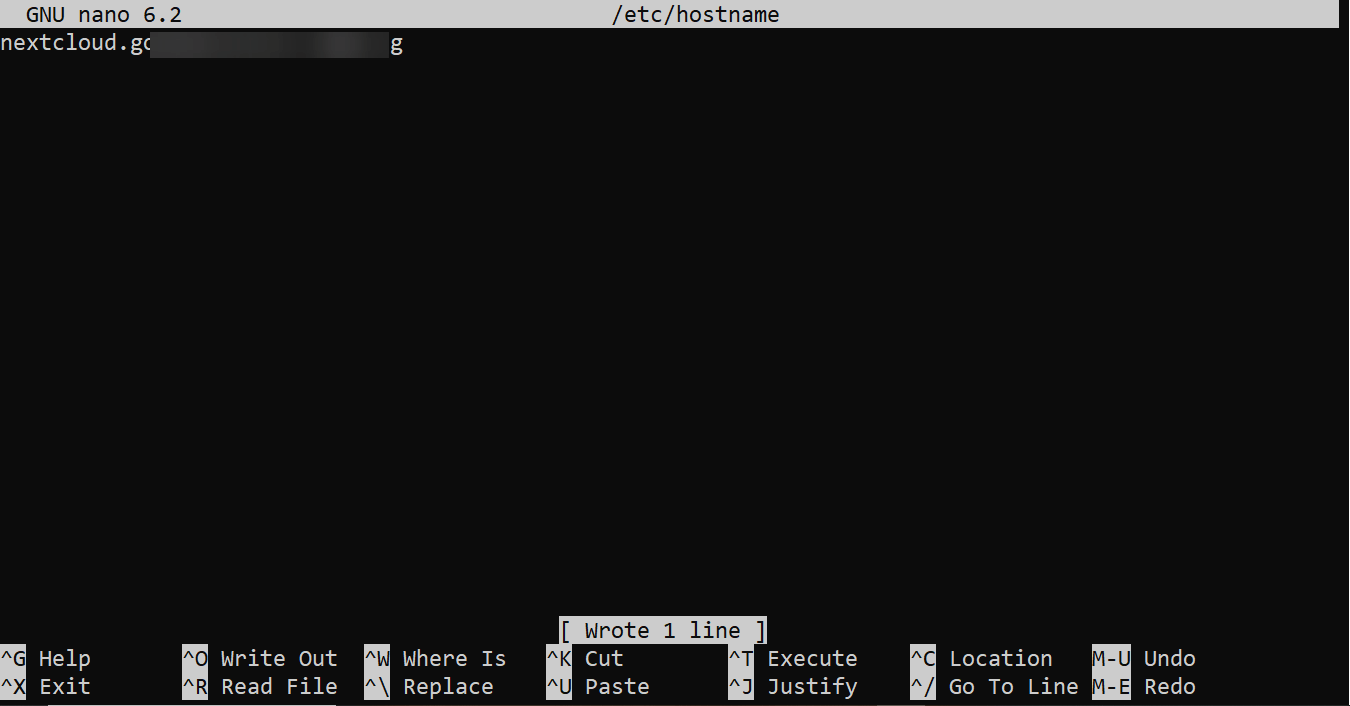
Enter the domain and save the file.
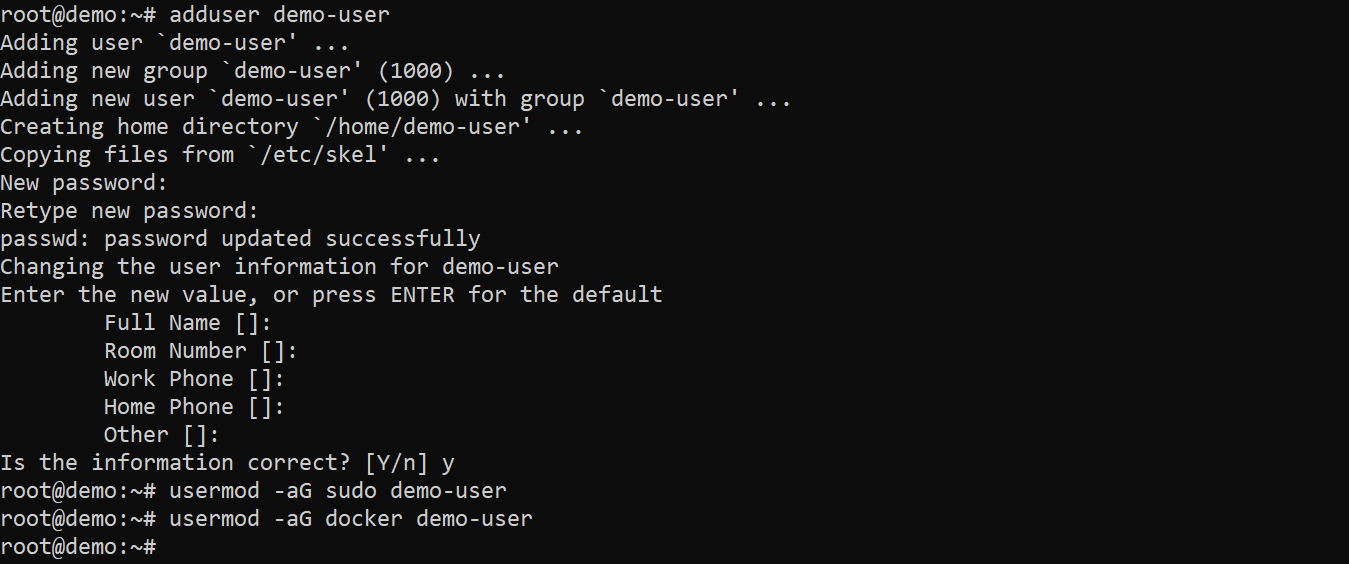
#Step 5 - Create a local user with sudo and Docker access
Next, create a non-root user and grant them access to both sudo and Docker groups. Run the following commands:
adduser demo-user
usermod -aG sudo demo-user
usermod -aG docker demo-user
You can replace "demo-user" with a username you prefer.
#Step 6 - Enable the firewall and reboot the server
Next, execute these commands to enable the firewall and open the necessary ports for Nextcloud:
sudo ufw allow 22/tcp && sudo ufw enable
sudo ufw allow 80/tcp
sudo ufw allow 443/tcp
sudo ufw allow 8080/tcp
sudo ufw allow 8443/tcp
sudo ufw allow 3478
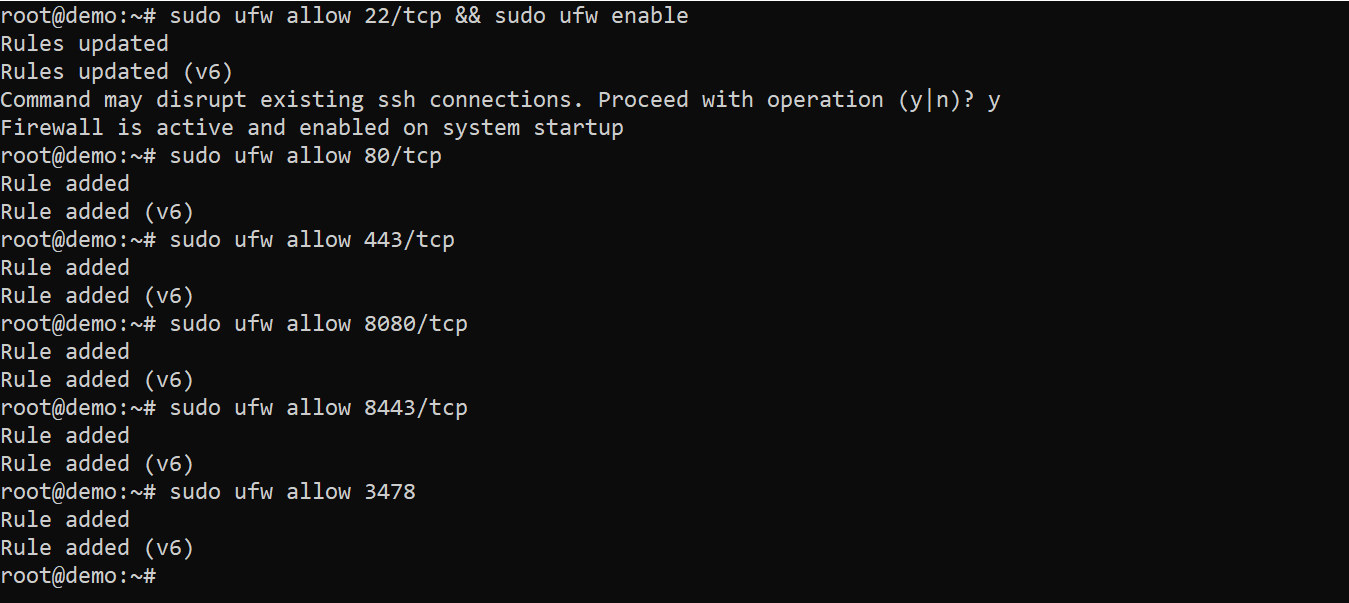
Once done, reboot the server to apply the changes:
reboot

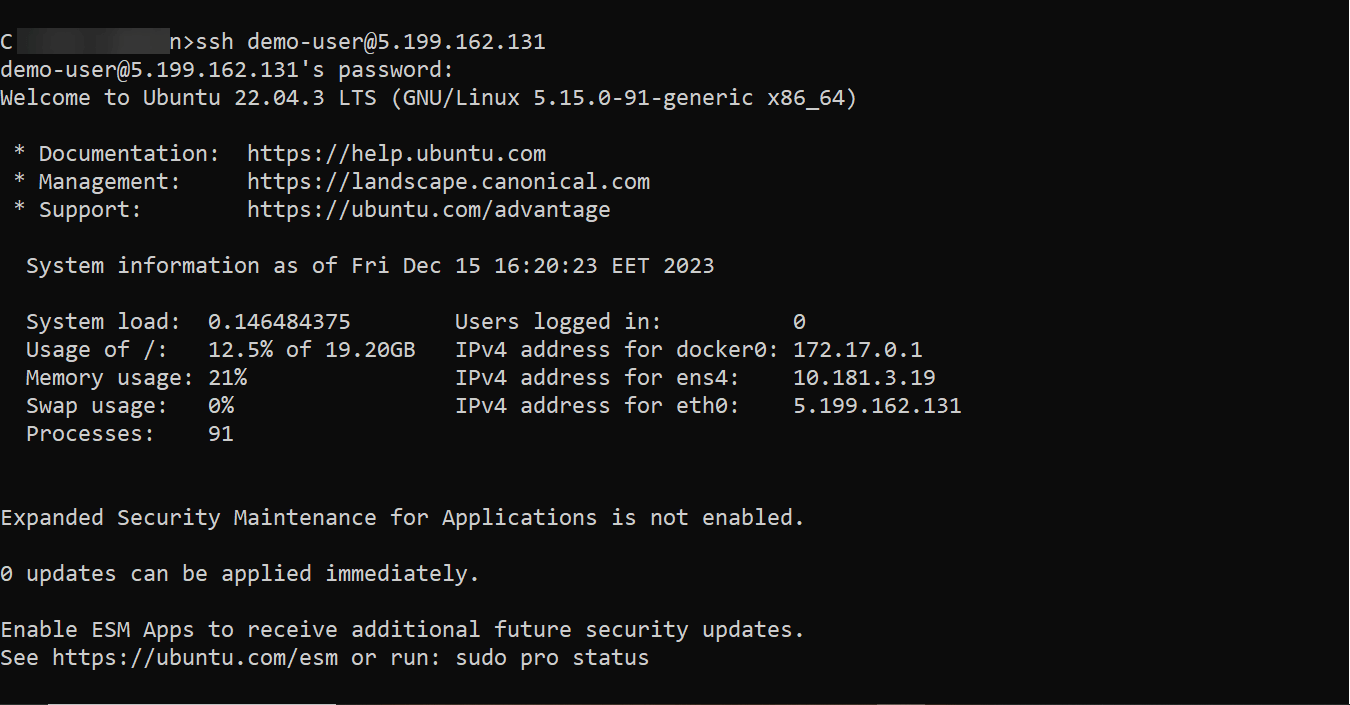
#Step 7 - SSH into the server as the local user
Now, connect to your server using the local user you set up. Run the following SSH command:
ssh demo-user@your_server_IP
#Part 2: Install Nextcloud AIO (All-in-One)
Now, your server is ready for the Nextcloud AIO installation. In this section, you'll go through the steps of installing Nextcloud without relying on additional web server or proxy configurations.
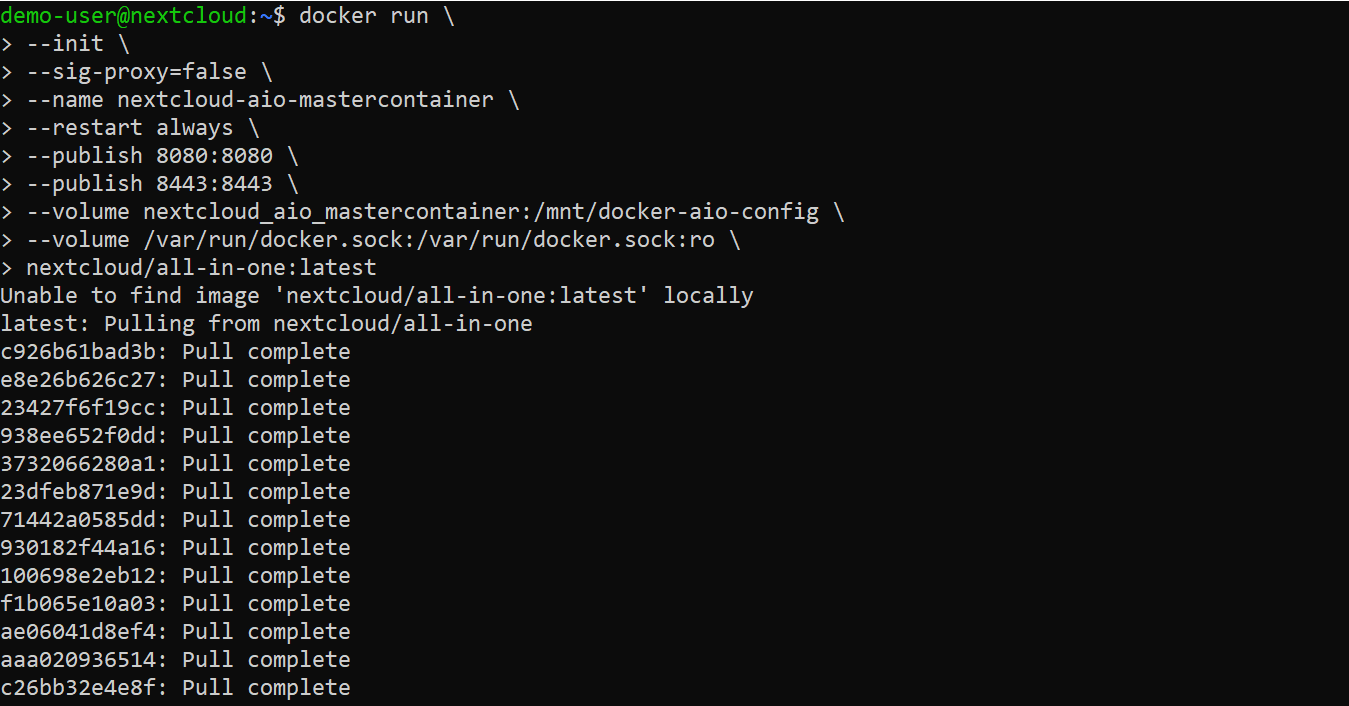
#Step 1 - Start the Nextcloud container
To start the Nextcloud AIO container, execute the following command:
docker run \
--init \
--sig-proxy=false \
--name nextcloud-aio-mastercontainer \
--restart always \
--publish 80:80 \
--publish 8080:8080 \
--publish 8443:8443 \
--volume nextcloud_aio_mastercontainer:/mnt/docker-aio-config \
--volume /var/run/docker.sock:/var/run/docker.sock:ro \
nextcloud/all-in-one:latest
This command will pull and extract all the necessary files and get the Nextcloud AIO container up and running. The Nextcloud AIO container bundles all the components required for Nextcloud.
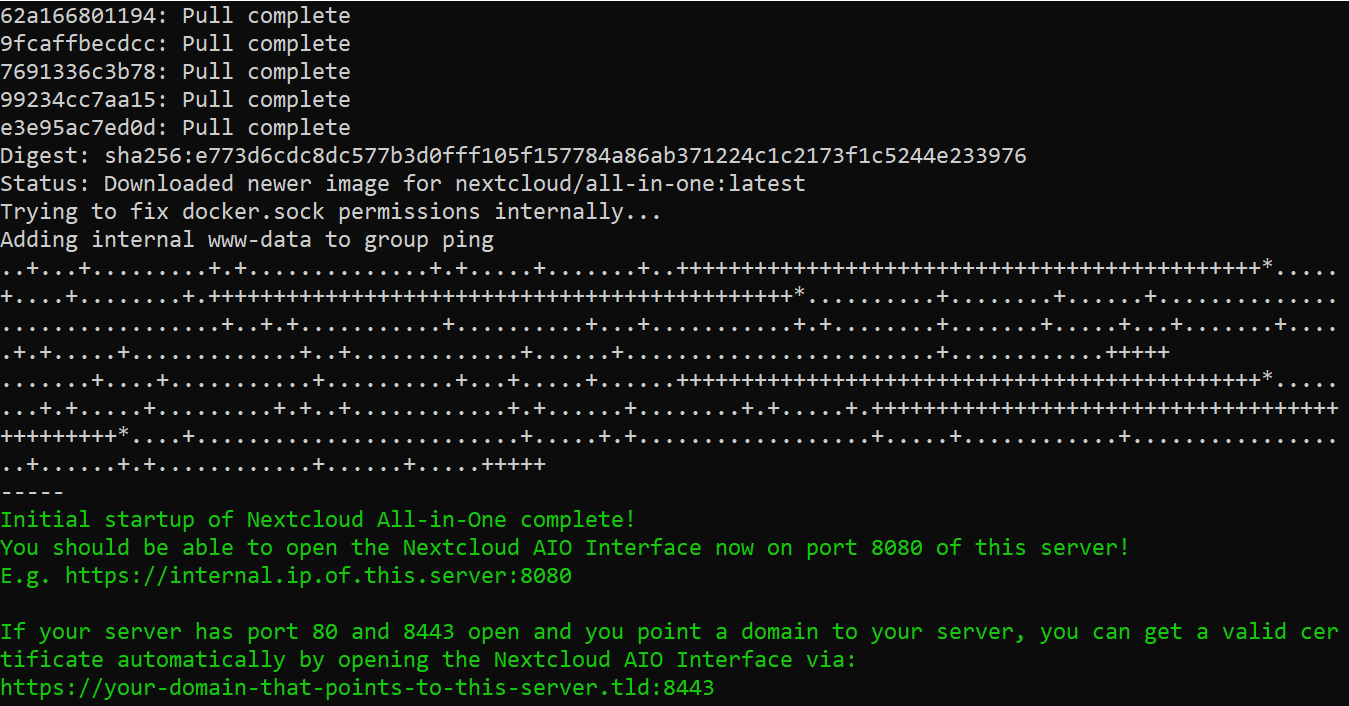
#Step 2 - Access the Nextcloud AIO setup interface
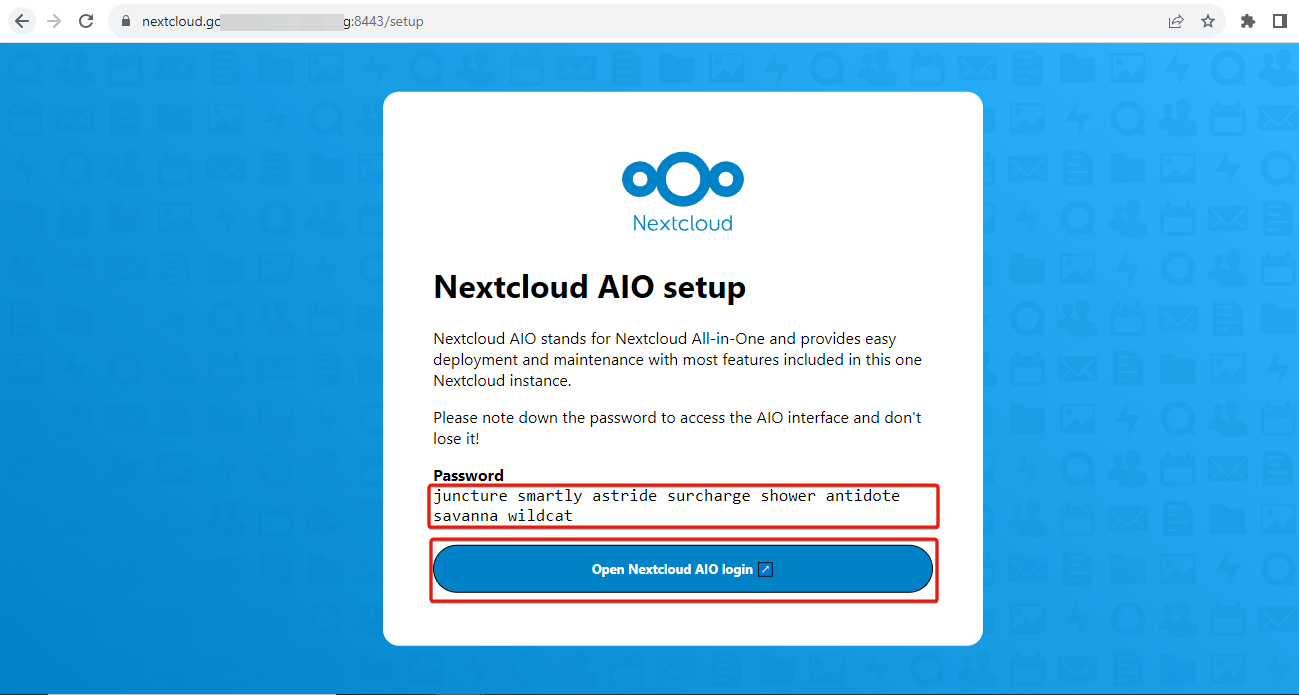
After the initial setup, you can access the Nextcloud AIO interface either by going to https://internal.ip.of.your.server:8080 or if your server uses ports 80 and 8443 and you've linked a domain, access the Nextcloud AIO Interface at https://your-nextcloud-domain:8443 in your browser.
On the setup page, you should see a password displayed. Save the password for later use. Click "Open Nextcloud AIO" to go to the login page.
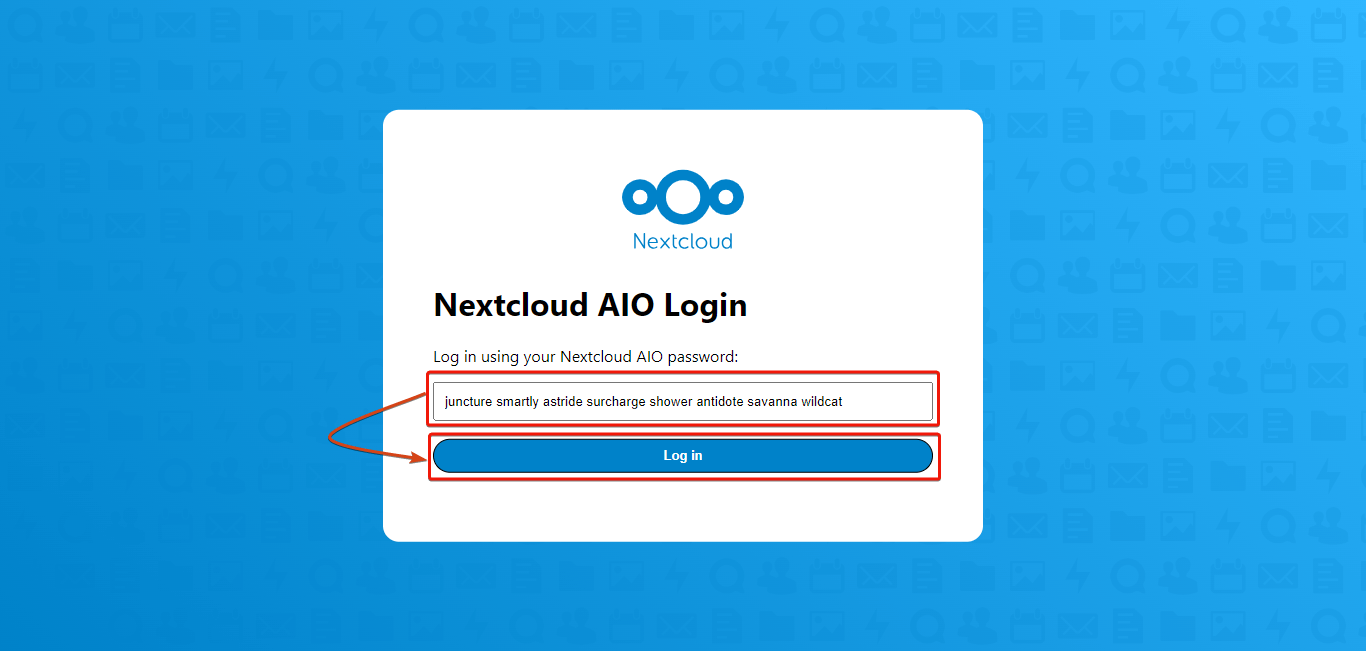
#Step 3 - Login to Nextcloud AIO
On the Nextcloud AIO login page, input the password you saved earlier and click "Log in".
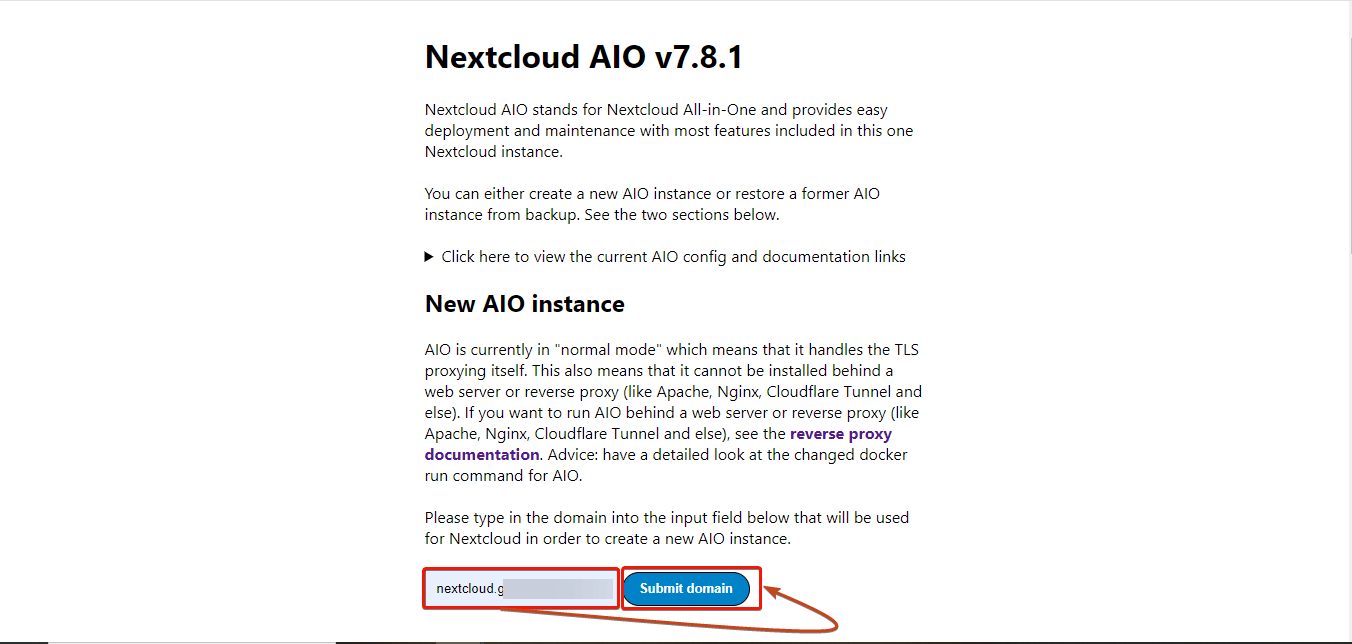
#Step 4 - Configure the domain for your Nextcloud AIO instance
On the next page, the container page, you'll be required to input the domain you want to use to create a new Nextcloud AIO instance. After inputting the domain, click on "Submit domain".
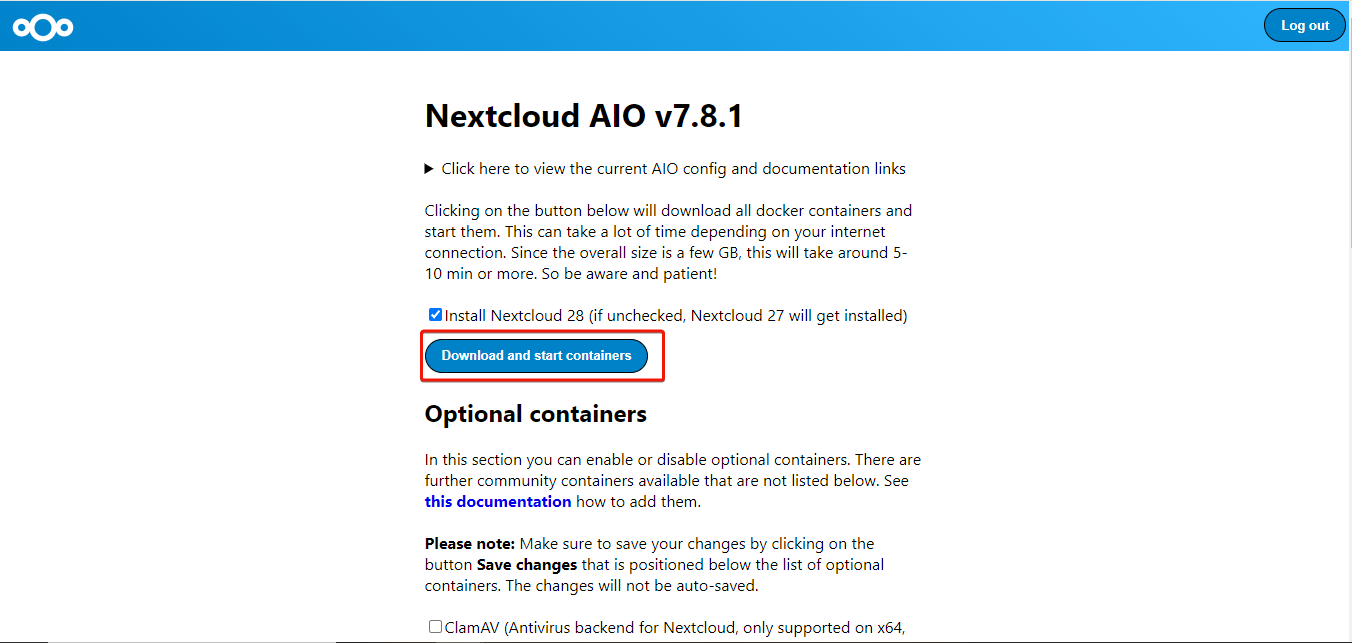
#Step 5 - Install Nextcloud AIO
Next, let’s install Nextcloud AIO. For this, select the optional containers you'd like to enable and click the "Download and start containers" button.
You should see an indication that the containers are being downloaded.
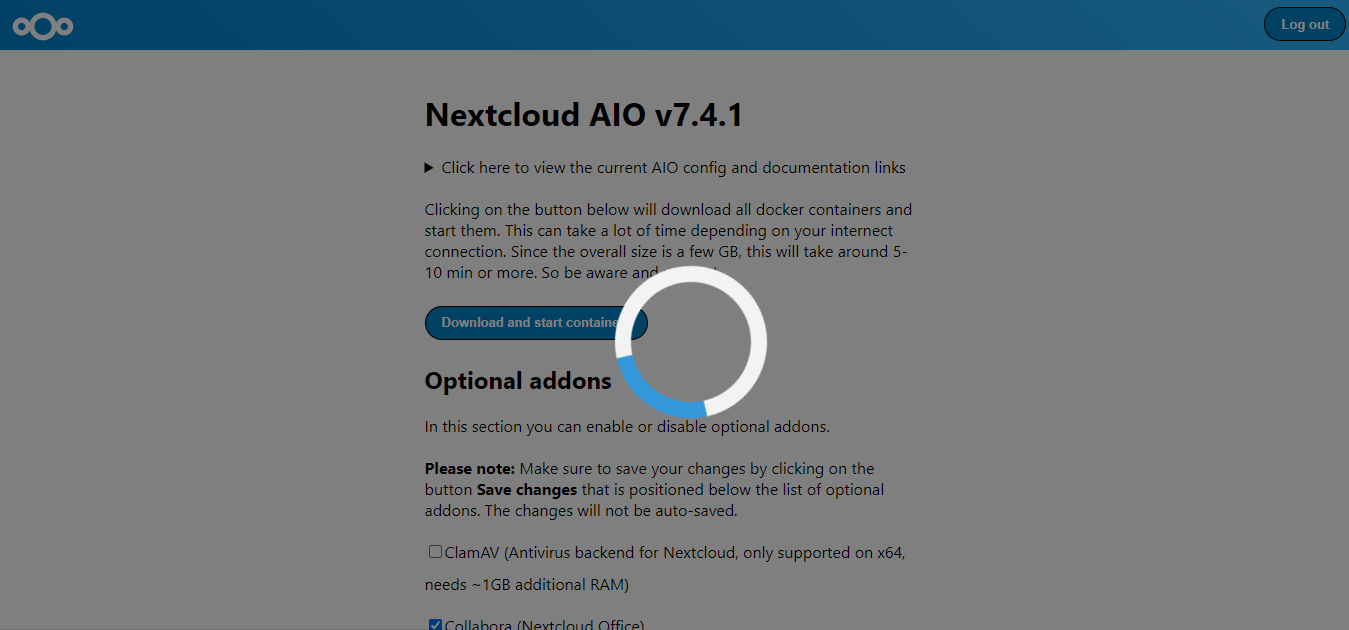
Once downloaded, you should see a message on the screen that the containers are starting.
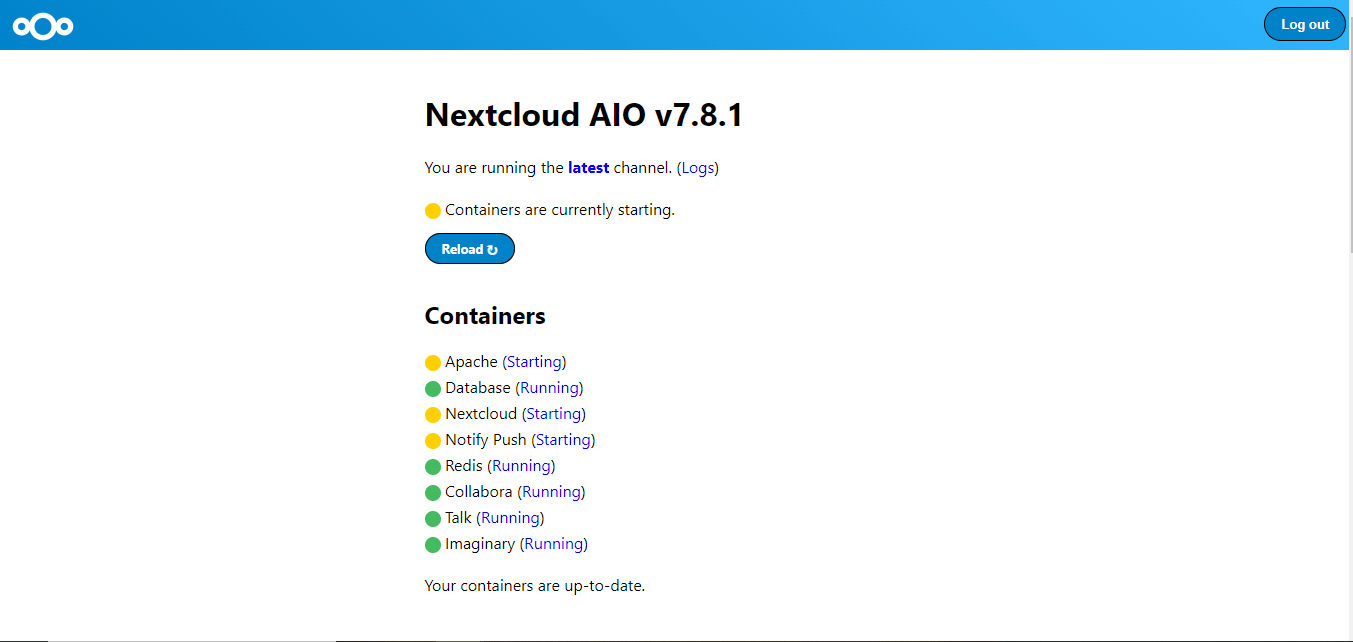
Wait until you see that all the containers have started. With all the containers running (green circles), you should get an initial Nextcloud username and password generated.
#Step 6 - Access your Nextcloud AIO dashboard
Now, you can access the Nextcloud app. Click the "Open your Nextcloud" button to access the Nextcloud login page.
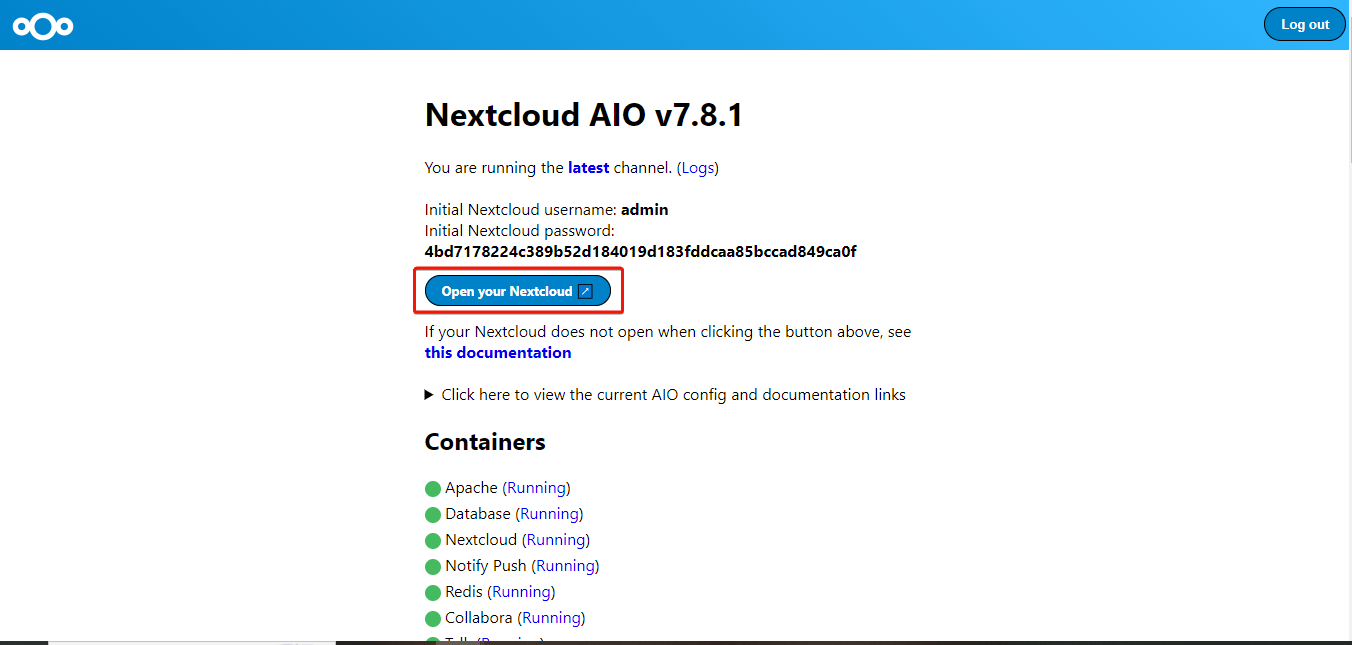
On the login page, input the initial Nextcloud username and password displayed.
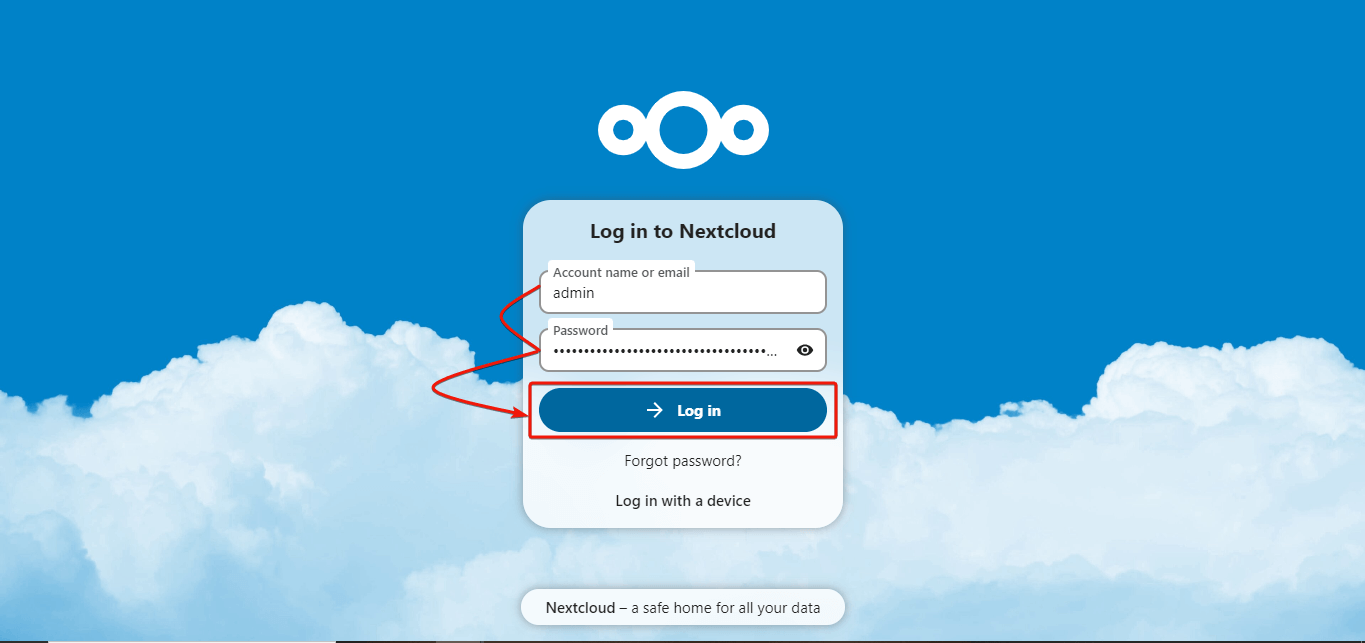
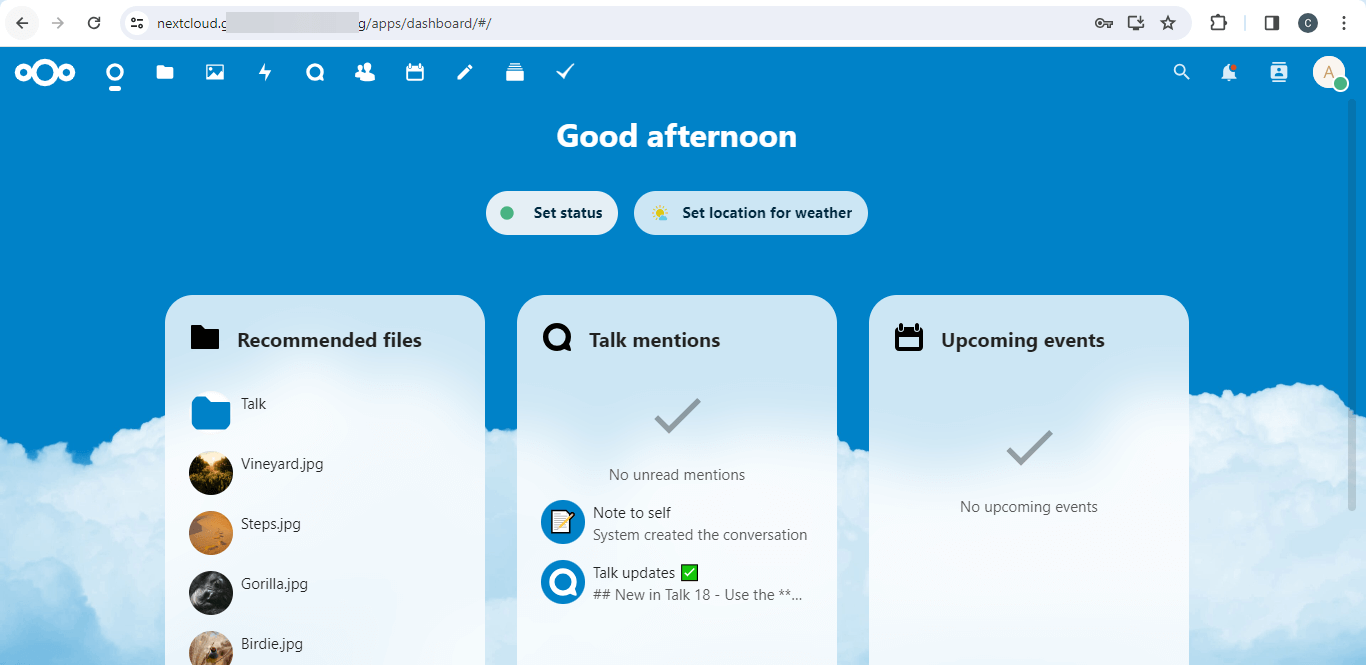
If successful, you should see your Nextcloud app dashboard.
#Conclusion
By the end of this tutorial, you should have your Nextcloud AIO application up and running. Nextcloud with the All-in-One Docker image offers simplicity, reduced configuration, and quick deployment.
You can explore advanced features and customization options using the Nextcloud AIO guide.


