How to Install Nextcloud on Docker | Step-by-Step Setup Tutorial


Nextcloud serves individuals and teams as a collaborative development platform, allowing developers to create customized apps and extensions. In this article, we'll briefly explain what Nextcloud is and then walk you through how to install Nextcloud on Docker using docker-compose scripting to ensure predictable and consistent behavior.
#What is Nextcloud?
Nextcloud is an open-source platform that offers the features of software like Office 365, Google Drive, and Onedrive, with the ability to host it on your own server (whether on-premise or in the cloud), having complete control over your data. It also offers seamless integration with third-party apps for extended functionality, and it is user-friendly, easy to maintain, and privacy-friendly.
#What is Nextcloud used for?
Nextcloud is used for file sharing and collaboration, allowing users to easily store, sync, and share things like files, photos, and documents across devices. In an all-in-one self-hosted platform, it combines cloud storage, collaboration, and office tools. It is essentially a private cloud alternative to public storage platforms, a self-hosted Dropbox, and an office suite.
Nextcloud officially supports multiple Linux servers, including Ubuntu, Debian, and CentOS, but can also run on Windows with additional configuration. It can be hosted on various server environments, including cloud servers, on-premise, virtual private servers, bare metal cloud, or by utilizing a fully managed Nextcloud hosting.
#Prerequisites
This is a practical demonstration for installing Nextcloud on Docker - to follow along, make sure you have the following:
- An Ubuntu server (for this demonstration, a server from Cherry Servers was used).
- Docker & Docker Compose installed.
#How to install and setup Nextcloud on Docker: Step-by-step process
Although you can install Nextcloud directly on your Ubuntu system, installing it on Docker will allow you to run Nextcloud on any OS with Docker installed, offering better portability and maintenance. We will show you how to install Nextcloud on Docker, including configuring your server environment. The steps are broken down into four sections:
- Setting up the project environment
- Installing Nextcloud on Docker
- Setting up HTTPS for Nextcloud
- Initial Nextcloud setup
Ready to supercharge your Docker infrastructure? Scale effortlessly and enjoy flexible storage with Cherry Servers bare metal or virtual servers. Eliminate infrastructure headaches with free 24/7 technical support, pay-as-you-go pricing, and global availability.
#1. Set up the project environment
In this first section, you'll begin by configuring your server environment to ensure it's ready for running Nextcloud on Docker. You will have everything set up following the below ten steps.
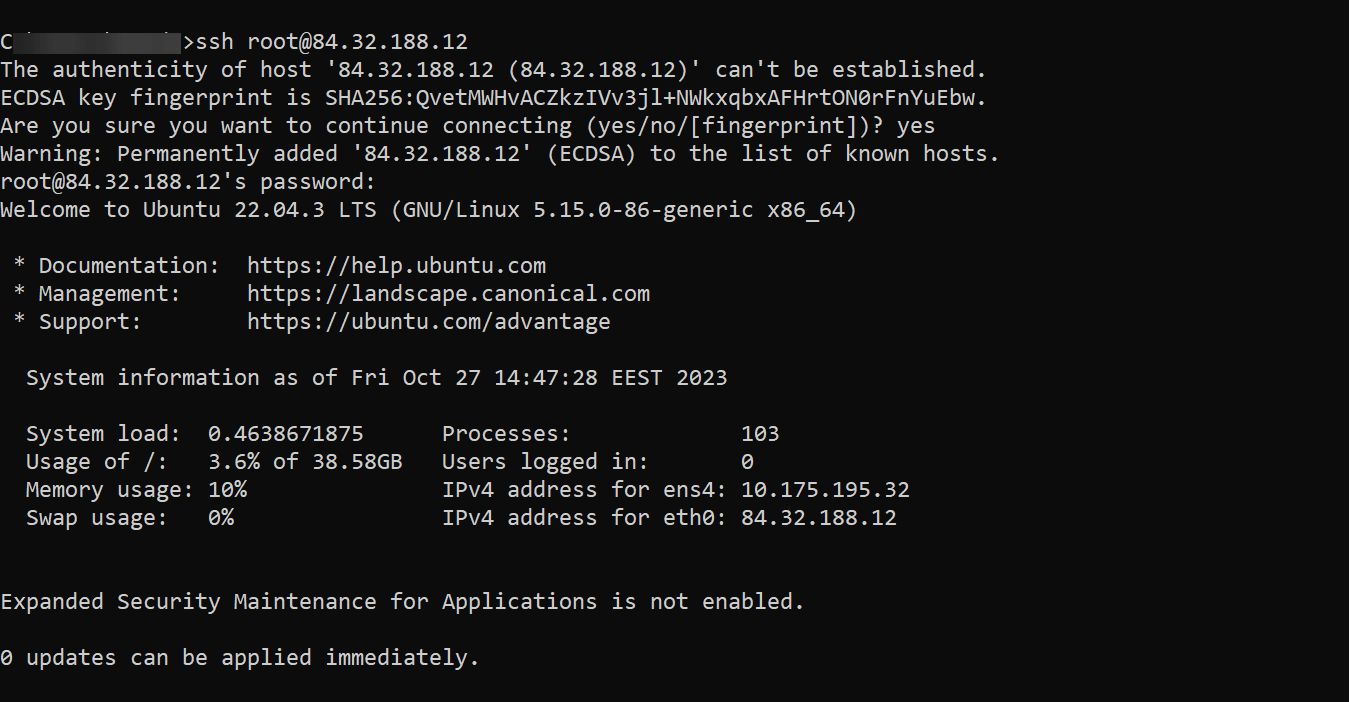
#Step 1 - SSH into the server
To start, establish a secure connection to your server using SSH (Secure Shell). Open your local terminal or command prompt and enter the following command, replacing "user" with your username and "your_server_IP" with your server's actual IP address:
ssh user@your_server_IP
#Step 2 - Verify Docker and Docker Compose installation
Before proceeding, it's essential to install Docker and Docker Compose on your server. You can verify their installation by running the following commands in your terminal:
systemctl is-active docker
docker-compose --version

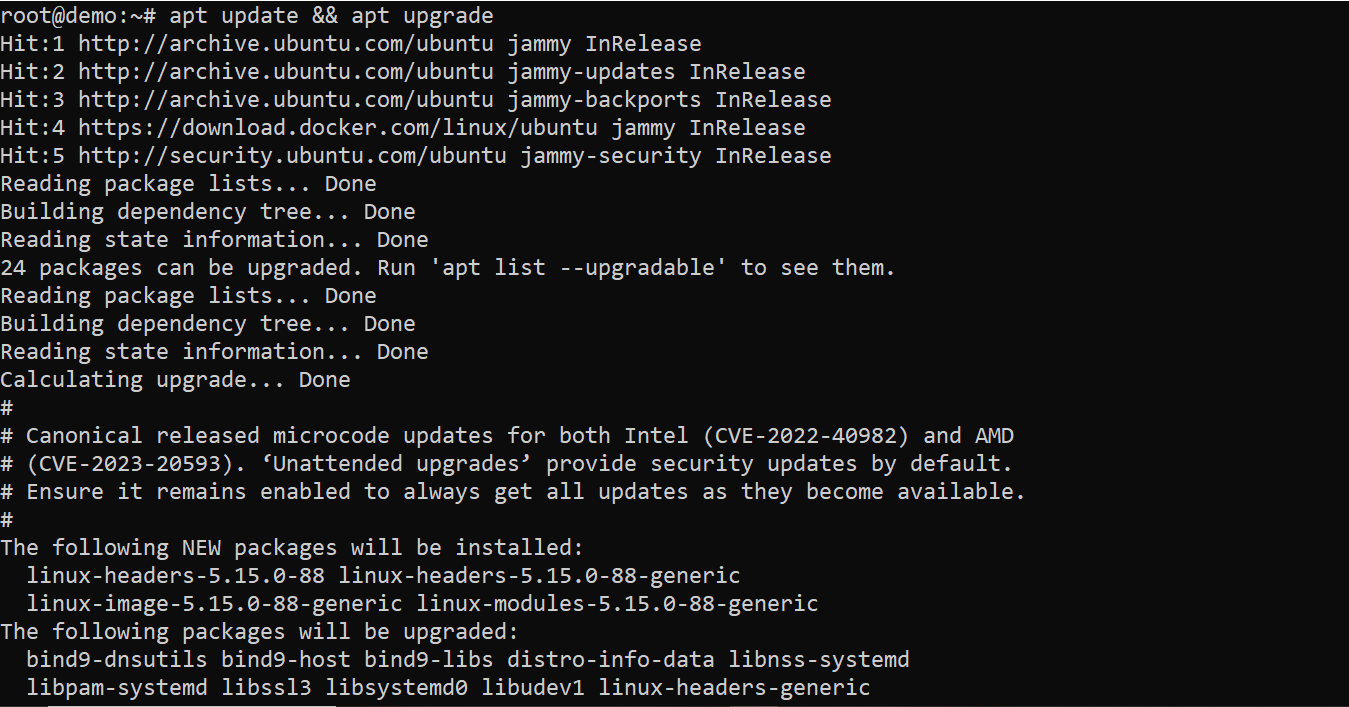
#Step 3: Update system packages
It's good practice to ensure that all the packages on your server are up to date. Run the following command to update system packages:
apt update && apt upgrade
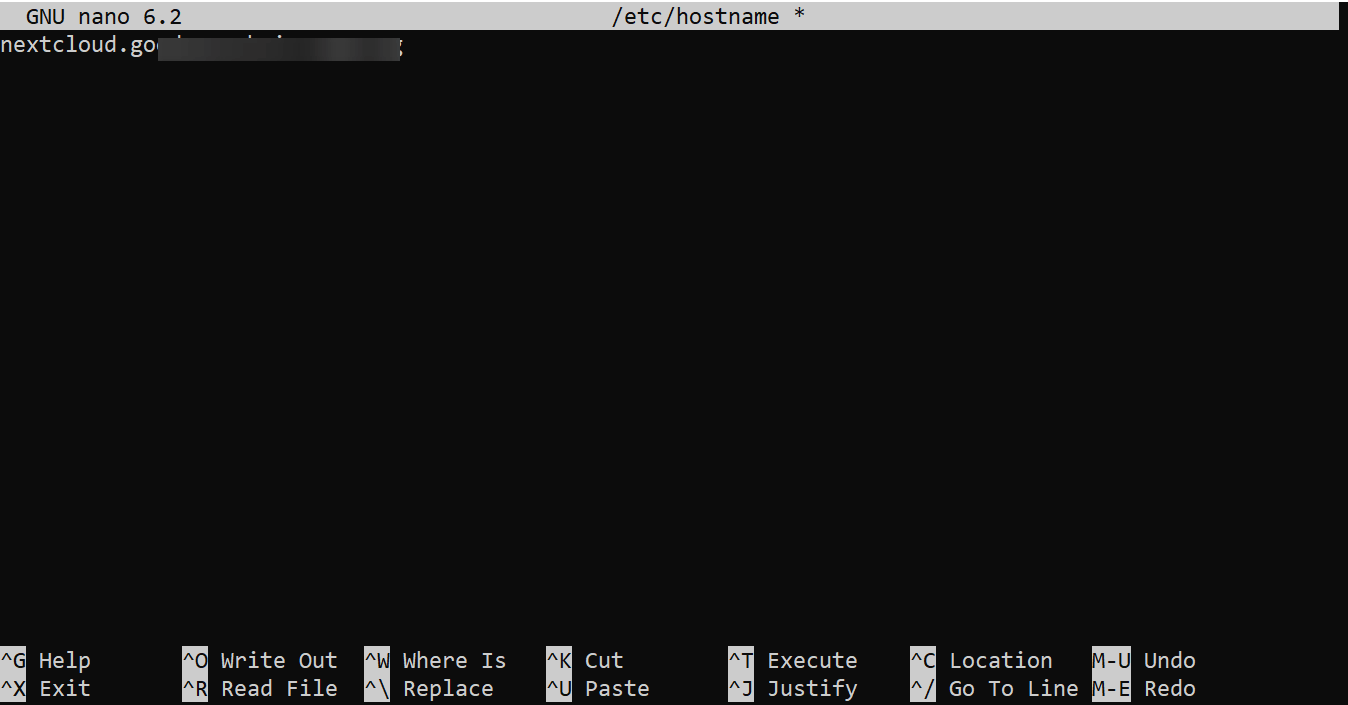
#Step 4 - Update server hostname
Next, update the server hostname to match your Nextcloud domain. If you have a domain pointing to your server, this step is important for better server management and accessibility. You can skip this if you plan to use the server's IP for access. Open the hostname file in the Nano editor using the following command:
sudo nano /etc/hostname
Enter your domain and save the file.
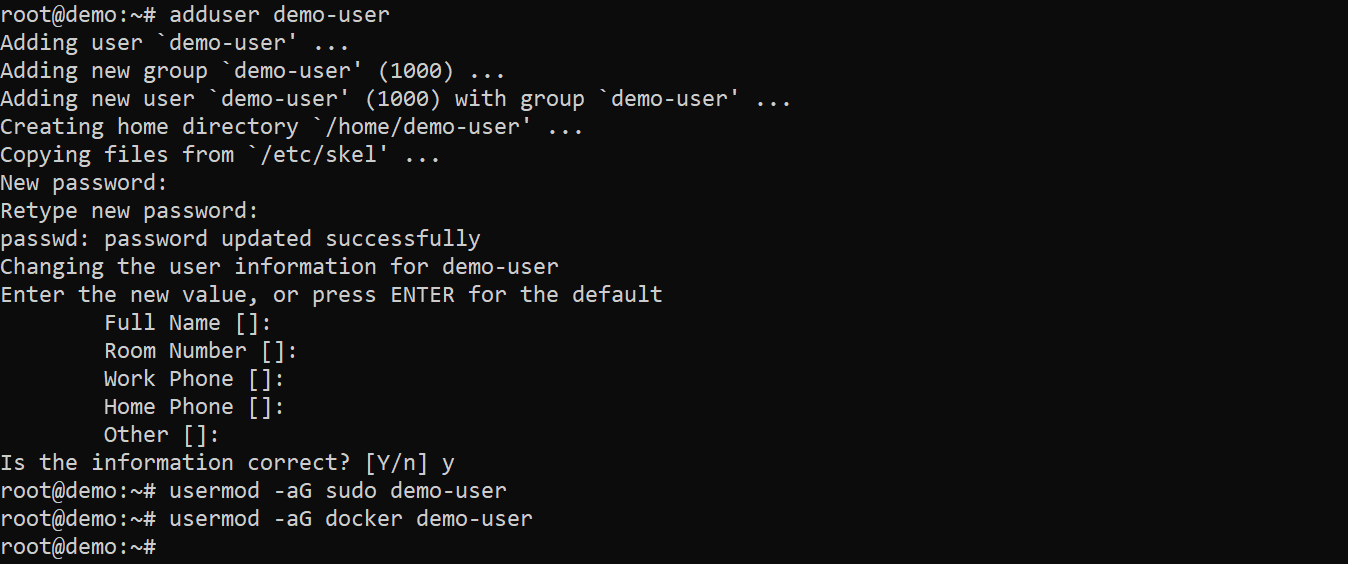
#Step 5 - Create a local user with sudo and Docker access
Here, you'll create a new user and grant them sudo privileges. By having a separate user with sudo access, you can perform administrative tasks while minimizing potential risks associated with root access. Additionally, you'll add Docker access for efficient Docker management.
Execute the following commands, replacing "demo-user" with your preferred username:
adduser demo-user
usermod -aG sudo demo-user
usermod -aG docker demo-user
With the hostname set, packages updated, and a new user created, reboot the server to effect the changes.
reboot
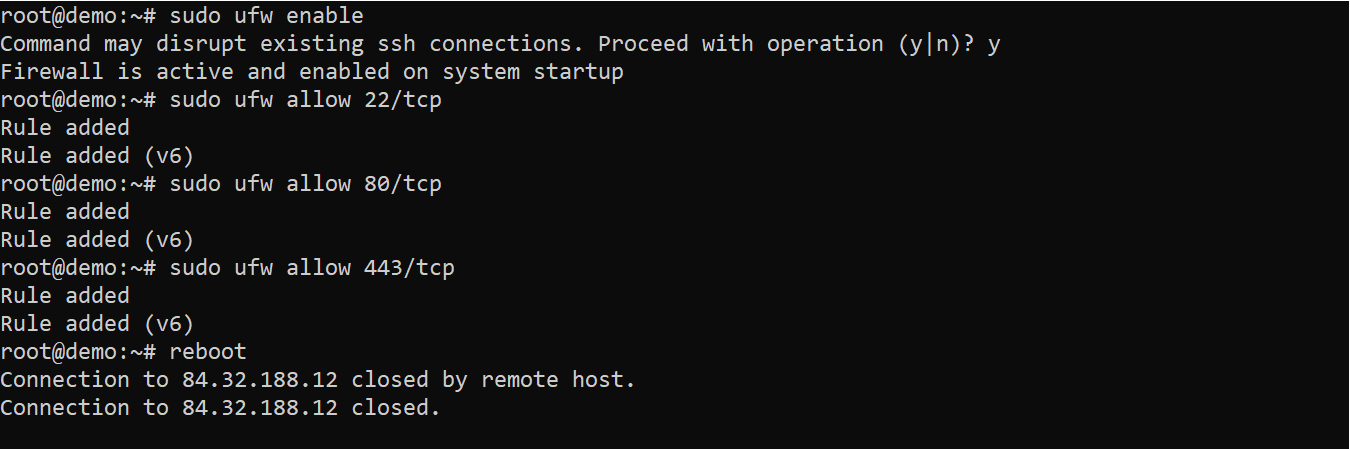
#Step 6 - Enable firewall and reboot the server
Next, you'll enable the firewall and specify which ports to open, ensuring that your server is both protected and accessible where needed.
sudo ufw enable
sudo ufw allow 22/tcp # Open SSH port for secure remote access
sudo ufw allow 80/tcp # Open HTTP port for web traffic
sudo ufw allow 443/tcp # Open HTTPS port for secure web traffic
Now proceed to reboot the server to effect the changes you've made so far:
sudo reboot
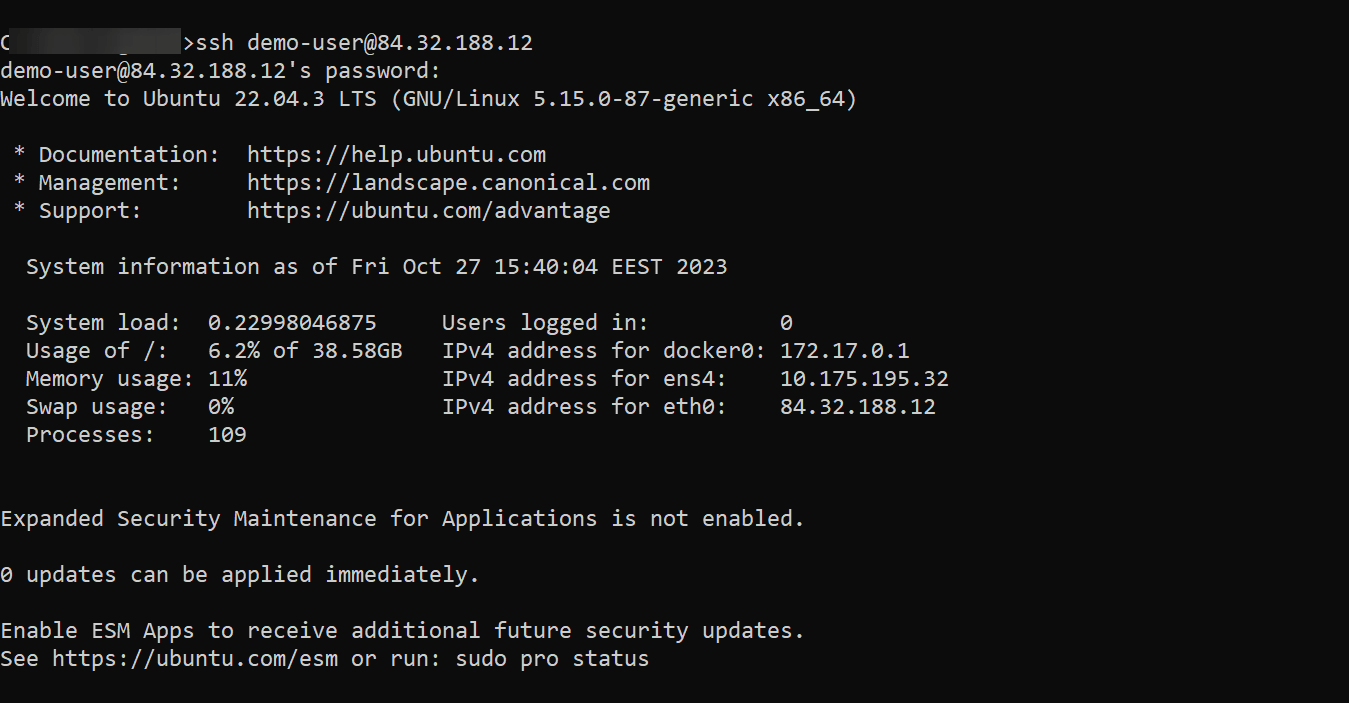
#Step 7 - SSH into the server as the local user
Now log back into the server as the new local user you created earlier.
ssh demo-user@your_server_IP
#Step 8 - Create a project directory
To stay organized, create a directory for your Nextcloud project. This directory will serve as the central location for your project files. Use these commands to create and navigate to it.
mkdir nextcloud
cd nextcloud

#Step 9 - Create a .env file
You can create a .env file for securely storing sensitive information, like passwords and secret keys. You would be storing your database details that would be used in the docker-compose configuration here. Use the following command to create and open the .env file of your choice, specifying its name:
sudo nano db.env
Add the following content to the file, replacing the values for MYSQL_ROOT_PASSWORD, MYSQL_PASSWORD, and MYSQL_USER. Be sure to use secure and unique passwords for the MySQL root user and the Nextcloud database user to enhance the security of your Nextcloud installation. Save the file after making the changes.
MYSQL_ROOT_PASSWORD=yoursqlrootpassword
MYSQL_PASSWORD=yourmysqlpassword
MYSQL_DATABASE=db
MYSQL_USER=yourmysqluser
To explain the above:
- MYSQL_ROOT_PASSWORD will set the password for the root user, which has full administrative access to the database.
- MYSQL_PASSWORD specifies the password for the Nextcloud database user. This user will be used by the Nextcloud application to interact with the database.
- MYSQL_DATABASE specifies the database name that we will create for Nextcloud.
- MYSQL_USER sets the username that Nextcloud will use to access the database.
These environment variables are essential for your Nextcloud setup. They provide the credentials and settings needed for Nextcloud to connect to the database. This connection allows Nextcloud to store, retrieve, and manage data in the database.
#Step 10 - Create a docker-compose.yml file
Next, use the following command to open the docker-compose.yml file in the nano editor:
sudo nano docker-compose.yml
Add the following content to the file and save.
version: '3'

services:
  db:
    image: mariadb
    restart: unless-stopped
    command: --transaction-isolation=READ-COMMITTED --binlog-format=ROW --innodb-file-per-table=1 --skip-innodb-read-only-compressed
    volumes:
      - db:/var/lib/mysql
    env_file:
      - db.env

  redis:
    image: redis
    restart: always
    command: redis-server --requirepass your_redis_password

  app:
    image: nextcloud:latest
    restart: unless-stopped
    ports:
      - 8080:80
    links:
      - db
      - redis
    volumes:
      - nextcloud:/var/www/html
    environment:
      - MYSQL_HOST=db
      - REDIS_HOST_PASSWORD=your_redis_password
    env_file:
      - db.env
    depends_on:
      - db
      - redis
volumes:
  db:
  nextcloud:
Now to explain what each part in the code above is doing:
- version: '3': This line specifies the version of the Docker Compose file format being used.
- services: This section defines the individual containers or services that make up the application.
- db: This service uses the MariaDB image, serving as the database for Nextcloud. The database is set to restart unless explicitly stopped. The database data is stored in a volume named "db". The "env_file" directive imports sensitive environment variables from the "db.env" file to set up the database.
- redis: This service uses the Redis image, which is a caching server.
- app: This service runs Nextcloud itself. It uses the Nextcloud image. It exposes port 8080 on the host, linking the service to the "db" and "redis" containers. Data is stored in a volume named "nextcloud," and environment variables are used to configure the database and Redis settings. It depends on the "db" and 'redis' services.
- volumes: This section defines named volumes used to store data persistently. "db" and "nextcloud" are the named volumes for the MariaDB database and Nextcloud application data.
In summary, this Docker Compose configuration sets up a Nextcloud application with a MariaDB database and Redis caching. It ensures that all services are configured correctly and that data is stored persistently in volumes.
#2. Install Nextcloud on Docker
Having set up your project environment, you're now ready for the actual installation. In this section, we'll guide you through how to install Nextcloud on Docker in two steps, ensuring you have a secure and efficient self-hosted Nextcloud instance.
#Step 1: Run docker-compose up
In the project directory where you have the docker-compose.yml file, run the following command to initiate the deployment of your Nextcloud instance:
docker-compose up -d
This will start the containers and run them in a detached mode in the background.
When the process is completed, you should get a similar output as in the image below:

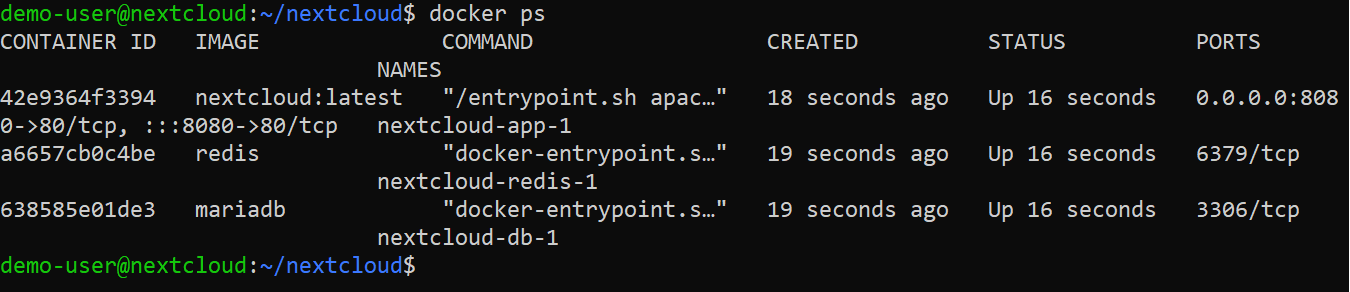
#Step 2: Confirm that the containers are running
To ensure that the containers are up and running as expected, execute the following command:
docker ps
You can also list the volumes by running:
docker volume ls

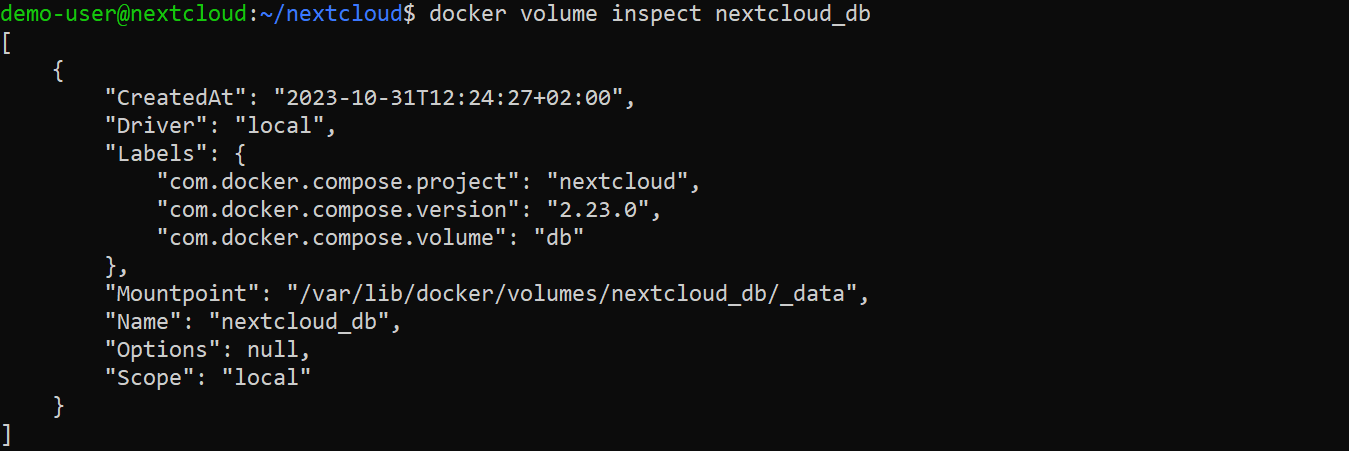
To inspect the volumes, run the following:
docker volume inspect nextcloud_db
docker volume inspect nextcloud_nextcloud
The docker volume inspect command will provide you with detailed information about a volume, including its mount point on the host and any specific settings associated with it.
With the Nextcloud container running, you can access the installation page in your web browser by entering http://your_server_IP:8080) or using the associated domain if it has an SSL certificate (https://your_domain for HTTPS).
#3. Set up HTTPS for Nextcloud
Now that we have completed the Docker Nextcloud installation, securing access to your Nextcloud is essential for maintaining your data's confidentiality, integrity, and privacy. It's highly recommended that you secure access to your Nextcloud application if your server is publicly accessible and you have a domain.
This section will guide you through setting up HTTPS for your Nextcloud using an Nginx proxy server and a free SSL certificate from Let's Encrypt in five steps. If you don't have a domain, you can obtain a self-signed certificate using OpenSSL.
#Step 1 - Install Nginx
Begin by installing Nginx on your server. You can do that by running the command:
sudo apt-get install nginx
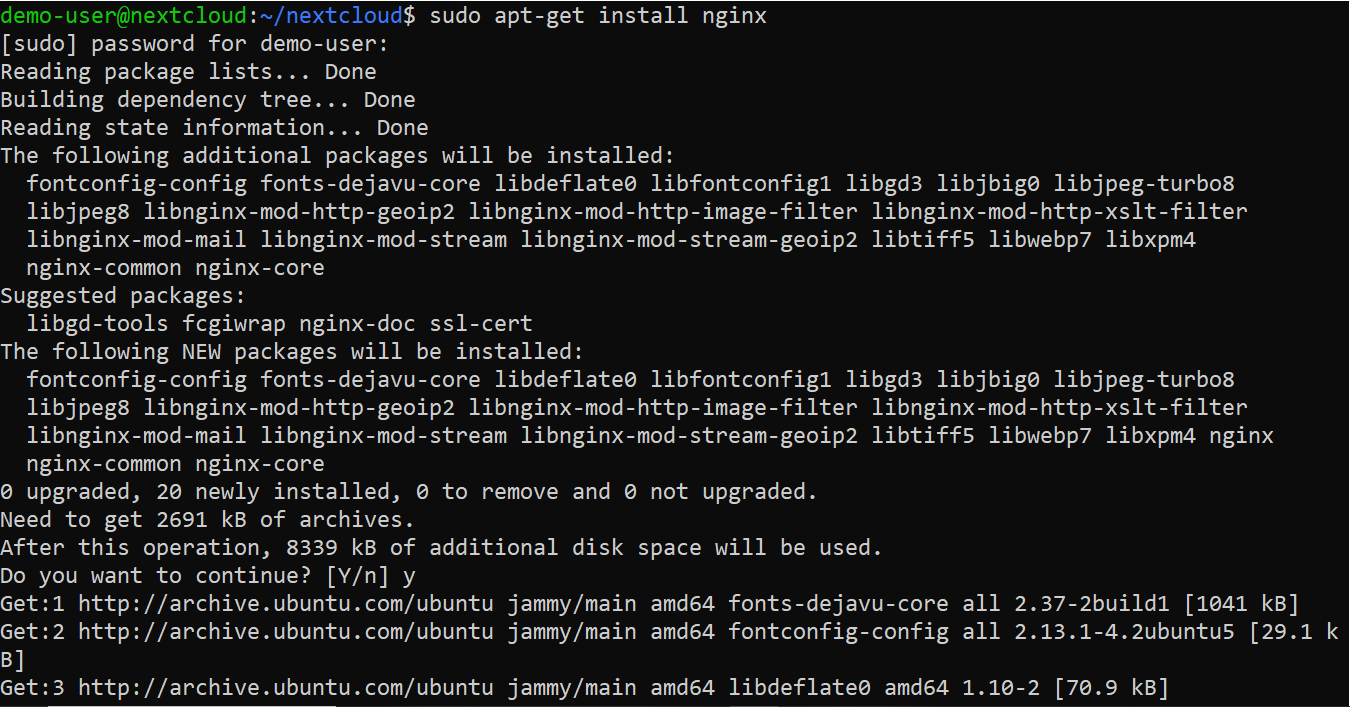
Once we complete this process, let's confirm that Nginx has been successfully installed by running:
sudo nginx -v

#Step 2 - Install Certbot
Next, install Certbot, which is a Let's Encrypt client used to generate Let's Encrypt certificates. You'd be installing Certbot using Snapd in the following steps:
-
Install snapd by running:
sudo apt install snapd -
Confirm that you have the latest version of snapd:
sudo snap install core; sudo snap refresh core -
Now, install Certbot using Snapd. If Certbot was previously installed using a different package manager, remove it before proceeding with the installation:
sudo snap install --classic certbot -
Create a symbolic link for the Certbot executable to make it easier to run the Certbot command:
sudo ln -s /snap/bin/certbot /usr/bin/certbot
#Step 3 - Create a configuration file for your domain
With Certbot installed, you can generate Let's Encrypt SSL certificates. But first, create an Nginx configuration file for your domain:
sudo nano /etc/nginx/conf.d/nextcloud.conf
Add the following configuration to the file and save it:
server {
    listen 80;
    listen [::]:80;
    root /var/www/html;
    server_name <your_domain>;

    location / {
        proxy_pass http://localhost:8080;
        proxy_set_header Host $host;
        proxy_set_header X-Real-IP $remote_addr;
        proxy_set_header X-Forwarded-For $proxy_add_x_forwarded_for;
        proxy_set_header X-Forwarded-Proto $scheme;
        add_header Strict-Transport-Security "max-age=31536000; includeSubDomains; preload";
        client_max_body_size 0;
    }

    location /.well-known/carddav {
      return 301 $scheme://$host/remote.php/dav;
    }

    location /.well-known/caldav {
      return 301 $scheme://$host/remote.php/dav;
    }

}
#Step 4 - Verify the configuration syntax and restart Nginx
To ensure the configuration is correct and restart Nginx, run the following command:
sudo nginx -t && sudo nginx -s reload

###Step 5 - Generate an SSL certificate using Let's Encrypt
Now, generate an SSL certificate for your domain using Certbot. Replace <domain> with your domain name and <email_address> with your email for certificate notifications:
sudo certbot --nginx -d <domain> -m <email_address> --agree-tos
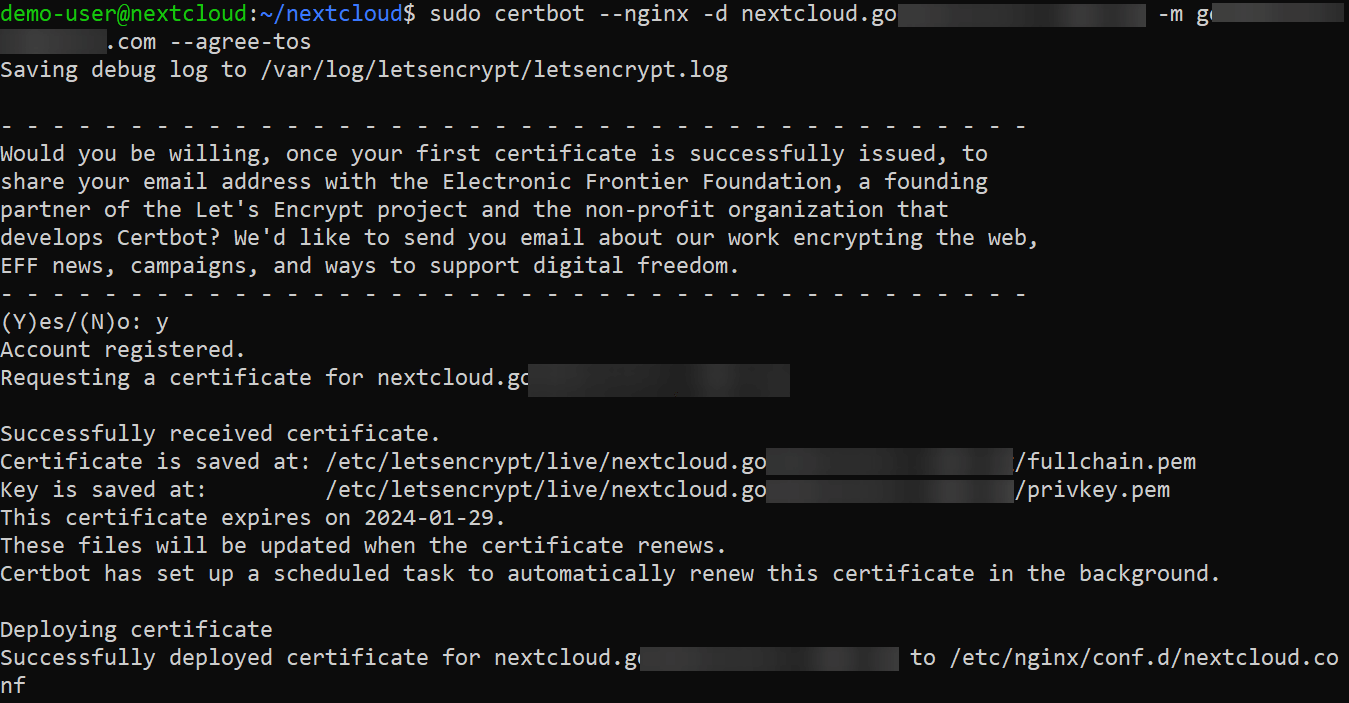
Certbot will automatically make the necessary modifications to your NGINX configuration to enable SSL/TLS for your domain. It locates the server block in your NGINX configuration that contains the server_name directive with the domain you're requesting a certificate for.
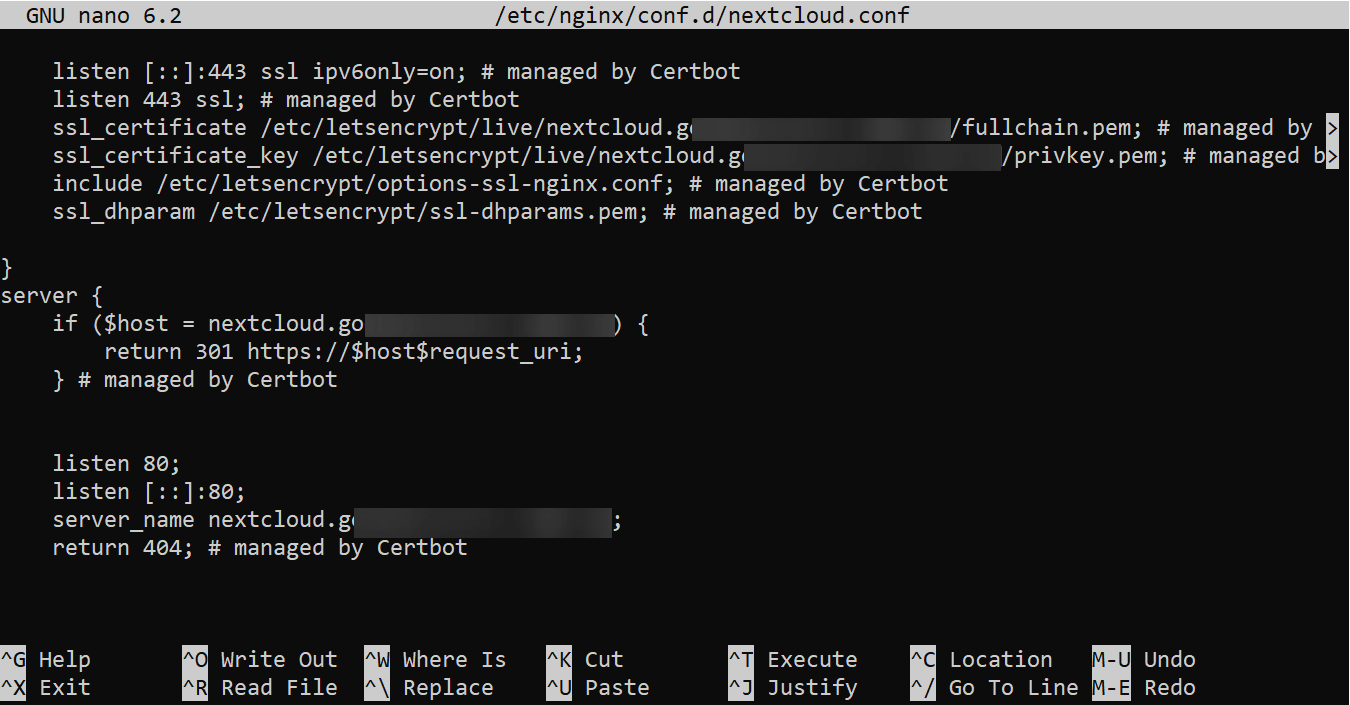
To confirm that the configuration file has been updated, open the file with the nano editor by running the following:
sudo nano /etc/nginx/conf.d/nextcloud.conf
#4. Initial Nextcloud Docker setup
With your server now configured for secure access using HTTPS, you can access Nextcloud securely on a web browser and continue with the installation process and Nextcloud setup.
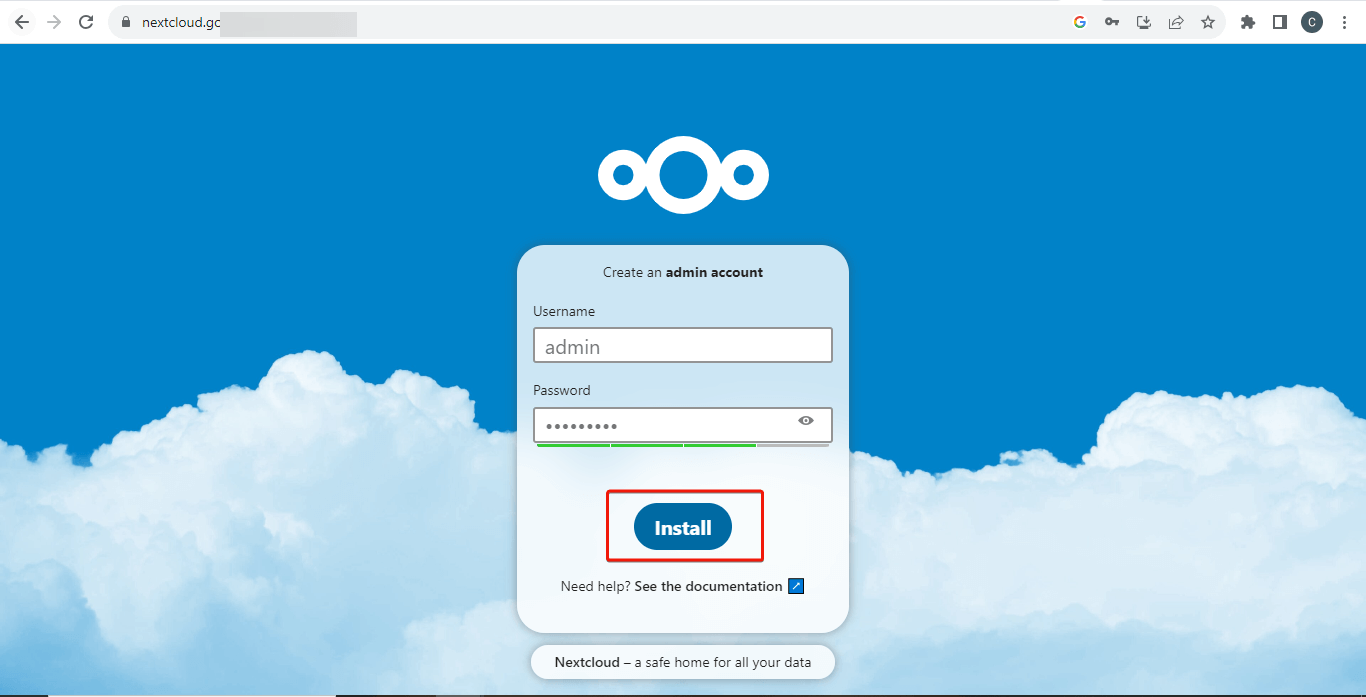
#Step 1 - Access Nextcloud on a web browser
Go to the domain (https://<your_Nextcloud_domain>) on a browser and you should see the start page.
Enter a new admin user and password in the Username and Password fields, respectively, and click on Install.
#Step 2 - Install the recommended apps
On the next page, you'll be prompted to install recommended apps. These apps provide additional functionality and features to enhance your Nextcloud instance. You can go ahead and do this or skip it.
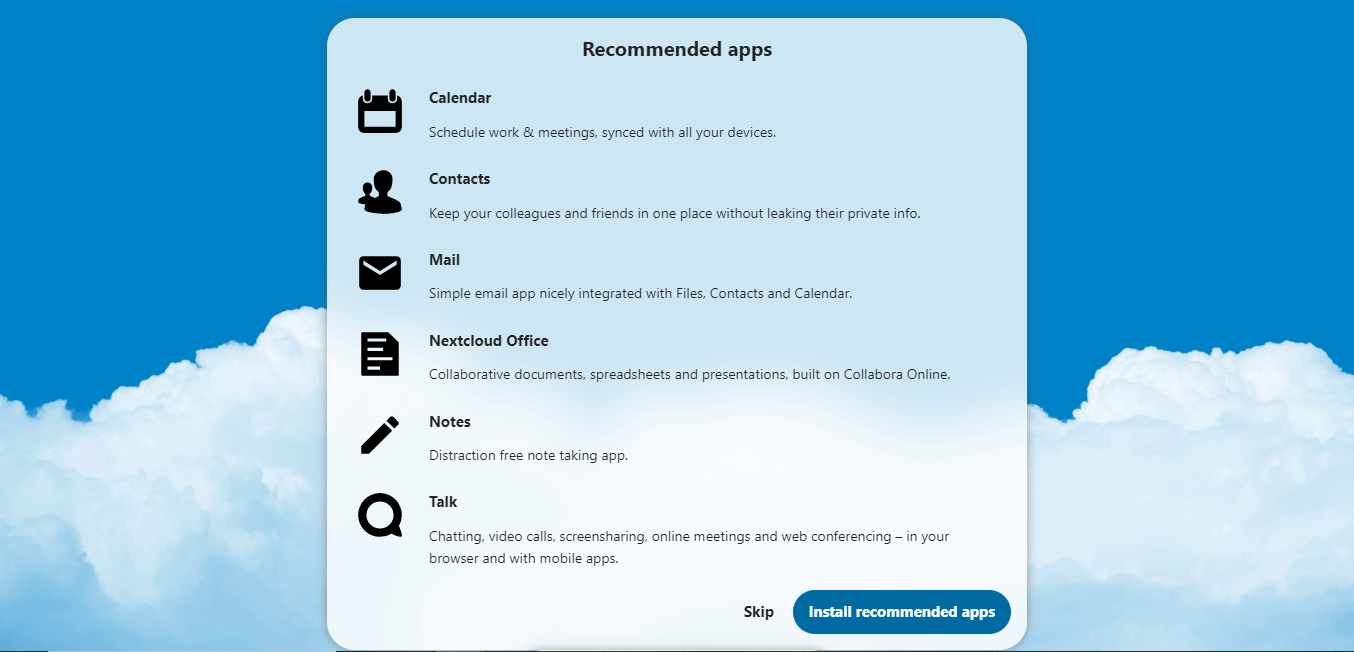
If you click to install the apps, you should see an indication that the apps are being installed.
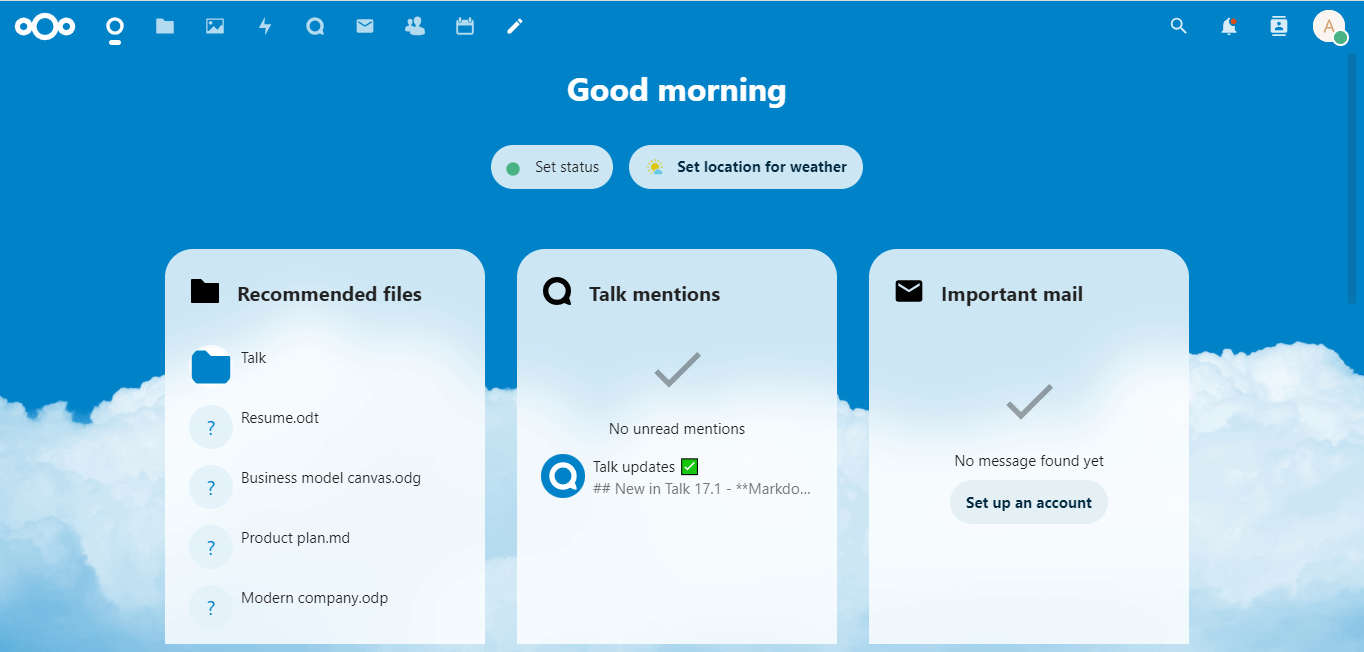
After installing the apps, you'll be automatically redirected to the default user dashboard.
#Conclusion
To summarize, this tutorial showed how to install Nextcloud on Docker. You now know how to successfully install Nextcloud as a Docker container on your Ubuntu server and how to use the Nginx reverse proxy server for your Nextcloud application. With functional cloud storage within your full control, you can explore the Nextcloud dashboard and experience all it offers. Check Nextcloud and Docker official documentation for more information.
Run Nextcloud seamlessly at scale with Cherry Servers bare metal cloud and virtual server solutions; with flexible on-demand billing options and free 24/7 technical support, you can optimize your total cloud costs.


