How to Create a Kubernetes Cluster with Minikube and Kubeadm


Experimenting with Kubernetes locally or preparing for a production deployment? Creating a cluster is the first step. You can create a Kubernetes cluster using tools like Minikube and Kind for a local development setup, use managed Kubernetes services from cloud providers, or a self-managed Kubernetes cluster using tools like Kubeadm.
In this guide, you’ll learn how to create a Kubernetes cluster using Minikube and Kubeadm.
#Prerequisites
This tutorial contains demonstrations. To follow along, ensure you have the following:
For Minikube:
A system with:
-
At least 2 CPUs
-
2GB of free memory
-
20 GB of free disk space
-
A container or virtual machine manager such as Docker, Podman, KVM, or VirtualBox
-
A good Internet connection
An Ubuntu server is being used for this demonstration.
For Kubeadm:
-
2 or more Ubuntu nodes (A master node and one or more worker nodes. This tutorial uses one master node and one worker node)
-
A minimum of 2 vCPU and 2GB RAM for the master node
-
A minimum of 1 vCPU and 2GB RAM for the worker node(s)
#What is a Kubernetes Cluster?
A Kubernetes cluster is a group of servers or nodes (physical or virtual) that work together to deploy, manage, and scale containerized applications. It consists of two main items: a control plane or master node and one or more worker nodes. The control plane coordinates the cluster and maintains its desired state while the worker nodes run the applications. Setting up your cluster offers scalability for growing workloads, flexibility, and cost control.
Build and scale your self-managed Kubernetes clusters effortlessly with powerful Dedicated Servers — ideal for containerized workloads.
#How to create a Kubernetes cluster using Minikube
Minikube is a tool that makes it easy to create a local Kubernetes cluster for development and testing purposes. A production Kubernetes cluster usually has multiple servers or nodes running your containers, but Minikube lets you quickly and easily create a compact single-node Kubernetes cluster. To create a cluster using Minikube, follow these steps:
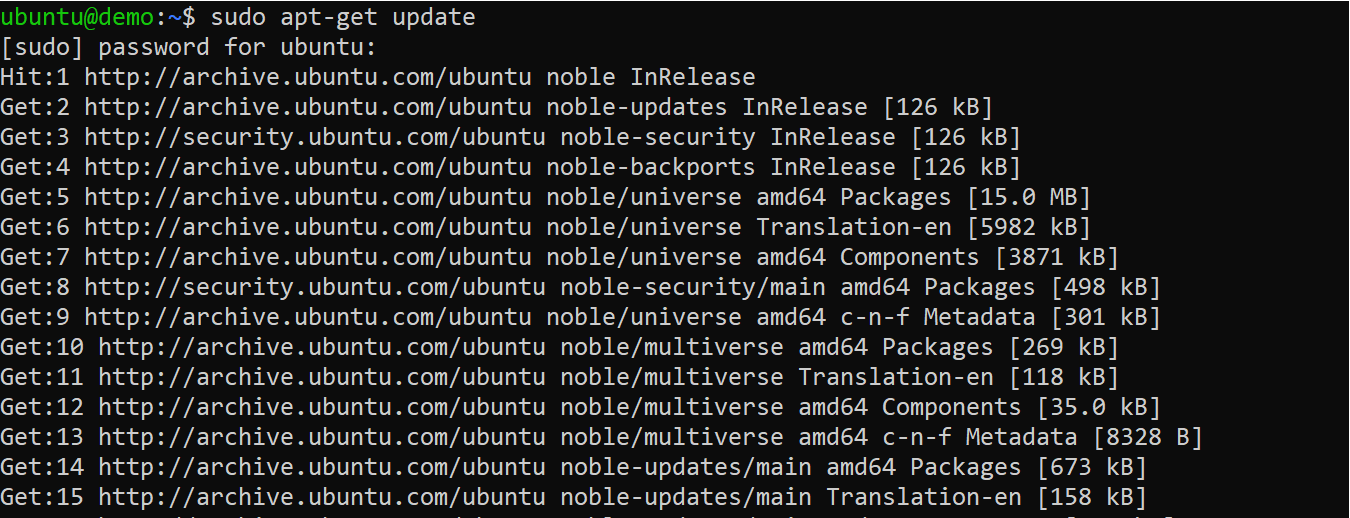
#Step 1: Update system packages and install dependencies
Start by updating your system's package index and installing the essential dependencies. Run the following commands on the nodes:
sudo apt update
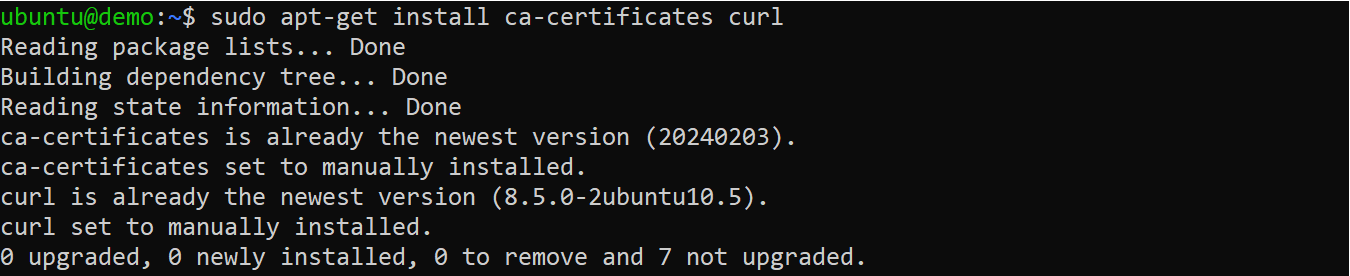
sudo apt install ca-certificates curl
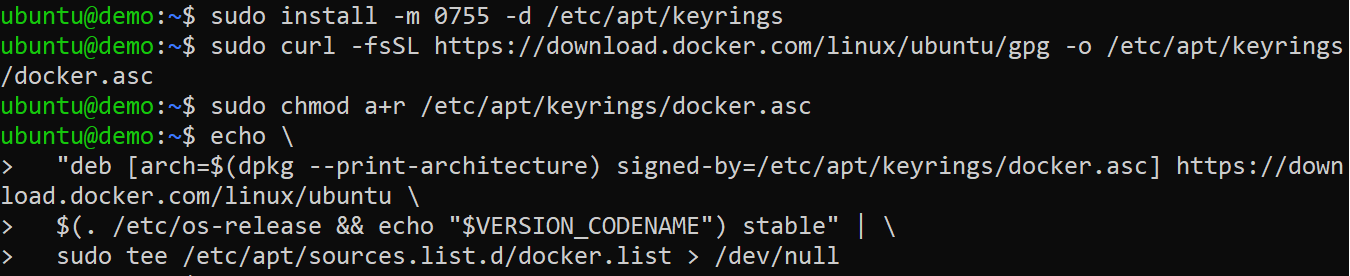
#Step 2: Add the Docker repository
Add the Docker repository to your system to enable the installation of Docker, which will serve as the container runtime for your Minikube. Execute the following commands to add the repository:
# Create the keyrings directory to store GPG keys
sudo install -m 0755 -d /etc/apt/keyrings

# Download Docker's GPG key to verify the authenticity of Docker packages
sudo curl -fsSL https://download.docker.com/linux/ubuntu/gpg -o /etc/apt/keyrings/docker.asc

# Set the correct permissions to ensure the key is readable
sudo chmod a+r /etc/apt/keyrings/docker.asc

# Add the Docker repository to your system for access to the latest Docker packages
echo \
  "deb [arch=$(dpkg --print-architecture) signed-by=/etc/apt/keyrings/docker.asc] https://download.docker.com/linux/ubuntu \
  $(. /etc/os-release && echo "$VERSION_CODENAME") stable" | \
  sudo tee /etc/apt/sources.list.d/docker.list > /dev/null

# Update package lists to include the Docker repository
sudo apt update
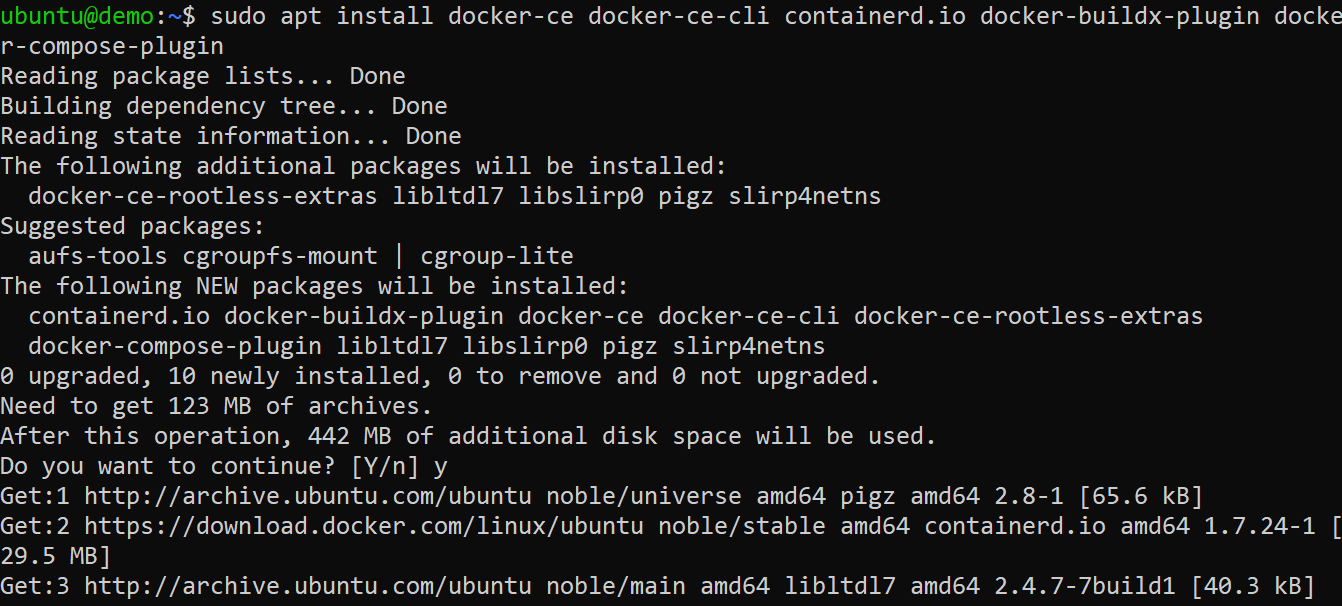
#Step 3: Install Docker
Now, install Docker and its related components by running the following command:
sudo apt install docker-ce docker-ce-cli containerd.io docker-buildx-plugin docker-compose-plugin
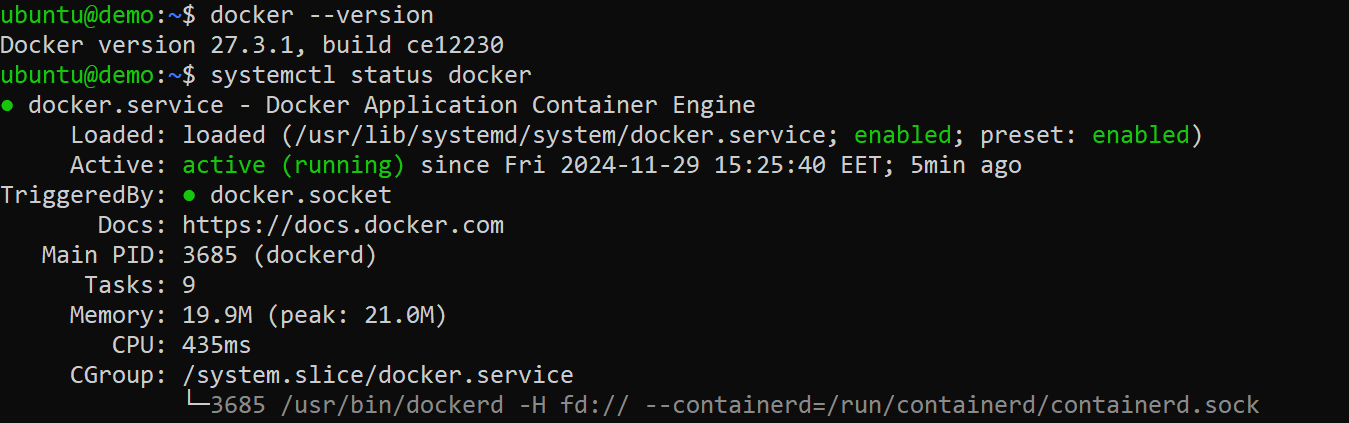
After installing Docker, you can confirm that it is installed and running properly by running the following commands:
docker --version

systemctl status docker
#Step 4: Add local user to Docker group
To run Docker commands without using sudo, add your user to the Docker group using the following commands:
sudo usermod -aG docker $USER
newgrp docker

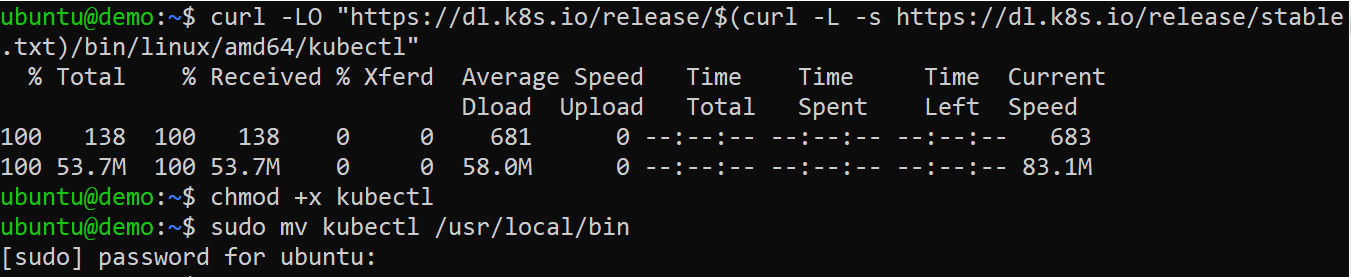
#Step 5: Install Kubectl
To manage your Kubernetes cluster, you need to install Kubectl, the Kubernetes command-line tool. To install Kubectl, execute the commands below:
# Download the latest stable Kubectl binary
curl -LO "https://dl.k8s.io/release/$(curl -L -s https://dl.k8s.io/release/stable.txt)/bin/linux/amd64/kubectl"

# Make the downloaded binary executable
chmod +x kubectl

# Move the binary to a directory in your system’s PATH
sudo mv kubectl /usr/local/bin
#Step 6: Download and install minikube
Now, download and install the latest version of Minikube by running these commands:
# Download the Minikube binary
curl -LO https://storage.googleapis.com/minikube/releases/latest/minikube-linux-amd64

# Install Minikube, move it to a directory in your system's PATH, and remove the downloaded file to clean up
sudo install minikube-linux-amd64 /usr/local/bin/minikube && rm minikube-linux-amd64

You can confirm that Minikube is installed correctly by checking its version using:
minikube version

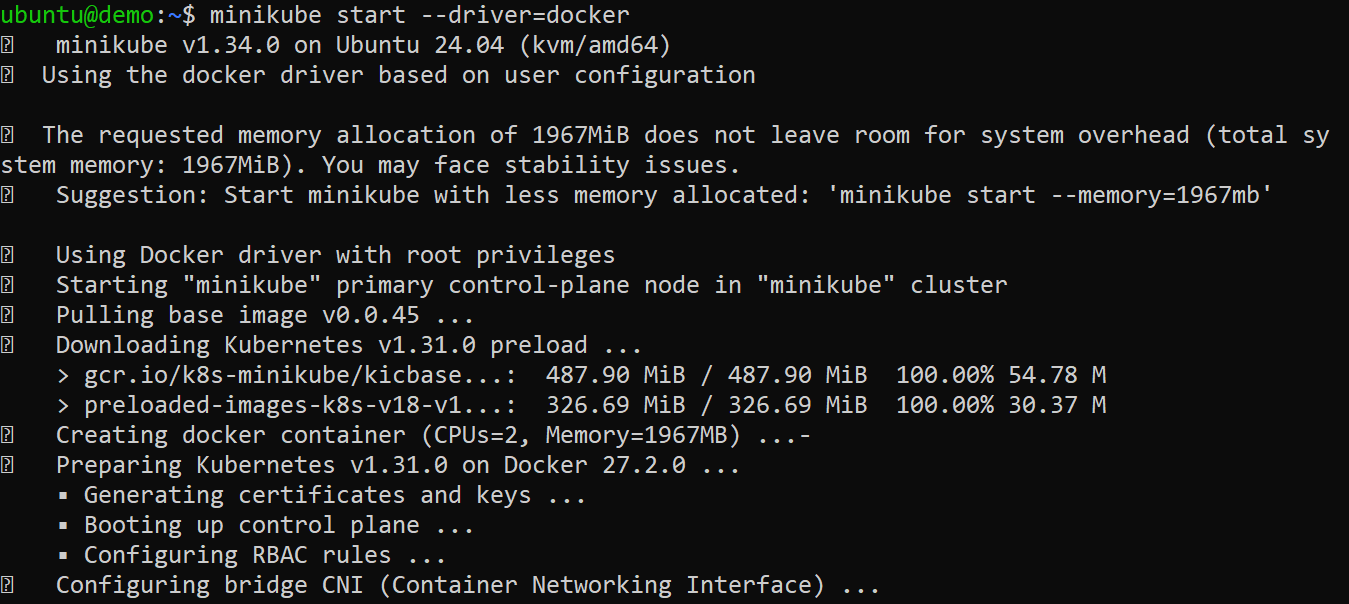
#Step 7: Start Minikube
Next, initialize your Kubernetes cluster with Minikube using the Docker driver:
minikube start --driver=docker
This may take several minutes to complete depending on your internet connection speed.
Once initialized, you can verify the cluster status and inspect the nodes using these commands:
minikube status

kubectl cluster-info

kubectl get nodes

#Step 8: Deploy a sample application
With your Kubernetes cluster running on Minikube, you can start deploying applications. Let’s deploy a simple Nginx web server and make it accessible:
Create a deployment for Nginx application:
kubectl create deployment nginx-app --image=nginx:latest
Verify the status of the deployment:
kubectl get deployments.apps nginx-app
Expose the deployment as a NodePort service:
kubectl expose deployment nginx-app --name=nginx-app-svc --type=NodePort --port=80
Confirm that the service is running:
kubectl get svc nginx-app-svc
Get the URL for accessing your application:
minikube service nginx-app-svc --url

Test the application by visiting the URL in a browser or using curl:
curl <url>
#How to create a Kubernetes cluster using Kubeadm
Kubeadm is a tool that simplifies the process of creating Kubernetes clusters. It provides a way to bootstrap production-ready Kubernetes clusters or multi-node environments with minimal manual configuration. Follow these steps to create a Kubernetes cluster using Kubeadm:
#Step 1: Update system packages (all nodes)
As a good practice, ensure your system is up to date. So, log in to your nodes and run the following commands to update package lists and install the latest available updates on your nodes:
sudo apt update && sudo apt upgrade -y
#Step 2: Set hostnames for nodes (all nodes)
Next, assign unique hostnames to each node for easy identification:
On the master node, set the hostname and apply the change by running the following commands:
hostnamectl set-hostname "k8s-master-node"
On the worker node, set the hostname and apply the change:
hostnamectl set-hostname "k8s-worker-node"

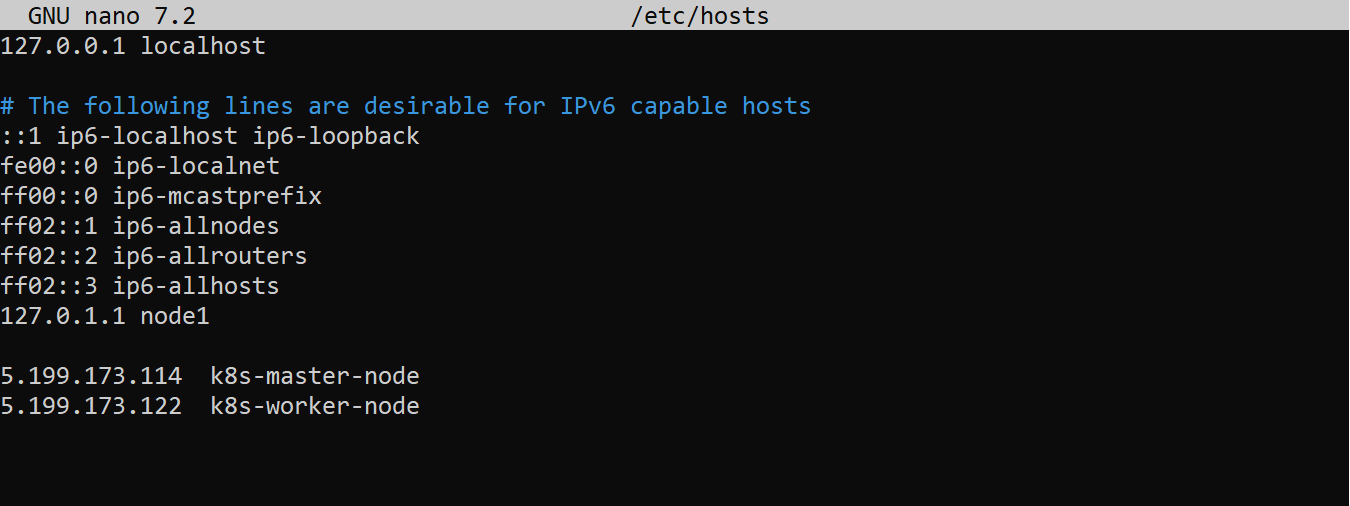
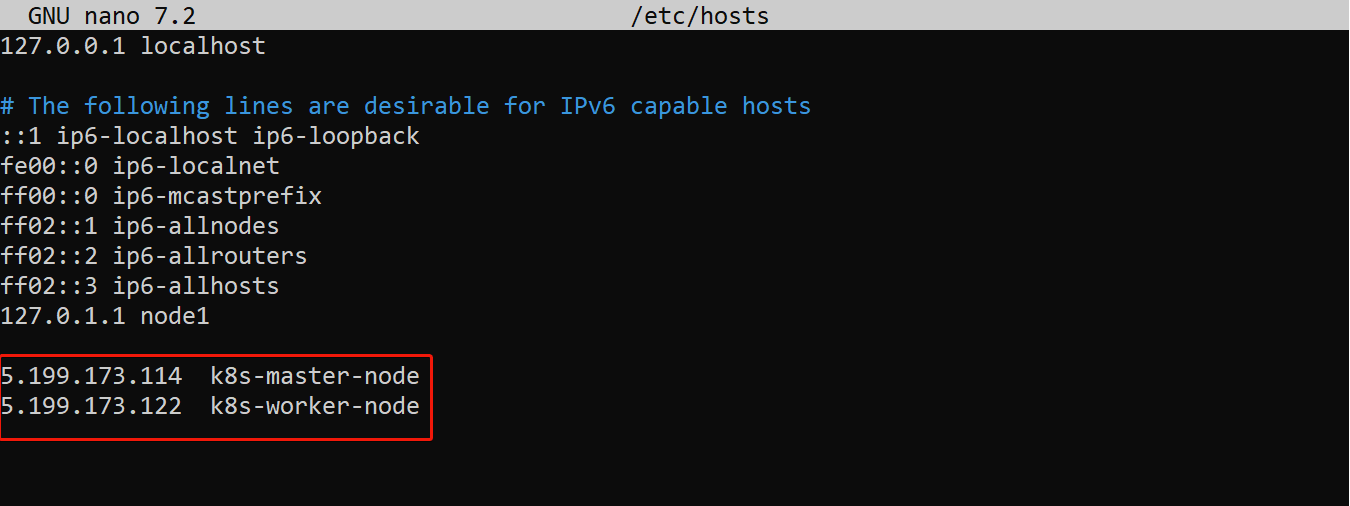
#Step 3: Update the hosts file (all nodes)
To enable communication between nodes using their hostnames, map the IP addresses of your nodes to their respective hostnames in the system hosts file:
Open the /etc/hosts file using the nano editor:
sudo nano /etc/hosts
Add the following entries, replacing master_node_ip and worker_node_ip with those of your master and worker nodes:
<master_node_ip>  k8s-master-node
<worker_node_ip>  k8s-worker-node
Then save and close the file.
#Step 4: Disable swap on the nodes (all nodes)
Kubernetes requires swap to be disabled for optimal performance. Execute the following command on all nodes to disable swap:
# Permanently disable swap to prevent it from re-enabling after a reboot
sudo swapoff -a && sudo sed -i '/ swap / s/^\(.*\)$/#\1/g' /etc/fstab

#Step 5: Enable IPv4 packet forwarding (all nodes)
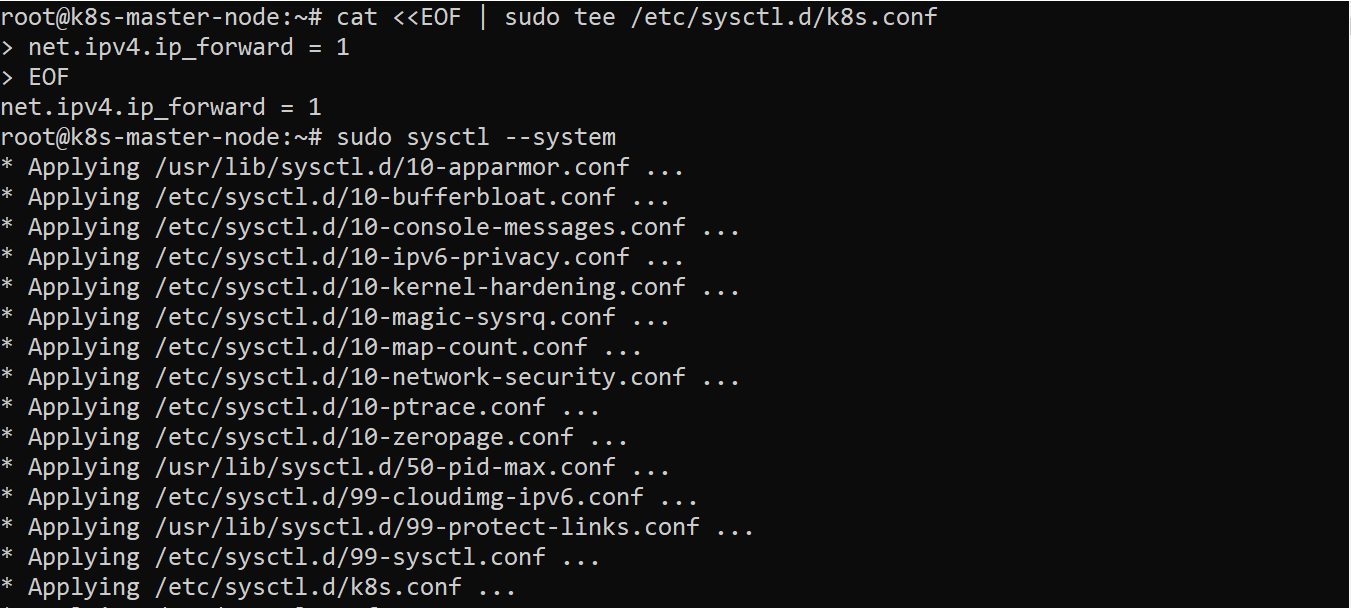
Enable IPv4 packet forwarding to support Kubernetes networking. Run the following commands on each node to configure and apply the settings:
# sysctl params required by setup, params persist across reboots
cat <<EOF | sudo tee /etc/sysctl.d/k8s.conf
net.ipv4.ip_forward = 1
EOF

# Apply sysctl params without reboot
sudo sysctl --system
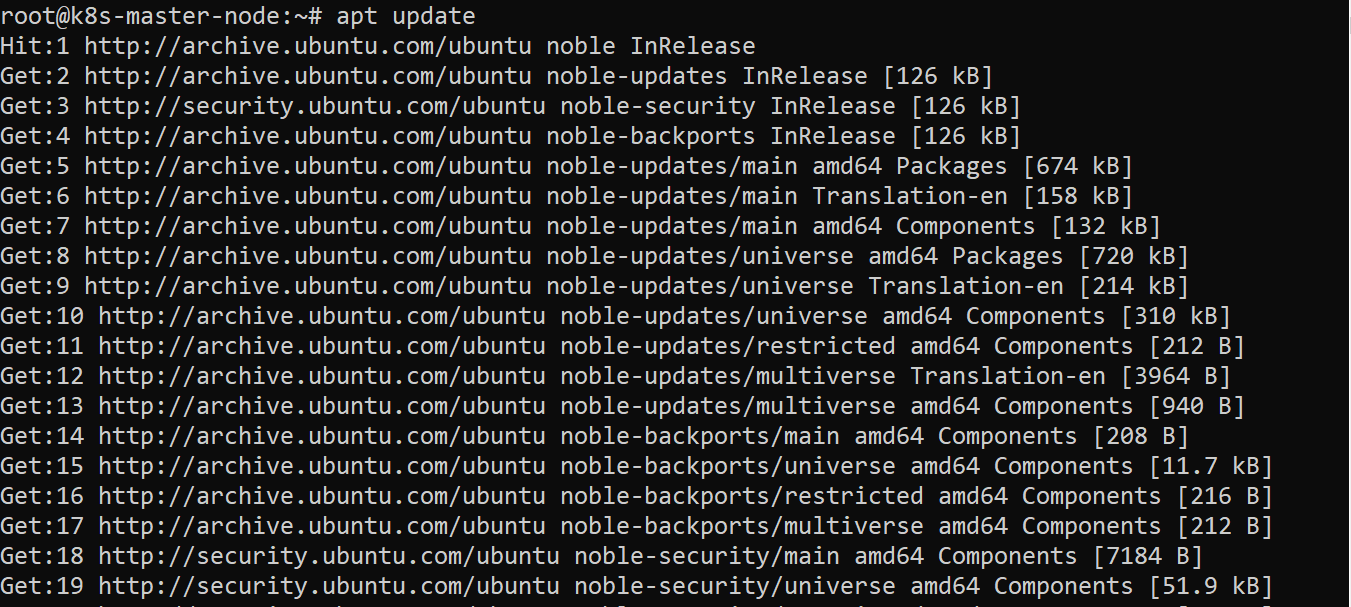
#Step 6: Update the system package list and install dependencies (all nodes)
Next, update your system package list and install essential dependencies on all nodes:
apt update
apt install -y software-properties-common curl
#Step 7: Add the Kubernetes signing key and repository (all nodes)
After installing the dependencies, set up the Kubernetes package repository to enable the installation of Kubernetes components by executing the commands below on each node:
# Download the Kubernetes GPG key and save it securely
curl -fsSL https://pkgs.k8s.io/core:/stable:/v1.31/deb/Release.key | sudo gpg --dearmor -o /etc/apt/keyrings/kubernetes-apt-keyring.gpg

# Add the Kubernetes package repository
echo 'deb [signed-by=/etc/apt/keyrings/kubernetes-apt-keyring.gpg] https://pkgs.k8s.io/core:/stable:/v1.31/deb/ /' | sudo tee /etc/apt/sources.list.d/kubernetes.list

#Step 8: Add CRI-O repository (all nodes)
Kubernetes uses a container runtime to run containers. In this guide, CRI-O will be used as the container runtime for Kubernetes. Adding the CRI-O repository ensures you can download and install it.
Run the following commands on all nodes:
# Download and save the CRI-O GPG key securely
curl -fsSL https://pkgs.k8s.io/addons:/cri-o:/stable:/v1.31/deb/Release.key | sudo gpg --dearmor -o /etc/apt/keyrings/cri-o-apt-keyring.gpg

# Add the CRI-O repository to your system
echo "deb [signed-by=/etc/apt/keyrings/cri-o-apt-keyring.gpg] https://pkgs.k8s.io/addons:/cri-o:/stable:/v1.31/deb/ /" | sudo tee /etc/apt/sources.list.d/cri-o.list

#Step 9: Install CRI-O (all nodes)
Update the package list to include the newly added repository and install CRI-O on the nodes:
# Update the package list to include the newly added repositories
apt update

# Install CRI-O
apt install -y cri-o
#Step 10: Start CRI-O (all nodes)
After installing CRI-O, start the service by executing the following command on all nodes:
systemctl start crio.service
You can verify that CRI-O is running using:
systemctl status crio.service
Look for an active status to confirm that CRI-O has started successfully.

#Step 11: Install Kubeadm, Kubelet, and Kubectl (all nodes)
With the Kubernetes repository added earlier, you can now install the essential tools to set up and manage your cluster.
Run the following command on all nodes:
apt install -y kubelet kubeadm kubectl
This installs Kubeadm for cluster initialization, Kubelet for node management, and Kubectl for interacting with the cluster
#Step 12: Initialize the Kubernetes cluster on the master node
Now run the following command only on the master node to initialize the Kubernetes cluster:
kubeadm init --pod-network-cidr=192.168.0.0/16
In this command, the specified CIDR range (192.168.0.0/16) is the default for the Container Network Interface (CNI) plugin used in this demonstration, which is Calico. This ensures compatibility between the cluster and the networking setup.
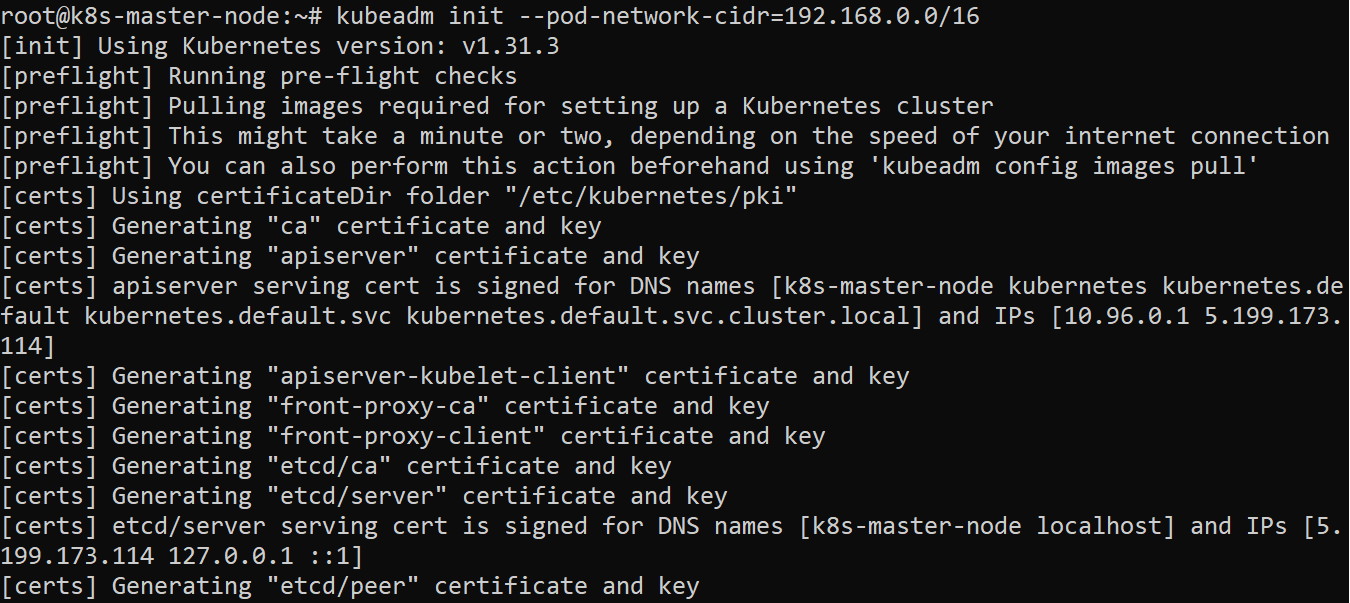
Once the initialization is complete, you’ll see an output similar to the one in the image below.
Note: Copy the kubeadm join command displayed in the output and save it. You’ll need this command in the next steps to join the worker node to the cluster.
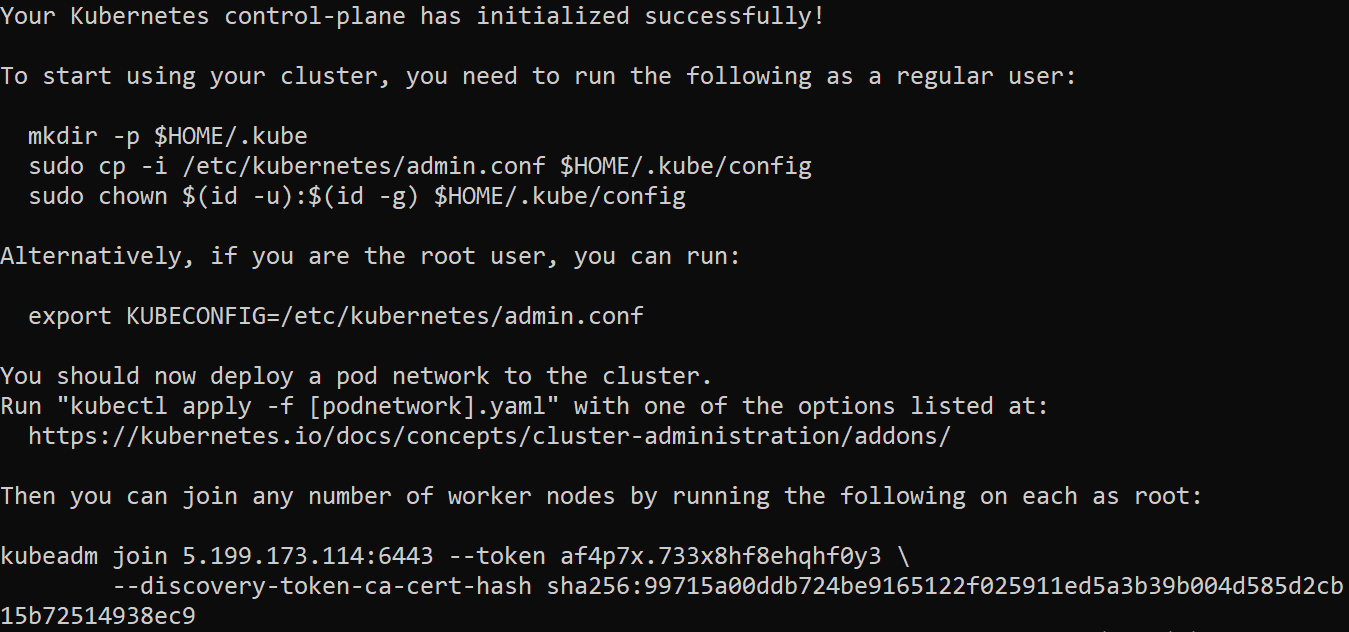
On the master node, run the following commands as a regular user to configure access to the cluster:
mkdir -p $HOME/.kube
sudo cp -i /etc/kubernetes/admin.conf $HOME/.kube/config
sudo chown $(id -u):$(id -g) $HOME/.kube/config
Alternatively, if you’re the root user on the master node, you can run the following:
export KUBECONFIG=/etc/kubernetes/admin.conf

#Step 13: Add the worker node to the cluster
Then to add the worker nodes to your cluster, use the kubeadm join command saved from the output of the kubeadm init step. Execute the command on each worker node:
kubeadm join <master_node_ip>:6443 --token <token> --discovery-token-ca-cert-hash sha256:<hash>
Replace <master_node_ip>, <token>, and <hash> with the details provided in the kubeadm init output.
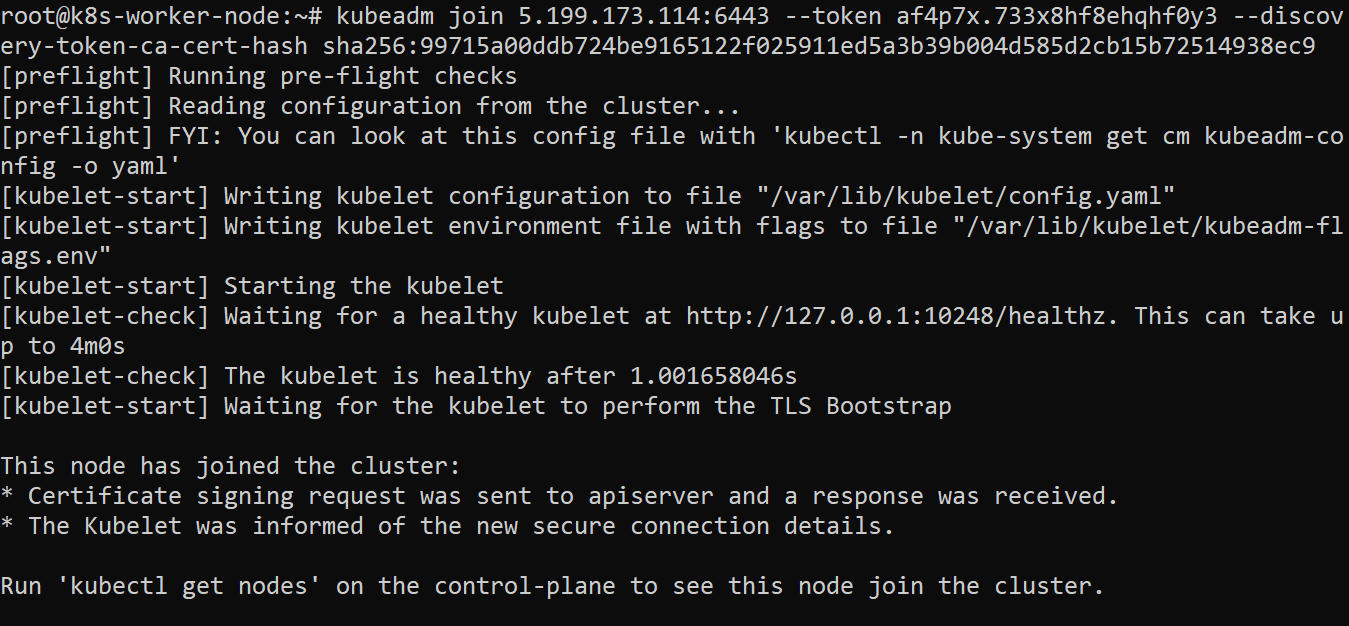
After running the command, you can verify that the worker nodes have joined by running the following command on the master node:

At this point, the worker nodes might display a NotReady status. This happens because the Container Network Interface (CNI) plugin, which handles pod networking, hasn’t been installed yet. In the next step, you’ll resolve this by installing a network plugin. Kubeadm doesn’t install a network plugin by default
#Step 14: Install the Calico network plugin
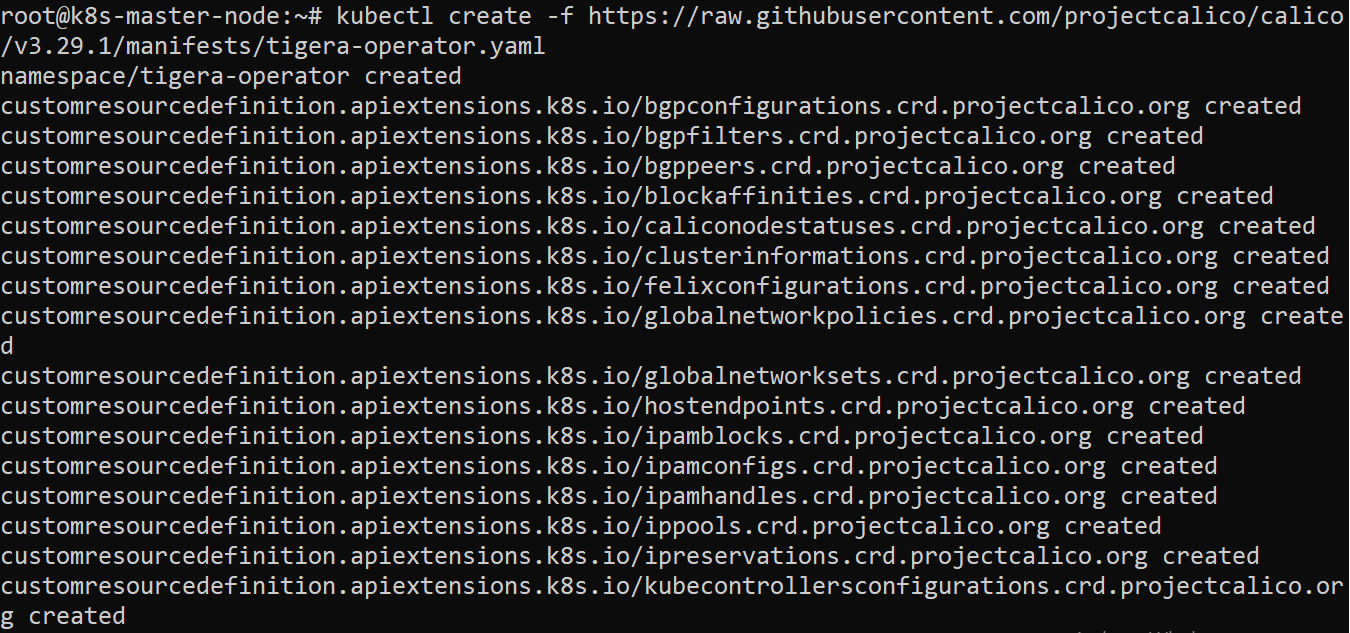
Calico provides secure and flexible networking for your Kubernetes cluster. It enables communication between the pods. Follow these steps to install it on the master node:
Deploy the operator to manage the installation of Calico:
kubectl create -f https://raw.githubusercontent.com/projectcalico/calico/v3.29.1/manifests/tigera-operator.yaml
Next, download the custom resources file that defines the configuration for Calico. Run this command:
curl https://raw.githubusercontent.com/projectcalico/calico/v3.29.1/manifests/custom-resources.yaml -O
This configuration file uses default settings. If you need to customize the settings (like network CIDRs), edit the custom-resources.yaml file before proceeding or applying the file.

Apply the configuration:
kubectl create -f custom-resources.yaml

Verify Calico installation
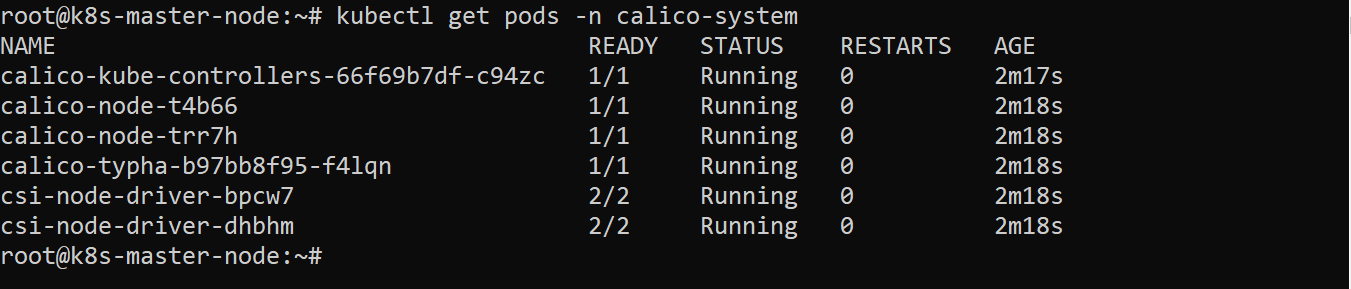
You can verify your Calico installation by checking the status of Calico pods to ensure it has been installed and is running correctly:
Note* Wait for about 3-5 minutes for the Calico pods to be up and running.
kubectl get pods -n calico-system
Checking the status of the nodes now, you should get a Ready status:

#Step 15: Deploy a sample application
To deploy a simple Nginx web server and make it accessible, follow these steps:
First, create the Nginx deployment by running the command below:
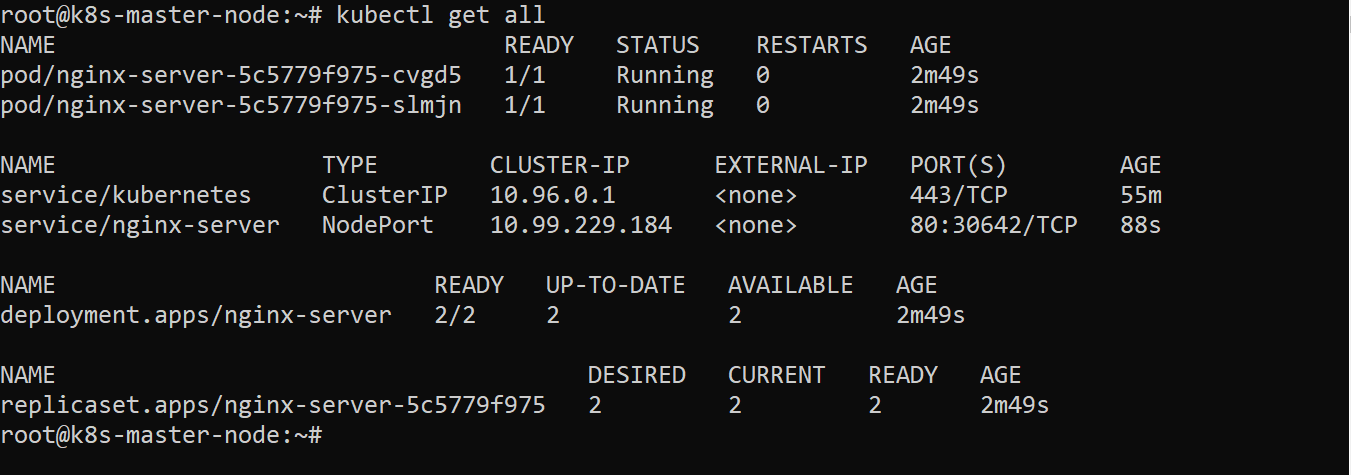
kubectl create deployment nginx-server --image=nginx --replicas=2
This creates a deployment of an Nginx server named nginx-server with two replicas

Next, make the Nginx server accessible by exposing it using a NodePort service, which maps the service to a port on the node:
kubectl expose deploy nginx-server --port 80 --type NodePort

Verify the resources created (deployments, services, and pods) and get the port assigned for access:
kubectl get all
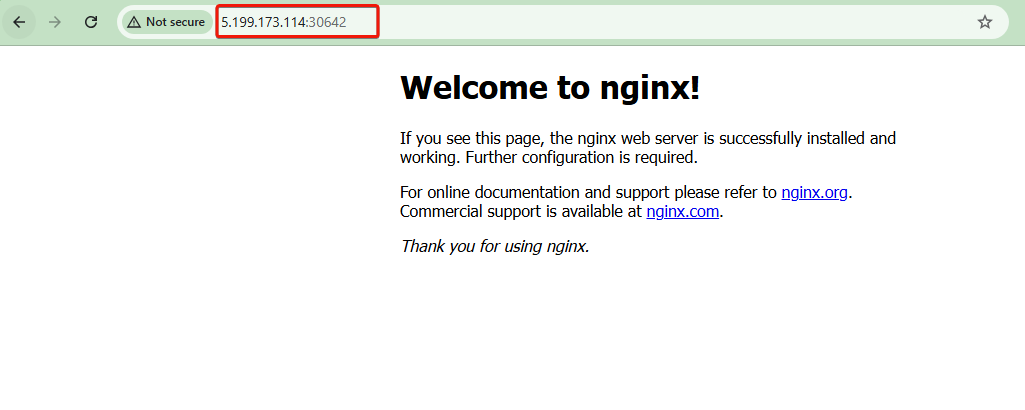
Access the application using the cluster's node IP and NodePort in your browser or via curl:
http://<node_ip>:<node_port>
This should display the default Nginx web page, confirming the deployment and exposure of your sample application.
#Conclusion
This article covered the steps to create a Kubernetes cluster using Minikube and Kubeadm. While Minikube offers a convenient local environment for development and testing, Kubeadm provides the flexibility and control needed for production-ready deployments. With the knowledge gained on creating Kubernetes clusters, you can go ahead to explore more advanced concepts like networking, deploying different applications, or exploring Kubernetes tools like Helm for application management.


