How to Install Calico on Kubernetes: Step-by-Step Tutorial


Networking is a crucial component in a Kubernetes cluster. Without proper networking, pods, nodes, and services cannot communicate with each other and external environments. This is where network policy solutions such as Calico come in handy.
Calico is a highly scalable network plugin that provides best-in-class network security and seamless communication between nodes and pods in a cluster. As an overlay network implementation, Calico CNI is widely adopted at scale in multi-cloud and enterprise environments.
This guide explores the installation of Calico on Kubernetes.
#Why Calico?
Here are some of the benefits of Calico as your CNI plugin of choice.
#Fine-grained security
Calico provides Kubernetes NetworkPolicies, which define rules for pod-to-pod and pod-to-external entities communication. The policies are virtual firewalls, allowing for finer-grained control of traffic. They typically implement least privilege access by default and offer the much-needed security and isolation for applications running in pods.
#Core networking
Calico manages IP routing in a cluster by automatically assigning IP addresses to pods within the cluster. It has its own IP address management system that uses an IP pool to manage and dish out IP addresses to pods. Additionally, it uses the BGP protocol to advertise pod networks across nodes, ensuring seamless communication between pods.
#Optimized cluster performance
Calico seamlessly scales with Kubernetes clusters. It offers a fast data plane, a component ideal for enterprise-scale clusters. It posts lower memory/CPU utilization than alternatives such as Weave or Flannel, delivering optimized cluster performance.
#Data Plane flexibility
Calico leverages native networking control features such as nftables and eBPF for low-latency and high-performance in the cluster.
#Support for eBPF
The eBPF dataplane yields superior network performance by offering rapid packet processing. It also achieves low CPU overhead, making it an ideal ingredient for improved network performance.
#Platform interoperability
Calico offers a flexible architecture and networking modes. You can readily deploy it on-premise, in the cloud, and even on bare-metal servers. It scales well in large clusters and supports production clusters.
#Monitoring and observability
Calico provides built-in features such as Felix and Typha, which provide policy-related metrics and traffic metrics, respectively. These features enable active monitoring of Calico using popular observability tools such as Prometheus and Grafana.
Build and scale your self-managed Kubernetes clusters effortlessly with powerful Dedicated Servers — ideal for containerized workloads.
#Prerequisites
-
To install Calico on Kubernetes, here is what you need:
-
Kubernetes installed with the control plane already initialized.
-
Ensure kubectl is also installed.
There are two ways of installing Calico CNI on Kubernetes. You can install it with Helm or by applying a YAML manifest file. Let’s have a look at each of these.
#Install Calico on Kubernetes with Helm (Most recommended)
Helm simplifies the installation of resources using Helm charts. These are YAML files similar to playbook files in Ansible. Moving along, ensure that Helm is installed in your environment.
To check its version, run:
helm version

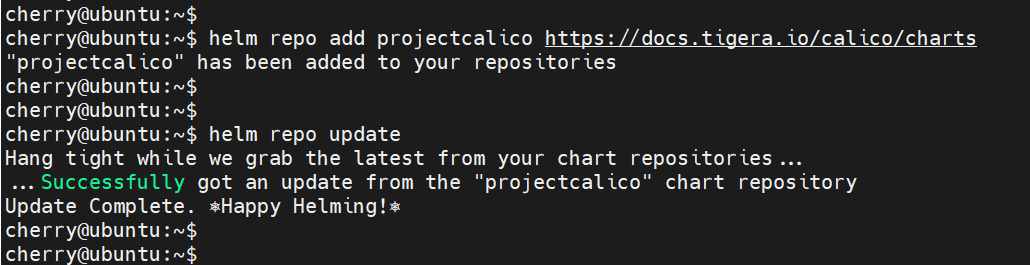
Next, add the Calico Helm repository.
helm repo add projectcalico https://docs.tigera.io/calico/charts
Adding the Calico Helm repository creates the calico-system namespace into which Calico pods will be deployed.
With the repository in place, refresh the chart information in the repository.
helm repo update
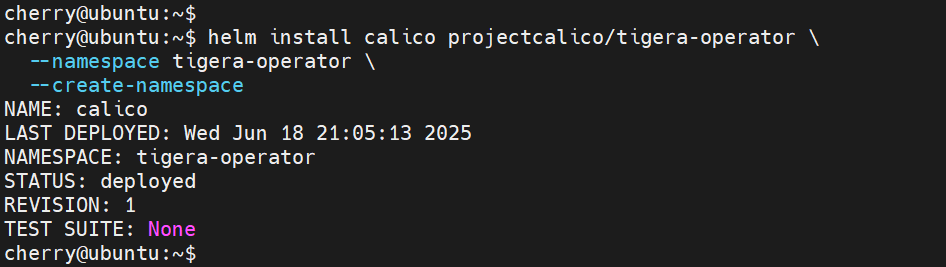
Finally, deploy Calico by running:
helm install calico projectcalico/tigera-operator \
  --namespace tigera-operator \
  --create-namespace
The command installs a chart called calico in the tigera-operator namespace. Here, the --create-namespace parameter enforces the creation of the namespace if none exists.
Confirm the deployment of the Calico chart into the tigera-operator namespace:
kubectl get pods -n tigera-operator
OutputNAME                             		 READY 	  STATUS 	   RESTARTS	   AGE
tigera-operator-5bf8dfcb4-tdcbh  	 1/1    		  Running   	   0                        117s
Also, verify the deployment of pods in the calico-system namespace. You'll notice calico pods amongst other related pods, all of which should be in a RUNNING state.
kubectl get pods -n calico-system
The output should indicate that all pods are running.
OutputNAME                                      		          READY                STATUS          RESTARTS           AGE
calico-kube-controllers-9776f65f5-ggkck      1/1    		 Running   	            0            4m33s
calico-node-xdcdl                                               1/1     		 Running  	            0            4m33s
calico-typha-5b7f847665-p7xtb                       1/1    		 Running 	            0            4m33s
csi-node-driver-rzgkc                    		2/2     		 Running   	            0            4m33s
goldmane-d854dd958-jlx4x  		             1/1     		 Running   	            0            4m33s
whisker-779495f7c4-vn2zj                		2/2     		 Running  	            0            4m33s
#Install Calico on Kubernetes from a YAML manifest file
A Manifest file is yet another way of deploying Calico and other resources on a cluster. Although not a direct mode of installation, it still installs the CNI.
Start by installing the Tigera operator.
kubectl create -f https://raw.githubusercontent.com/projectcalico/calico/v3.28.0/manifests/tigera-operator.yaml
Next, download Calico’s custom-resources file. It's a manifest that provides all the resources needed to deploy Calico on your cluster. The file defines the IP pools, networking settings and policies, Felix configuration, and BGP configuration.
curl https://raw.githubusercontent.com/projectcalico/calico/v3.28.0/manifests/custom-resources.yaml -O
Next, modify the CIDR of the manifest from the default 192.168.0.0/16 to match your cluster's network subnet. For example, if your cluster subnet is 10.10.0.0/16, run the following one-liner command.
sed -i 's/cidr: 192\.168\.0\.0\/16/cidr: 10.10.0.0\/16/g' custom-resources.yaml
Finally, apply the YAML manifest to deploy Calico as follows.
kubectl create -f custom-resources.yaml
Verify the pods running in the calico-system namespace as shown.
kubectl get pods -n calico-system
OutputNAME                                     		 	 READY 	      STATUS  	  RESTARTS  		 AGE
calico-kube-controllers-59c9b5888f-hcpgg             1/1   	      Running	        0    		               2m13s
calico-node-8kxbw                    			  1/1            Running  	        0                                 2m13s
calico-typha-68d97bf8d6-p49fp            		  1/1            Running 	        0                                 2m13s
csi-node-driver-fshxr                    			  2/2            Running                 0                                 2m13s
#Conclusion
In this topic, we looked at the installation of Calico on Kubernetes using two approaches: using a Helm chart and by applying a YAML manifest file. Calico is the CNI plugin of choice for workloads requiring high performance, stability, and a high degree of network security. It provides nifty integrations that allow monitoring of networking policies and inter-node traffic using applications such as Prometheus and Grafana. Calico runs reliably regardless of the network infrastructure, whether you are running your workloads on cloud, on-premise, or a bare metal server.


