Docker Multi-stage Build: How to Make Your Docker Image Smaller


Docker multi-stage build helps to reduce the size of your Docker image. Docker containers are meant to be lightweight solutions. However, if you are not careful, you could end up with a Docker image that is way larger than necessary or than it should be, as every instruction included in the Dockerfile adds a layer to the image. Large Docker images consume more storage space and can slow down your development cycle.
Docker multi-stage build is one way to solve this problem. In this article, we'll look at what Docker multi-stage build is and demonstrate how to use it to make your Docker images smaller with an example.
#Prerequisites
This article includes a hands-on demonstration, to follow along, ensure you have: Docker or Docker Desktop installed. We are going to use a simple React application - a counter app - in this guide.
#What is a Docker image?
Built from instructions defined in Dockerfiles, a Docker image is a portable package containing everything needed to run an application optimized to deliver software quickly and consistently.
#What is Docker multi-stage build?
Docker multi-stage build is a feature that allows you to have more than one FROM statement, each representing a stage in your Dockerfile. Each stage starts with a fresh image that can be used to perform specific tasks. With multi-stage Dockerfiles, you can also share data between build stages. This way, you can build the application in one stage and copy only the necessary components that the application needs to run to the final image, resulting in smaller and more optimized Docker images.
Each stage in the Dockerfile will generate its container image, but at the end of the build, Docker will commit only one of these images into the local container registry. By default, this will be the image produced by the last stage in the Docker file. If you want the image from a different stage, you can indicate using the target=<stage name> with the docker build command.
Ready to supercharge your Docker infrastructure? Scale effortlessly and enjoy flexible storage with Cherry Servers bare metal or virtual servers. Eliminate infrastructure headaches with free 24/7 technical support, pay-as-you-go pricing, and global availability.
#When to use Docker multi-stage build?
Multi-stage builds are great when you need to create an artifact or binary. Building such requires a lot of dependencies. However, once the binary is built, you don't need the dependencies to run it.
You should consider using Docker multi-stage builds when your application has a complex build process and several dependencies or when you want to separate the build and runtime environments.
#Why use Docker multi-stage build?
Here are some benefits of using Docker multi-stage build:
- Generated images are smaller. The final image is typically much smaller than the one produced by a normal build, as the resulting image includes just what the application needs to run.
- More secure containers. Packages and dependencies need to be kept up to date because they can be a potential source of vulnerability for attackers to exploit. Therefore, you should only keep the required dependencies. Using Docker multi-stage build means the resulting container will be more secure because your final image includes only what it needs to run the application.
- Faster deployment. Smaller images mean less time to transfer or quicker CI/CD builds, faster deployment time, and improved performance.
#How to use Docker multi-stage build: 6 Steps
Let's use a simple React application to demonstrate how a Docker multi-stage build can be used to reduce a Docker image size. You would compare the final Docker image size for a single-stage build and for a multi-stage build.
#Step 1 - Create a Dockerfile
First, create a Dockerfile in the application's root directory and add the following content to it.
# Use node:16-alpine image as a parent image
FROM node:16-alpine

# Create app directory
WORKDIR /usr/src/app

# Copy package.json files to the working directory
COPY package*.json ./

# Install app dependencies
RUN npm install

# Copy the source files
COPY . .

# Build the React app for production
RUN npm run build

# Expose port 3000 for serving the app
EXPOSE 3000

# Command to run the app
CMD ["npm", "start"]
#Step 2 - Build a Docker image
Next, build the Docker image using the docker build command.
docker build -t single-stage-build .
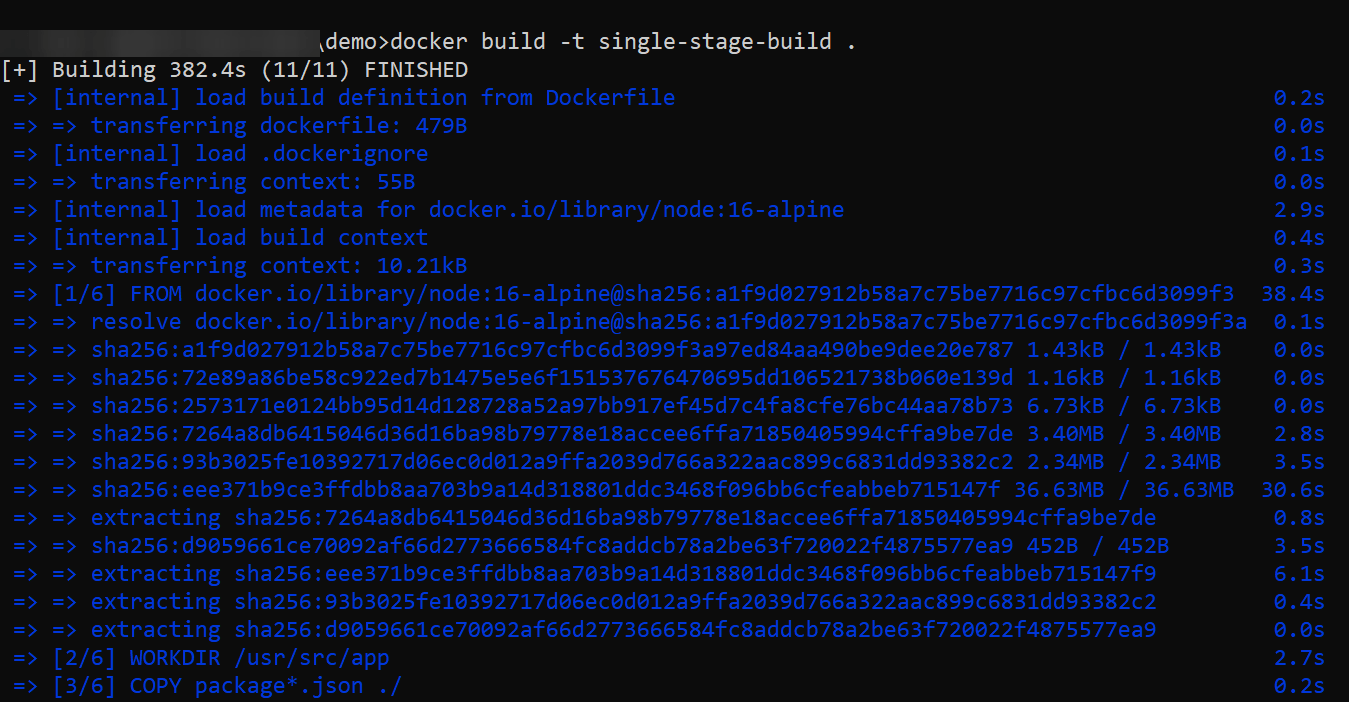
This is a normal or single-stage Dockerfile. When you run the docker build command, it will launch a build process starting with the base image. The resulting image will contain the build tools and the source code, the runtime environment that includes the dependencies to run your application, and libraries, but not all of these are needed in the final image for the application to run.
#Step 3 - Check the Docker image size
Now, check the size of the final image using the docker images command to list the Docker images on your Docker environment.
docker images
You should now see the image you just built, and in the size column, you should see the size of the image. In this case, the resulting image is 430MB. That is a lot for a simple application with just a few lines of code.

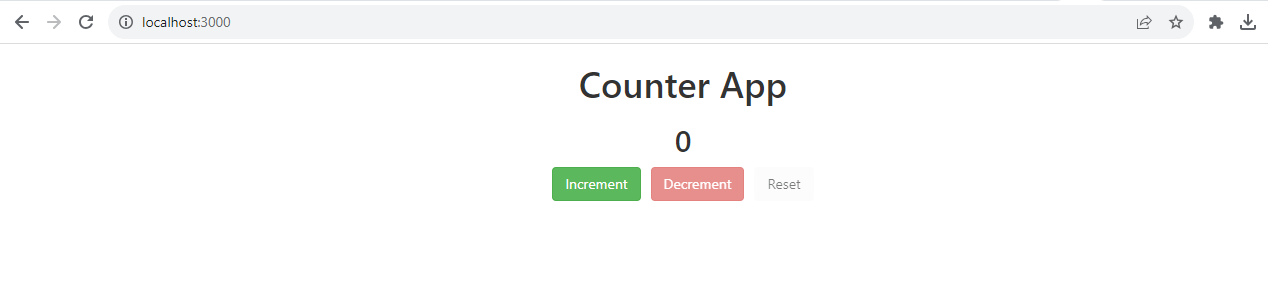
You can confirm that you can access the application by running the docker container using the docker run command.
docker run -d -p 3000:3000 single-stage-build

This will create a docker container from the "single-stage build" image, mapping port 3000 on the host computer to port 3000 in the container.
Going to localhost:3000 on your browser, you should be able to view the application.
#Step 4 - Restructure the Dockerfile for multi-stage builds
For a small application used here, you don't need a Docker image of 420MB. So, how can you ensure you're building optimal Docker images containing just what your application needs to run?
As the next step, restructure the Dockerfile to have multiple stages by replacing the content of the existing Dockerfile with the code provided below:
# First stage - Building the application
# Use node:16-a;pine image as a parent image
FROM node:16-alpine AS build

# Create app directory
WORKDIR /usr/src/app

# Copy package.json files to the working directory
COPY package*.json ./

# Install app dependencies
RUN npm install

# Copy the source files
COPY . .

# Build the React app for production
RUN npm run build

# Second stage - Serve the application
FROM nginx:alpine

# Copy build files to Nginx
COPY --from=build /usr/src/app/build /usr/share/nginx/html
EXPOSE 80
CMD ["nginx", "-g", "daemon off;"]
The Dockerfile now has two stages or steps (characterized by the FROM statements). This will create a two-stage build process: the first stage builds the React application, and the second stage will serve the built application using Nginx. The COPY command in the second stage copies the contents of the build directory from the first stage (alias "build") into the Nginx web server default directory. This sets up Nginx to serve your React application.
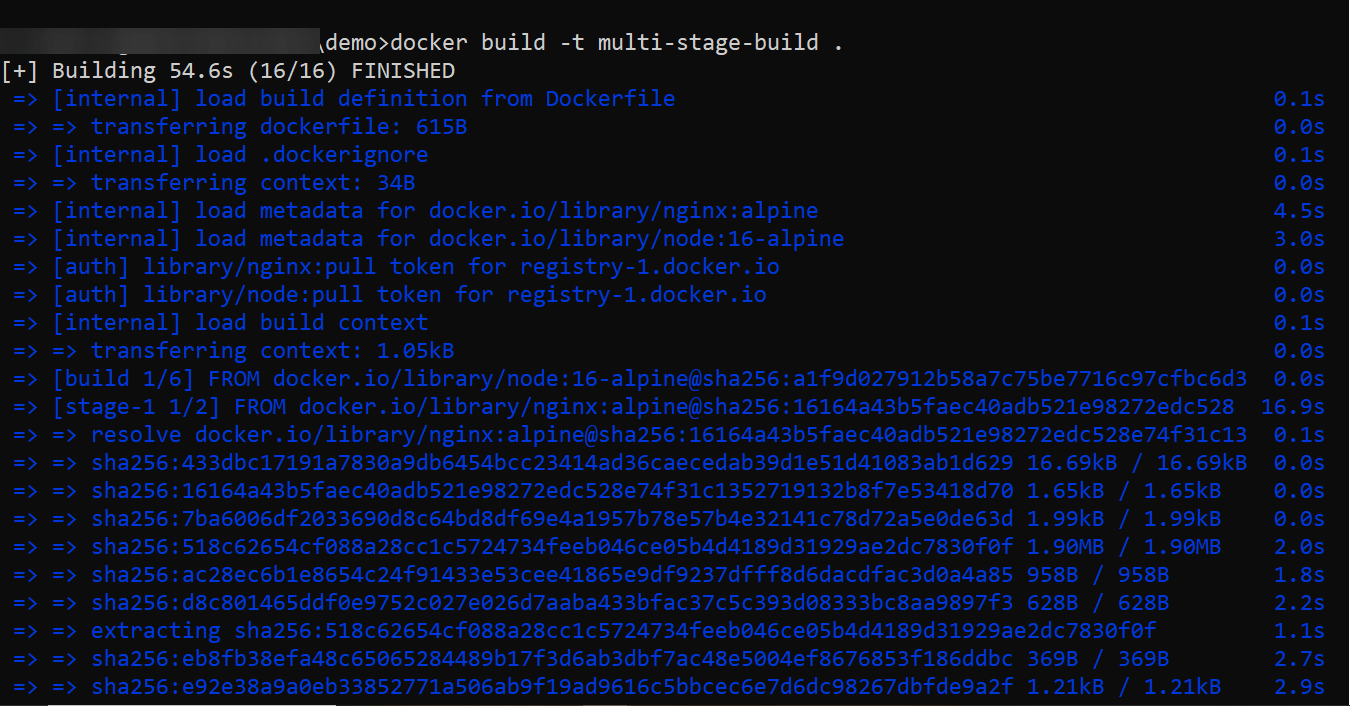
#Step 5 - Build a Docker image with multi-stage builds
Now run the docker build command with the updated Dockerfile.
docker build -t multi-stage-build .
#Step 6 - Check the image size
List your docker images once again and see if the multi-stage build made any difference.
docker images

You can see that the final image has been reduced to just 43.2MB. That's a lot less than the initial image. Now confirm that the application still gets displayed or works as it should be spinning up a container with the new image.
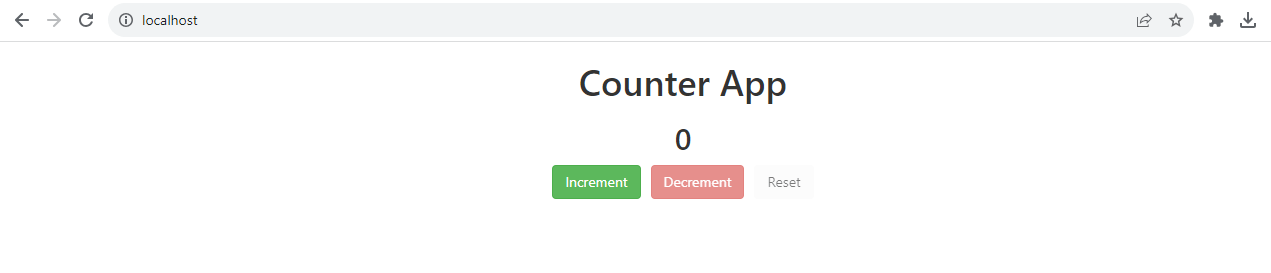
docker run -d -p 80:80 multi-stage-build

This will create a docker container from the "multi-stage build" image, mapping port 80 on the host computer to port 80 in the container.
Going to localhost:80 on your browser, you should be able to access the application just as before.
#Docker multi-stage builds best practices
Here are some best practices to keep in mind when using Docker multi-stage build:
- Avoid including unnecessary dependencies and files.
- Use an appropriate base or parent image, one that only contains the packages you need.
- Avoid including the application data in the container, as this can increase the size of your image. You can use Docker volumes for the application data instead.
#Conclusion
In this article, you learned about Docker multi-stage build, how it compares to normal Docker builds and how it is a great feature for creating smaller and more efficient images. You can take advantage of this feature to create optimized docker images for production deployment.
Thanks for learning with Cherry Servers!
Try Cherry Servers' open cloud infrastructure for Docker. Cloud Storage VPS and Cloud VDS offer optimized resources for multi-phase builds, 99.97% uptime, customizable CPU/RAM, hourly billing, three-minute deployment, and 24/7 technical support.


