How to Install TensorFlow on Ubuntu: CPU-only or NVIDIA GPU


TensorFlow is a household name in deep neural networks developed by the GoogleBrain team. This guide will teach you how to install TensorFlow on Ubuntu 22.04 in two different ways, either with a CPU-only configuration or a compatible [NVIDIA](Also read: How to install NVIDIA Drivers on Ubuntu 24.04) GPU.
#What is TensorFlow?
TensorFlow is a free and open-source framework for machine learning that offers high performance for complex AI and machine learning operations.
It is commonly used with Python but can run in languages like Java, Javascript, and C++. It provides a set of comprehensive APIs for data processing and model evaluation aimed at deploying machine learning (ML) models.
#What is TensorFlow used for?
At its core, TensorFlow is a library primarily used for large-scale numerical computation and deep learning. It is used in various tasks such as predictive analysis, natural language processing, computer vision, and fraud detection, to mention a few.
#Prerequisites
To follow this TensorFlow installation tutorial, ensure you have the following in place:
- An instance of Ubuntu 22.04 with a sudo user configured;
- SSH access to the instance;
- Python3 installed.
#How to install TensorFlow: Two different ways
This tutorial will show how to install TensorFlow on Ubuntu 22.04 in two different configurations. TensorFlow supports running computations on both CPU and GPU. The first part will detail how to install TensorFlow on a CPU-only system, and the second will demonstrate how to install it with an NVIDIA GPU.
#1. How to install TensorFlow: CPU-only system
In the first section of the tutorial, we will demonstrate how to install TensorFlow on a CPU-only system. Follow the steps outlined.
#Step 1: Confirm Python3 is installed
To start, ensure that you have Python already installed. Ubuntu 22.04 ships with Python 3.10; you can confirm this as shown.
python3 -V
The output confirms that Python 3.10 is already installed.

#Step 2: Install Python virtual environment
The next step is to create a virtual environment - an environment created on top of an existing Python environment that isolates your workspace from the rest of the system environment. The virtual environment isolates TensorFlow and its libraries from the system-wide Python environment.
If you are running a fresh instance of Ubuntu, update the local APT cache or package index.
sudo apt update
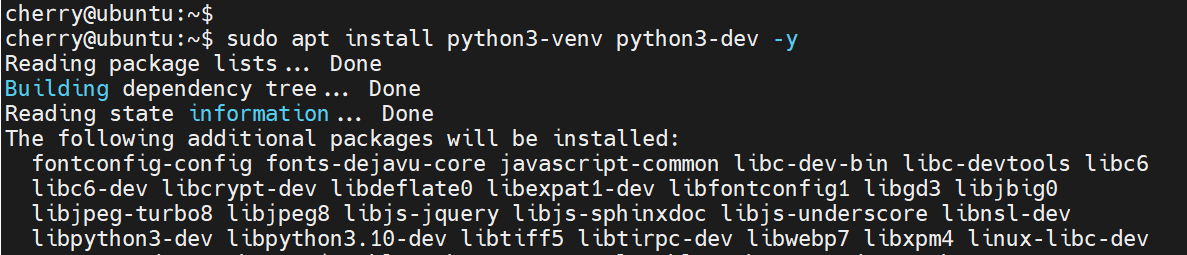
Next, Install the Python virtual environment.
sudo apt install python3-venv python3-dev -y
#Step 3: Create a working directory for TensorFlow
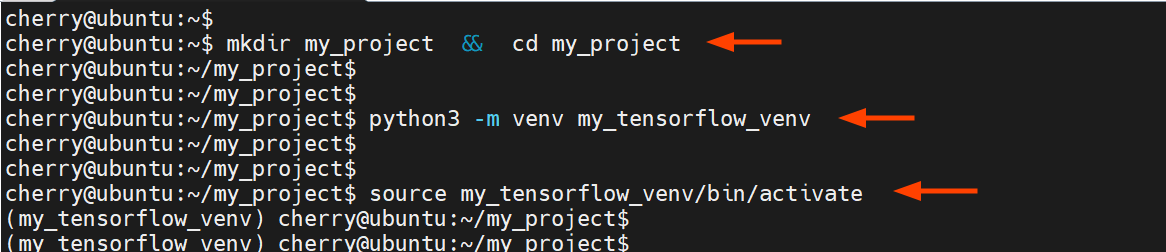
Next, create a working directory for your project and navigate into it.
mkdir my_project && cd my_project
Create the virtual environment using the venv command as shown. In our case, we are creating an environment called my_TensorFlow_venv.
python3 -m venv my_TensorFlow_venv
Then, activate it using the source command.
source my_TensorFlow_venv/bin/activate
Once activated, you should see that the prompt starts with the name of the virtual environment inside parentheses.
#Step 4: pip install TensorFlow
Finally, install TensorFlow using the pip package manager.
pip3 install --upgrade TensorFlow
The command installs TensorFlow alongside multiple packages and libraries.
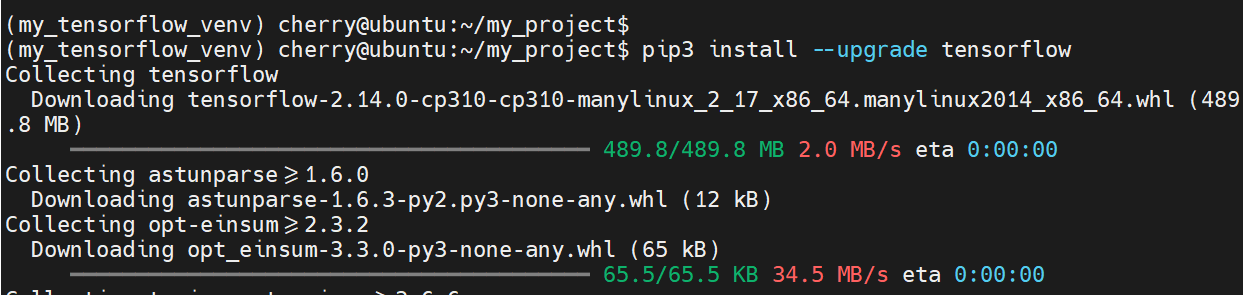
Once complete, you will get a summary of all the installed packages displayed on the terminal. This confirms that the installation of TensorFlow was successful.

#Step 5: Test the installation of TensorFlow
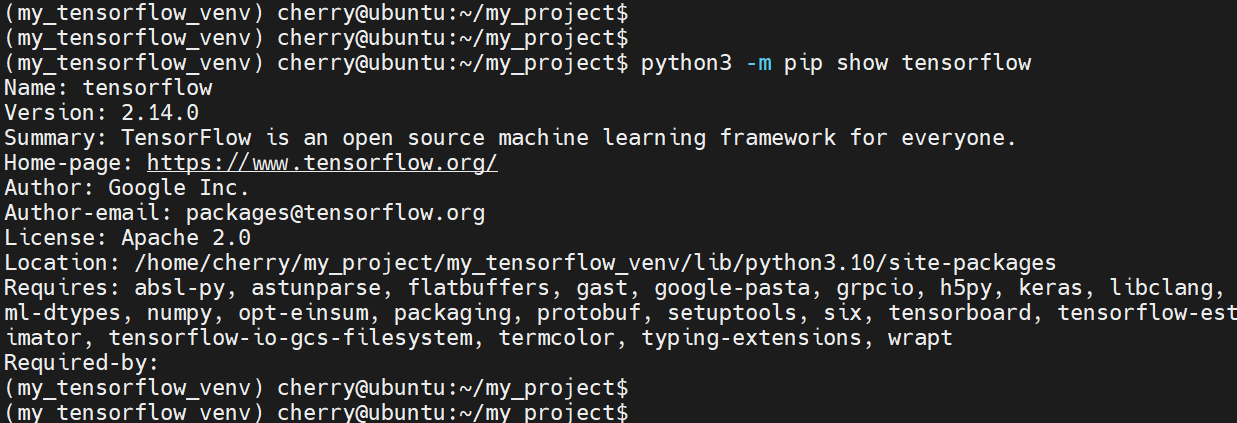
To confirm that you've successfully installed TensorFlow, run the command:
python3 -m pip show TensorFlow
The command displays information such as TensorFlow's version, brief description, home page, and more.
Once you are done testing and using TensorFlow, run the deactivate command to revert to your default Linux shell.
deactivate
#2. How to install TensorFlow: NVIDIA GPU system
If you have a CPU installed with an NVIDIA GPU card, follow the outlined steps.
***CherryServers dedicated GPU servers provide the ideal infrastructure for data scientists and developers to focus solely on training models. Find out more here.
#Step 1: Install CUDA ToolKit and cuDDN packages
To install TensorFlow on an NVIDIA GPU, you need to have a CUDA toolkit and cuDNN libraries installed. Check out how to install NVIDIA drivers and CUDA Toolkit on Ubuntu 22.04.
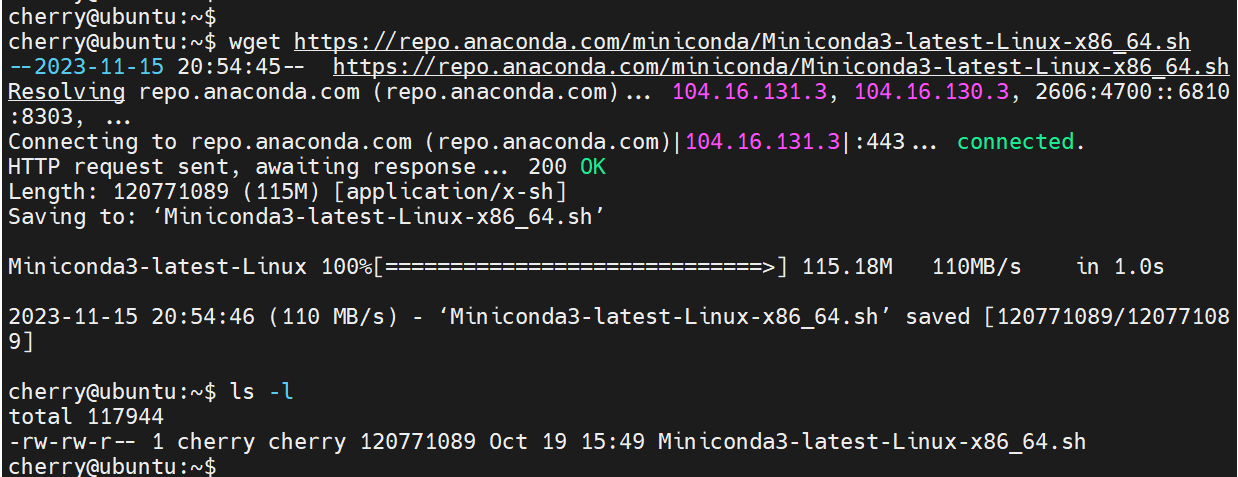
In this section, we will install the cuDNN package using Miniconda, a free and open-source lightweight version of Anaconda. To install Miniconda, head to the Miniconda website and download the latest installation script for Linux 64-bit.
wget https://repo.anaconda.com/miniconda/Miniconda3-latest-Linux-x86_64.sh
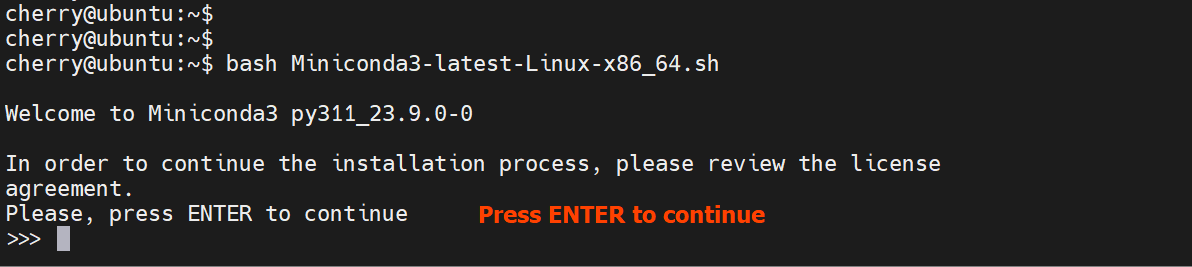
Next, run the installation script.
bash Miniconda3-latest-Linux-x86_64.sh
Hit ENTER on your keyboard to proceed with the installation process:
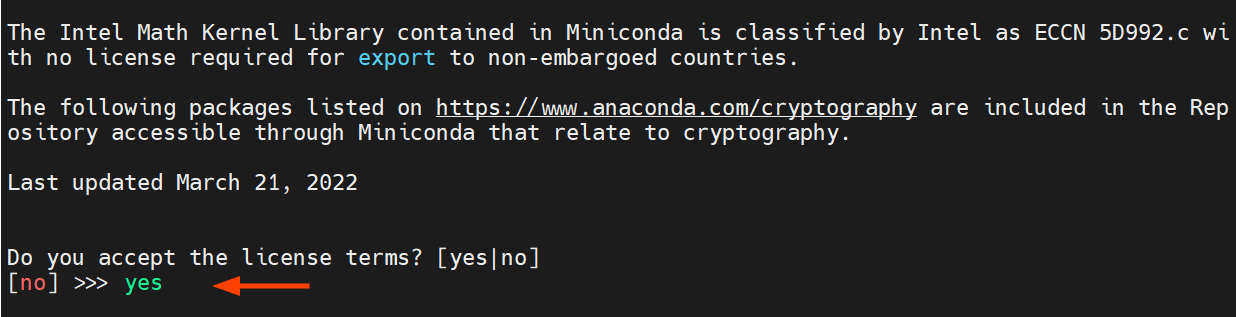
Next, type yes to accept the license terms and press ENTER again.
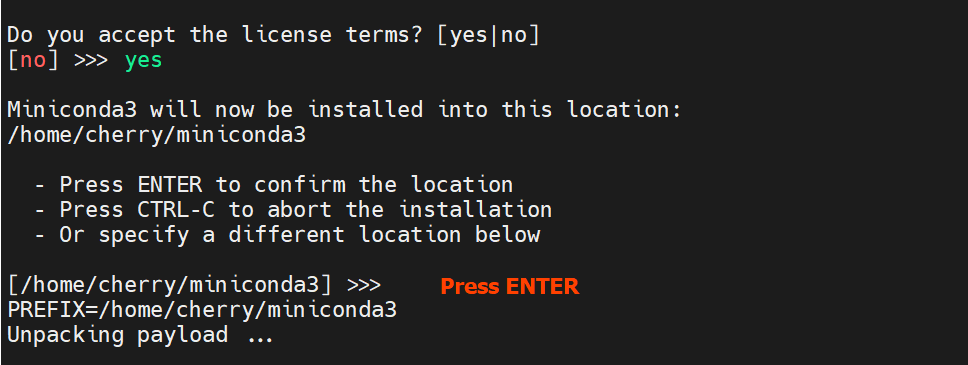
The installer will then display the installation directory for Miniconda3. By default, this is set to the home directory. Press ENTER to continue.
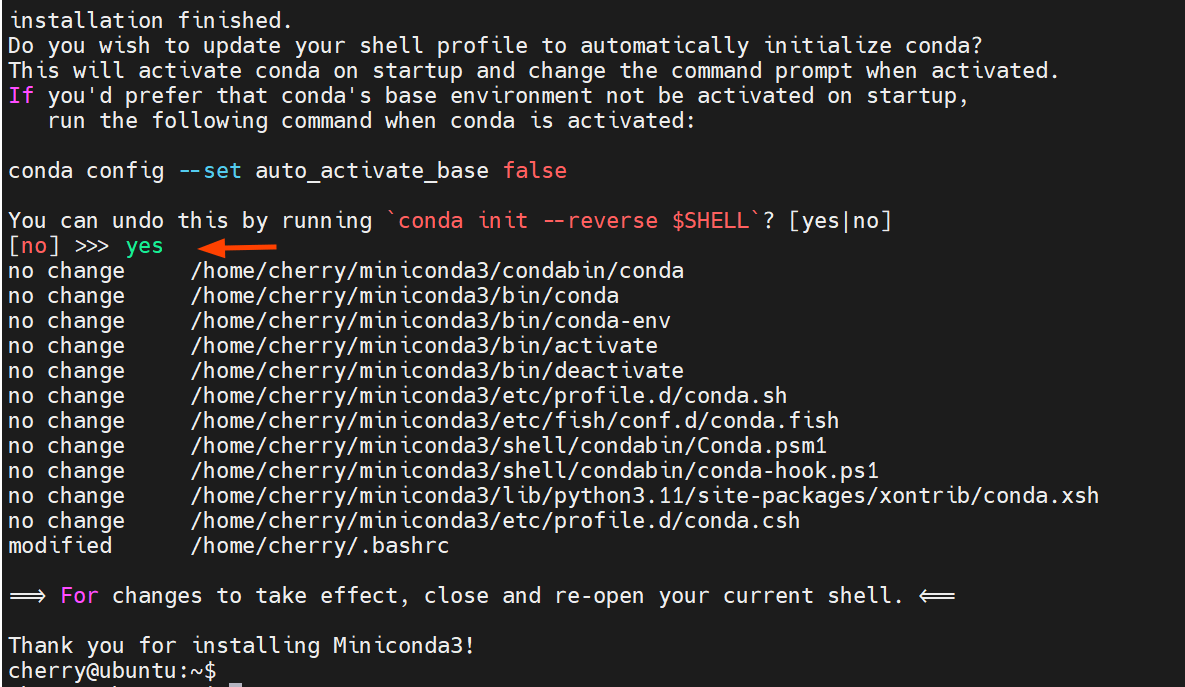
Finally, update the shell profile to automatically initialize conda upon system startup by typing yes and hitting ENTER. You can always disable this setting later when conda is activated by running the command:
conda config --set auto_activate_base false
At this point, we've successfully installed conda. To start using it, close the current shell session and open a new one. If you are connected to your instance via SSH, close the session and log in again.
#Step 2: Create a Conda environment
Upon successful installation of Miniconda, you will notice that the shell prompt starts with the (base) value.
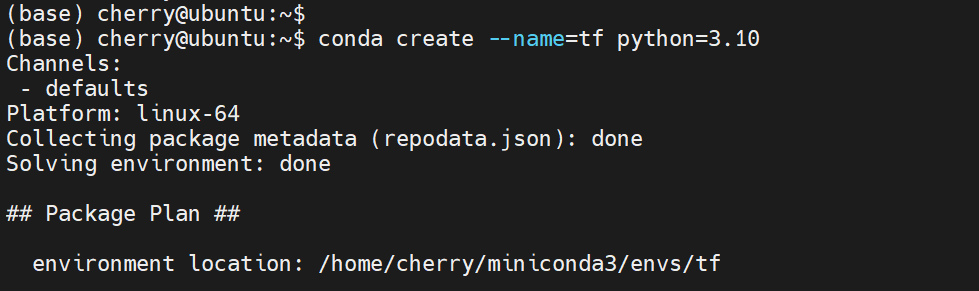
Next, create a Conda virtual environment. In our case, we have specified tf as the name of the environment.
conda create --name=tf python=3.10
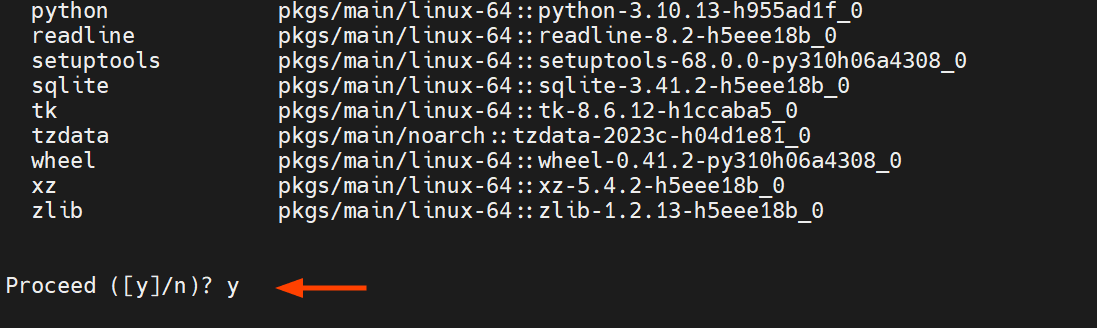
Next, type y and press ENTER to install the required packages for the environment.
Next, activate the environment.
conda activate tf
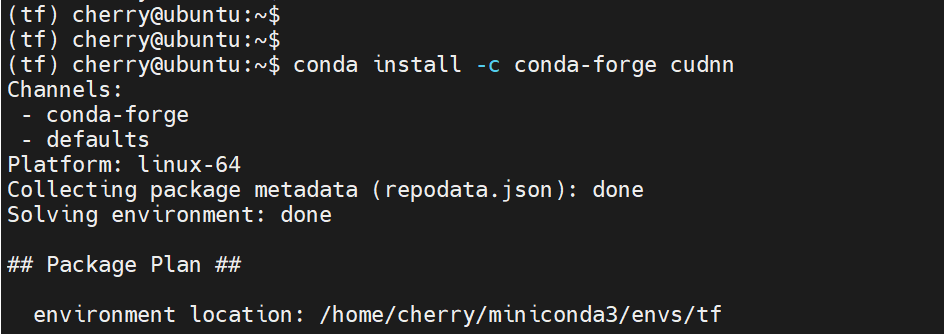
The next step is to install the cuDNN package. We already have CUDA 12.x installed, which is the latest version at the time of publishing this guide.
#Step 3: Install cuDNN Package and Libraries
To the cuDNN package using Conda, run the command:
conda install -c conda-forge cudnn
Next, configure the system paths for the CONDA environment:
mkdir -p $CONDA_PREFIX/etc/conda/activate.d
echo 'export LD_LIBRARY_PATH=$LD_LIBRARY_PATH:$CONDA_PREFIX/lib/' > $CONDA_PREFIX/etc/conda/activate.d/env_vars.sh
The next step is to install TensorFlow using the pip package manager.
#Step 4: pip install TensorFlow
With all the prerequisite packages in place, install TensorFlow using the pip package manager.
python3 -m pip install TensorFlow
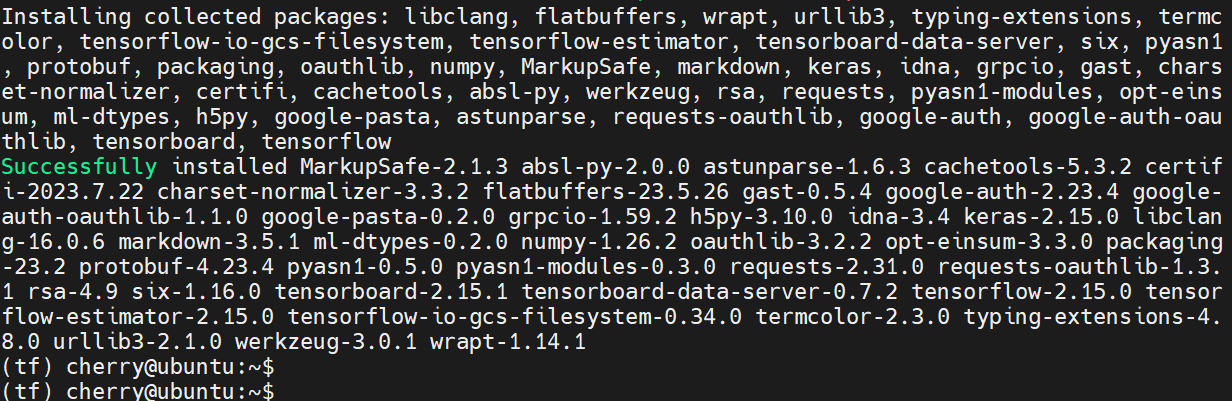
The following output confirms that all the required packages were installed:
To confirm that TensorFlow has been successfully installed, run the command shown.
python -c "import TensorFlow as tf; print(tf.random.normal([5, 5]))"

The command prints out a barrage of information, and at the very end, a 5 X 5 array with random floating point values will be printed out.
To exit from the two conda environments - tf and base environments - run conda deactivate successively on each environment.
conda deactivate
#Conclusion
This tutorial showed how to install TensorFlow on Ubuntu 22.04 using two different configurations: using a CPU-only system or an NVIDIA GPU-enabled CPU. For more information about TensorFlow, check out the official website.