How to Install Jenkins on Ubuntu 24.04: Step-by-Step

Jenkins is one of the most popular free automation tools everyone should know about. DevOps engineers use it to automate code building, testing, and deployment. This article will focus on how you can install Jenkins in the new LTS version of Ubuntu, i.e., Ubuntu 24.04.
But before that, let us quickly discuss what Jenkins is.
#What is Jenkins
Jenkins is the way to go for an open-source automation server. It is the most popular CI/CD tool out there. It is used to automate software development tasks, such as testing code changes, packaging, and deploying at the end of stages in SDLC.
Key Features: Pipeline Automation: Define CI/CD processes as code. Extensibility: Supports over 1,500 plugins for various integrations (e.g., Git, Docker, Kubernetes). Distributed Builds: Run jobs across multiple machines for scalability. Easy Integration: Works with numerous tools and platforms (e.g., Maven, Gradle, GitHub). User-Friendly Interface: Simple web UI for job management and monitoring. Strong Community Support: Regular updates and extensive documentation.
#Prerequisites
Before we start with the installation, ensure that you have the following: Ubuntu 24.04 system with at least 1GB of RAM. Root or sudo user privileges.
Deploy and scale your projects with Cherry Servers' cost-efficient dedicated or virtual servers. Get seamless scaling, hourly pricing, and premium 24/7 support.
#How to install Jenkins on Ubuntu 24.04
Let’s begin by updating your system and installing the necessary dependencies.
#Step 1: Update the System
Updating your system packages before installing new software is always a wise idea. Open the terminal and run the following command:
sudo apt update
sudo apt upgrade
It updates the package index used on your system. It knows what packages are out there and their versions and then installs a new version of everything installed.
#Step 2: Install Java
The second step is to install Java on your Ubuntu Server since Jenkins needs it for you to run. Jenkins officially supports Java 11 and Java 17. We will install OpenJDK 17, which is recommended for Ubuntu 24.04.
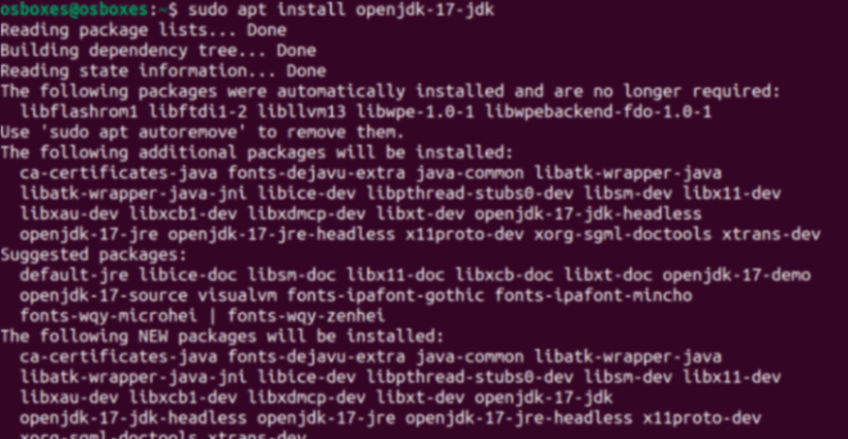
To install Java 17, run the following command:
sudo apt install openjdk-17-jdk
Once Java is installed, verify the installation by checking the version:
java -version
You should see an output similar to this:
openjdk version "17.0.x"
OpenJDK Runtime Environment (build 17.0.x+xx)
OpenJDK 64-Bit Server VM (build 17.0.x+xx, mixed mode)
With Java installed, we are ready to move on to the next step.
#Step 3: Add Jenkins Repository
Start by importing the Jenkins GPG key into your system. Note that the URL mentioned below can change in the future, so verify before using it.
sudo wget -O /usr/share/keyrings/jenkins-keyring.asc https://pkg.jenkins.io/debian-stable/jenkins.io-2023.key
 Next, add the Jenkins repository to your system’s sources.list:
sudo sh -c 'echo deb [signed-by=/usr/share/keyrings/jenkins-keyring.asc] https://pkg.jenkins.io/debian binary/ > /etc/apt/sources.list.d/jenkins.list'
#Step 4: Install Jenkins
Jenkins is not available in the default Ubuntu repositories, so we need to add the Jenkins repository and then install Jenkins from there.
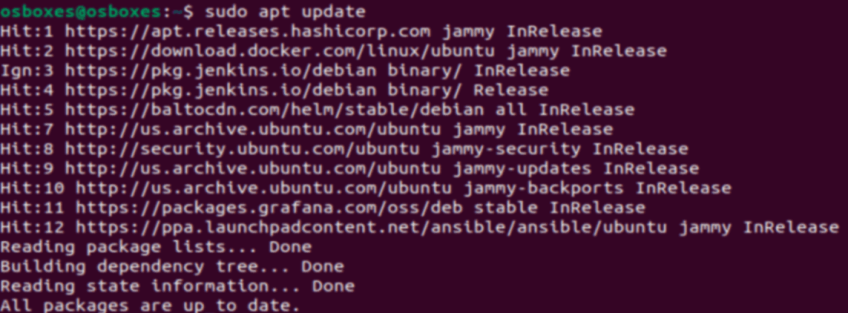
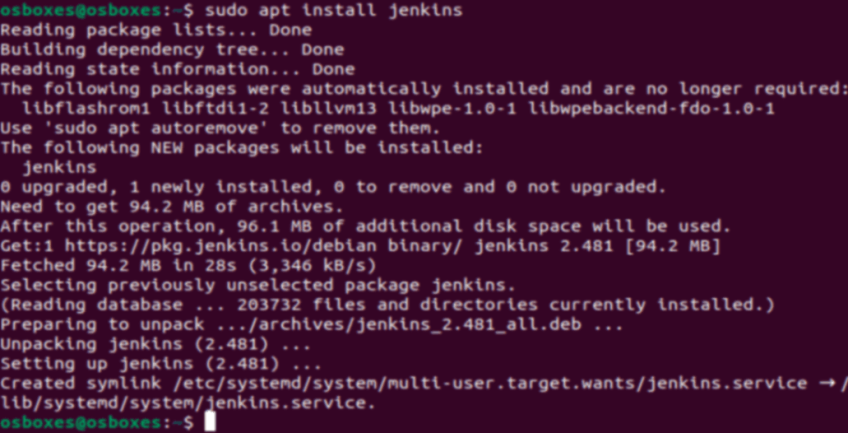
After adding the repository, update the package list and install Jenkins by running the following command:
sudo apt update
sudo apt install jenkins
Once Jenkins is installed, it will automatically start as a service.
#Step 5: Start and Enable Jenkins
Now that Jenkins is installed, we need to start and enable the Jenkins service so that it runs automatically on boot.
Start Jenkins with the following command:
sudo systemctl start jenkins
To ensure Jenkins starts at boot, enable it using the following command:
sudo systemctl enable jenkins
You can check the status of Jenkins to make sure it is running:
sudo systemctl status jenkins
You should see an output indicating that Jenkins is active and running.
#Step 6: Adjust the Firewall
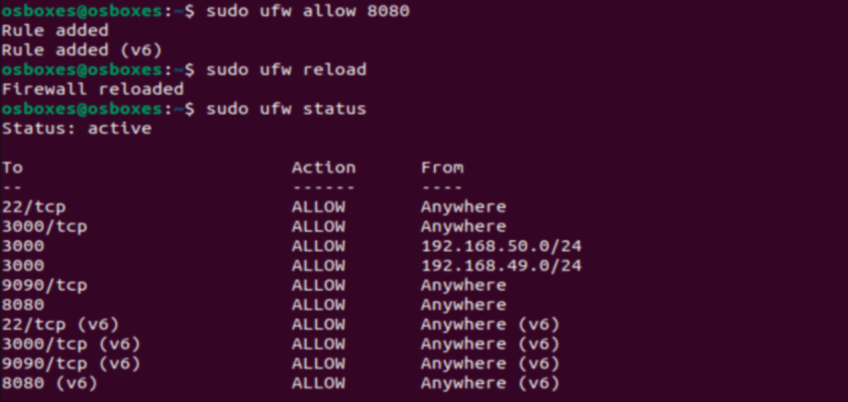
Jenkins is hosted on port 8080, which is the default. If your server has a built-in firewall, you must allow traffic on this port. To do this, run the following commands:
For UFW (Uncomplicated Firewall) users, allow port 8080:
sudo ufw allow 8080
sudo ufw reload
If you are using another firewall, like iptables, make sure it permits traffic on port 8080.
To verify the UFW status and confirm that Jenkins is allowed through the firewall, run the following command:
sudo ufw status
#Step 7: Access Jenkins Web Interface
Jenkins is now installed and running on your server. To complete the setup, you need to access the Jenkins web interface. Open a web browser and enter your server's IP address followed by port 8080:
http://your-server-ip:8080
If you're running Jenkins locally, use:
http://localhost:8080
#Step 8: Configure Jenkins
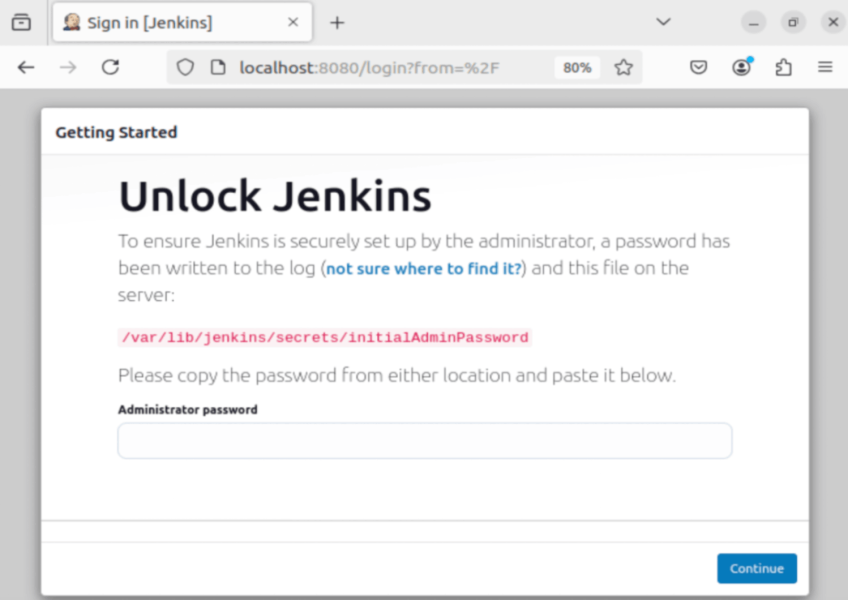
When you first access Jenkins, it will ask for an initial admin password. To retrieve this password, run the following command in your terminal:
sudo cat /var/lib/jenkins/secrets/initialAdminPassword
You’ll see a long string of characters. Copy this password and paste it into the Jenkins setup screen.
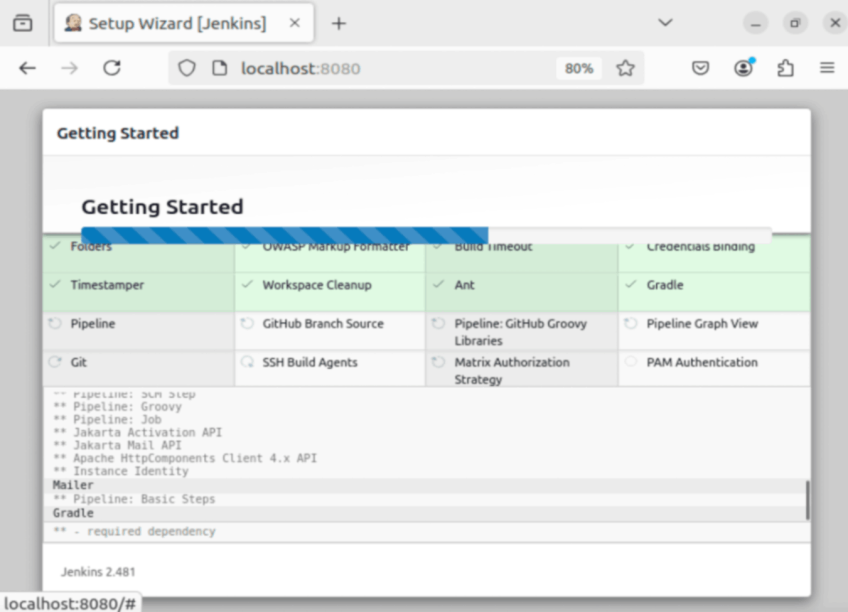
After entering the initial admin password, Jenkins will take you to the Customize Jenkins page. Here, you’ll be asked to install plugins. Installing the suggested plugins for basic Jenkins functionality is recommended.
Click on Install suggested plugins to begin the process.
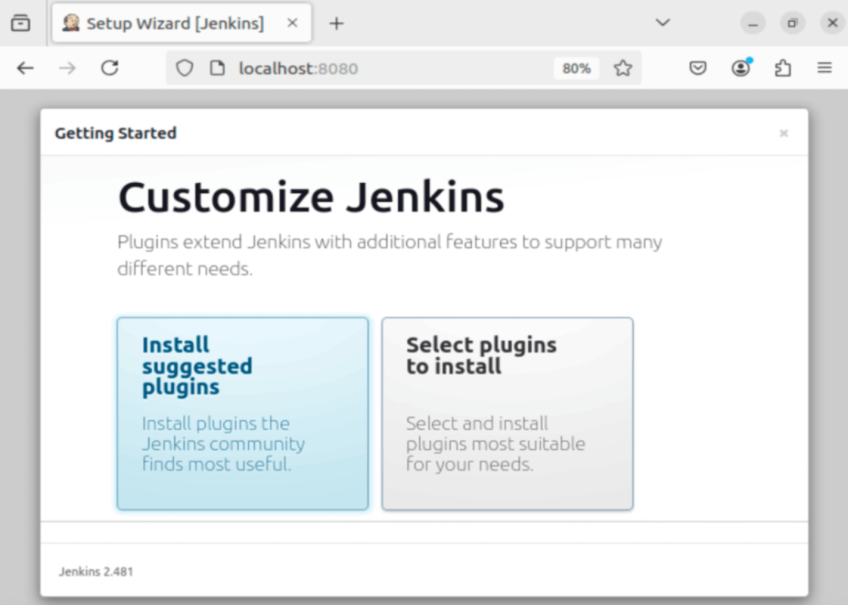 Jenkins will automatically install the most commonly used plugins, which can take a few minutes, depending on your server’s speed.
#Step 9: Create the First Admin User
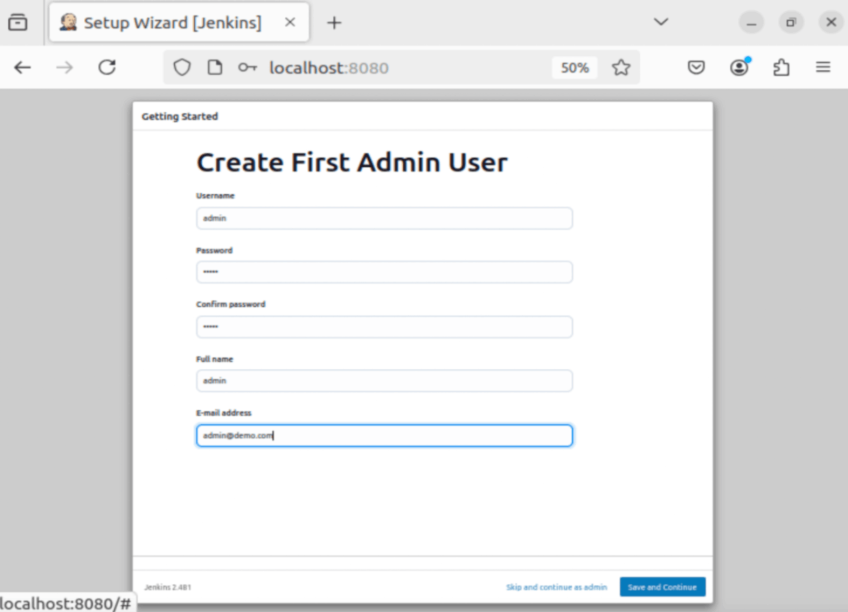
Once the plugins are installed, Jenkins will prompt you to create first admin user. Fill in the required fields as shown below:
This account will serve as Jenkins admin user.
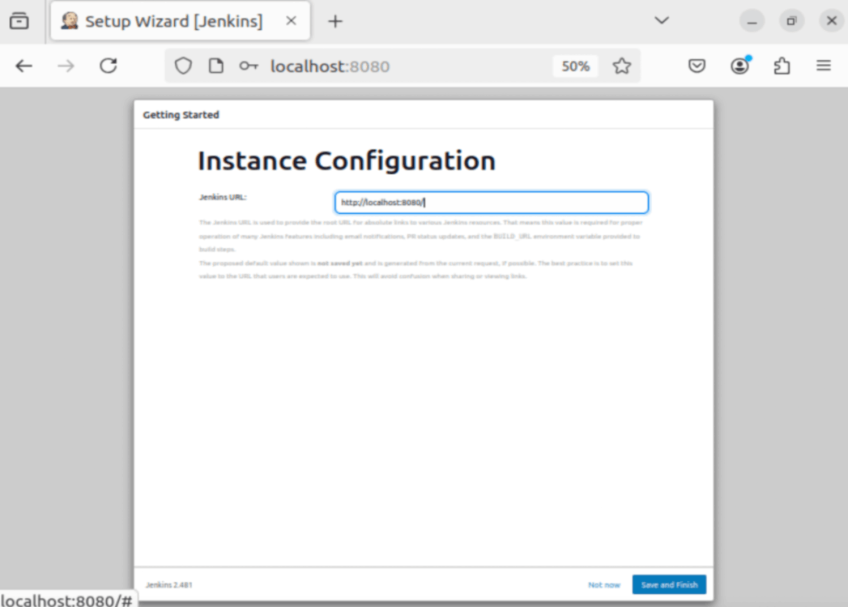
After creating the user, click Save and Finish.
You have successfully installed Jenkins on Ubuntu 24.04.
Next, let’s create a simple pipeline using Jenkins.
#Creating a Simple Pipeline Using Jenkins
Creating your first basic pipeline in Jenkins is a great way to start with automation. A Jenkins pipeline defines the steps of your CI/CD process as code, which can be version-controlled and reused easily. Here’s a step-by-step guide to creating a very basic pipeline using Jenkins.
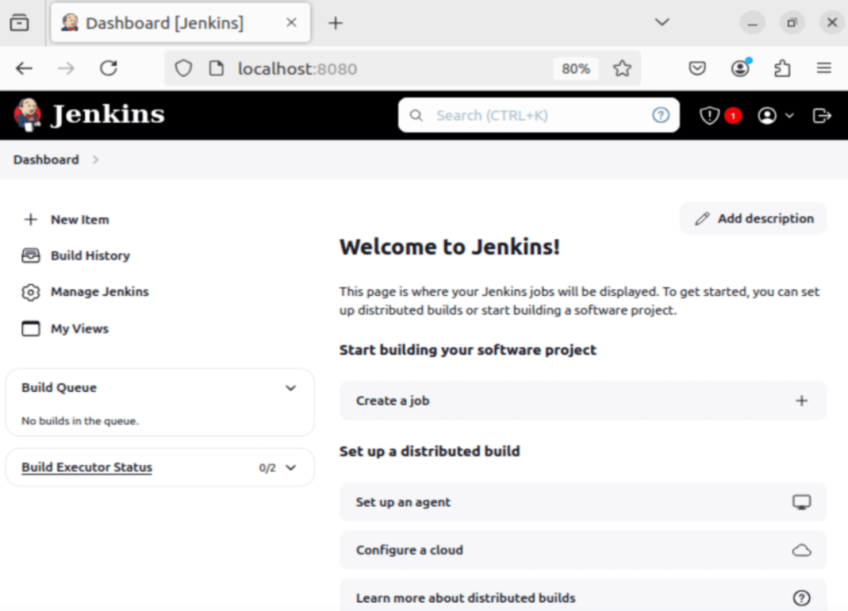
On your Jenkins dashboard, click New Item.
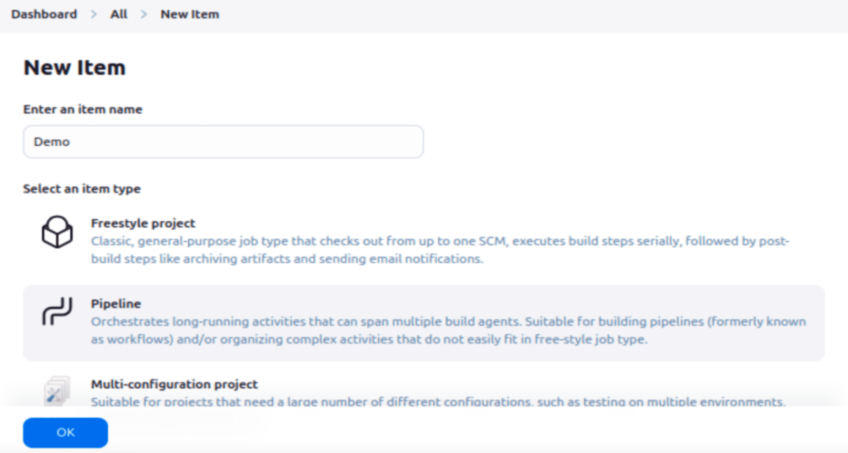
Name your job (e.g., "Demo"), select Pipeline as the project type, and click OK.
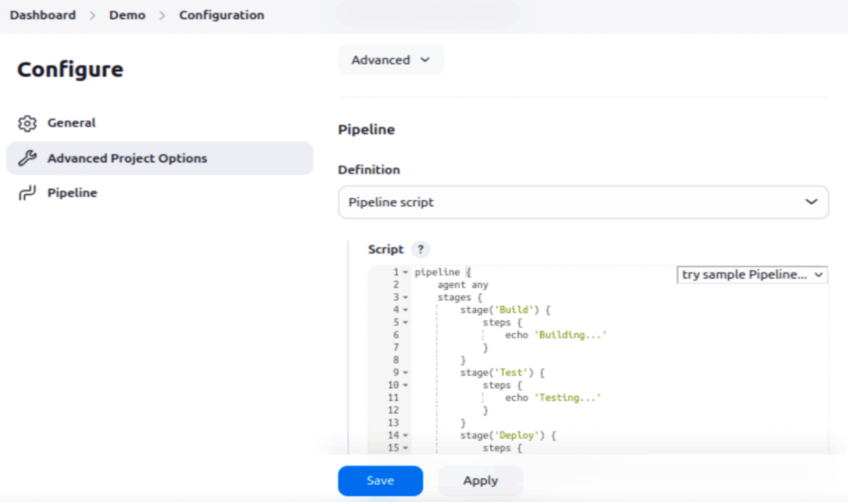
Scroll down to the Pipeline section. In the Definition dropdown, select Pipeline script.
In the text box that appears, enter a very basic pipeline script. Here’s a simple example:
pipeline {
    agent any
    stages {
        stage('Build') {
            steps {
                echo 'Building...'
            }
        }
        stage('Test') {
            steps {
                echo 'Testing...'
            }
        }
        stage('Deploy') {
            steps {
                echo 'Deploying...'
            }
        }
    }
}
What This Pipeline Does: pipeline {}: Defines the entire pipeline. agent any: Runs the pipeline on any available Jenkins agent. stages {}: Lists the stages of the pipeline. stage('Build'), stage('Test'), stage('Deploy'): Defines individual stages for building, testing, and deploying. steps {}: The actual actions that happen within each stage (in this case, simple echo statements).
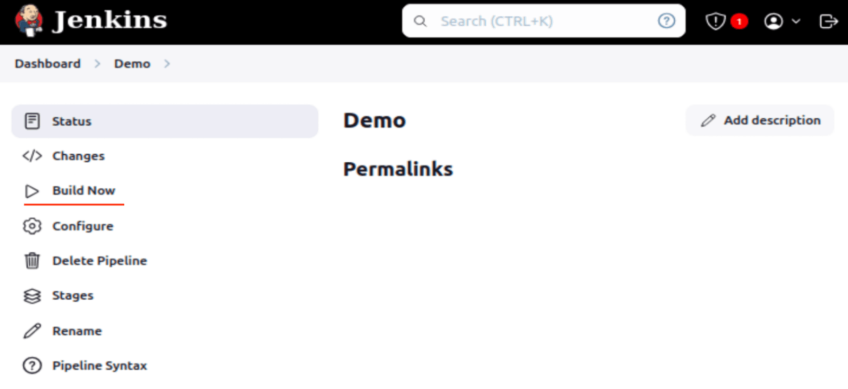
Once you’ve written the pipeline script, click Save. On the job’s dashboard, click Build Now to run the pipeline.
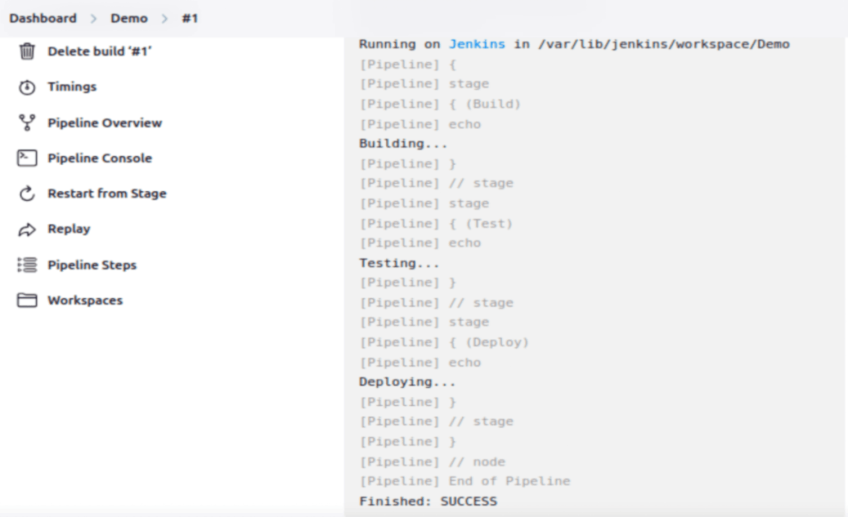
You can view the progress in the Build History section on the left. Click on the build number to see the console output and check the result of each stage.
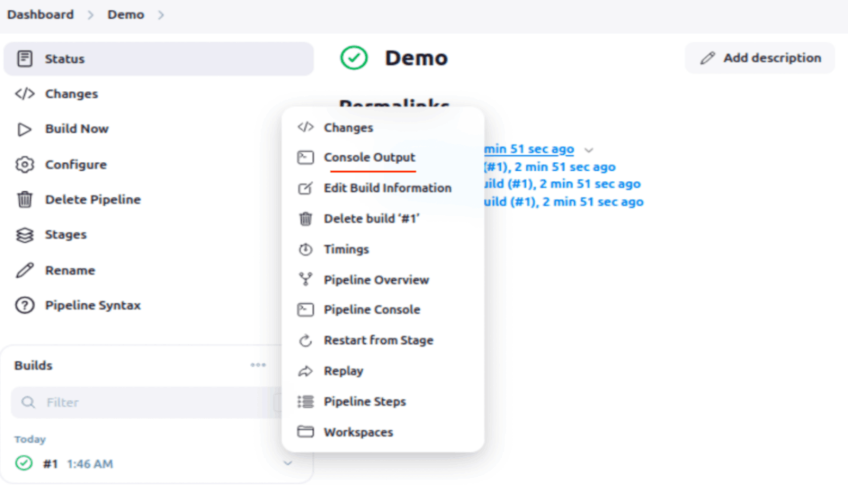 It will show that the pipeline has been executed successfully.
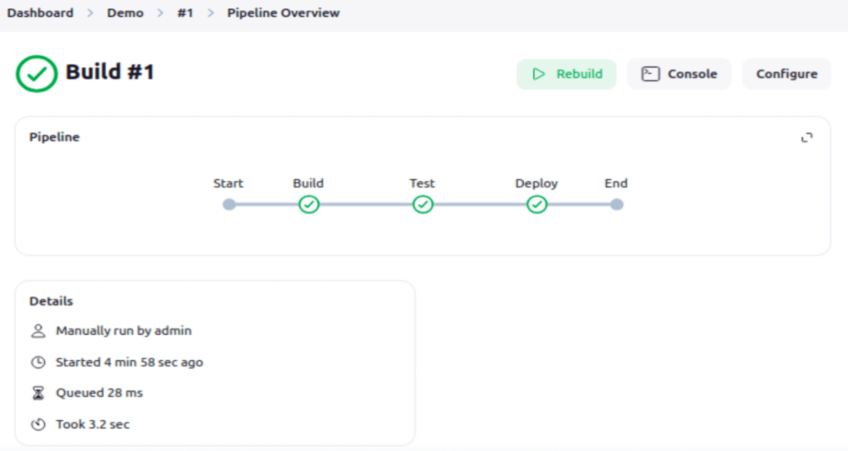
After the build is complete, click on the build number and then on Pipeline Steps or Pipeline Graph.
Jenkins will visually represent the pipeline, showing each stage and whether it passed or failed.
#Conclusion
In this guide, we have explained how to install Jenkins on Ubuntu 24.04 step by step. We covered installing Java, adding the Jenkins repository, installing the Jenkins server, and starting the Jenkins server. Again, from Jenkins's perspective, now that we have it up and running, you can begin to automate your development operations using this CI/CD pipeline integration system.
Remember that Jenkins is here to evolve with your projects. Jenkins provides a broad spectrum of plugins and integrations, from simple builds to complex pipelines. Happy building!
Starting at just $3.24 / month, get virtual servers with top-tier performance.


