How to Install phpMyAdmin on Ubuntu 22.04 | Step-by-Step


PHPMyAdmin is an excellent choice for managing MySQL databases on Ubuntu 22.04. It is a popular tool with a simple, effective, and user-friendly web-based interface which lets you administer MySQL databases effortlessly. Therefore, many developers, database administrators, and website owners trust PHPMyAdmin for their database needs.
This comprehensive guide will explain how to install PHPMyAdmin on Ubuntu 22.04 operating system. By following it, you will know how to run your own PHPMyAdmin to manage your databases effectively.
#Prerequisites
To follow along with this phpMyAdmin installation guide, you will need the following:
- A computer with Ubuntu 22.04 installed and up and running;
- A user with root privileges / non-root privileges;
- The LAMP Stack should be installed.
Not using Ubuntu 22.04? Read how to install phpMyAdmin on Ubuntu 24.04
#What is PHPMyAdmin?
PHPMyAdmin is a web-based tool designed to interact with MySQL databases and is based on the PHP web programming language. It allows you to perform various operations like creating tables, executing update and delete commands, as well as data insertion, update, and data import and export.
Moreover, you can manage users accessing the database and run different queries for various business needs. PHPMyAdmin is popular among technical users such as database administrators and web developers as it greatly simplifies database management.
Some of the major benefits of PHPMyAdmin are:
- Provides the necessary tools to manage the MySQL server;
- Administrators can manage and control user accounts and access;
- Privileged users can import and export data to and from various file formats;
- Capabilities to manipulate data using insert, update, and delete commands;
- A visual query builder to construct MySQL queries;
- Database management capabilities such as creating, deleting, and modifying tables, columns, and relationships among tables.
#How to install phpMyAdmin on Ubuntu: step-by-step
If you are a beginner unfamiliar with the LAMP stack, continue with the step 1 section of this article. However, if you have already installed it, you can skip this section and jump directly into step 2 of the installation process.
#Step 1: Install the LAMP stack
The LAMP stack is a popular open-source software bundle among developers. LAMP stands for Linux, Apache, MySQL, and PHP Python Perl. Most of these technologies are used in web development. This stack is named LAMP, as it is used with Linux operating systems. Ubuntu, Debian, CentOS, and many other Linux operating systems are highly compatible with the LAMP stack.
This section will first describe the essential steps to installing the LAMP stack on Ubuntu. If you have already installed LAMP on your machine, you can skip this part and go straight to installing PHPMyAdmin (step 2).
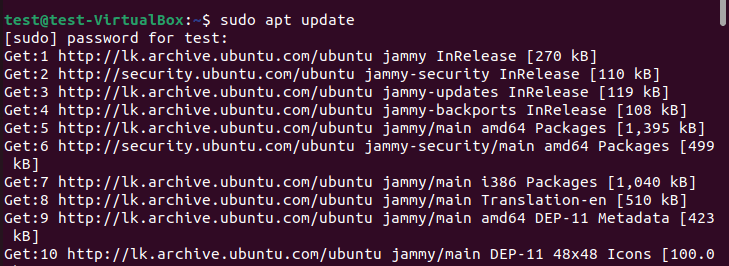
1. Update system packages
It is important to update your system packages before installing an application on a Linux machine. When you update your system, you are providing it with the latest dependency requirements.
You can update your system using the following command.
1.sudo apt update - This command retrieves information about available updates from repositories and updates all the package lists.
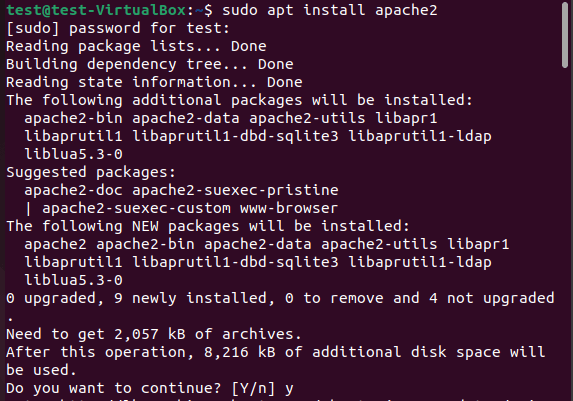
2. Install Apache web server
The second thing we need to do is install the Apache web server. You can use the sudo apt install apache2 command on your terminal.
3. Enable Apache
Next, you should instruct the Ubuntu firewall to allow Apache to communicate through it. By now, you should have also enabled Apache services. For that, you may use the sudo ufw allow Apache command first and then the sudo systemctl enable apache2 command.


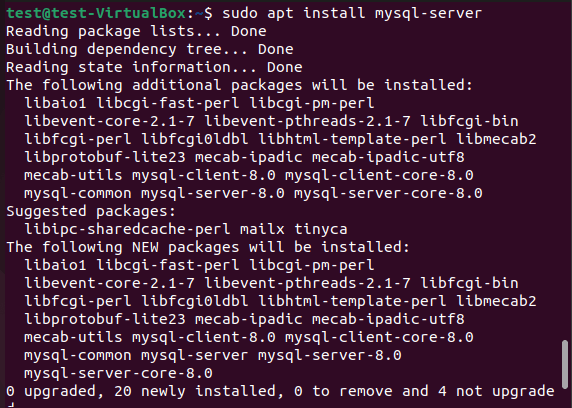
4. Install MySQL Server
Now it is time to install the MySQL server on your Ubuntu computer. You can do it with the command sudo apt install mysql-server.
5. MySQL Security
In the next step, you should use the below command to configure MySQL security.
sudo mysql_secure_installation.
Error!
Once you execute the sudo mysql_secure_installation command, you will be prompted to choose the password strength parameters. You can specify 0 for low, 1 for medium, and 2 for strong. Then you will be asked to enter a password and re-enter it for confirmation. There, you may encounter the following error:
“... Failed! Error: SET PASSWORD has no significance for user 'root'@'localhost' as the authentication method doesn't store authentication data in the MySQL server. Please consider using ALTER USER instead if you want to change authentication parameters.”
In that case, you can terminate the current terminal and enter the command sudo mysql in a new terminal.
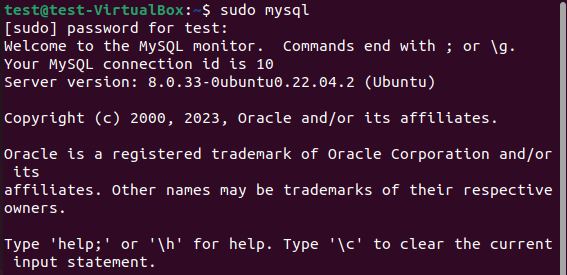
Then, you can use the following command inside the MySQL terminal.
ALTER USER 'root'@'localhost' IDENTIFIED WITH mysql_native_password by 'your_new_password';.
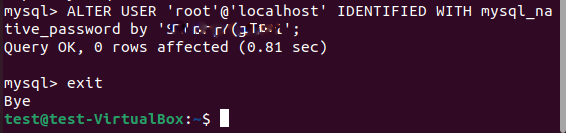
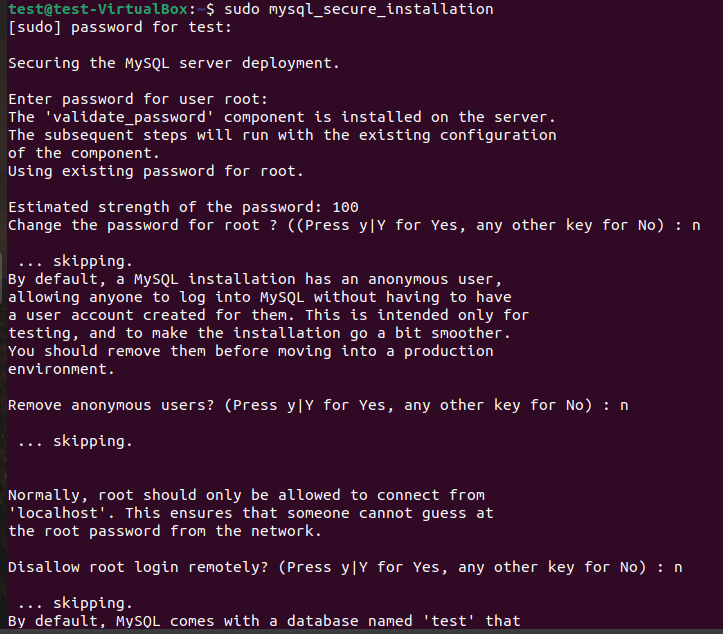
After that, your password will be set correctly for the root user of the MySQL server. You can successfully complete the security setup by entering the command sudo mysql_secure_installation.
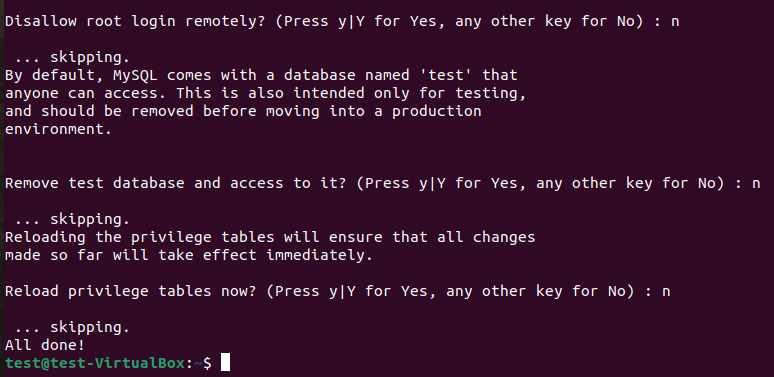
In that process, you will be asked to:
- Change the password for root;
- To remove anonymous users;
- To disallow remote login as root;
- To remove the test database and access to it;
- To reload privileges tables etc.
Furthermore, it is important to note that running the command sudo mysql from now on will result in an error. The reason is that now you have a password for the root user. So, you need to enter the mysql -u root -p command and provide the new password you set earlier to gain access to the MySQL console.
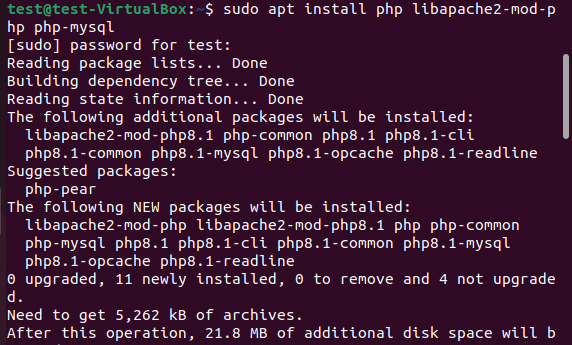
6. Install PHP
Now we can install PHP and the necessary modules using the command sudo apt install php libapache2-mod-php php-mysql.
7. Configure Apache for PHP
Now it’s time to configure the Apache server to use PHP. For that, we should find the dir.conf file and edit it by moving the “index.php” phrase to the front of the line named “DirectoryIndex”.
First, we can use the command, sudo nano /etc/apache2/mods-enabled/dir.conf to open the file on the nano text editor.

Then we can edit the file as DirectoryIndex index.php index.html index.cgi index.pl index.xhtml index.htm.
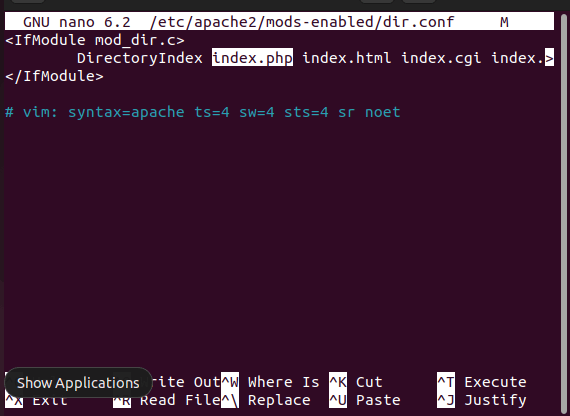
You can save the file by pressing ctrl+x and then pressing y to say ‘yes’ to save changes. Finally, press the enter/return key to exit the editor.
8. Restart Apache
You should restart the Apache server so that it will update itself and the changes will take effect. You can use the command, sudo systemctl restart apache2 to restart the Apache service.
![]()
9. Check if PHP is working
Now it’s time to check if PHP is processed by the Apache server. It can be done by creating a PHP file and trying to access it through our local server(Apache).
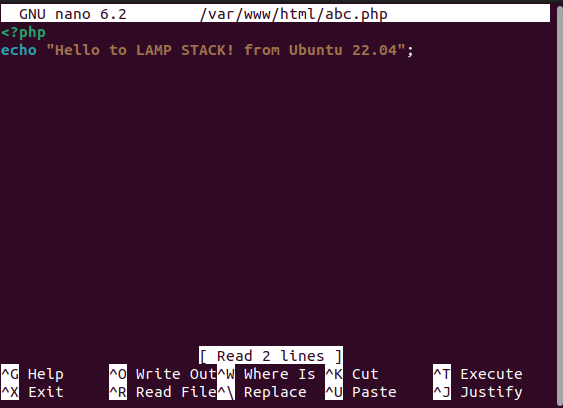
First, we will create a file called abc.php. You can use any name ending with the .php: extension for the file. The command, sudo nano /var/www/html/abc.php will do it while opening the file in the nano editor.
![]()
Then we can write very simple PHP code and save the file. For example, we will print a message as an output using the following code.
< ?php
echo "Hello to LAMP STACK! From Ubuntu 22.04";
?>
After saving the file, you can open a web browser and type http://your_server_ip/abc.php in the URL bar. In our case, it is “http://localhost/abc.php”.

Now, you will see the output as in the above screenshot. That means you wrote your first PHP code on your Ubuntu computer.
Great! Now you have successfully set up the LAMP stack on your Ubuntu computer. Now it is time to install phpMyAdmin.
#Step 2: Install PHPMyAdmin
Now that we have installed the LAMP stack and set everything up let's begin with the PHPMyAdmin installation.
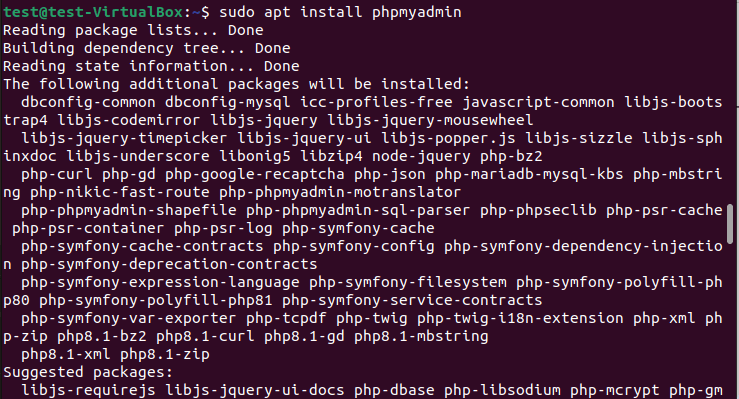
First, we have to use the command sudo apt install phpmyadmin.
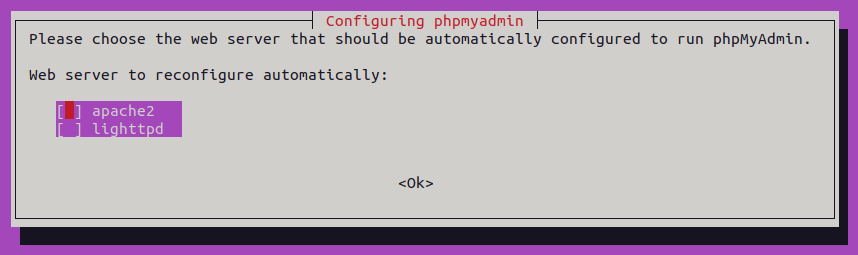
Then you will be asked to choose the web server to run PHPMyAdmin on. We will choose Apache2 and press ok.
The next prompt will ask you to configure a database for phpMyAdmin. Since we have already installed the MySQL server, we can press No and go ahead.
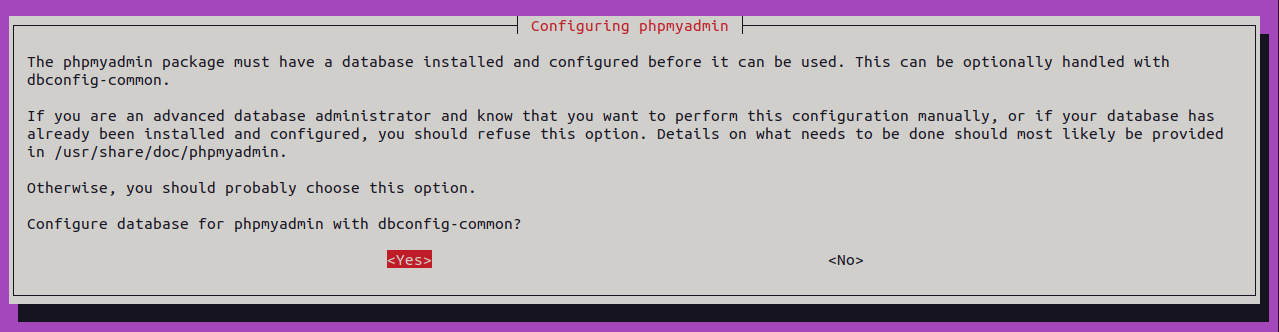
However, if you choose yes in the above prompt, you will be asked to provide a password for your new database. Additionally, you will be asked to verify the password. If your password does not match the security requirements (ex: the password is not strong enough), you will be asked to retry or ignore the steps. You may select retry and provide a stronger password. After that, the installation will be completed.

Next, we should restart the Apache server using the command, sudo systemctl restart apache2.
Now all you need to do is visit the URL http://localhost/phpmyadmin. You will see the PHPMyAdmin login interface, as shown in the following image.
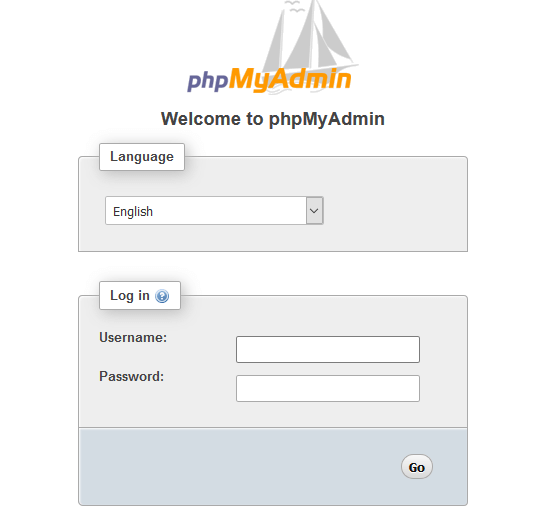
There, you can provide the Username as root and the Password you set earlier for the MySQL server and press the Go button.
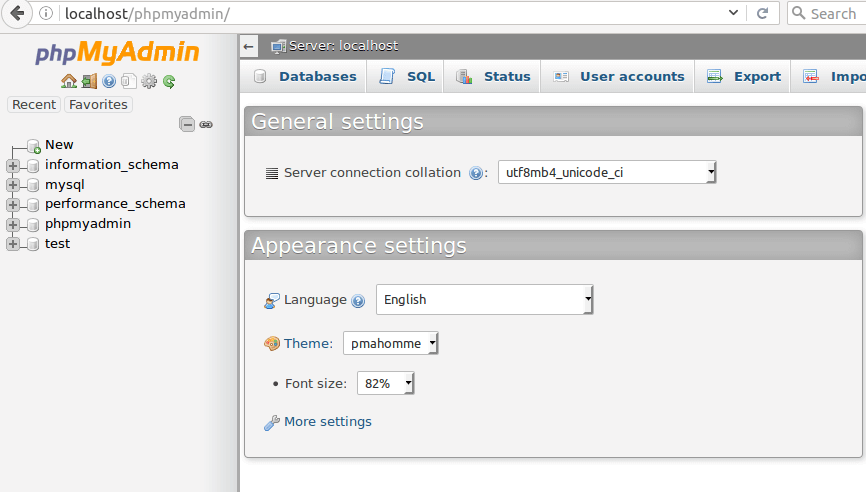
Then, you will see your phpMyAdmin interface, as shown in the above image. Now you can easily manage your MySQL/MariaDB databases using PHPMyAdmin.
#Conclusion
You have now successfully installed phpMyAdmin on your Ubuntu 22.04 and can start managing and administrating your databases effectively. With its user-friendly, simple interface, and wide range of functionalities, phpMyAdmin is a powerful tool to help you develop your web applications smoothly and perform SQL queries efficiently.


