How To Install Docker Compose on Ubuntu 20.04 | Step-by-Step


To help you sharpen your DevOps skills, in this tutorial, we'll walk you through how to install Docker Compose on Ubuntu 20.04 and create a basic multi-container demo app.
#What is Docker Compose?
Docker Compose is Docker's official tool for defining multi-container apps. Compose uses YAML configuration files to define app services and docker compose commands to start and stop services.
Docker Compose is useful for applications where you need to run multiple containers on a single host. For example, you can use compose to group all the components of a LAMP stack on a host. Compose is also useful for quickly spinning up and down dev and test environments with minimal overhead.
#How to Use Docker Compose?
Containers in general, and Docker in particular, are key aspects of modern Linux system administration and DevOps workflows. In many cases, teams need to run multiple containerized apps together. Docker Compose helps them address this use case.
Specifically, Docker Compose helps Linux administrators simplify the process of creating and running multi-container applications using plaintext YAML configuration files and the Docker CLI.
#How To Install Docker Compose on Ubuntu 20.04
Now that we know what Docker Compose is, let's dive into installing the latest Docker Compose on Ubuntu. We'll borrow from the official Docker Compose Linux install docs, but we'll streamline the process here so you can hit the ground running with this demo project. Once Docker Compose is installed on our Ubuntu 20.04 system, we'll use it to run a simple multi-service demo app.
#Prerequisites
- Access to the terminal of an Ubuntu 20.04 (or similar) system
- sudo/root privileges
Ready to supercharge your Docker infrastructure? Scale effortlessly and enjoy flexible storage with Cherry Servers bare metal or virtual servers. Eliminate infrastructure headaches with free 24/7 technical support, pay-as-you-go pricing, and global availability.
#Step 1: Add Docker's Repository To Your System
The recommended way to install Docker Compose and related packages from Docker is to add Docker's repository to your system's list of repos. Adding Docker's repo will allow you to download and update the latest packages using the apt package manager.
To begin, update your package list:
apt update -y
Next, you'll need these four packages to allow apt to work with HTTPS-based repositories:
ca-certificates- A package that verifies SSL/TLS certificates.curl- A popular data transfer tool that supports multiple protocols including HTTPS.gnupg- An open source implementation of the Pretty Good Privacy (PGP) suite of cryptographic tools.lsb-release- A utility for reporting Linux Standard Base (LSB) versions.
Use this command to install those packages:
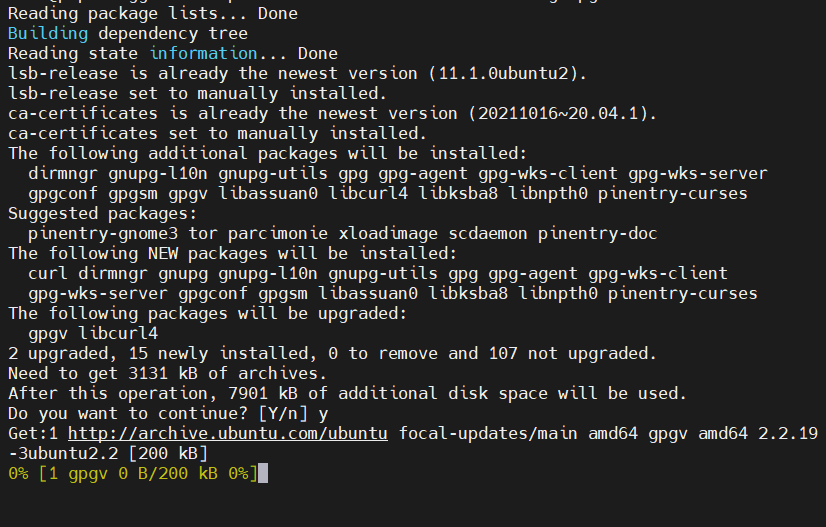
apt install ca-certificates curl gnupg lsb-release
Output will look similar to:
Make a directory for Docker's GPG key:
mkdir /etc/apt/demokeyrings
Use curl to download Docker's keyring and pipe it into gpg to create a GPG file so apt trusts Docker's repo:
curl -fsSL https://download.docker.com/linux/ubuntu/gpg | sudo gpg --dearmor -o /etc/apt/demokeyrings/demodocker.gpg
Add the Docker repo to your system with this command:
 echo \
  "deb [arch=$(dpkg --print-architecture) signed-by=/etc/apt/demokeyrings/demodocker.gpg] https://download.docker.com/linux/ubuntu \
  $(lsb_release -cs) stable" | sudo tee /etc/apt/sources.list.d/docker.list
The output should look similar to:
![]()
#Step 2: Install Docker Compose And Related Packages
Now that you added Docker's repo, update your package lists again:
apt update -y
Next, install Docker-CE (Community Edition), the Docker-CE CLI, the containerd runtime, and Docker Compose with this command:
apt install docker-ce docker-ce-cli containerd.io docker-compose-plugin
Output should look similar to:

You can verify Docker-CE, the Docker-CE CLI, containerd, and Docker Compose are installed by checking their versions with these commands:
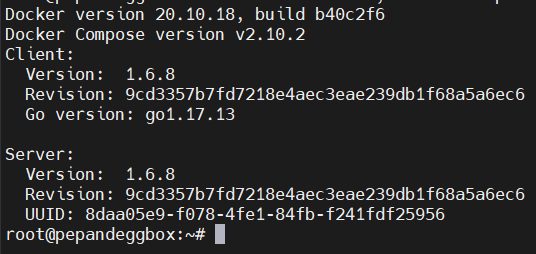
docker --version; docker compose version;ctr version
Output should look similar to:
#Step 3: Create your YAML file
With Docker Compose installed on the system, we can create a docker-compose.yml file defining our multi-service app. For our example, we'll create a WordPress install based on Docker's Compose and WordPress quickstart. You can substitute other images as needed.
First, create a directory for your demo app:
mkdir ~/composedemo
cd into the new directory:
cd ~/composedemo
Use a text editor like nano or vim to create a docker-compose.yml file with this content (note the inline comments explaining what the configuration does):
# Define services for our configuration. Parameters are similar to those defined by Docker at https://docs.docker.com/samples/wordpress/
services:
  # Create the MariaDB service
  db:
    # Specify the image version to pull from Docker Hub
    image: mariadb:10.6.4-focal
    # Run the command below to configure MariaDB to use the mysql_native_password authentication method
    command: '--default-authentication-plugin=mysql_native_password'
    # Define a storage volume for the database
    volumes:
      - database_data:/var/lib/mysql
    # Always restart the container
    restart: always
    # Define environment variables for the MariaDB root password, database name, user, and user password
    environment:
      - MYSQL_ROOT_PASSWORD=yourstrongrootpassword
      - MYSQL_DATABASE=wordpress
      - MYSQL_USER=cherry
      - MYSQL_PASSWORD=pepperandegg
    # Define the ports to expose to other containers on the same Docker network
    # These ports are NOT exposed externally to the host
    expose:
      - 3306
      - 33060
  # Create the MariaDB service
  wordpress:
    # Use the latest WordPress image from Docker Hub
    image: wordpress:latest
    # Create a storage volume for the WordPress site
    volumes:
      - wordpress_data:/var/www/html
    # Map port 8081 on the host to port 80 on the container
    ports:
      - 8081:80
    # Always restart the container
    restart: always
    # Use environment variables to allow WordPress to communicate with the database service
    environment:
      - WORDPRESS_DB_HOST=db
      - WORDPRESS_DB_USER=cherry
      - WORDPRESS_DB_PASSWORD=pepperandegg
      - WORDPRESS_DB_NAME=wordpress
# Define the top level volumes
volumes:
    database_data:
    wordpress_data:
#Step 4: Run Your App With Docker Compose
Now you can run your multi-service app with this command:
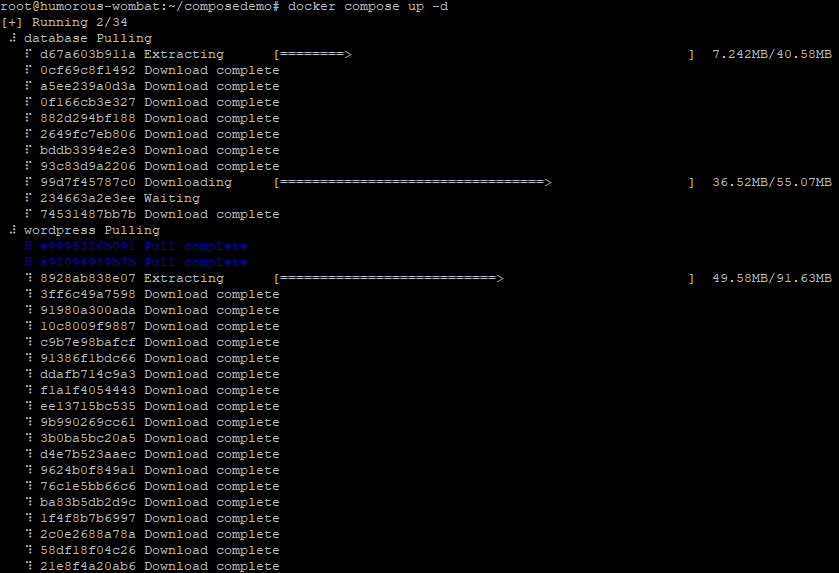
docker compose up -d
Output should look similar to:
#Step 5: Test The App
Now you can validate the WordPress and MySQL containers are running with this command:
docker compose ps
Output should look similar to:

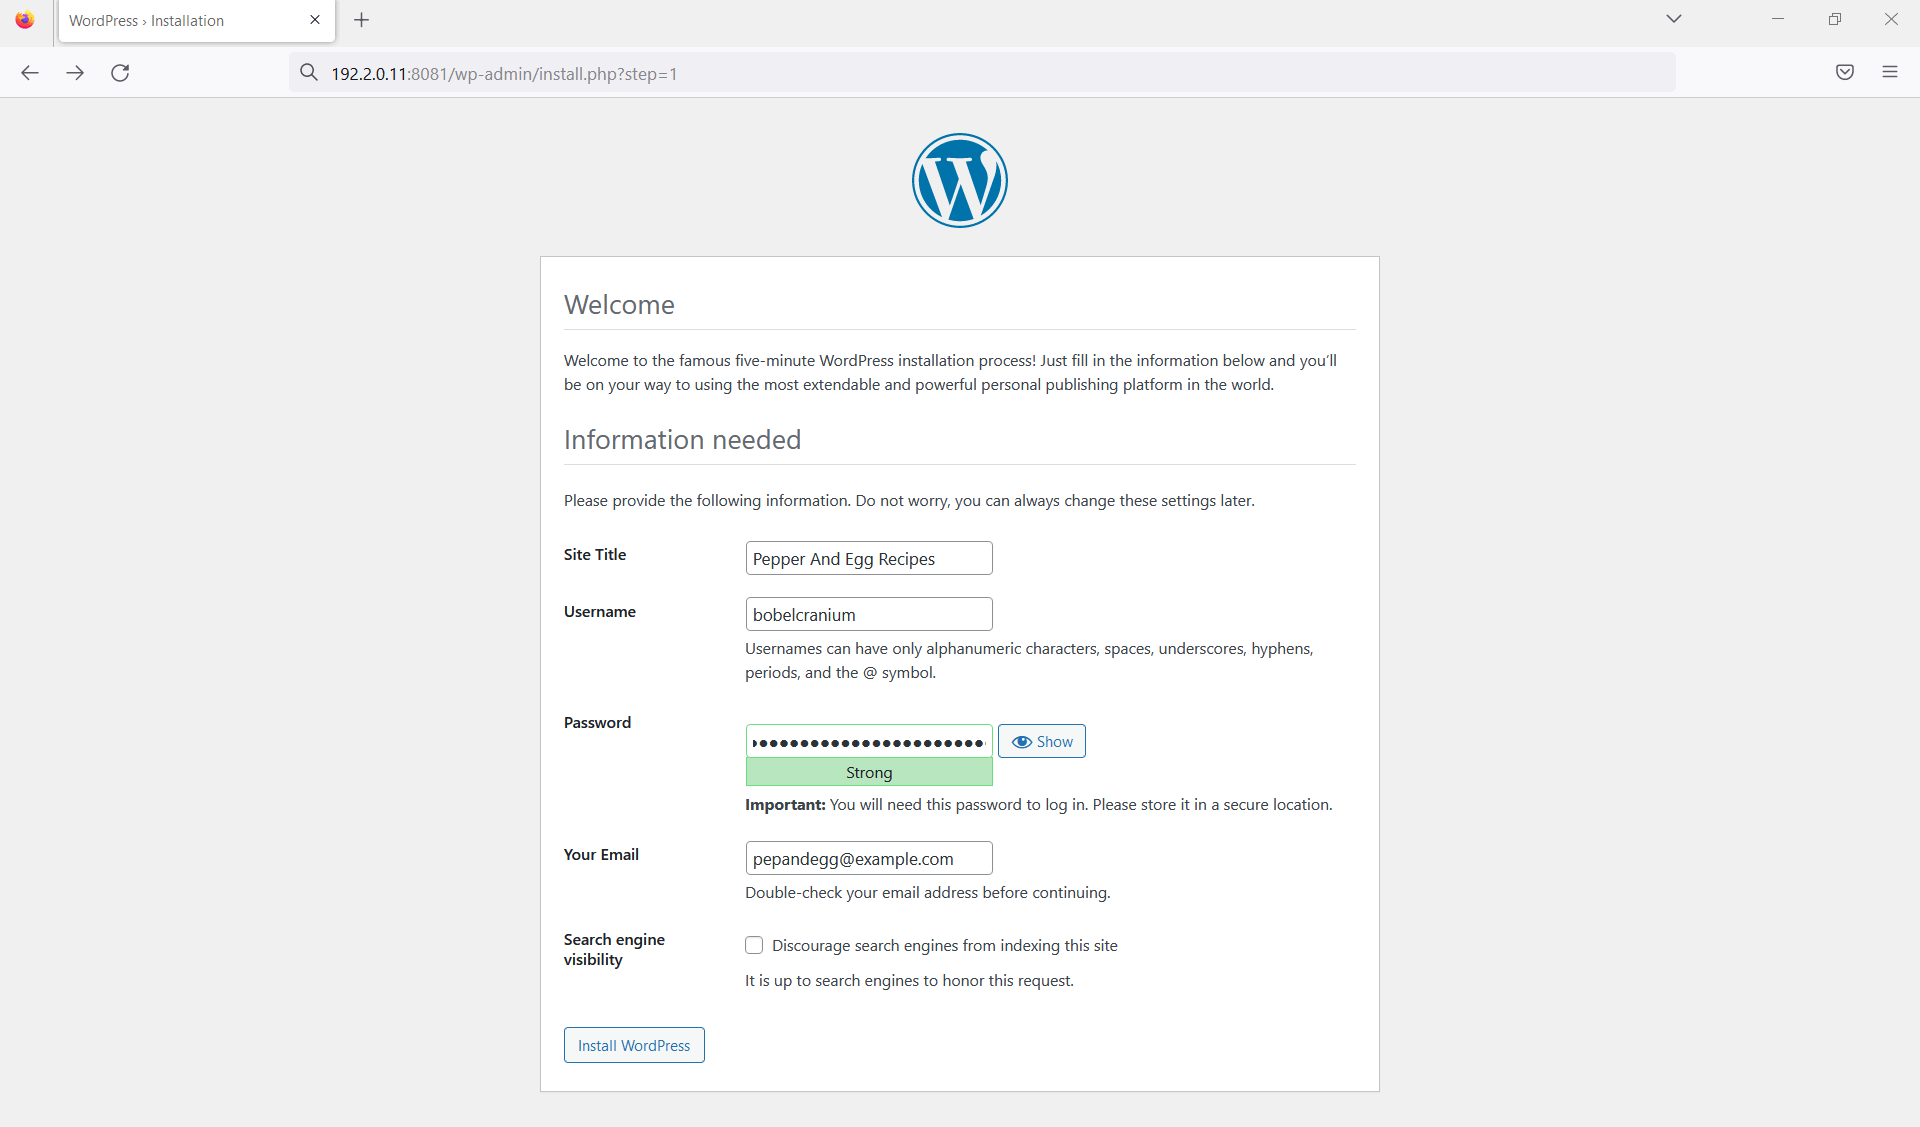
You can also browse to your host's IP address and view your demo WordPress instance.
#Step 6: Pausing And Stopping With Docker Compose
Pausing the containers running in our demo Docker Compose app will suspend the running processes. To pause the containers, use this command:
docker compose pause
Output should look similar to:

To unpause the containers, run this command:
docker compose unpause
Output should look similar to:

To stop the containers (i.e., send a SIGTERM) instead of pausing them, run this command:
docker compose stop
Output should look similar to:

Stopping containers does not remove the associated Docker networks. To stop the containers and remove the associated networks, use this command:
docker compose down
Output should look similar to:

#Step 7: Delete Your Demo Configuration
Once you're done testing with the demo app, you can delete the configuration file.
rm docker-compose.yml
#Conclusion
That's it! Now that you know the basics of Docker Compose, you can move on to more complex workflows like creating automated tests in QA environments. If you'd like to take a deeper dive into what's possible with Docker Compose, check out the official docs.
Read Next:


