How To Install Jenkins on Ubuntu 22.04


This guide demonstrates how to install Jenkins on Ubuntu 22.04 server in 6 steps, including the setup. We have given detailed instructions with commands and snapshots to install Jenkins, set up a firewall, install Jenkins plugins, and create an Admin user.
But before that, let’s understand What Jenkins is.
#What is Jenkins?
Jenkins is an open-source Java-based continuous integration tool. Continuous integration is a DevOps practice where developers regularly merge their code into a central repository where it is automatically tested, built and deployed. Working this way increases software development speed and helps detect bugs earlier in the code.
#What is Jenkins used for?
Jenkins automates software development process by creating a pipeline to build, test and deploy the application. You can run Jenkins on any platform, such as Linux, Windows, or macOS.
Jenkins is a top CI/CD tool because it's free, open-source, modular, and integrates with almost every other DevOps software. Currently, there are more than 1800 plugins that can be used to enhance Jenkins' capabilities and make it more user specific.
#Prerequisites
Below are the prerequisites for installing Jenkins on Ubuntu 22.04.
- Configured Ubuntu 22.04 server with a non-root sudo user and a firewall
Not using Ubuntu 22.04? Check our guide on how to install Jenkins on Ubuntu 24.04.
#How to install Jenkins on Ubuntu in 6 steps
Firstly, we need to install Java on Ubuntu 22.04 before installing Jenkins.
#Step 1: Install Java
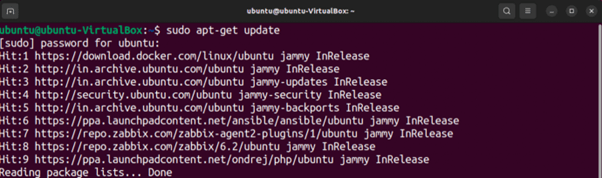
Before you start the installation, we always recommend that you update your Ubuntu packages available. You can do so by using the update command:
sudo apt-get update
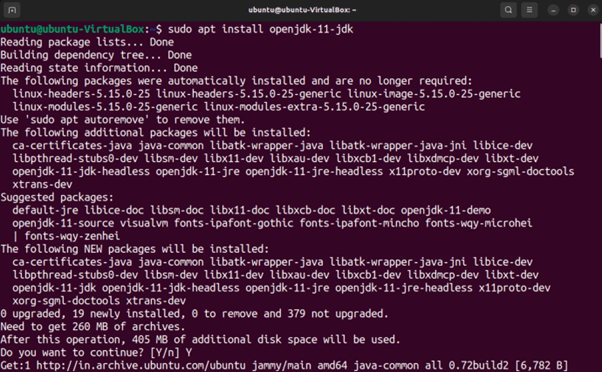
Jenkins is a Java-based application, so you need Java Runtime Environment (JRE) installed on your Ubuntu server. The system must have Java version 8 or higher installed.
Let’s install OpenJDK 11, which is an open-source Java Platform. Use the following command to continue:
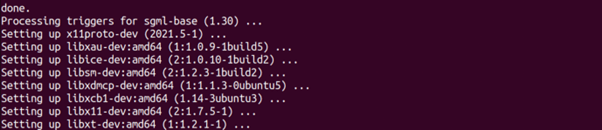
sudo apt install openjdk-11-jdk
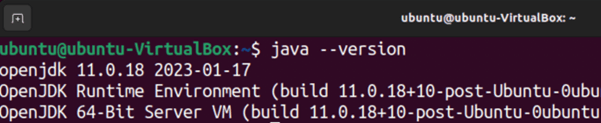
Check the Java version to see if it was installed correctly.
java --version
#Step 2: Add Jenkins repository
Make sure you download the latest stable version of Jenkins. You can use curl command to do so. The command below will add the Jenkins repository GPG key that is used to verify the repository files.
curl -fsSL https://pkg.jenkins.io/debian-stable/jenkins.io-2023.key | sudo tee /usr/share/keyrings/jenkins-keyring.asc > /dev/null
Once the GPG key gets added successfully, add the Jenkins repository to the local repository of Ubuntu 22.04 system by using the following command.
echo deb [signed-by=/usr/share/keyrings/jenkins-keyring.asc] https://pkg.jenkins.io/debian-stable binary/ | sudo tee /etc/apt/sources.list.d/jenkins.list > /dev/null

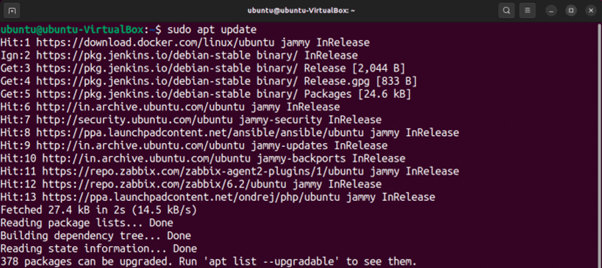
After activating Jenkins repository, run the following command to update apt packages list and let the system know that you have recently added a new repository.
sudo apt update
#Step 3: Install Jenkins
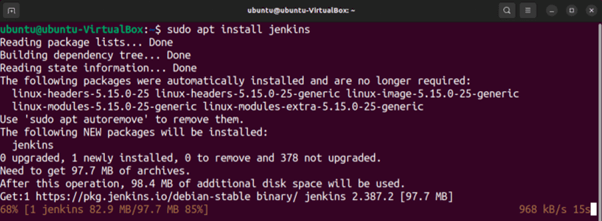
Now that everything is configured, install Jenkins and all its dependencies using apt package manager.
sudo apt install Jenkins
#Step 4: Start Jenkins
Now that Jenkins and all its dependencies have been installed, let’s start the Jenkins server.
You can start Jenkins by running the following systemctl command:
sudo systemctl start Jenkins
Use the systemctl status command to verify that Jenkins started successfully. You should see active (running) status if you executed all the above commands correctly.
sudo systemctl status jenkins
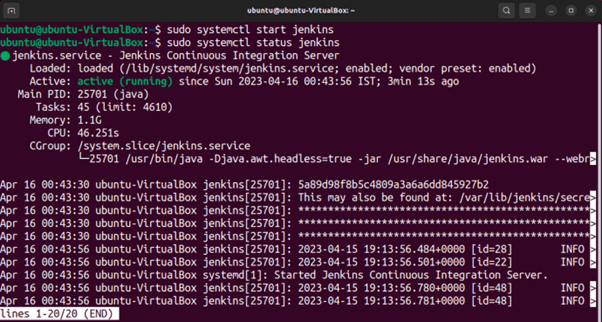
If everything went well, you should see Jenkins server in an active state.
#Step 5: Configure firewall
After Jenkins has been installed, let’s adjust the firewall settings so that it can be reached from a browser. This will complete the initial setup.
Jenkins is configured to run on port 8080 by default, so you should open that port by using ufw.
sudo ufw allow 8080

Run the commands below to allow ssh and enable ufw:
sudo ufw allow ssh
sudo ufw enable

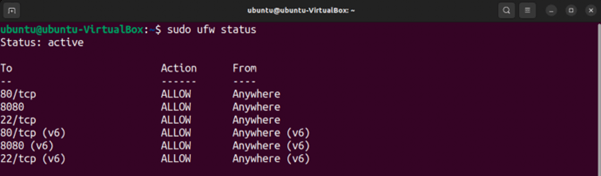
Check the status of the ufw again to confirm the activation of the new rules. You should see ALLOW actions for the 8080 port.
sudo ufw status
The firewall is now configured. You can go ahead and set up Jenkins.
#Step 6: Set up Jenkins
To set up Jenkins, go to your browser and open http://localhost:8080 where Jenkins server is running.
The Unlock Jenkins screen will appear as shown below, asking for the administrator password.
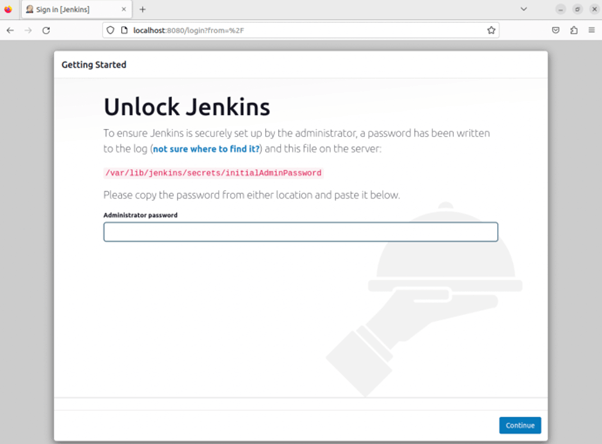
By default, you will be given a 32-character alphanumeric initial admin password to login into Jenkins dashboard. Later, you can create an admin user and password.
Open a new tab in the terminal and run the command below to get the initial credential to unlock Jenkins.
sudo cat /var/lib/jenkins/secrets/initialAdminPassword
![]()
Now copy and paste this password on the “Unlock Jenkins” page in the browser and click on continue.
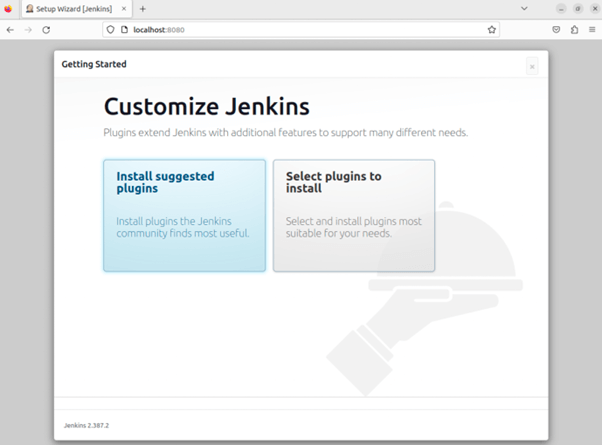
Next, you need to customize Jenkins and install plugins. You can either select plugins of your choice or install suggested plugins, which are the most widely used plugins by the community.
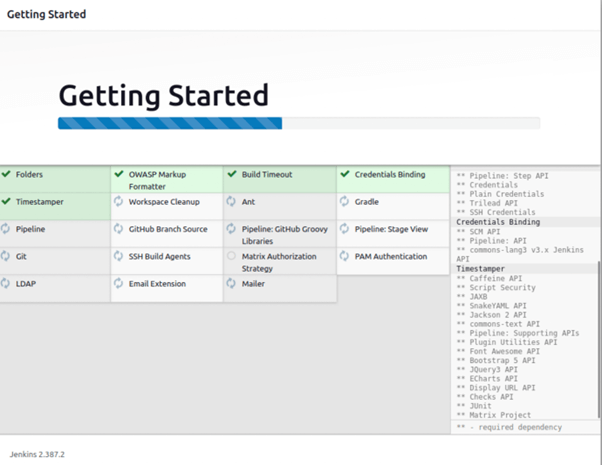
It may take a couple of minutes to install all suggested plugins.
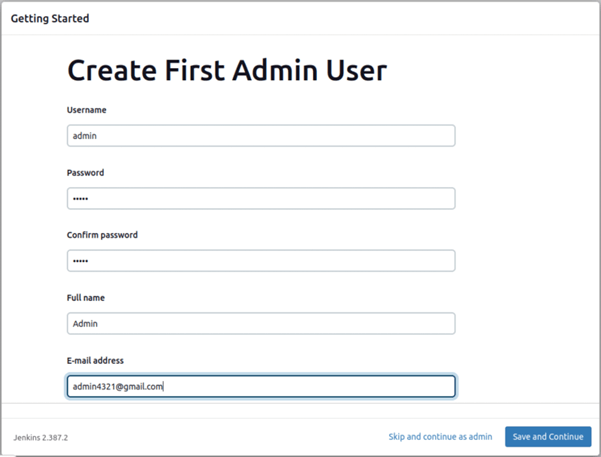
You will be prompted to create your first admin user after installing the plugins. After completing the required fields, click "Save and continue." You also have the option to skip this step and continue as Admin.
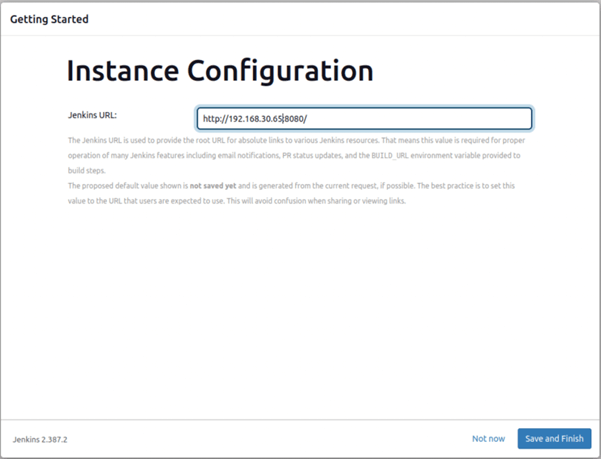
In the next step, you need to mention the Jenkins url where the Jenkins instance will get configured to run. Enter a domain name or ip address with port 8080 and click Save and Finish.
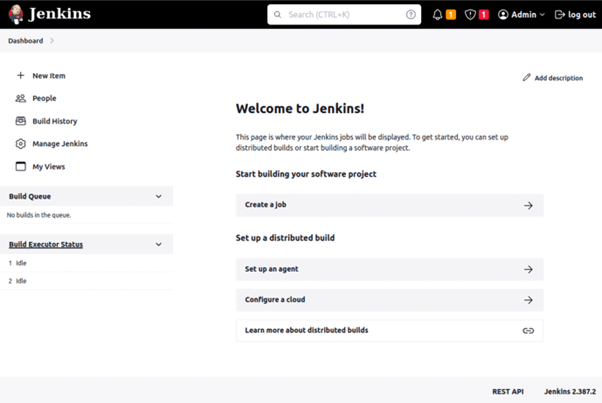
You should now get a confirmation message “Jenkins is ready!”. Click Start using Jenkins:

Finally, Jenkins dashboard will open where you can start creating your pipeline jobs.
You have now successfully installed Jenkins on Ubuntu 22.04.
#Conclusion
In this tutorial, you've learned how to install Jenkins on Ubuntu 22.04 server, including configuring the firewall, installing Jenkins plugins, and creating an admin user. You should now be ready to create pipeline jobs and automate your software development processes.
If you found this guide helpful, check out our comprehensive tutorials on how to install PostgreSQL on Ubuntu, how to install MongoDB on Ubuntu, and how to install Docker on Ubuntu 20.04.


