How to Install Claude Code on Ubuntu 24.04


You've seen the headlines and heard all the buzz. Claude Code has generated substantial interest due to its mind-blowing features that are already revolutionizing how code is written and apps are deployed.
Claude Code is the latest shiny toy from Anthropic. It's a terminal-based agentic coding tool that supercharges developer workflows and boosts productivity.
It marks a shift from simple AI chatbots to autonomous, agentic AI tools that deliver superior performance and deeper reasoning than rivals like Gemini and ChatGPT.
#What can Claude Code do?
As an agentic coding tool that lives in your terminal, Claude Code helps you code faster, explain complex code, and simplify git workflows. Here's a solid overview of what Claude Code can do:
#Write & edit code
You describe what you want in plain language, and Claude Code plans the approach, writes code across multiple files, and verifies it works. In case you run into a bug, all you need to do is paste the error message, and the coding agent will trace the issue through your codebase and implement a fix.
#Understand your entire codebase
Its 200,000-token context window lets it navigate multi-file projects seamlessly, tackle cross-repo refactors autonomously, and remember previously created files, components, and decisions for seamless continuity.
#Git & version control
It works directly with git: staging changes, writing commit messages, creating branches, and opening pull requests. In CI, you can automate code review and issue triage with GitHub Actions or GitLab CI/CD.
#Handle tedious tasks
It handles tasks that eat up your day: writing tests for untested code, fixing lint errors across a project, resolving merge conflicts, updating dependencies, and writing release notes.
Join us in this guide as we demonstrate how to install Claude Code on Ubuntu 24.04.
#Installing Claude Code on Ubuntu 24.04
There are two main ways of getting Claude Code on your system.
The recommended approach is to use the native installer script to automate the installation. Optionally, you can choose the manual approach, which requires installing packages manually.
Let’s explore both of these installation methods.
#Prerequisites
To get Claude running on your system, here is what you need:
-
An instance of Ubuntu 24.04 with a minimum of 8GB RAM and 2 CPU cores. This can be a minimal server or a GUI desktop instance. Any of these will do just fine. Cherry Servers offers a wide range of high-performance Cloud VPS servers that you can select from.
-
A sudo user is configured.
-
A Claude Pro, Max, or Teams subscription via Claude.ai, or an Anthropic Console account with active API billing. If you're on the free Claude.ai plan, you won't have access to Claude Code. Therefore, you need to head over to claude.ai or console.anthropic.com and upgrade before proceeding.
#Install Claude from the native installer (Recommended)
This is by far the most recommended method of installing Claude Code as it makes use of an automated script. It simplifies installation, and in a few seconds, you have the Claude Code installation ready for use.
On your terminal, run the command:
curl -fsSL https://claude.ai/install.sh | bash
Output✔ Claude Code successfully installed!

  Version: 2.1.63

  Location: ~/home/cherry/.local/bin/claude

  Next: Run claude --help to get started

⚠ Setup notes:
  • Native installation exists but ~/.local/bin is not in your PATH. Run:

  echo 'export PATH="$HOME/.local/bin:$PATH"' >> ~/.bashrc && source ~/.bashrc

✅ Installation complete!
#Verifying installation
The native installation was successful. However, this does not automatically configure Claude Code's PATH. It's crucial to set the PATH variable to notify the system about the installation path and also allow you to run Claude Code's commands globally.
To set the path, run:
echo 'export PATH="$HOME/.local/bin:$PATH"' >> ~/.bashrc
Next, activate the change made by sourcing the ~/.bashrc file.
source ~/.bashrc
You can confirm the path to the binary using the command:
whereis claude
Now you can run claude commands from any location. For example, you can check its version as follows:
claude --version
You should have Claude’s code displayed.
Output2.1.71 (Claude Code)
#Install Claude Code via npm (Legacy)
Claude Code requires Node.js 18 or newer. Install Node.js using the NodeSource repository.
curl -fsSL https://deb.nodesource.com/setup_24.x | sudo -E bash -
Then install Node.js using the APT package manager.
sudo apt install nodejs -y
Verify that Node.js and npm are installed.
node --version
npm --version
Moving on, set up a directory called .npm-global in your home folder (~).
mkdir -p ~/.npm-global
Instruct npm to use the directory as the location for globally installed packages. This eliminates the need for invoking sudo when running npm commands.
npm config set prefix ~/.npm-global
Ensure that the PATH is set to the directory.
echo 'export PATH=$HOME/.npm-global/bin:$PATH' >> ~/.bashrc
Effect the change using the source command.
source ~/.bashrc
Now run npm to install Claude Code.
npm install -g @anthropic-ai/claude-code
Claude Code is now installed, and you can proceed to check its version as demonstrated in the previous method.
#Verifying Your Installation with Claude doctor
Claude Code ships with a built-in diagnostic command that checks your setup end-to-end:
claude doctor
This checks Claude’s status, including its running status, installation method, and PATH, and whether automatic updates are enabled (by default, auto-updates should be enabled).
claude doctor is, essentially, a diagnostic tool that points out issues with Claude Code and helps you resolve them.
#Authenticating with your Anthropic account
Claude Code's installation installs the binary on your machine, but you still need to connect it to your Anthropic account.
It’s advisable to navigate to your project directory. In my case, I have python-project as the project directory.
cd python-project
Then run:
claude
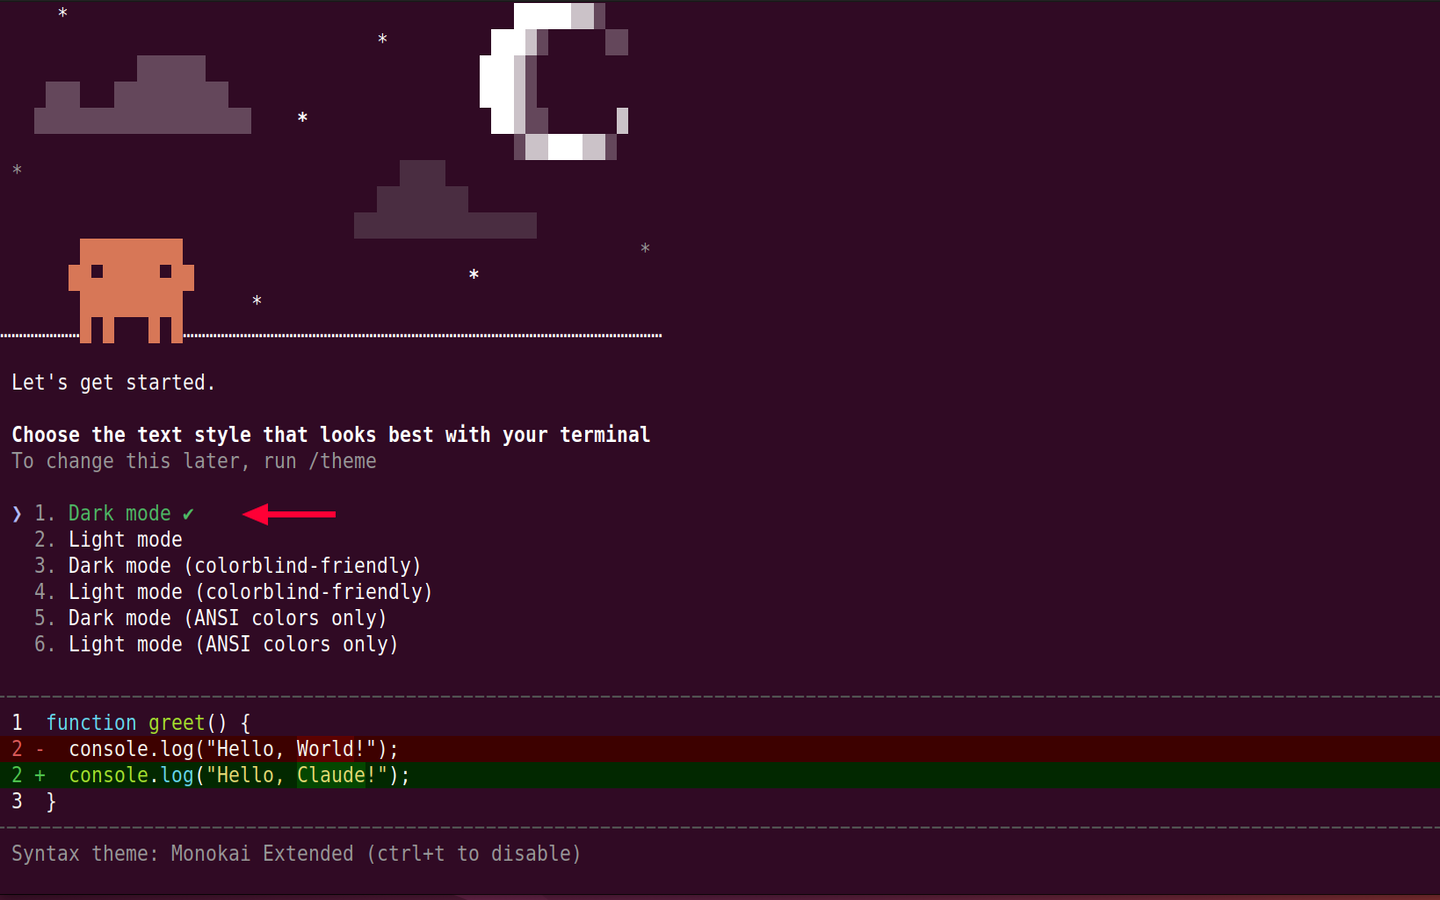
Claude Code will launch an initial setup walkthrough. First, you will be asked to select your preferred style of text. In this case, as shown in the figure below, I have selected the Dark mode. Use the up/down arrow keys to navigate, then press ENTER to select your preferred style.
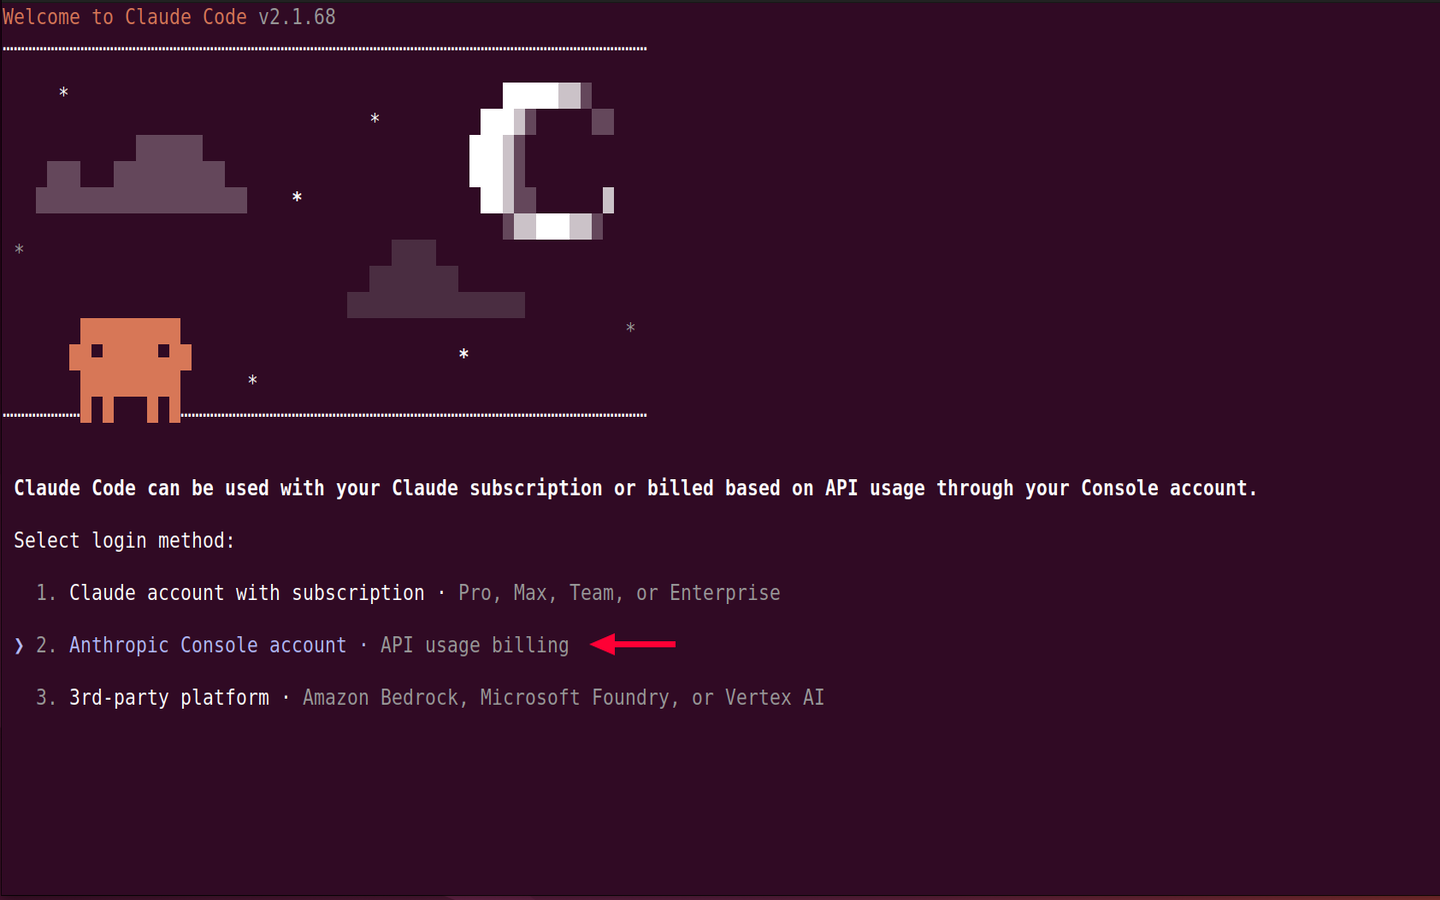
Next, select your Claude login method. Since I have an API billing with Anthropic, I have chosen to log in with my Anthropic Console account.
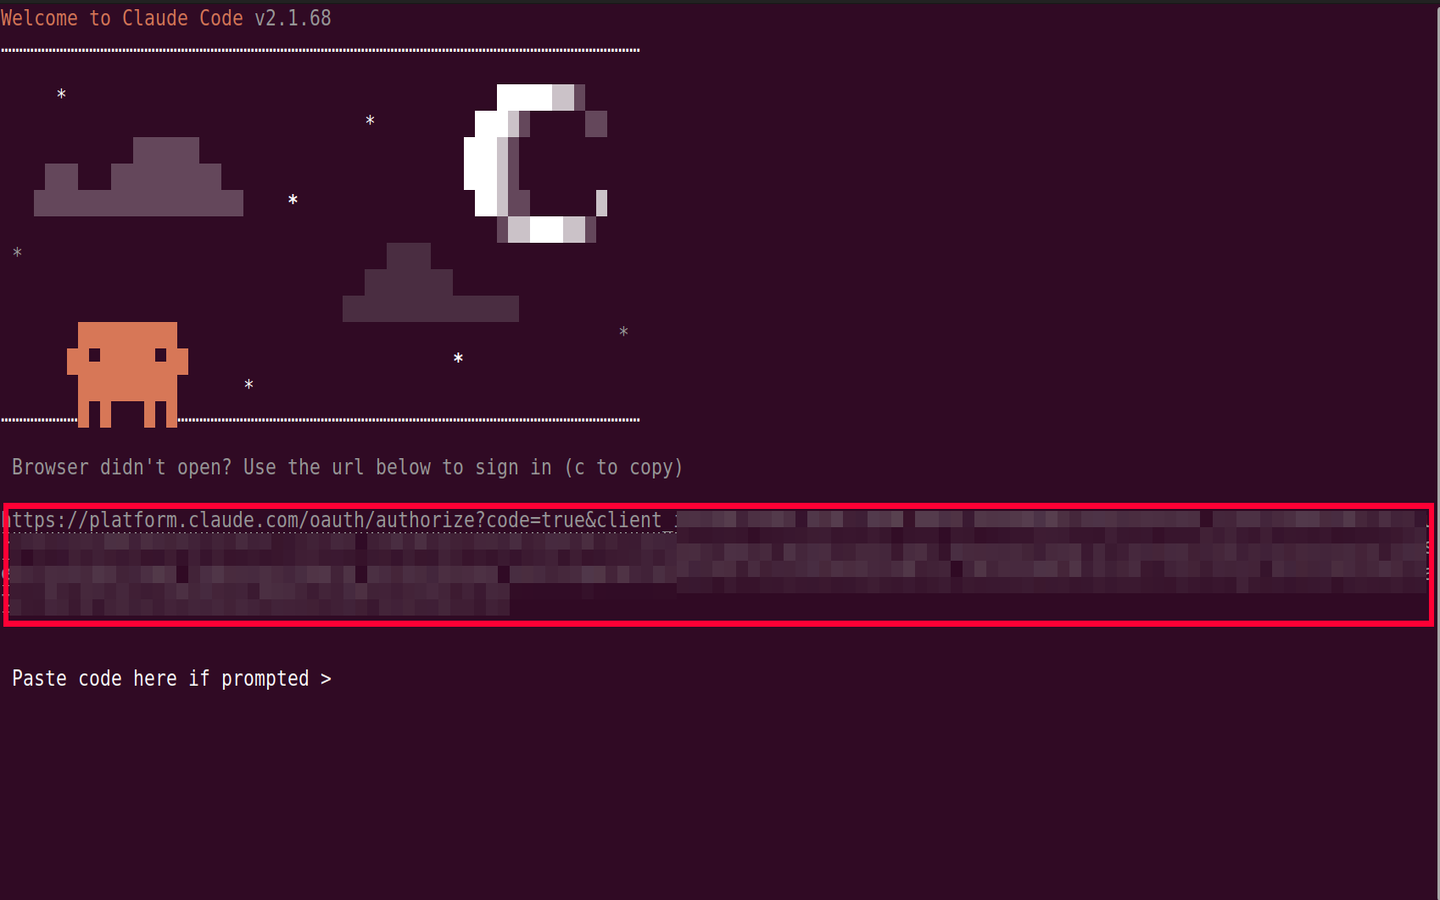
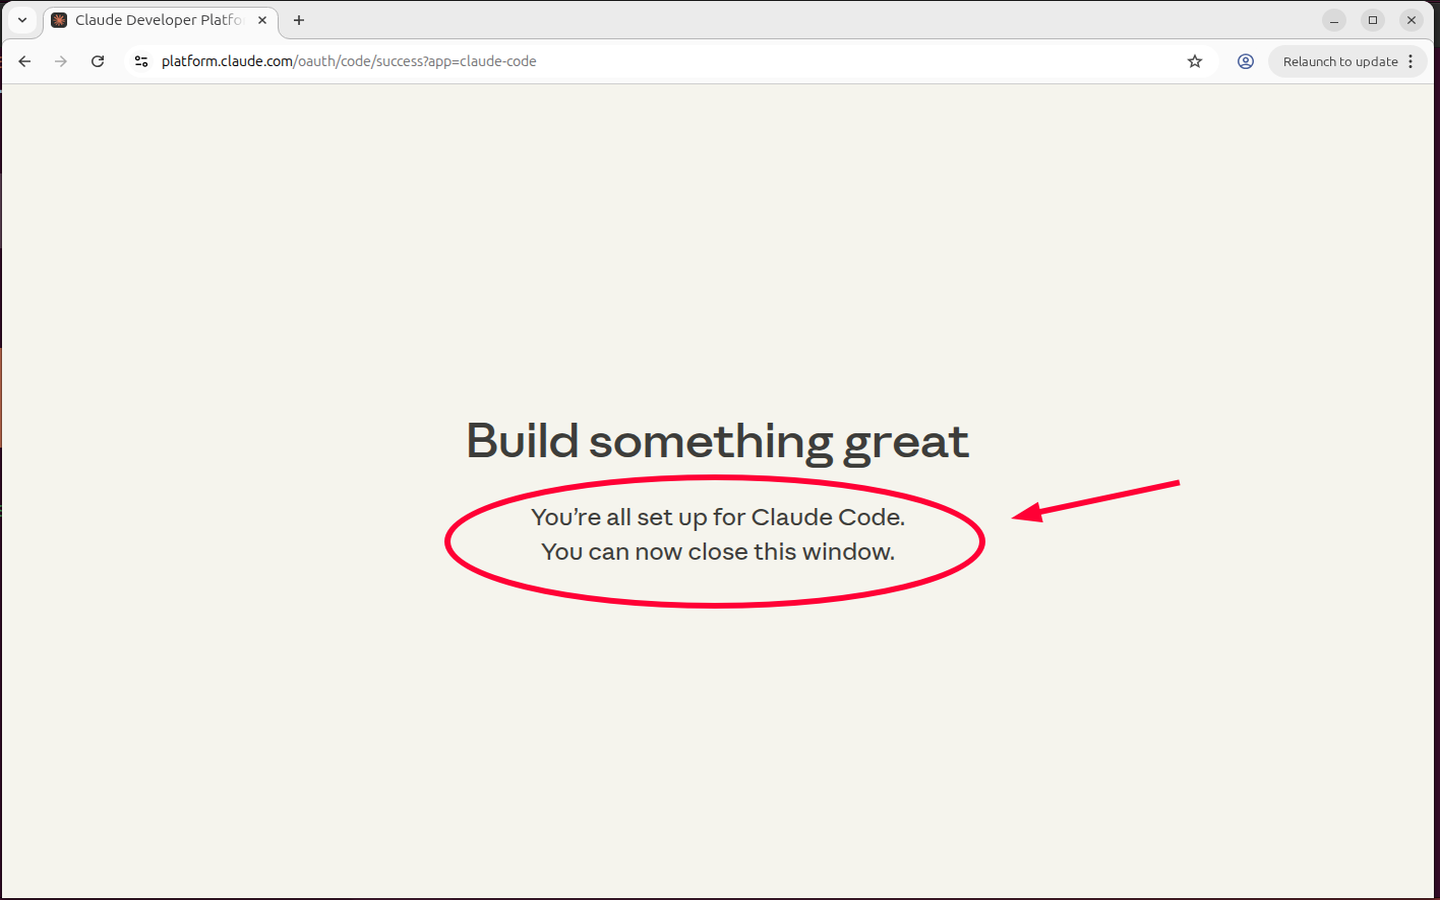
Finally, Claude Code will launch a one-time OAuth authentication flow and open a browser window for you to log in with your Anthropic account.
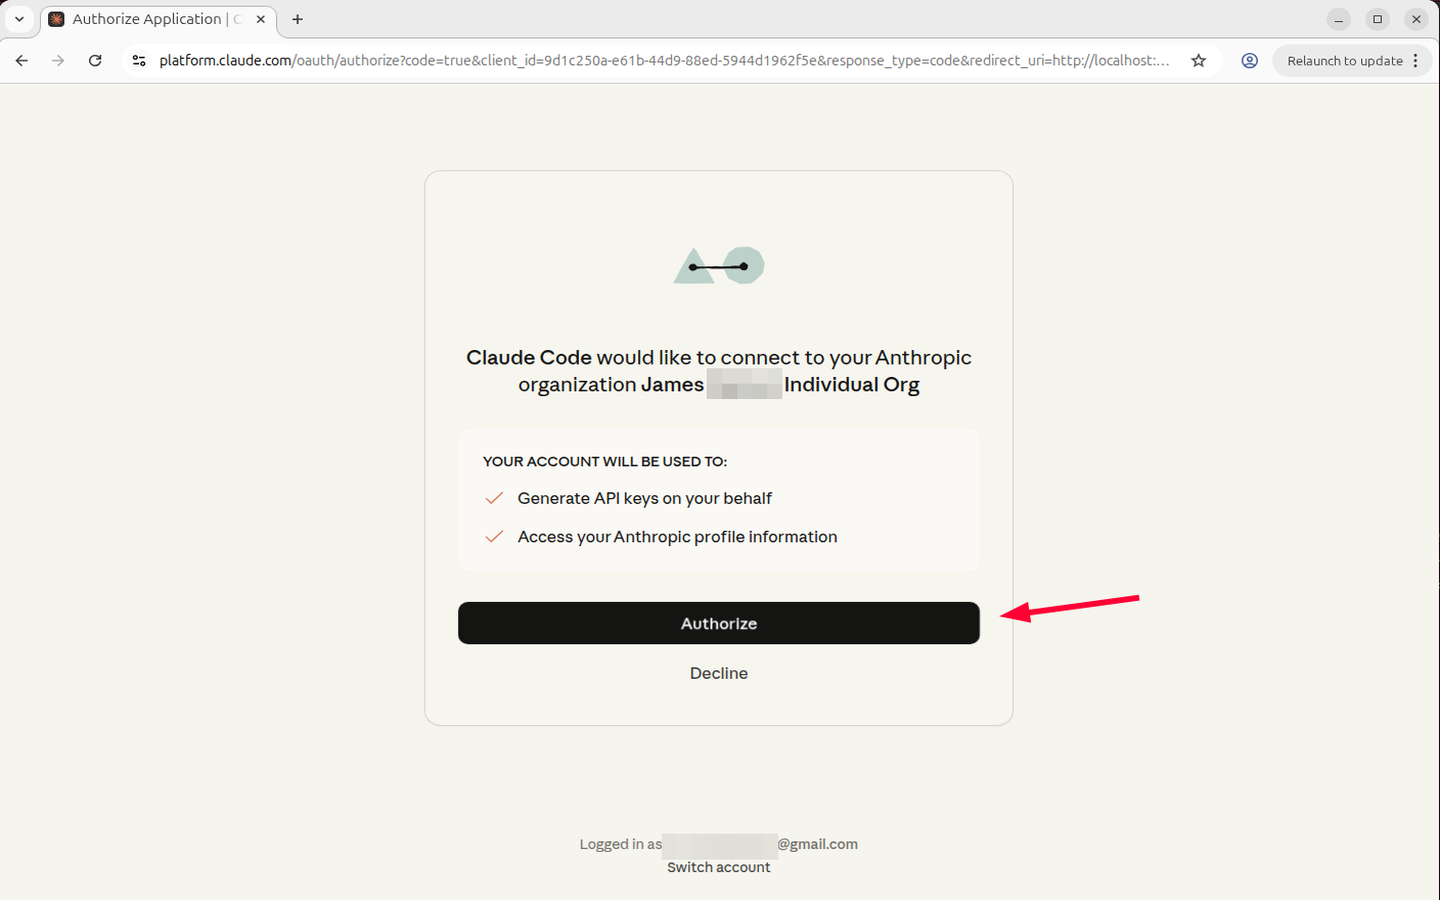
Click the Authorize button as shown.
NOTE: If the browser doesn’t open or if you are running Claude Code on a headless server, you need to copy the URL provided on the terminal and paste it manually into the URL bar to get an authorization code. After getting the code, copy and paste it back into the terminal and hit Enter to authenticate.
If you used the GUI desktop, the browser will automatically launch. Just click the Authorize* button. You will receive a confirmation that everything is okay and set to start using Claude Code.
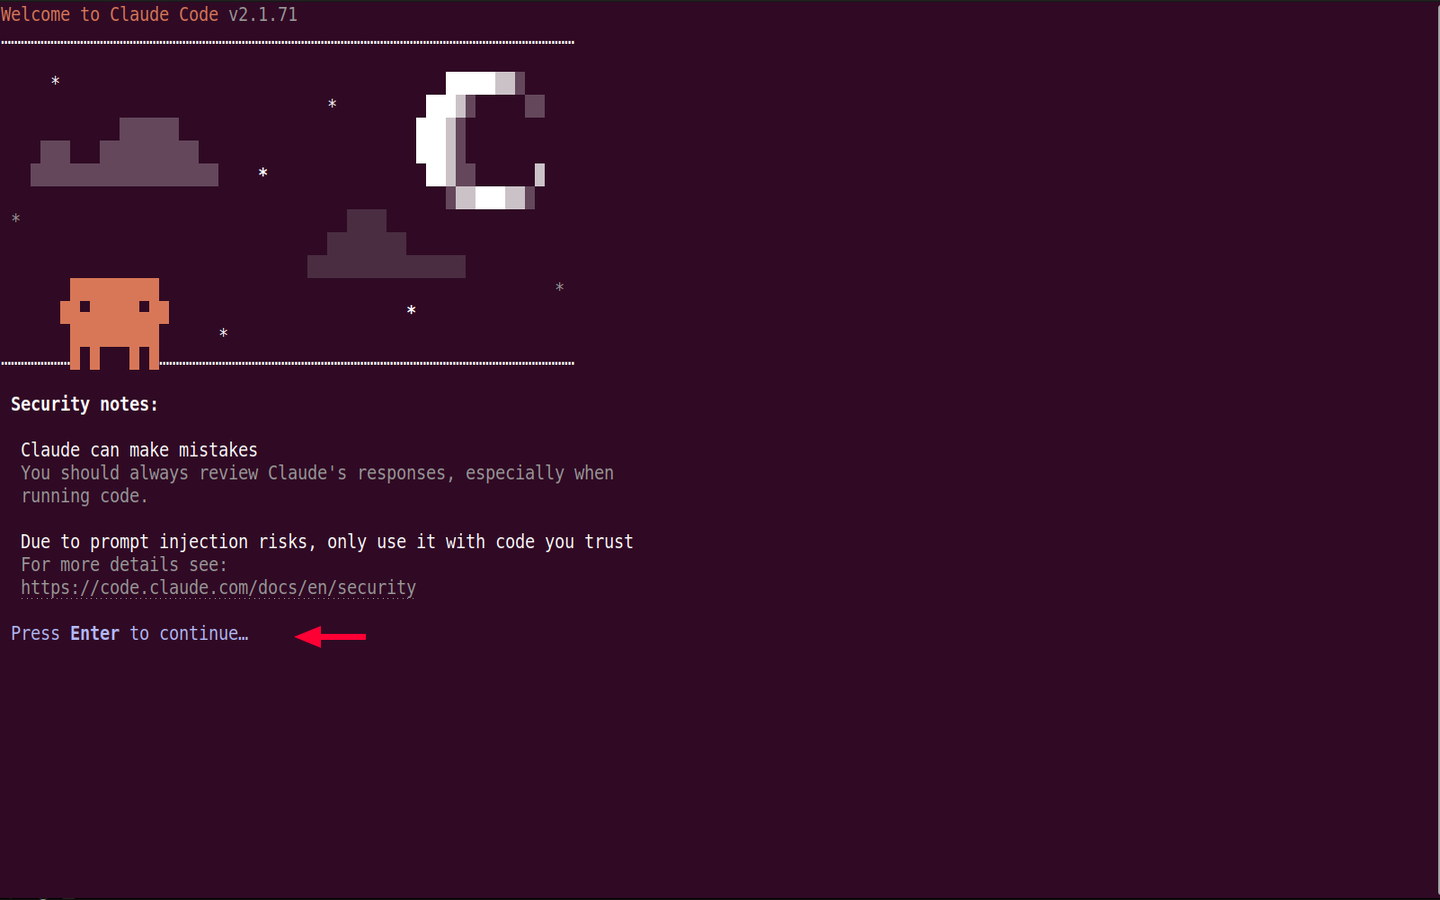
Head back to the terminal, and you’ll see the authentication to Anthropic Console was successful. Press ENTER to continue.

Be sure to take some time and go through the security notes. Then hit ENTER.
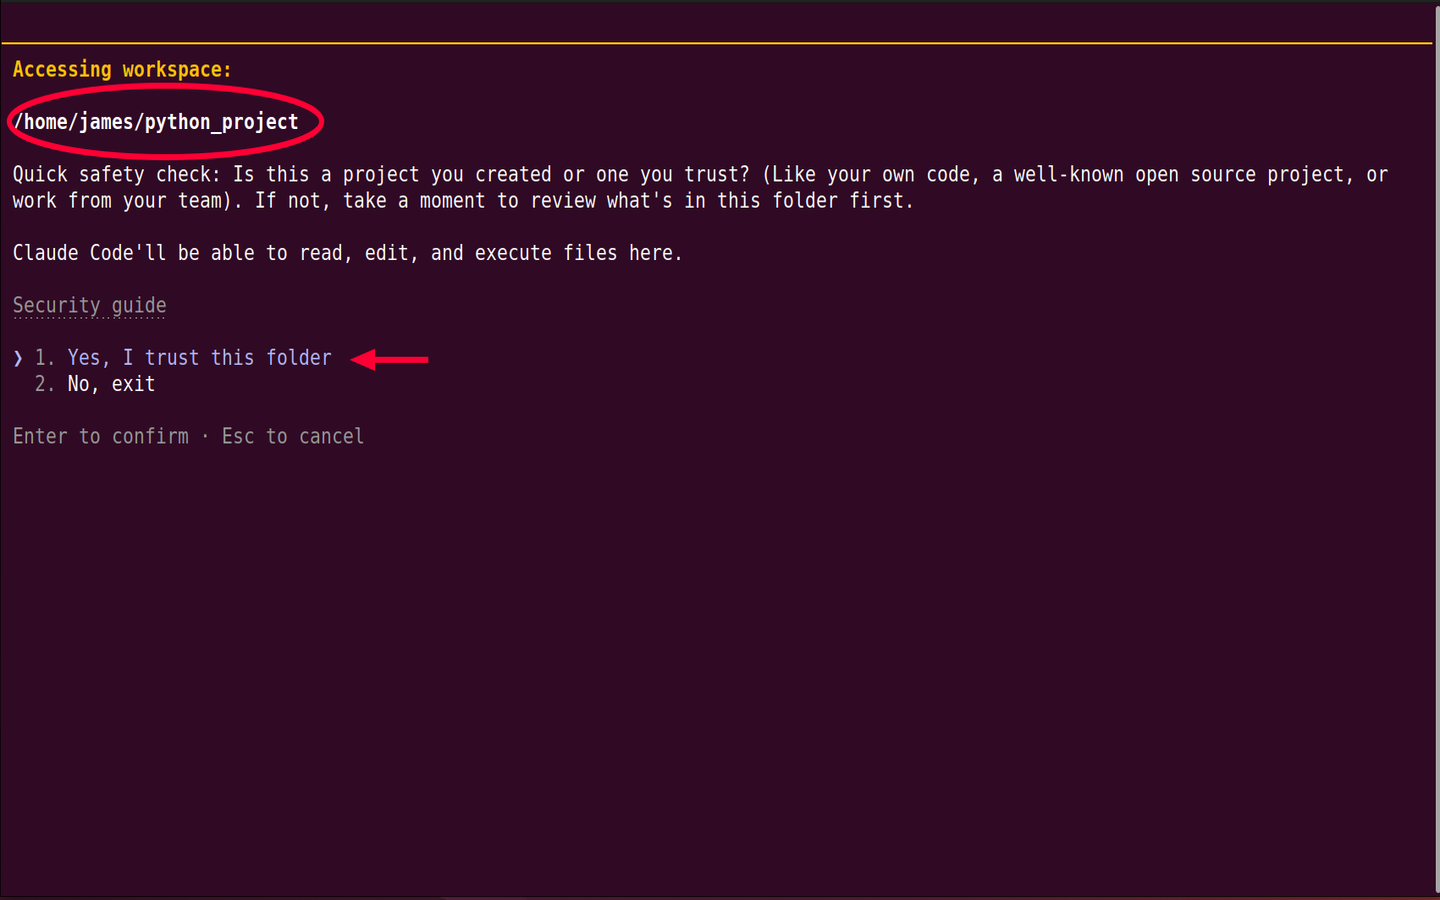
To complete the setup, a quick safety check will be carried out, and you will be required to confirm whether you trust your workspace or the project folder from which you are running Claude code.
Select Yes, I trust this folder and press ENTER.
#Getting started with Claude Code
Once Claude is set up, it's recommended to initialize your workspace by running the command:
/init
The command analyzes your project structure and creates a CLAUDE.md file. This is a special file that gives Claude persistent memory about your project. By default, Claude starts every session from scratch, with no bearing on what your project is about.
The CLAUDE.md file provides context about your codebase. It lets Claude know your project's structure, how to test, run, and build code. It also provides information about your code style preferences and what to keep off and why.
Once you have initialized your workspace directory, you can start using Claude Code. For example, you can prompt it to create a simple GUI temperature converter in Python that converts temperature readings from degrees Celsius to Fahrenheit.
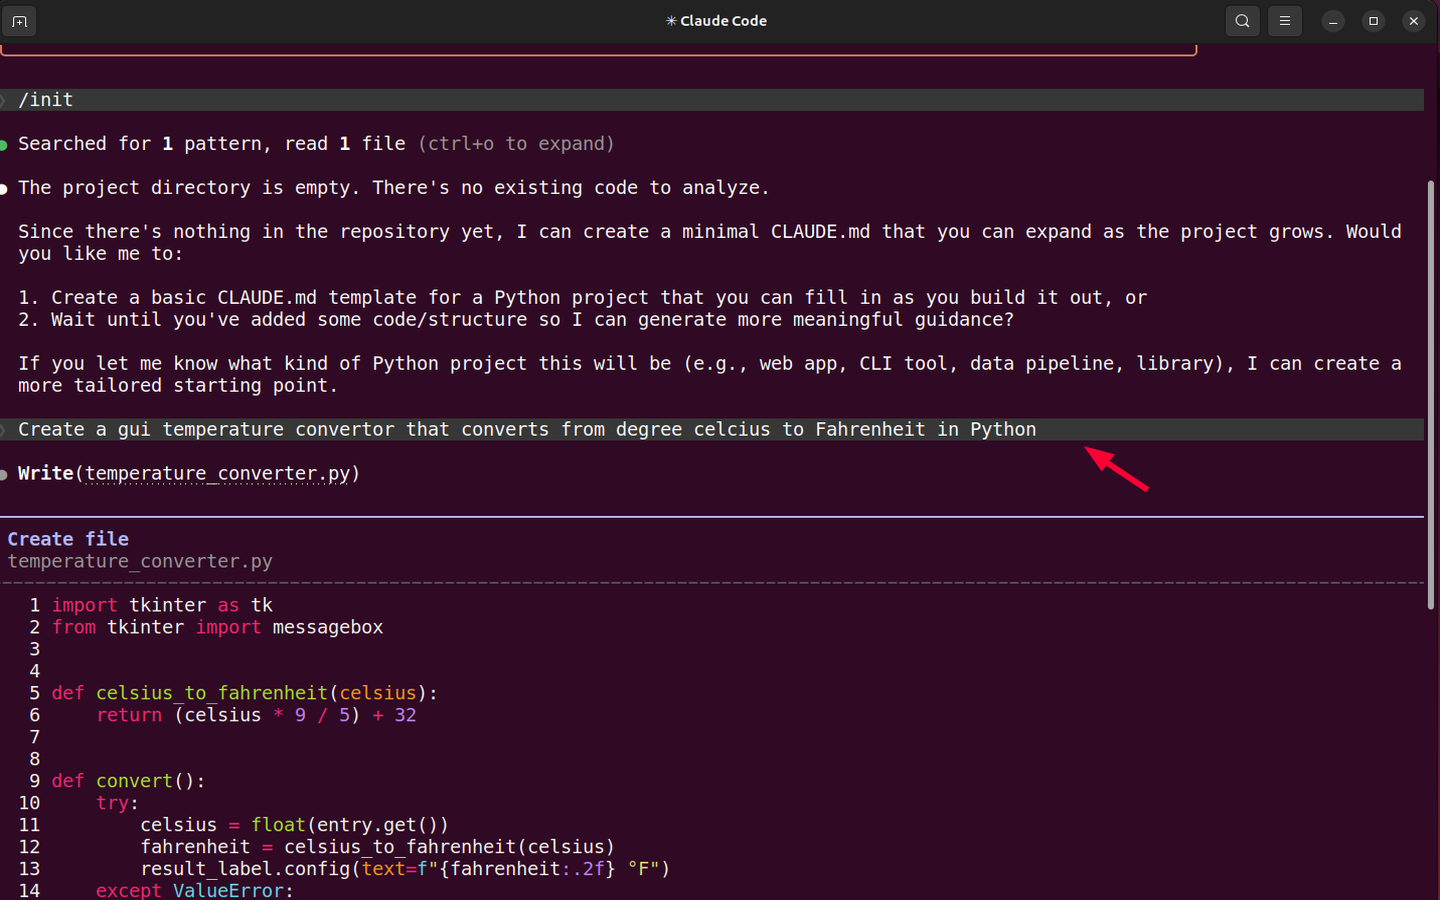
The code will be generated, and instructions will be provided on how to run the application. In this case, the code was saved as a Python file called temperature_converter.py. To run the program, all I had to do was run:
python3 temperature_converter.py
#Integrating Claude Code with VS Code
Beyond running Claude Code on a terminal, you can install a VS Code extension for a more immersive experience. In fact, you can also run claude in the integrated terminal of VS Code or JetBrains IDE to unlock extra capabilities.
Simply launch the terminal by pressing Ctrl+SHIFT+. This launches a terminal in the bottom section. From here, you can start running Claude Code commands.
The upside of using the terminal with VS Code is that you can keep track of files in your project folder, including new ones being created by Claude Code. They are neatly displayed in the Explorer pane as shown in the image below.

Additionally, you can double-click on a file to reveal the code, which is rendered in highlighted text for readability - something you cannot achieve in a plain bash terminal.
#Conclusion
Getting Claude Code running on Ubuntu 24.04 is super quick. The native installer takes about a minute, and authentication is quite a breeze.
You now have a powerful AI coding assistant living in your terminal, ready to help you write and modify code and think through architectural decisions. Should you run into any hitch, simply run claude doctor to point you to the problem.
In this guide, you learned how to install Claude Code on Ubuntu 24.04. Visit Anthropic's documentation for the latest information on Claude Code.
Deploy Claude Code on a reliable Ubuntu 24.04 server with Cherry Servers. Spin up a high-performance Cloud VPS in minutes and start working on your projects without infrastructure bottlenecks.
Happy building!


