How to Use Docker Compose in Portainer | Step-by-Step


Portainer is an open-source container management tool that provides a graphical user interface (GUI) for your Docker environment. In this tutorial, I’ll demonstrate how to use Docker and Docker Compose in Portainer with specific examples.
#What is Portainer?
Portainer is a web UI tool that provides a visual experience in your environment and lets you catch a glance at containers, images, volumes, networks, and other components without running tedious Docker commands on the terminal.
#Why use Portainer with Docker?
Portainer centralizes Docker management from a single point. You can easily deploy containerized applications and tech stacks with just a few mouse clicks.
In addition to Docker, it supports other environments including Kubernetes clusters and Azure containers.
Ready to supercharge your Docker infrastructure? Scale effortlessly and enjoy flexible storage with Cherry Servers bare metal or virtual servers. Eliminate infrastructure headaches with free 24/7 technical support, pay-as-you-go pricing, and global availability.
#Prerequisites
To follow along in this tutorial, ensure you have the following set of prerequisites in place.
A Linux server instance: For demonstration, we are using Ubuntu server 22.04. Check out how to deploy a Ubuntu server instance on Cherry servers.
Docker installed on your Linux instance. Check out our tutorial on install Docker on Ubuntu 24.04.
#How to use Docker Compose in Portainer: Step-by-step
Below, I’ll explain how to use Docker Compose in Portainer in three steps. First, how to install Portainer in Docker, secondly, how to access Portainer, and finally, how to deploy a Nginx web server with Docker compose on Portainer.
#1. Install Portainer on Docker using docker-compose
Portainer is usually deployed as a Docker container using the Docker Engine. In our previous article, we deployed Portainer on Ubuntu using Docker. To recap, you can deploy portainer using a persistent volume using the following Docker commands:
The first command creates a persistent volume where data will be permanently stored.
docker volume create portainer_data
The next command spins a Portainer container using the persistent volume.
docker run -d -p 9000:9000 --name portainer_ce --restart always -v /var/run/docker.sock:/var/run/docker.sock -v portainer_data:/data portainer/portainer-ce:latest
The above command has several flags:
The d flag runs the container in detached mode. This simply means that the container runs in the background.
The -p flag maps port 9000 on the container to port 9000 on the Docker host.
The --name option assigns a custom name to the container, in this case, portainer_ce. The flag makes it possible to assign a human-friendly name compared to the default one assigned by Docker which can be quite complex.
The --restart always option instructs Docker to restart the container always in case of a reboot or when stopped.
The -v /var/run/docker.sock:/var/run/docker.sock command maps the Docker socket to the Portainer container so that Portainer can access and interact with the Docker daemon.
The -v portainer_data:/data maps the data storage on the portainer to the persistent volume called portainer_data residing on the Docker host.
A better approach to deploy and run Portainer is to use Docker Compose. This lets you deploy a container application from a YAML configuration file with just a single command.
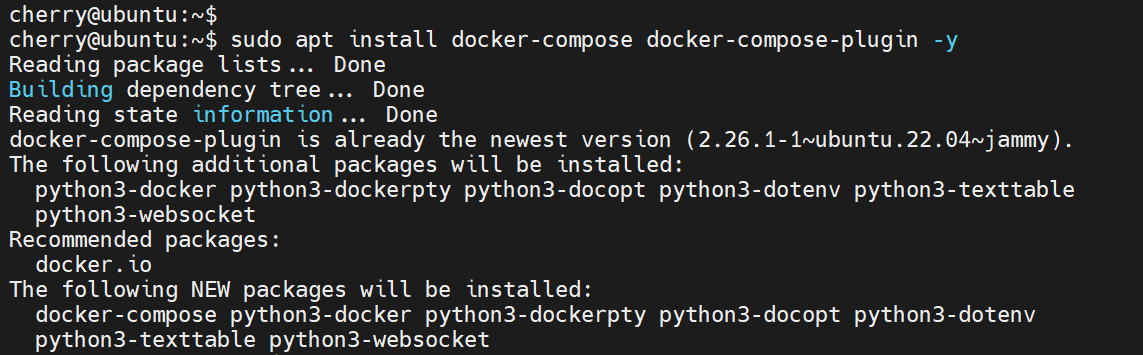
To install Docker Compose, run the command:
sudo apt install docker-compose docker-compose-plugin -y
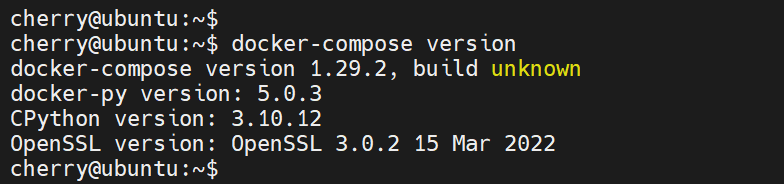
Once Docker Compose is installed, verify its version as follows.
docker-compose version
Once installed, create a Docker compose YAML file.
vim docker-compose.yml
Add the following lines of code that spell out the resources to be deployed.
version: "3"
services:
  portainer:
    image: portainer/portainer-ce:latest
    container_name: portainer
    ports:
      - 9000:9000
    volumes:
      - portainer_data:/data
      - /var/run/docker.sock:/var/run/docker.sock
    restart: unless-stopped
volumes:
  portainer_data:
The YAML file includes all the parameters stipulated in the docker run command. In this case:
The image field is configured to portainer/portainer-ce:latest to use the latest Portainer CE image from Docker Hub. The container_image field is set to portainer which will be the name of the Portainer Docker container.
The ports field is set to map port 9000 on the container to port 9000 on the Docker host. Thus, the Portainer container will be accessed by browsing https://host-ip:9000.
The volumes field configures a data volume that is mounted to the /data directory inside the container. The volume is a persistent storage location that persists the Portainer data even when the container restarts or exists.
The Docker socket, /var/run/docker.sock, is bind mounted straight into the container. This lets Portainer access and manage the Docker installation within which it is running.
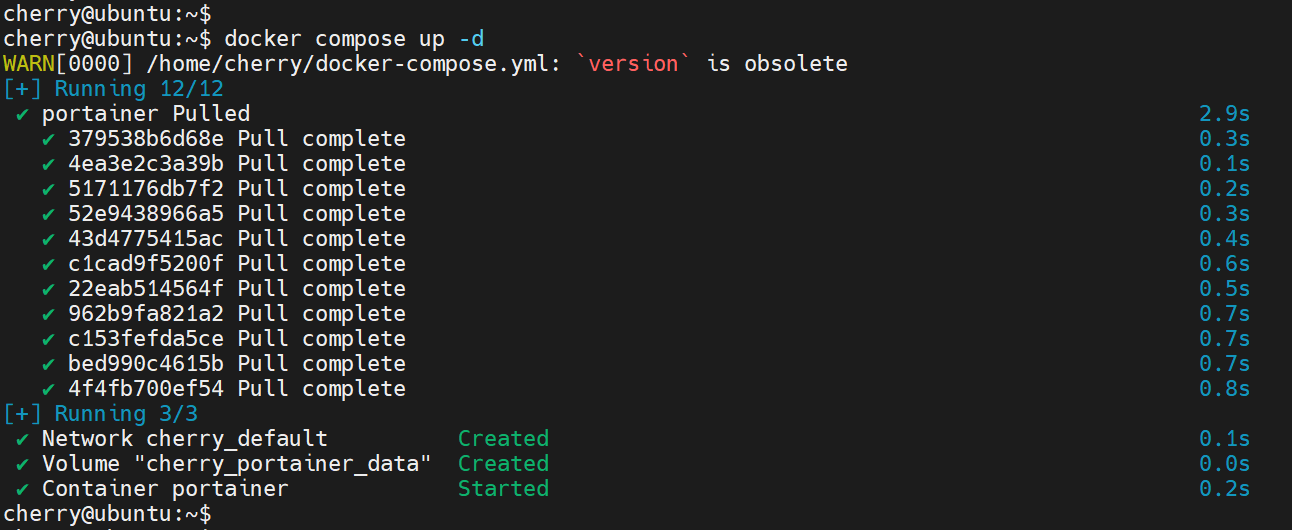
With the compose file in place, save the changes and exit the YAML file. To launch Portainer, run the following command:
docker compose up -d
Once the command is executed, Docker will pull the Portainer image and create the Portainer container alongside other resources defined in the Docker compose file.
#2. Access Portainer
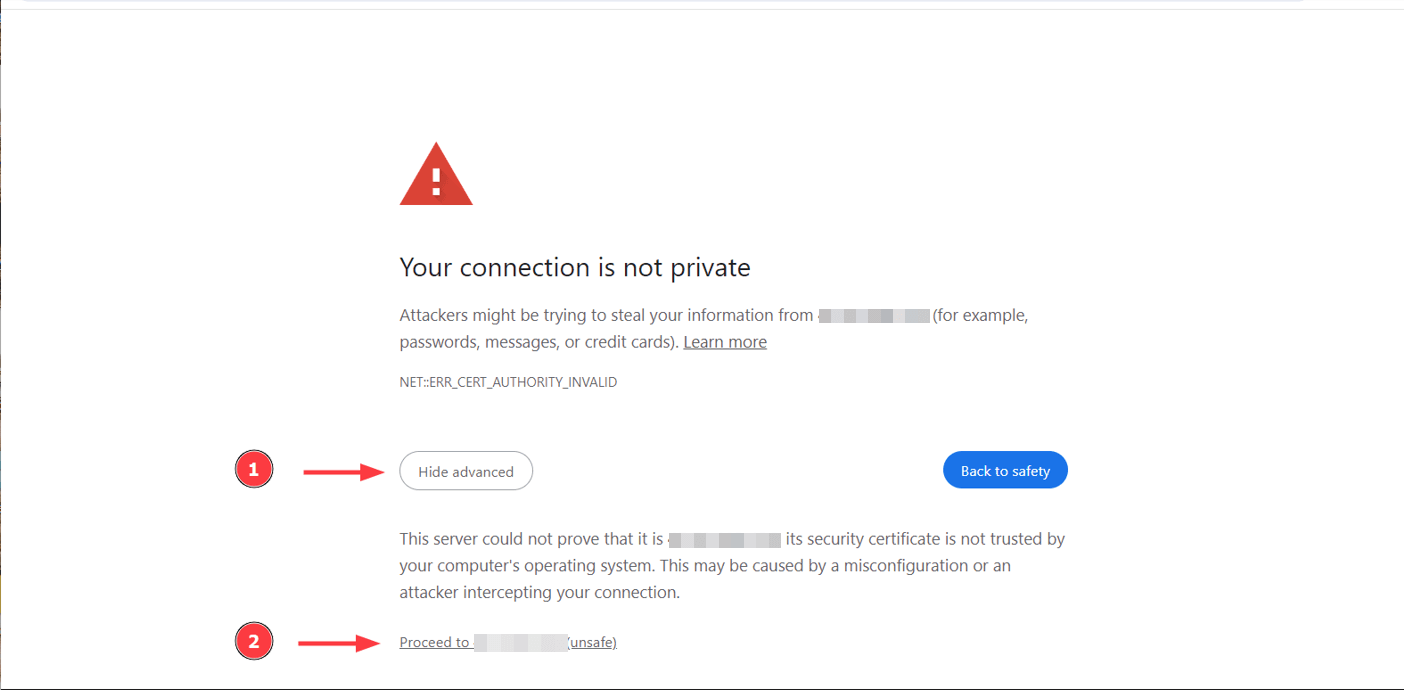
With the Portainer container running, access Portainer by launching your browser and heading over to the URL https://host-ip:9000.
You will come across a security warning informing you that the connection is not private. This shows Portainer is using a self-signed SSL certificate to encrypt web traffic. To proceed, click the Advanced link and then click Proceed to [insert server IP address].
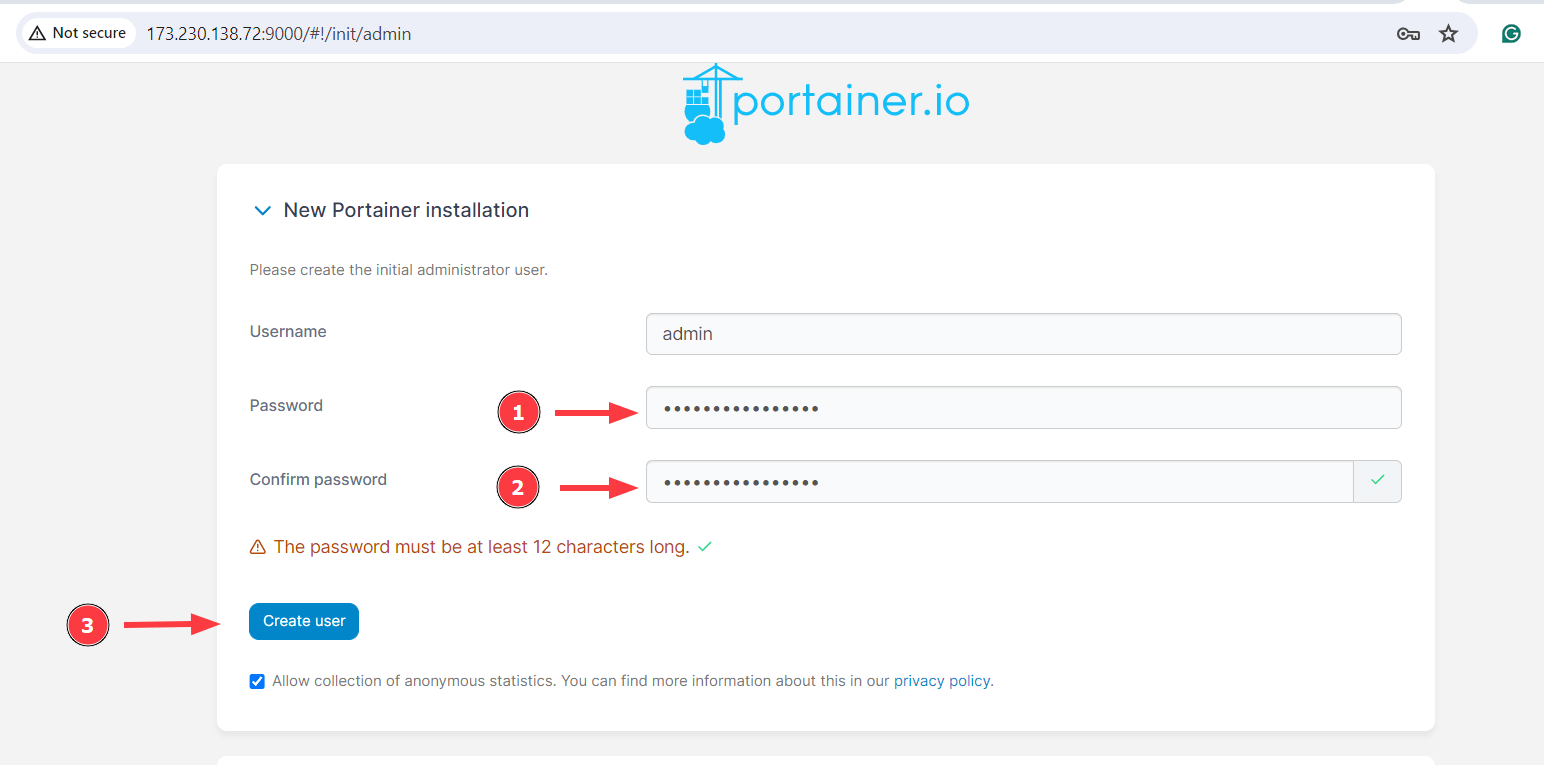
Next, you will be required to create an administrator. Provide a password and confirm it. Then click Create user to create the user.
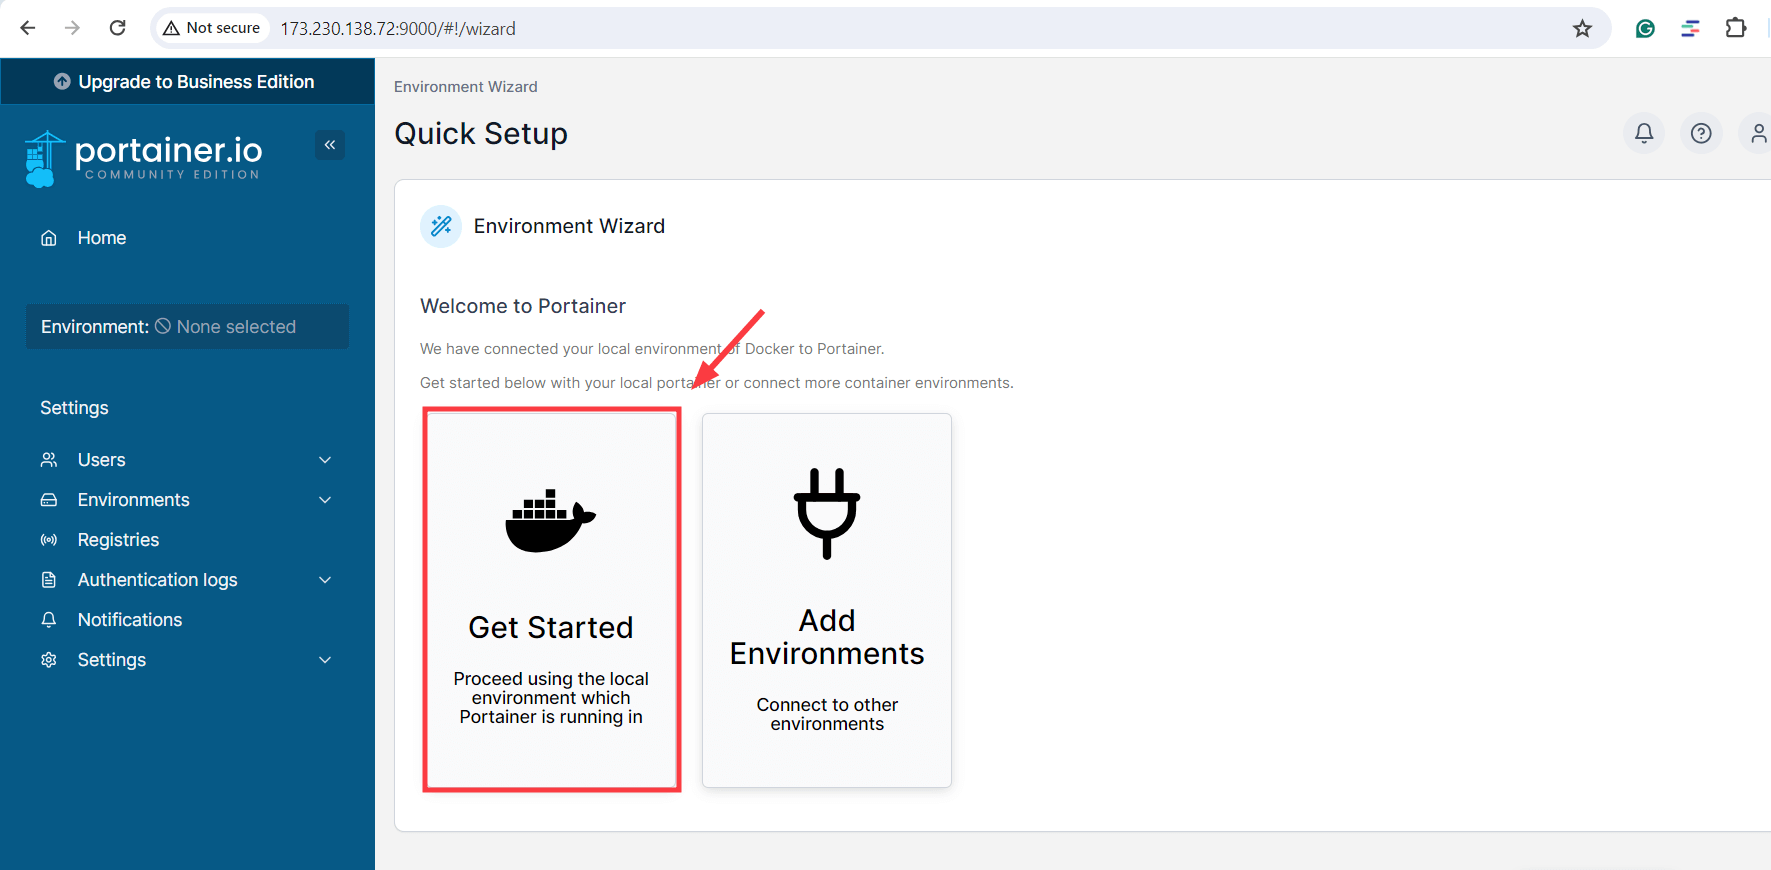
Once the user is created, you will be redirected to a setup wizard. Click the Get Started button to proceed with the local Docker socket mounted into the container.
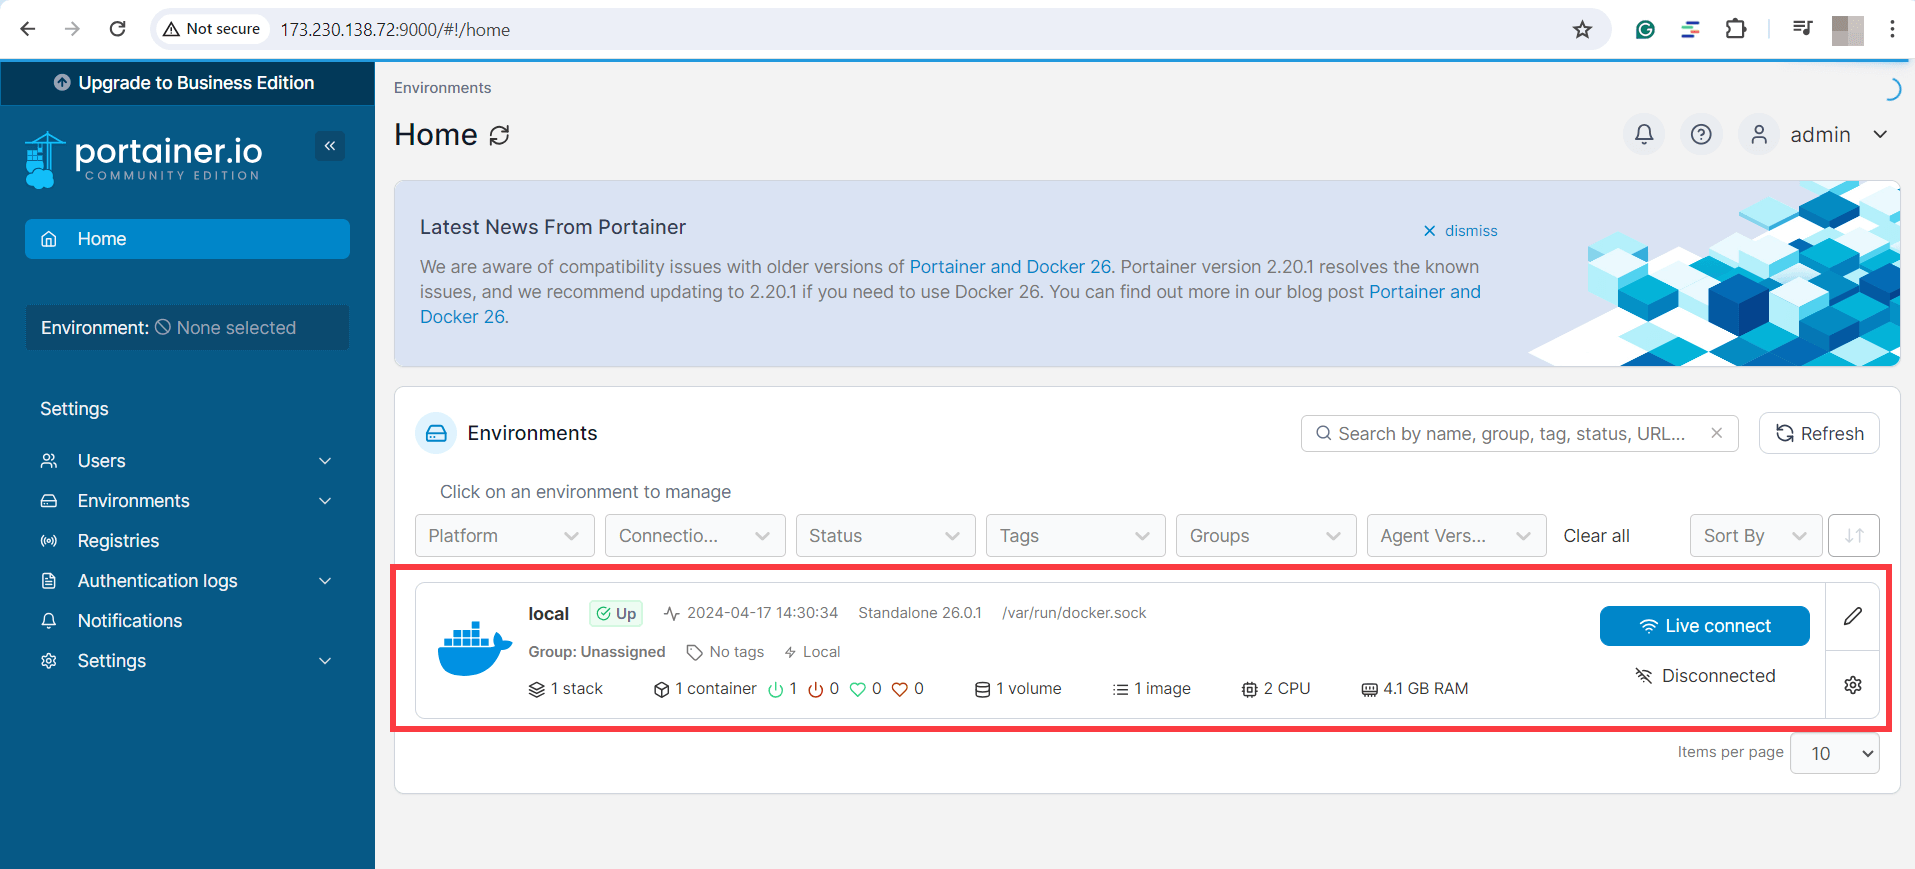
This ushers you to the dashboard of your local environment as shown. Click anywhere within the highlighted region shown.
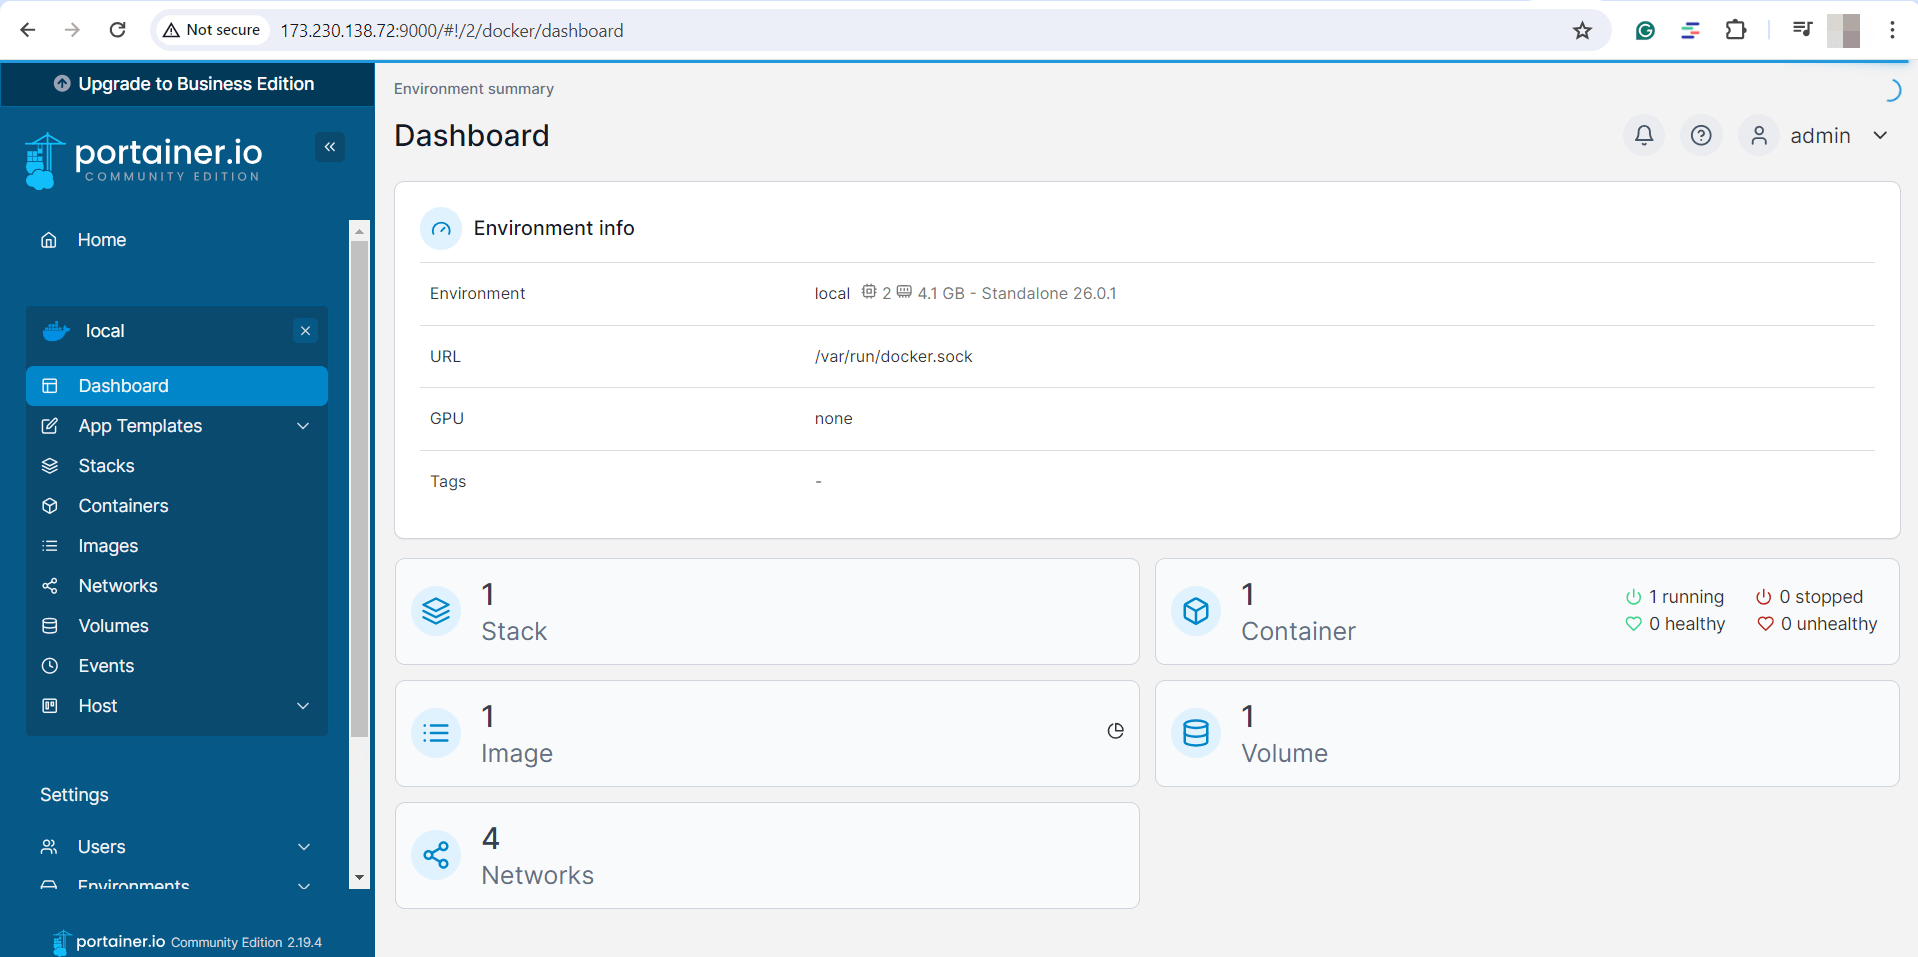
This takes you to a dashboard that provides a summary of your environment including the number of stacks, containers, images, volumes, and networks.
#3. Deploy Nginx web server with Docker compose on Portainer
Portainer provides multiple options for deploying applications. One of these is the Stacks option that wraps around the Docker compose functionality. A stack is simply a collection of one or more containers that constitute a complete application. It could consist of a front-end UI, a database server, and an API.
This section demonstrates how to deploy a simple Nginx web server using the Docker compose functionality.
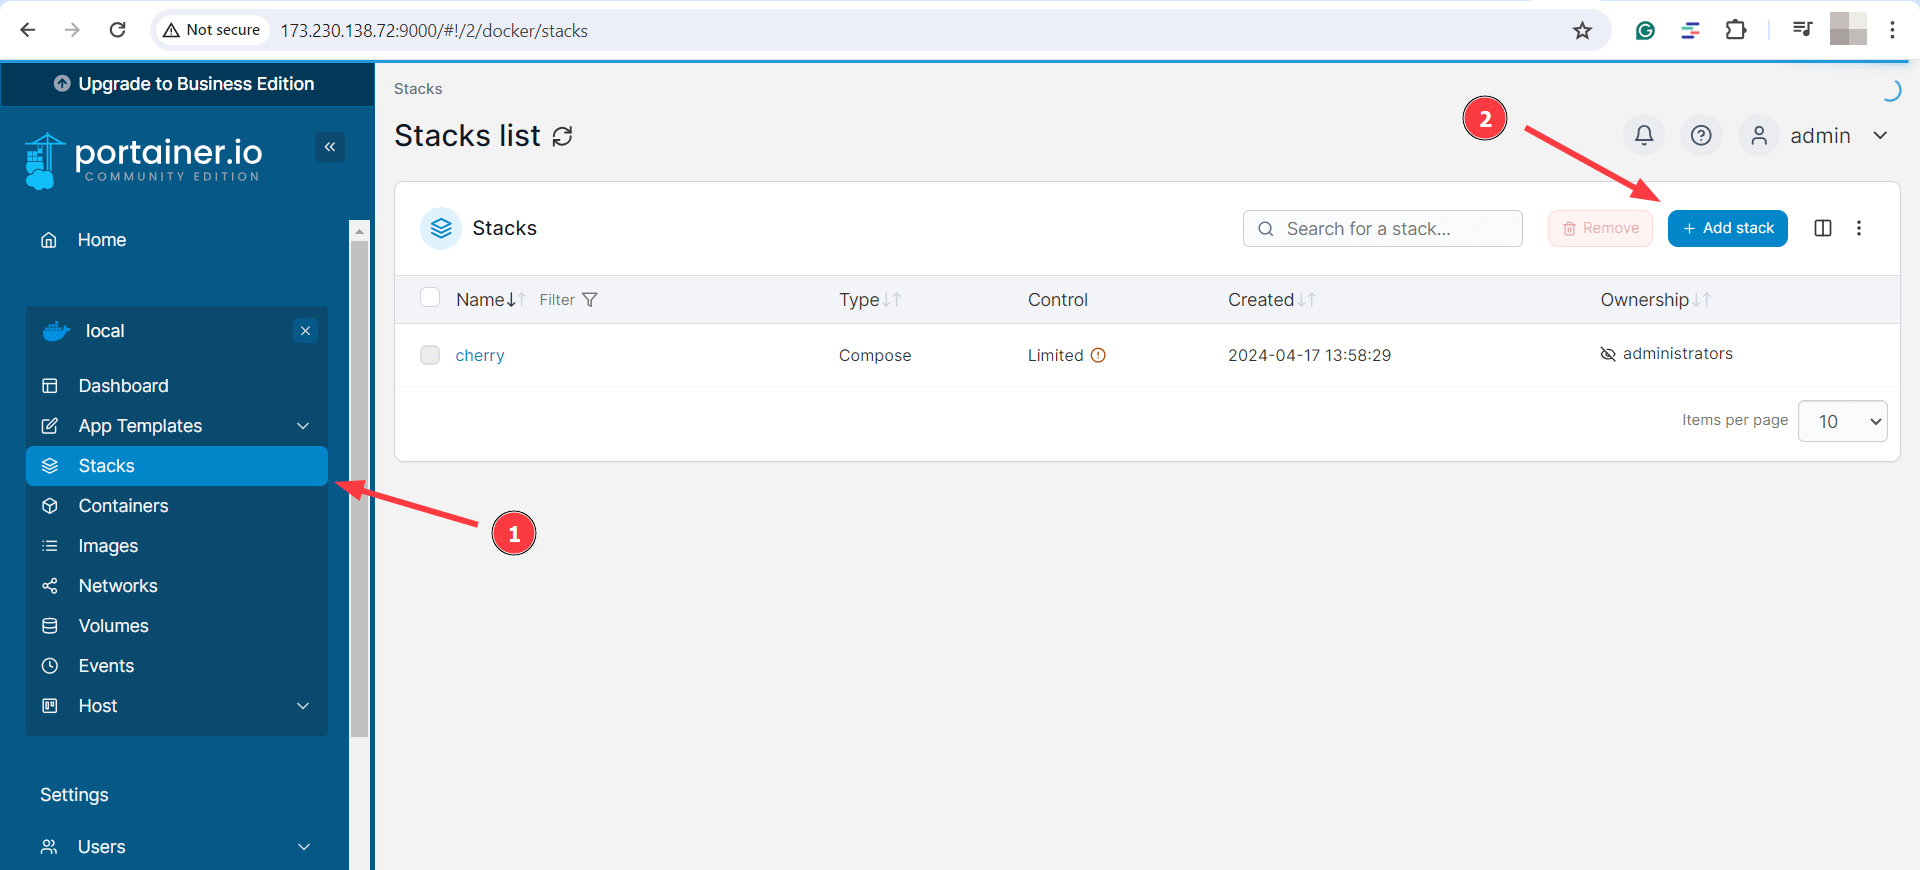
Head over to the left sidebar and click Stacks. In the Stacks list section click the Add stack button.
You will be presented with four ways of creating a tech stack using a Docker file.
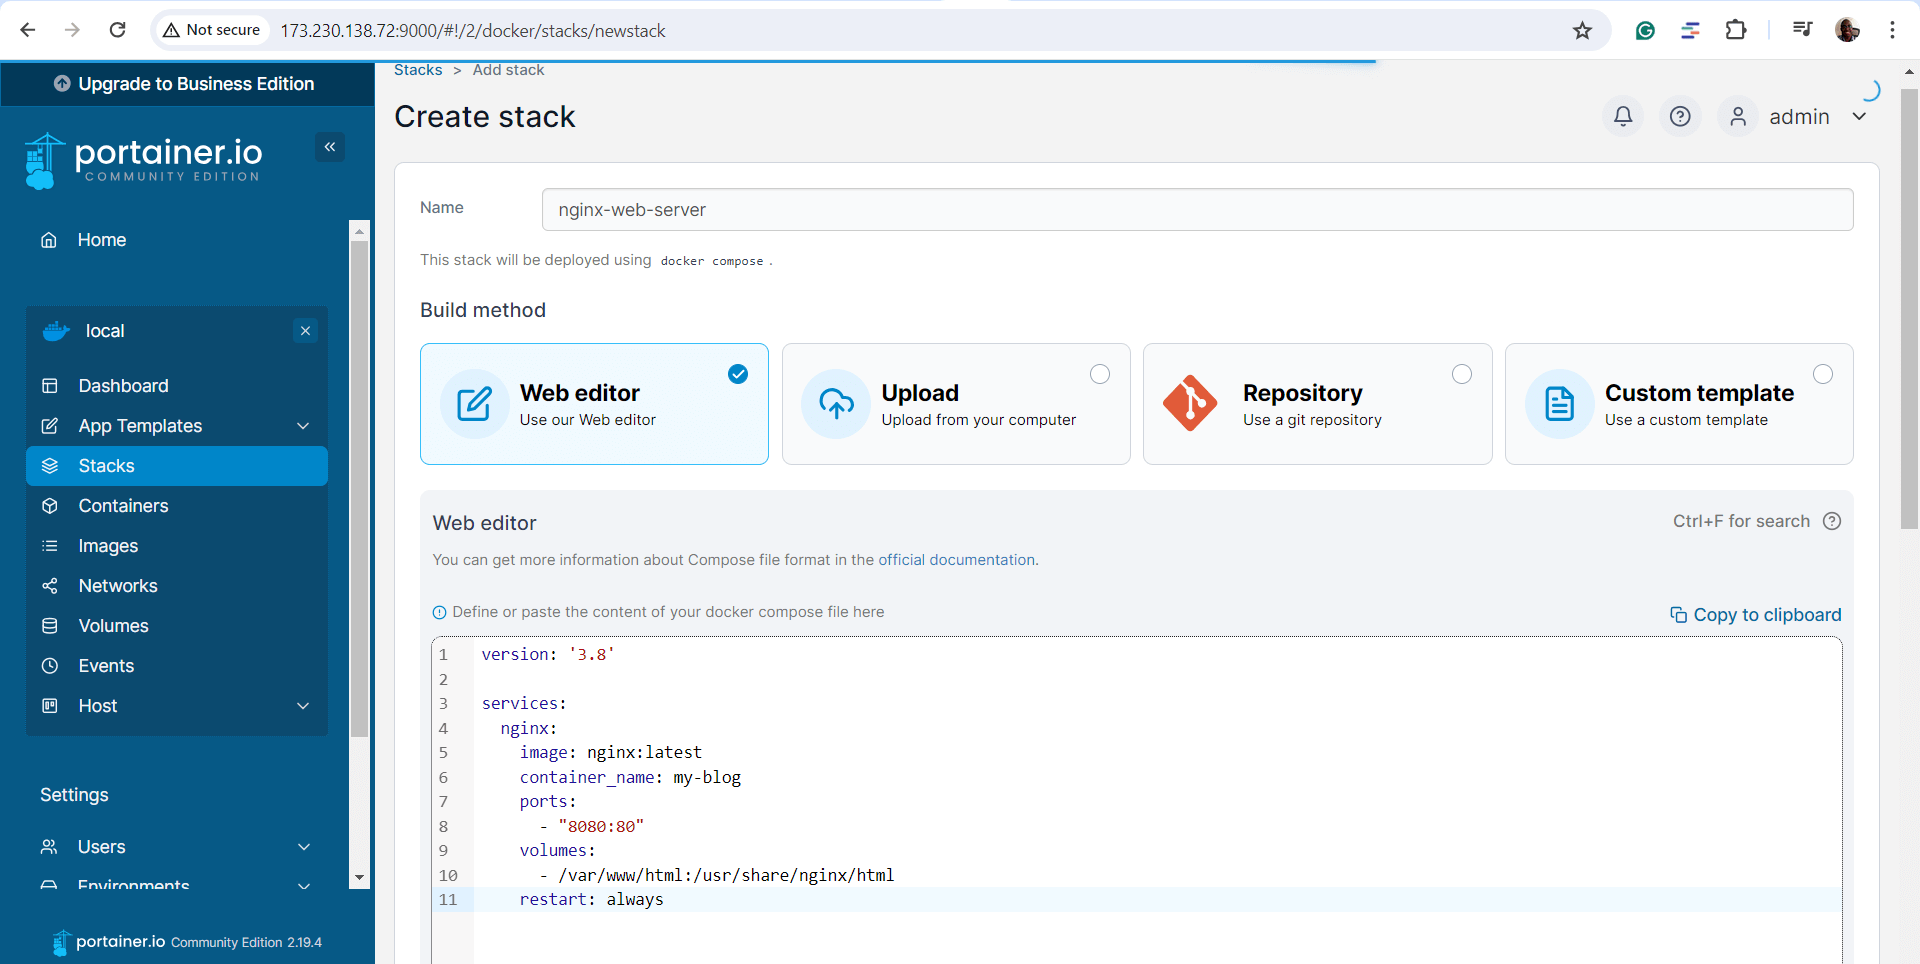
Web editor: It lets you define a Docker Compose file manually by typing it into the provided web editor. This is the default option.
Upload: As the name implies, this option lets you upload an existing Docker compose YAML file from your PC.
Repository: This loads a Docker compose file straight from a Git repository
Custom template: This lets you custom-make your reusable templates. You can achieve this by heading to the left sidebar and selecting App Templates > Custom Templates.
In our case, we will deploy a basic Nginx web server using the web editor. Here is a Docker compose file you can use.
version: '3.8'

services:
  nginx:
    image: nginx:latest
    container_name: my-blog
    ports:
      - "8080:80"
    volumes:
      - /var/www/html:/usr/share/nginx/html
    restart: always
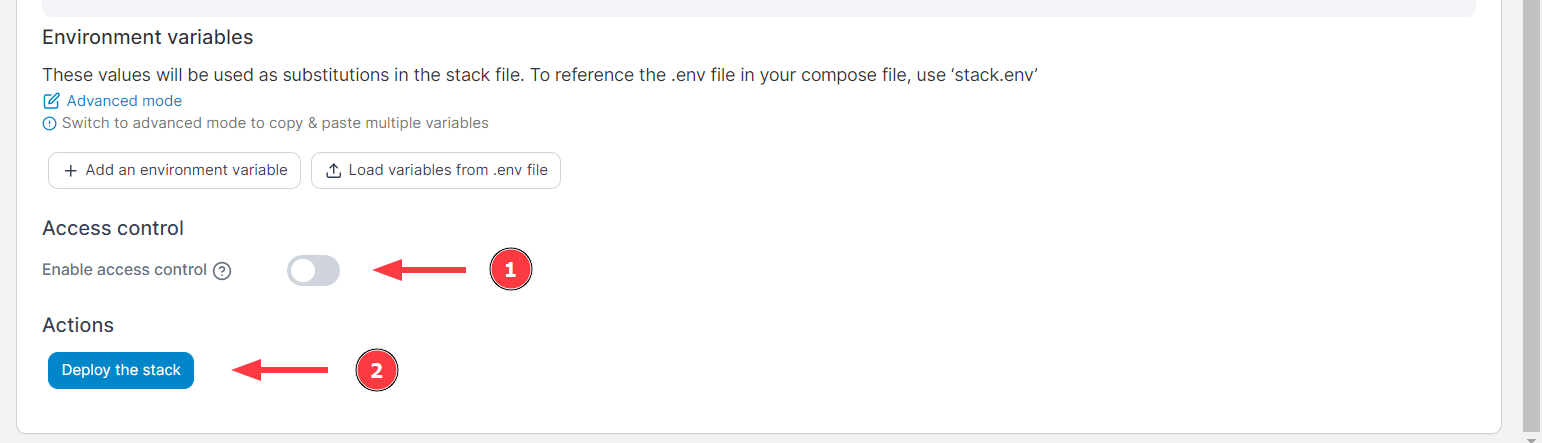
Next, scroll down and toggle off the Enable access control option to make the application publicly available. Then hit the Deploy the stack button.
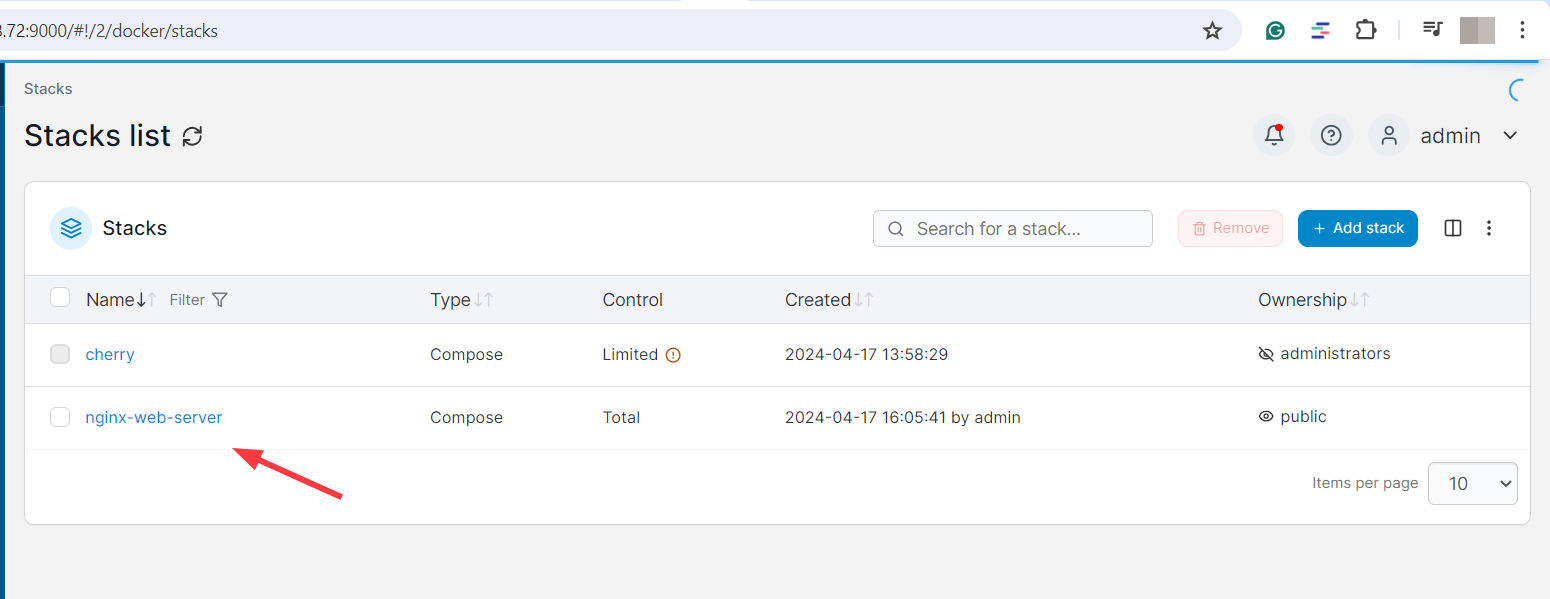
Your newly created stack will appear in the Stacks list section.
Next, navigate to the web root directory on your Docker host.
cd /var/www/html/
Create an index.html file.
sudo nano index.html
Add the following lines of code. The code defines the welcome page for the web server.
<!DOCTYPE html>
<html>
<head>
     <title>Hello, Nginx!</title>
</head>
<body>
     <h1>Nginx Successfully Deployed!</h1>
     <p>Nginx web server was successfully deployed in a Docker container</p>
</body>
</html>
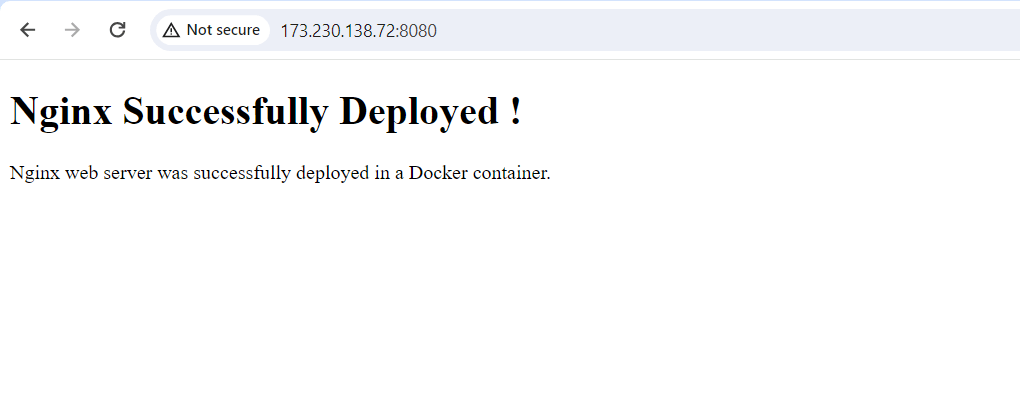
Save and exit. Next, visit your host’s IP address on port 8080
http://host-ip:8080
You should get the following web page indicating that Nginx was successfully deployed.
#Conclusion
Portainer is an excellent tool for deploying and managing containerized applications in your Docker environment. In this tutorial, you have learned how to deploy Portainer using Docker Compose. In addition, you have seen how seamless it is to use Portainer to deploy a tech stack using Docker Compose.
If you found this helpful, read the next guide on how to uninstall Docker.


