How to Use Rescue Mode to Troubleshoot Your Server
Rescue mode is a valuable tool for troubleshooting when your server’s primary operating system isn’t working correctly and you need to recover from issues like file system corruption, failed migrations, or boot problems. It allows you to boot into a minimal environment to repair or inspect your system, or even perform system-level tasks on unmounted partitions.
This guide will detail the steps required to use rescue mode to troubleshoot on a Cherry Servers dedicated bare metal server.
#Instructions to Use Rescue Mode for Troubleshooting
#Step 1: Access the Cherry Servers Client Portal
- Log in to your Cherry Servers account using your credentials.
- Navigate to the server you need to troubleshoot.
#Activate Rescue Mode
- Select the server you need to work on.
- Click on "Actions" in the top right corner of the client portal.

- From the drop-down menu, select "Enter rescue mode".

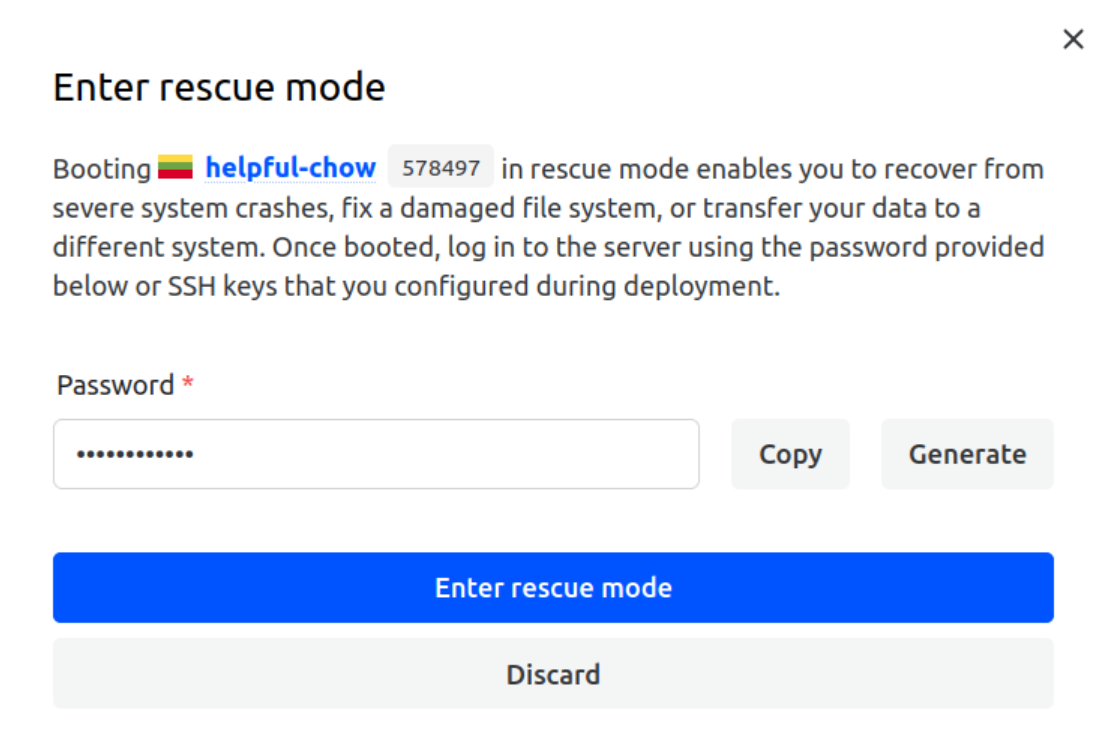
- A pop-up window will appear to generate a temporary password. This password allows you to access your server while it’s booted into rescue mode.

- Click "Enter rescue mode" and wait a few minutes while the server reboots into rescue mode.

- Once the server is successfully in "Rescue mode", you’ll see a confirmation message in the client portal.


#Connect to Your Server in Rescue Mode
- Use an SSH client to connect to your server. The IP address will be displayed in the Cherry Servers client portal.
- Use the "root" username and the password you generated earlier. Ensure you have the password saved, as it will not be displayed again for security reasons.
- If you encounter any issues connecting via SSH, please visit our dedicated SSH set up guide.
#Step 4: Mount the Filesystem (If Needed)
Once logged in, the server’s primary drive won’t be automatically mounted. Depending on the task, you may need to mount the drive manually.
- Identify the root partition with the following command:
The output will show available devices, such as /dev/sda1, /dev/nvme0n1p1, or /dev/md127 if you're using RAID.
lsblkOutput
root@7215:~# lsblk NAME MAJ:MIN RM SIZE RO TYPE MOUNTPOINTS loop0 7:0 0 413.6M 0 loop /media/root-ro loop1 7:1 0 63.9M 1 loop /snap/core20/2318 loop2 7:2 0 87M 1 loop /snap/lxd/29351 loop3 7:3 0 38.8M 1 loop /snap/snapd/21759 sda 8:0 0 232.9G 0 disk ├─sda1 8:1 0 1M 0 part └─sda2 8:2 0 232.9G 0 part └─md127 9:127 0 232.8G 0 raid1 sdb 8:16 0 232.9G 0 disk ├─sdb1 8:17 0 1M 0 part └─sdb2 8:18 0 232.9G 0 part └─md127 9:127 0 232.8G 0 raid1 - To mount the root partition, use this command, replacing md127 with the appropriate partition on your server:
mount /dev/md127 /mnt
#Perform Troubleshooting Tasks
Once the filesystem is mounted, the next step is to chroot into the mounted filesystem to operate as if you were working directly on your server’s root filesystem. This allows you to run commands as if the system was booted normally.
Chroot into the Mounted Filesystem:
After mounting the root filesystem in Step 4, follow these commands to prepare for troubleshooting.
-
Mount necessary filesystems for chroot.
Before chrooting, you need to mount several additional directories to ensure that everything works inside the chroot environment:
mount --bind /dev /mnt/dev mount --bind /proc /mnt/proc mount --bind /sys /mnt/sys -
Now, change the root directory to the mounted system:
chroot /mntOnce inside the chroot environment, you can perform the following troubleshooting tasks:
1. Backup Data
You can back up entire directories or critical configuration files to prevent data loss during troubleshooting. If you need to back up important data before performing repairs, use the scp command to copy files to another machine or external storage:
scp /mnt/path_to_file user@remote:/path_to_backup/
Replace /mnt/path_to_file with the path to the file you want to back up, and replace user@remote:/path_to_backup/ with your remote server’s username, IP, and destination path.
2. Examine System Logs
System logs can provide crucial information to diagnose the problem. You can access logs from within the chroot environment by running, where syslog is replaced with the relevant log file (e.g., dmesg, auth.log, or messages) for different logs:
less /var/log/syslog
3. Reinstall GRUB Boot-Loader
If the issue is related to the boot-loader, such as a corrupted GRUB installation, you can reinstall GRUB from within the chroot environment.
-
Install GRUB on the appropriate device(s).
For RAID or any multi-drive setup, install GRUB on each physical drive with the following command, replacing "/dev/sda" and "/dev/sdb" with the correct physical devices for your server. If you are not using RAID, only install GRUB on the primary boot drive. :
grub-install /dev/sda grub-install /dev/sdb -
Update GRUB configuration.
After installing GRUB, update the configuration to apply the changes:
update-grub
4. Exit Chroot Environment
Once you have completed your troubleshooting tasks, exit the chroot environment.
exit
5. Unmount filesystems
After exiting chroot, unmount the filesystems that were mounted for chroot with:
umount /mnt/dev
umount /mnt/proc
umount /mnt/sys
Now you can continue with any other steps necessary or proceed to reboot the server once you've finished troubleshooting.
#Step 6: Exit Rescue Mode
Once you have completed your troubleshooting tasks, exit rescue mode.
- Return to the Cherry Servers client portal and select your server.
- Click on "Actions" in the top-right corner and select "Exit rescue mode".

- Wait for a few minutes while your server reboots into its normal operating mode.

#Step 7: Verify
Once the server has rebooted, verify that the issue is resolved and the server functions normally. You can log in via SSH again to ensure everything is back to normal.