#What Is IPv6?
IPv6 is the latest iteration of the Internet Protocol (IP) which addresses the limitation of available IP addresses in the previous IPv4 version to accommodate the ever-growing number of internet connected devices around the world.
IPv6 uses 128-bit addresses, which allows for approximately 3.4×10^38 unique IP addresses, far surpassing the 4.3 billion addresses made available through IPv4’s 32-bit addresses. In addition to introducing robust mobility support and concepts like address scopes ((link-local, unique local, and global), IPv6 has several updated features compared to IPv4:
- Simplified header format for improved processing efficiency;
- Integrated IPsec for end-to-end security;
- Enhanced support for Quality of Service (QoS) through flow labeling;
- Elimination of the need for Network Address Translation (NAT) due to an abundance of addresses;
- Improved multicast and anycast capabilities for efficient data distribution and management.
IPv6 is available for all dedicated bare-metal server deployments in the following regions:
- Lithuania - Siauliai (some restrictions apply, please contact support@cherryservers.com to confirm availability;
- Singapore;
- Germany - Frankfurt;
- Sweden - Stockholm;
- USA - Chicago.
#What Are IPv6 Addresses Used For?
At Cherry Servers, IPv6 addresses are mainly used as part of public IP subnets, and can also operate as a server’s management IP in some cases.
#How to Order IPv6 Addresses
IPv6 addresses and their subnets are free for all Cherry Servers customers.
Clients are assigned a /64 subnet for initial routing, consisting of approximately 18 quintillion IP addresses, however, if more than this amount is needed, the customer can expand it up to a maximum range of /56.
IPv6 addresses can be ordered during server deployment:
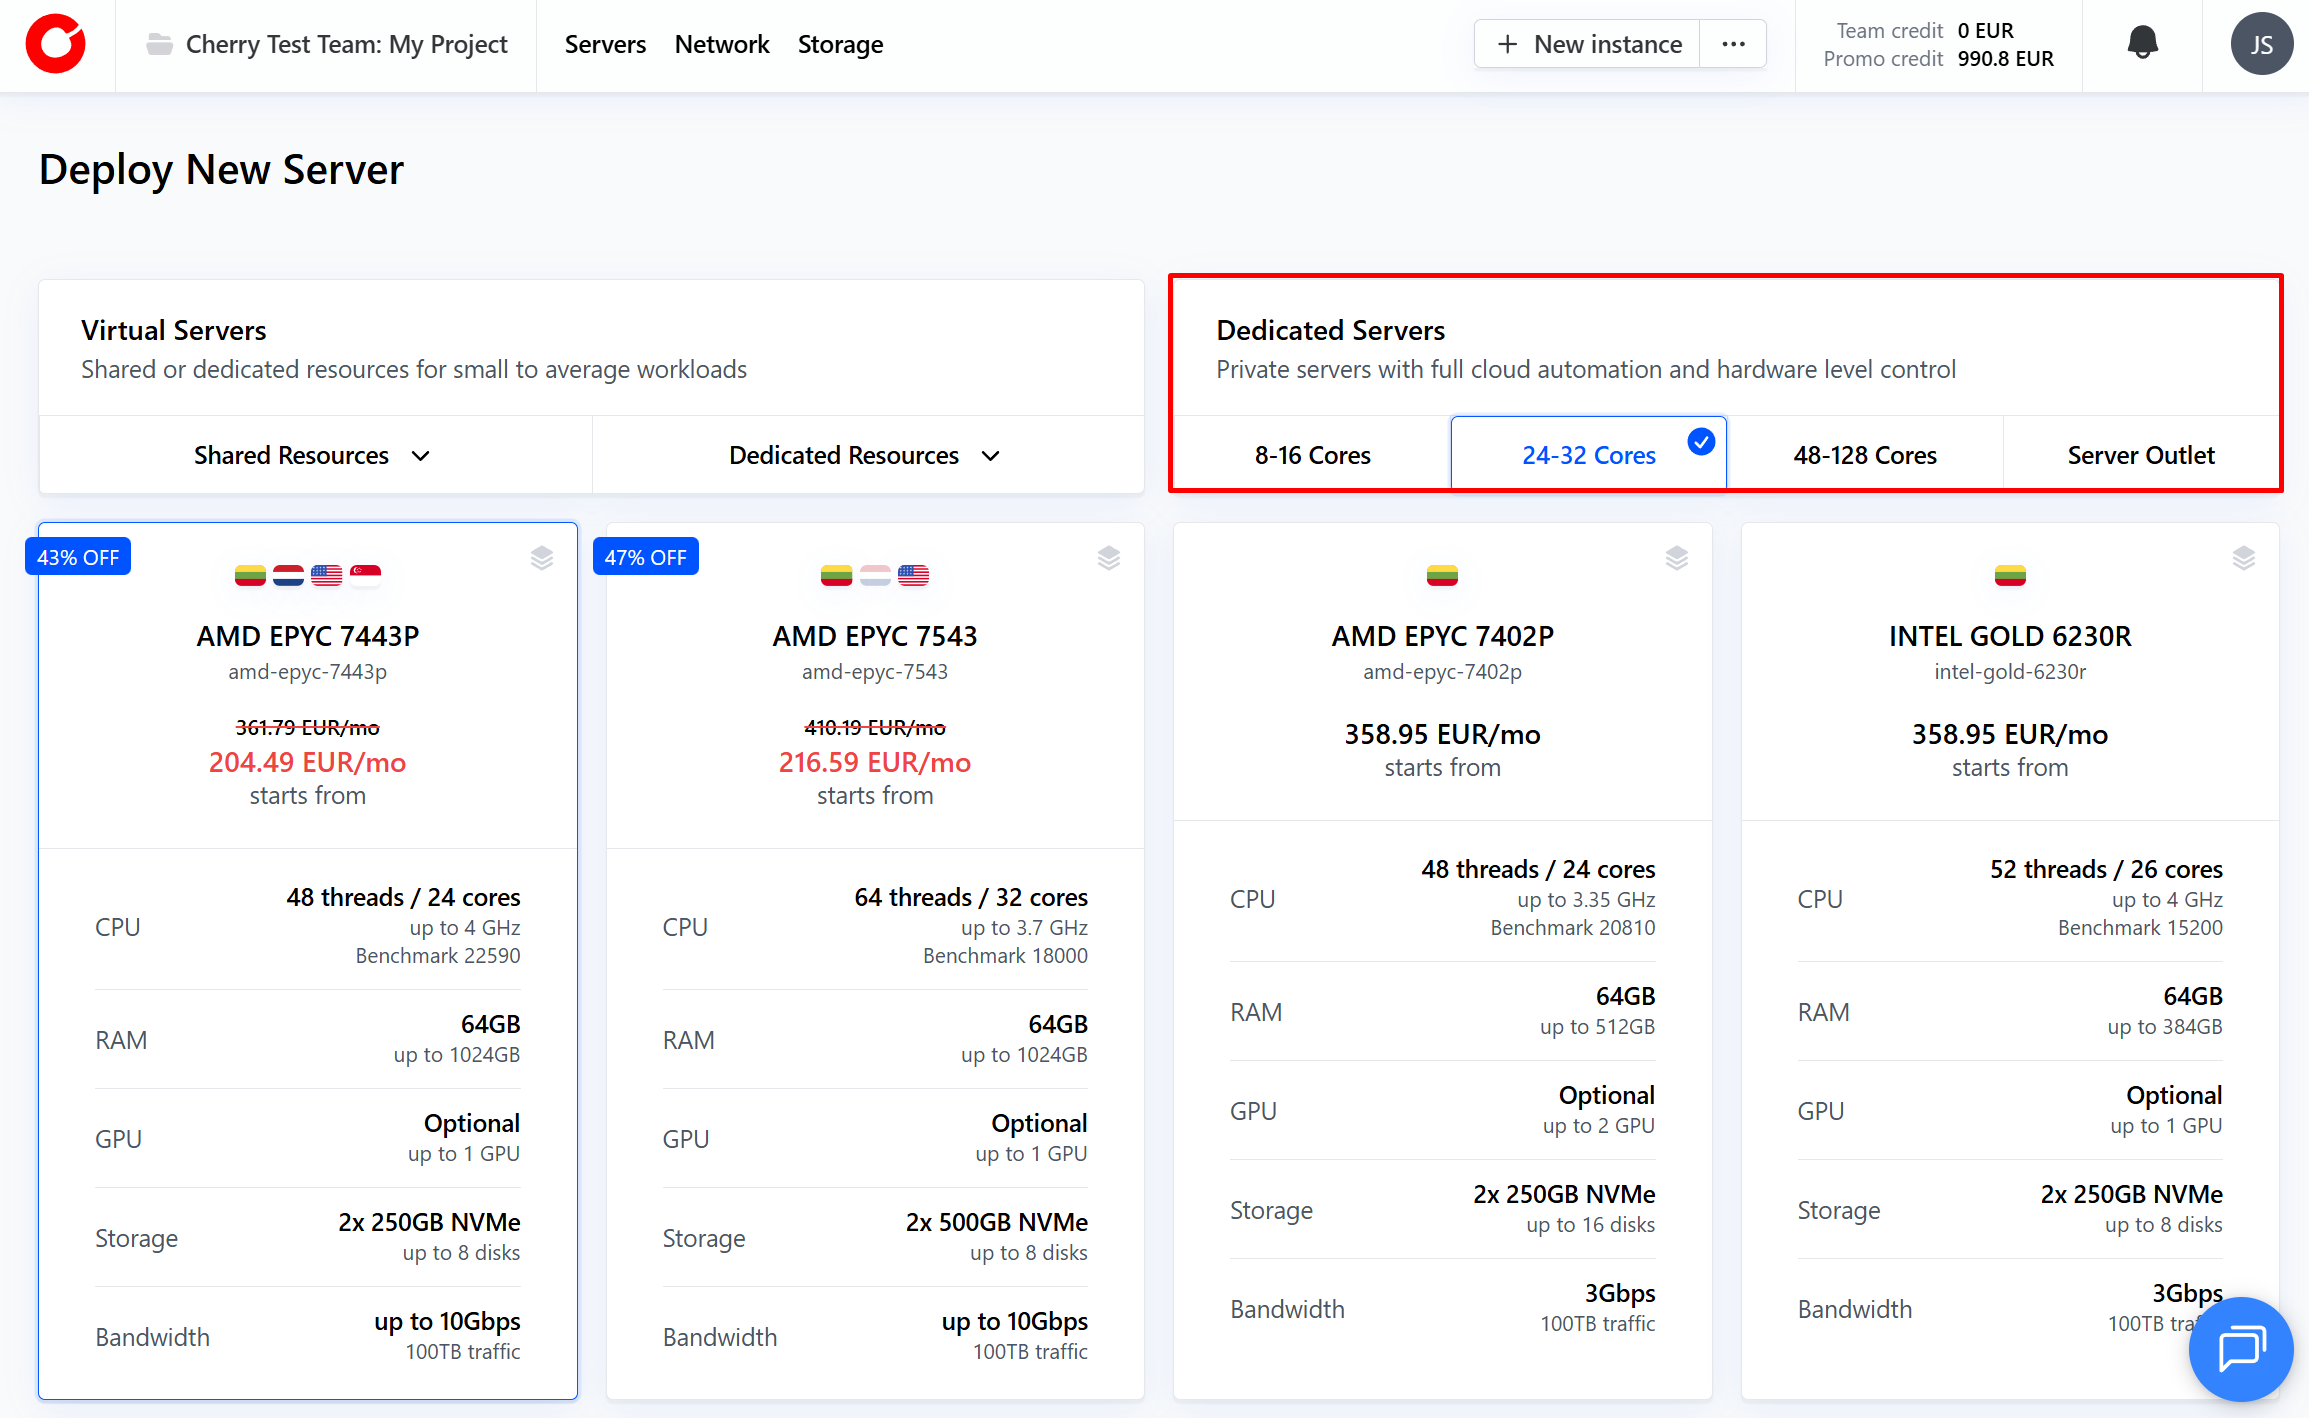
NOTE: IPv6 addresses can only be deployed with dedicated bare-metal servers.
-
Select the dedicated bare-metal server that best suits your needs, and choose the region for deployment.

-
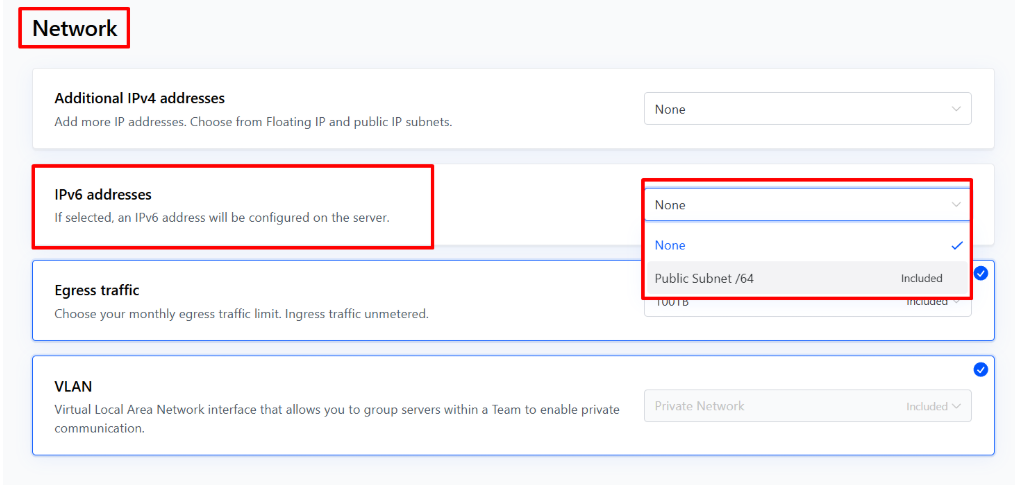
You will be automatically directed to the configuration step. Scroll down until you reach the “Network” section. In the “IPv6 Addresses” box, activate the dropdown menu, and select your IPv6 range.

-
When you deploy your server, your IPv6 range will instantly be ready.
Your IPv6 address range is now available for use, and can be configured according to your needs.
#How to Manage Your IPv6 Addresses
-
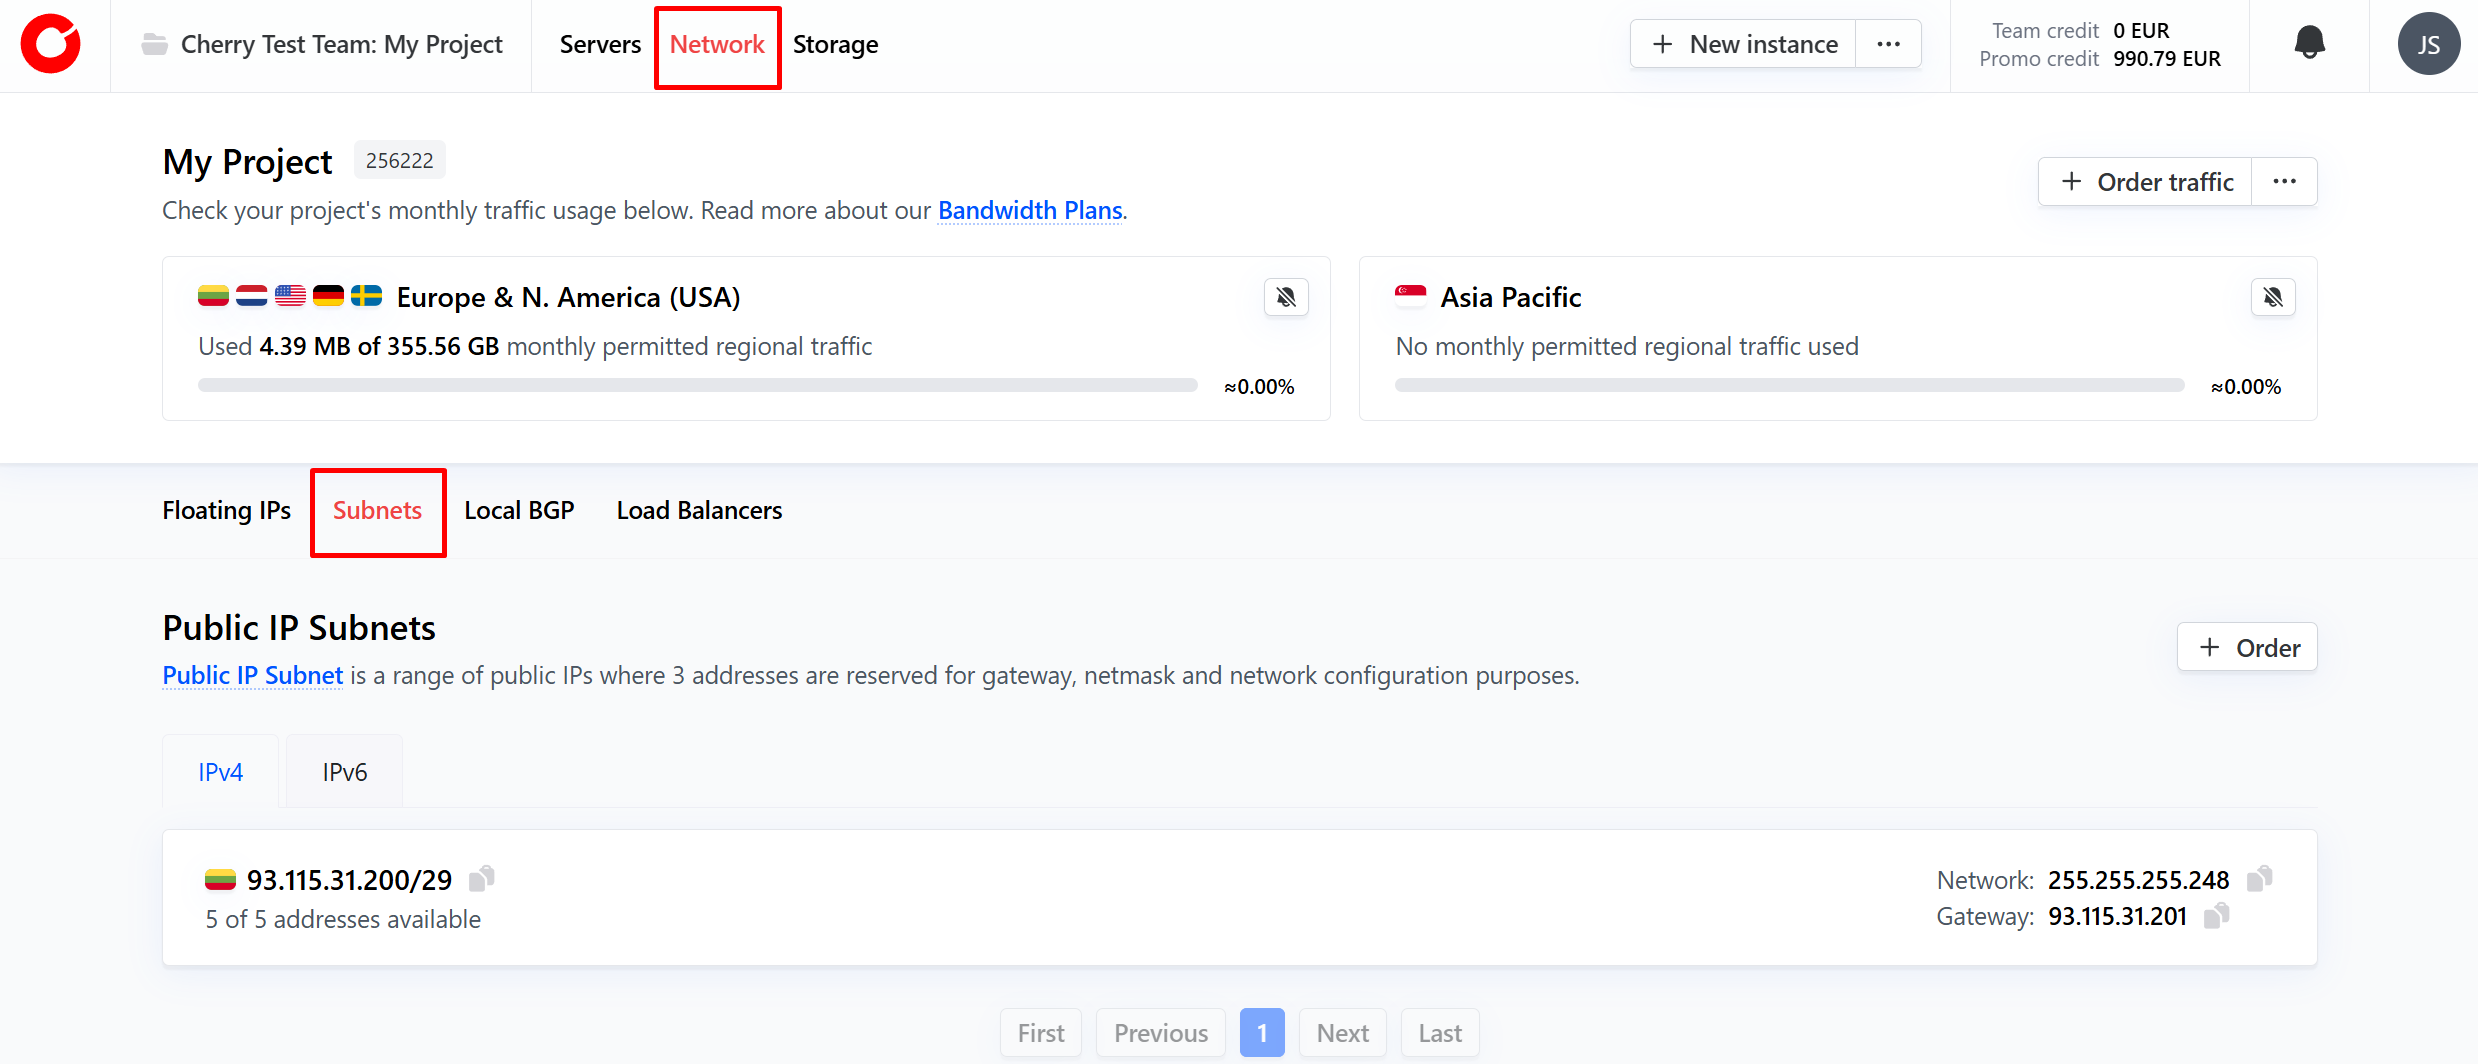
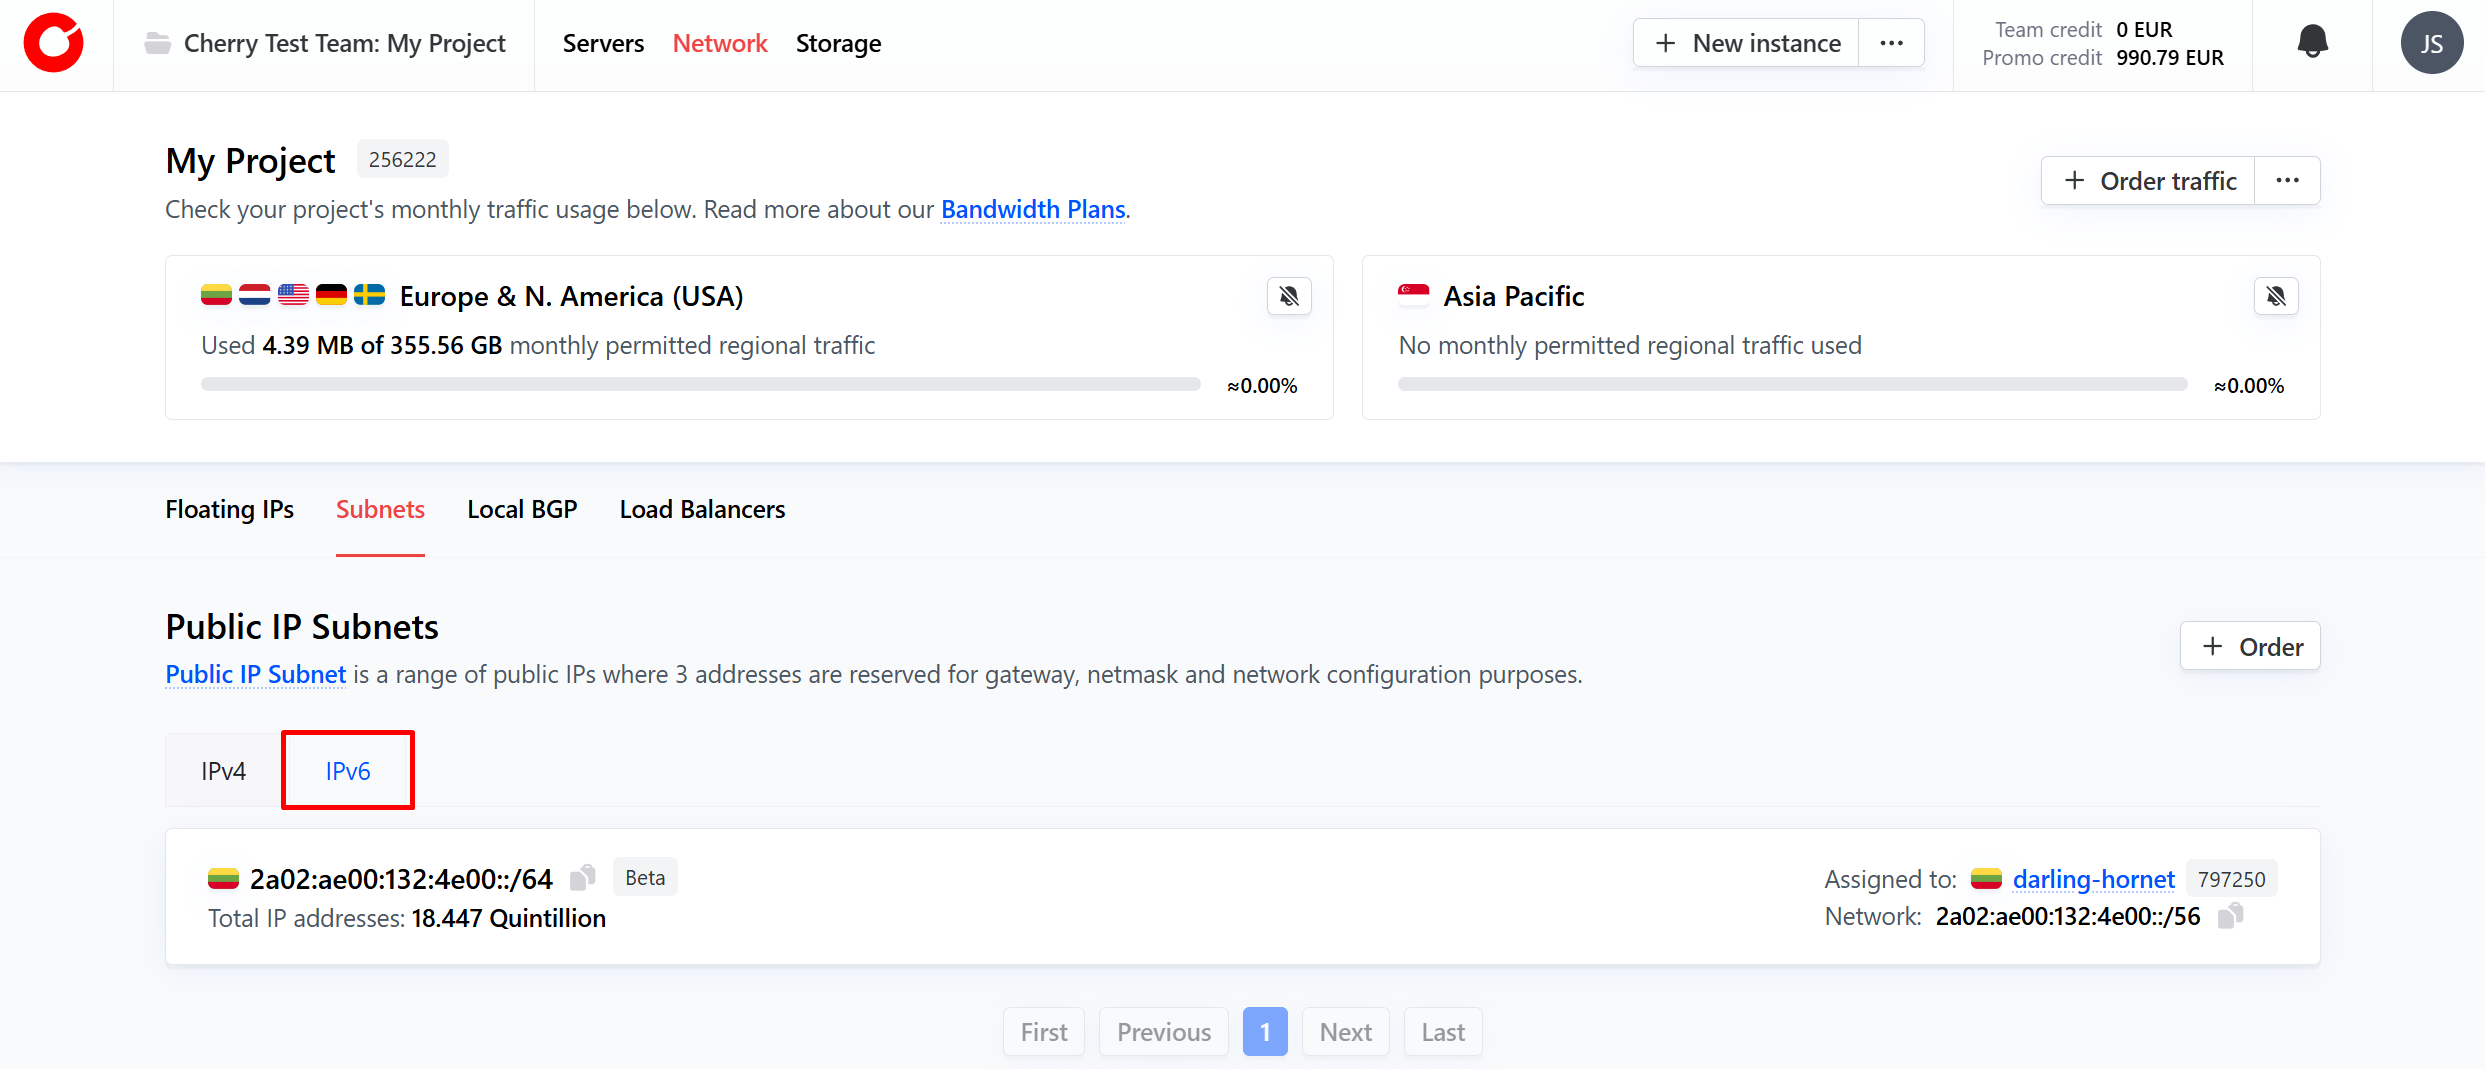
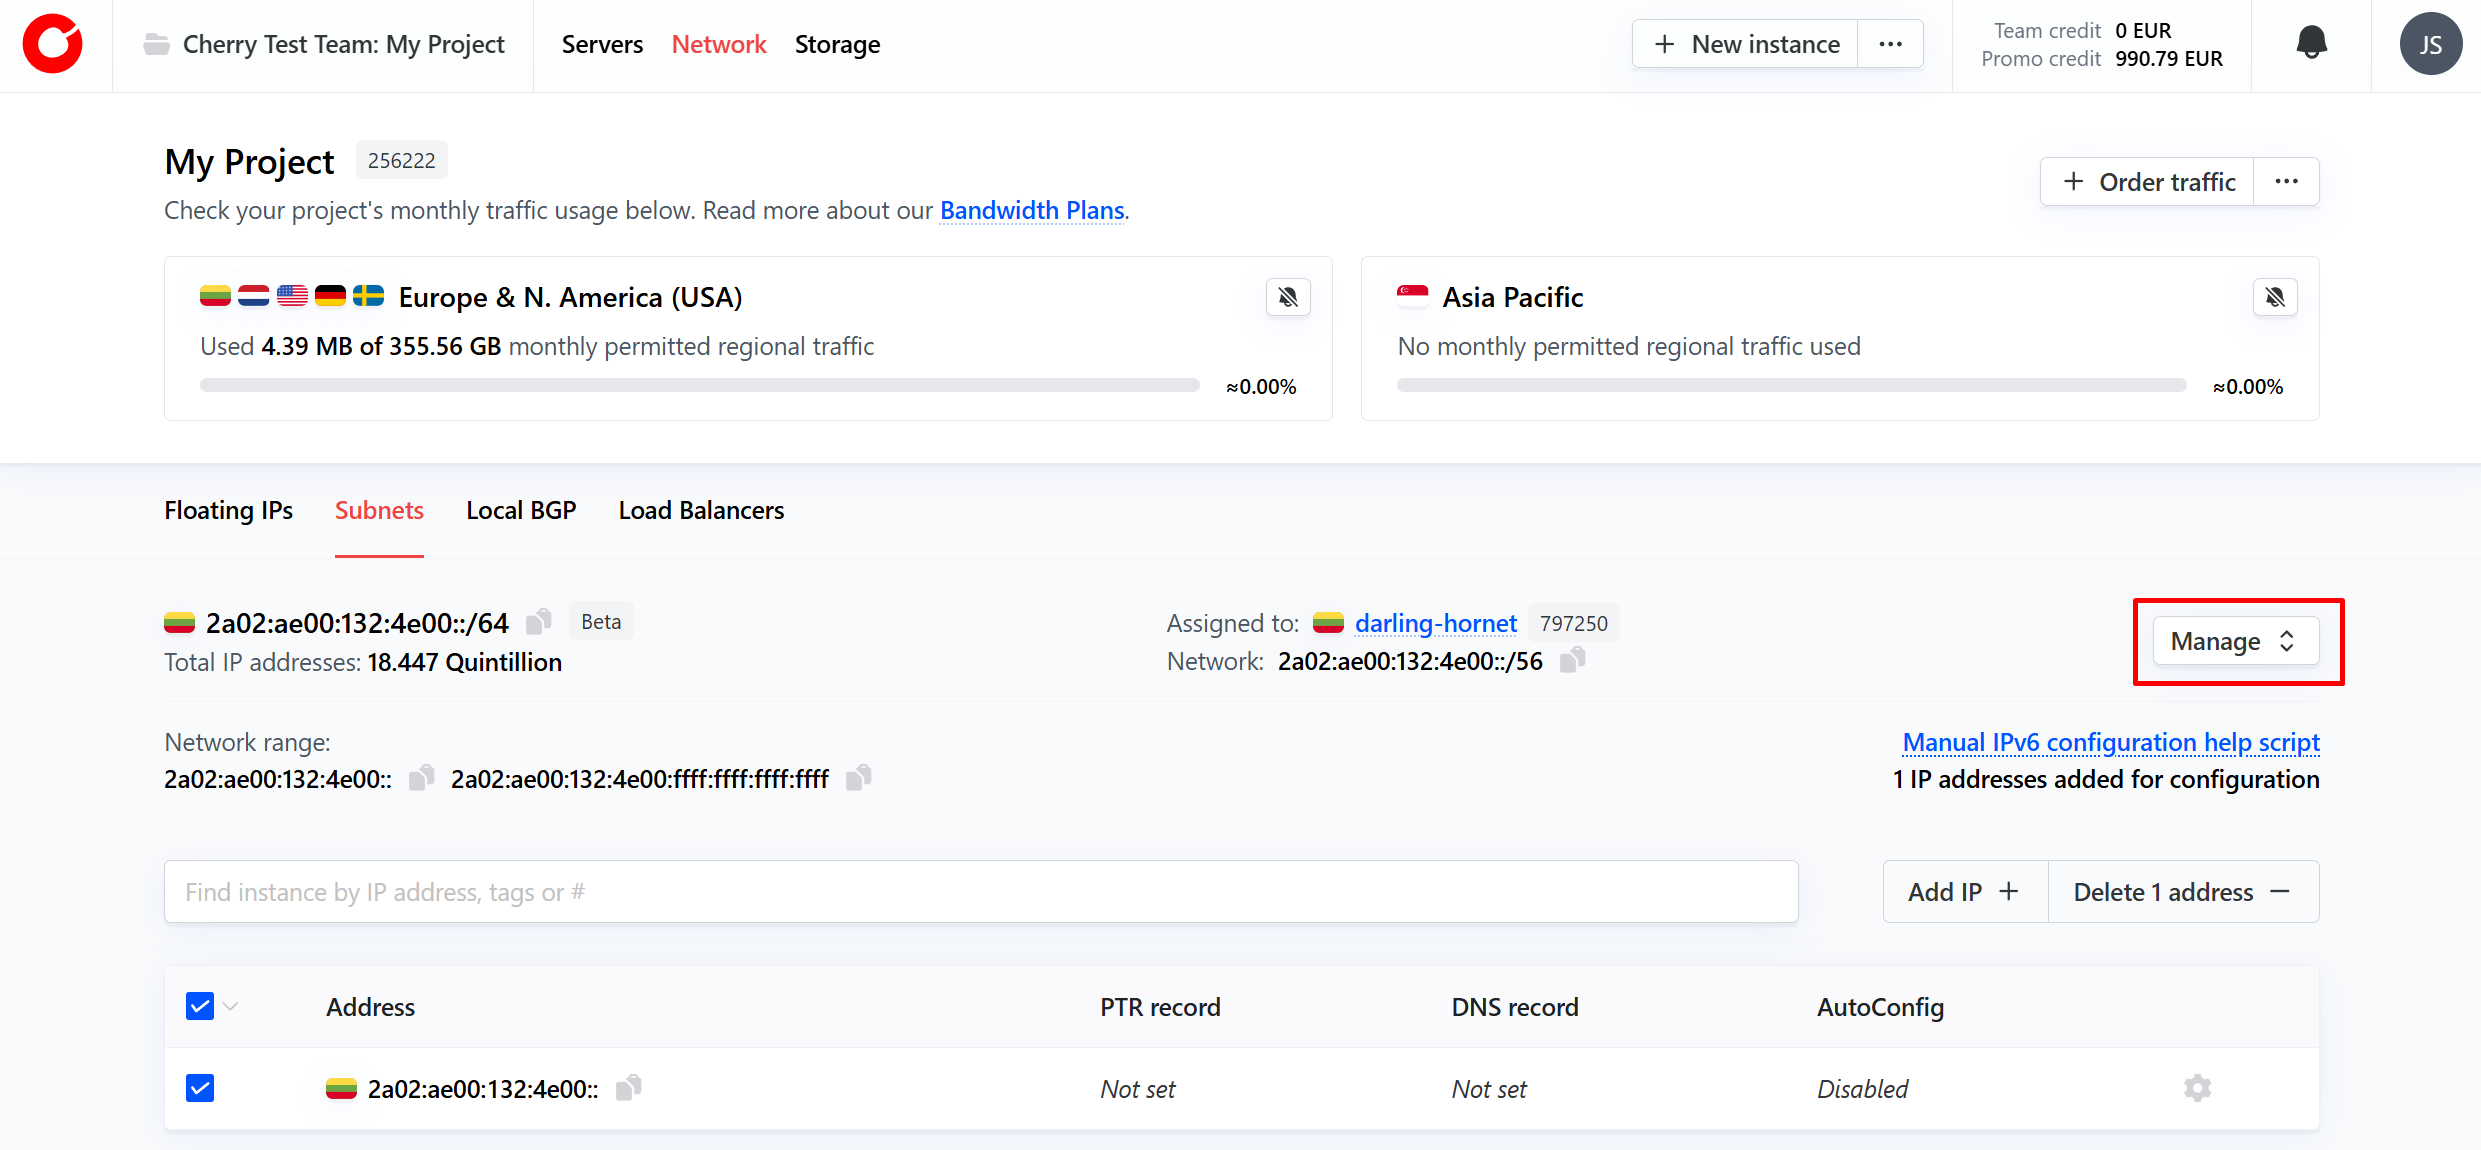
You can view all of your active IPv6 addresses on the client portal at any time by clicking “Network” at the top of the page and navigating to the “Subnets” tab.

-
Then, select the “IPv6” tab, and click the IPv6 range you would like to manage.
-
At the project level, a client has as many IPv6 subnets as they have servers with IPv6 subnets enabled. The server to which the subnet is assigned will also be visible immediately.
#Configuration
IPv6 address subnets are configured automatically upon server deployment, can be toggled to auto configure upon server rebuild.
To enable this option:
-
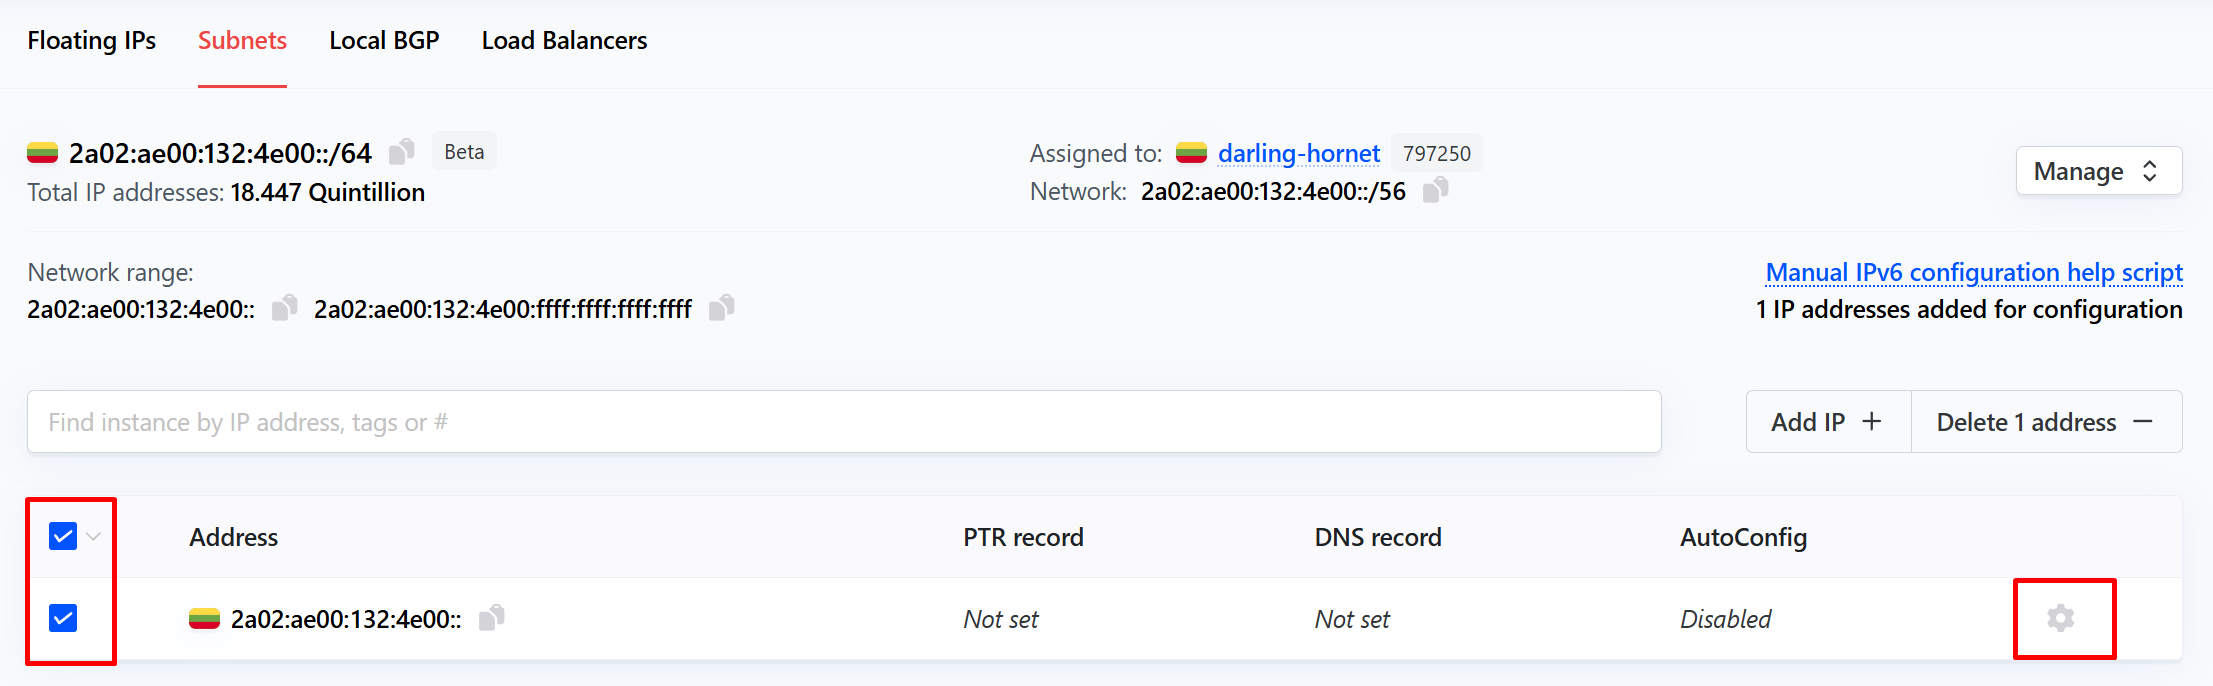
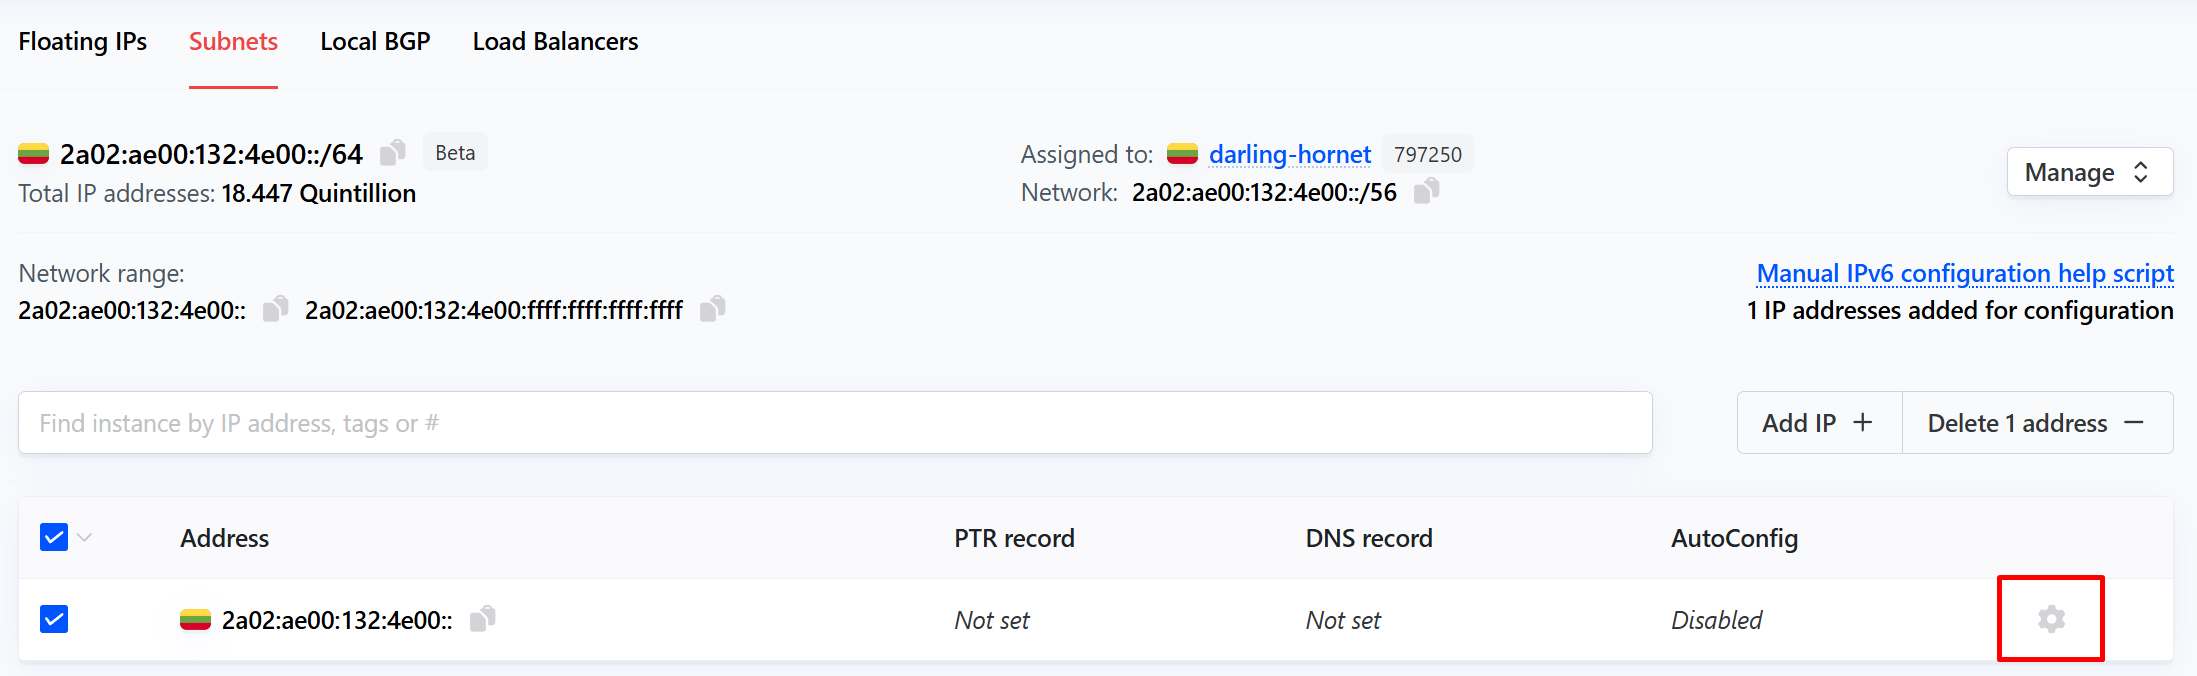
Click the cog icon next to the IP address you would like to automatically configure upon server rebuild. Alternatively, you may select all applicable IPv6 addresses by ticking the box next to each.

-
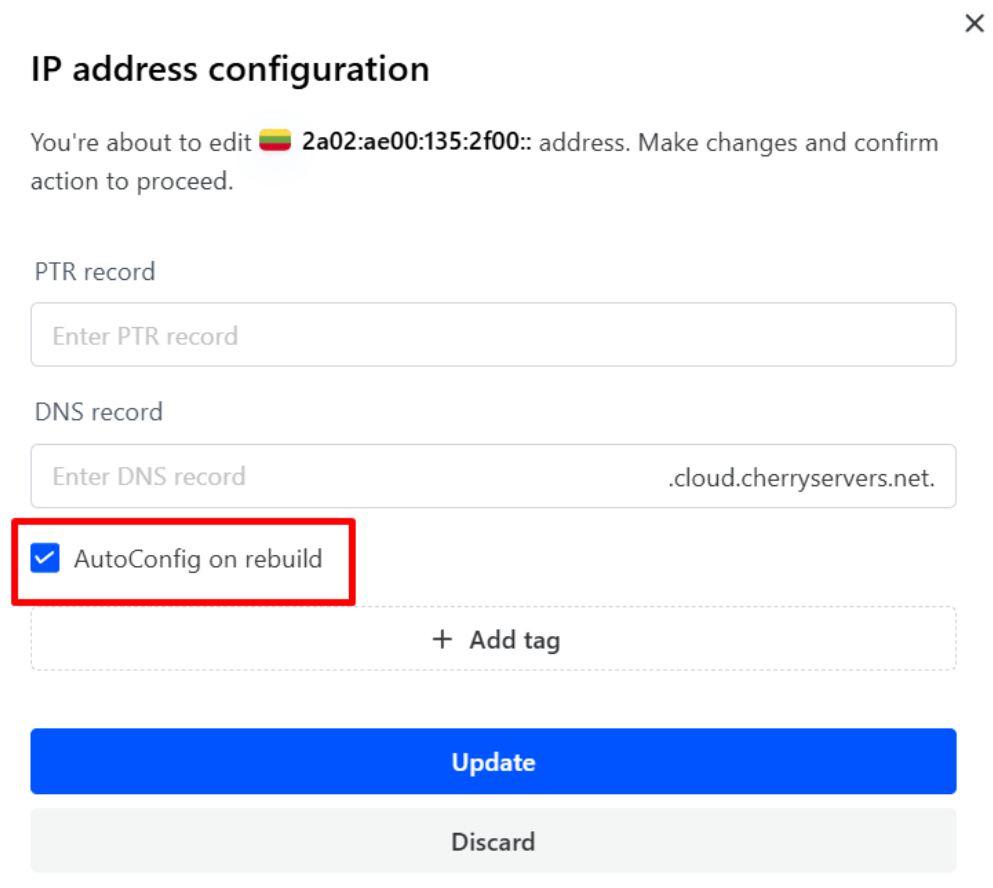
Select “Edit”. In the pop-up box that appears, tick the “AutoConfig on rebuild” option, and click the “Update” button.

Cherry Servers will automatically configure your selected IPv6 addresses the next time you rebuild the linked server.
Manual Configuration
We provide instructions for manual IPv6 configurations for the following operating systems:
- Ubuntu 24.04,
- Ubuntu 22.04,
- Ubuntu 20.04,
- AlmaLinux 9,
- AlmaLinux 8,
- CentOS 7.
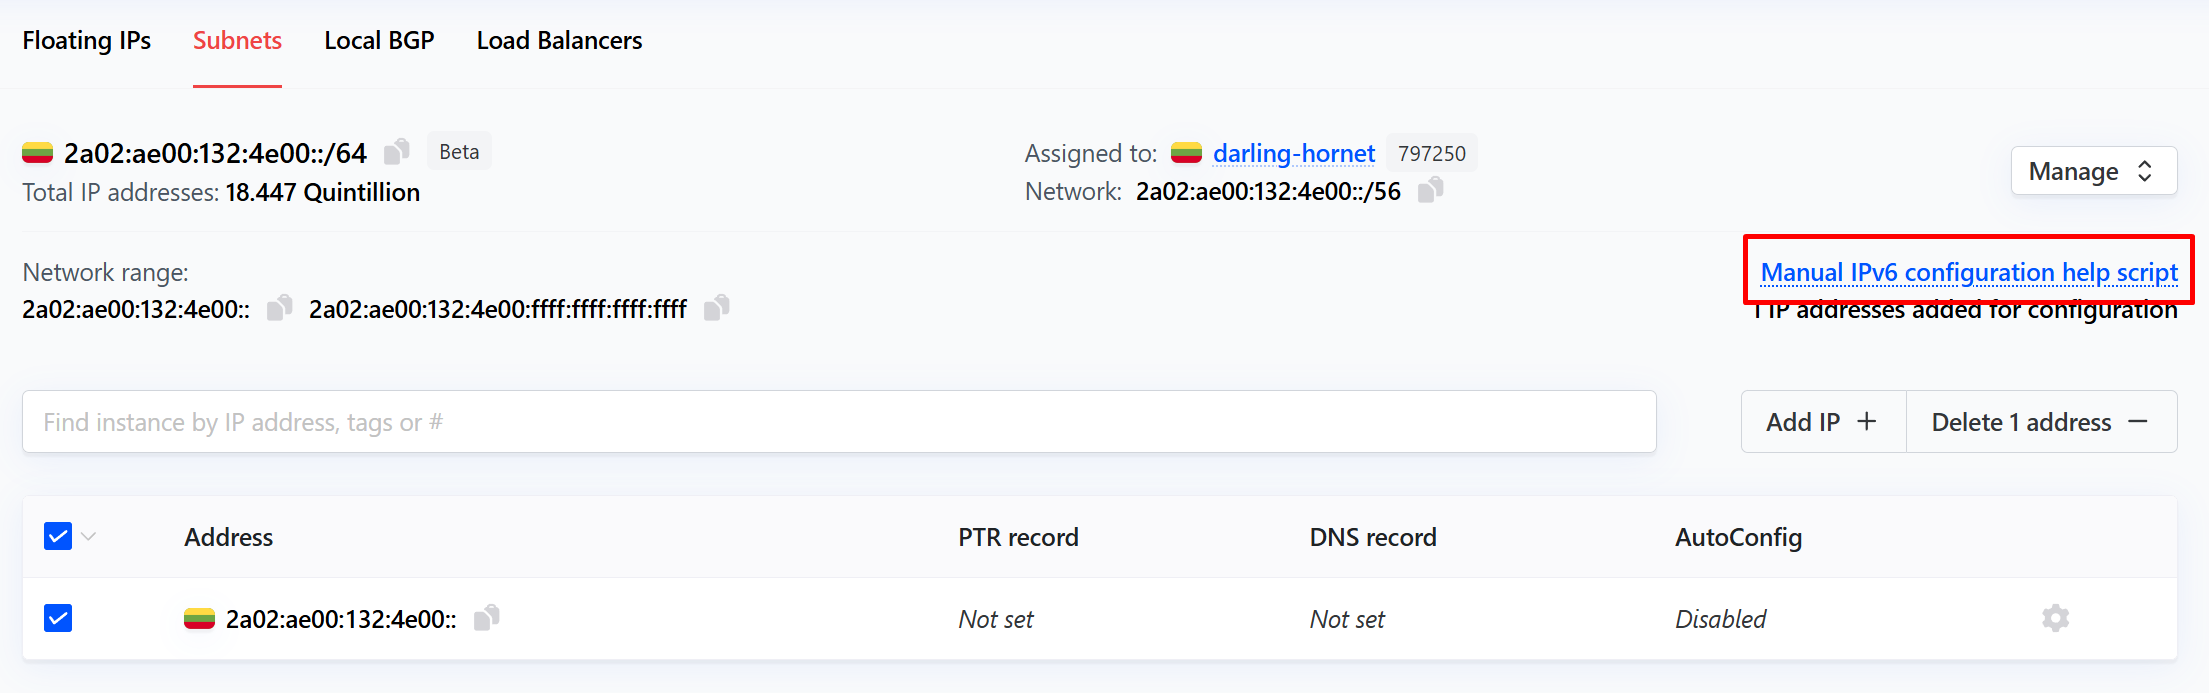
If your server was deployed with one of these operating systems, the corresponding configuration script will be available by clicking the “Manual IPv6 Configuration help script” above the list of available IPv6 addresses.
If you are not using one of the listed operating systems, and you need assistance manually configuring your IPv6 addresses, please contact our dedicated engineer support team.
#Management
Once an IPv6 subnet has been deployed with a dedicated bare-metal server, they can be managed either individually, or on a subnet level.
To manage your overall subnet, you can perform the following actions by clicking the “Manage” button in the top right corner on the tab.
You may perform the following actions:
- Extend - Expand your IPv6 address range from /60, to /56;
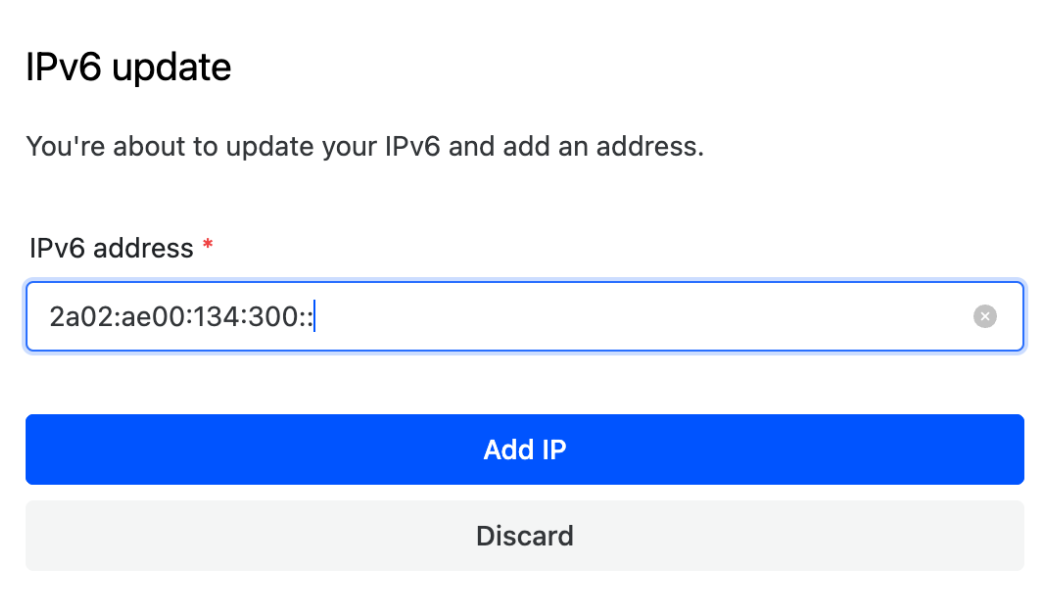
- Add IP - add an additional IPv6 address for configuration;
- Edit details - Add tags - a metadata label to help organize and manage your IPv6 subnet.
NOTE: When adding new IP addresses, the client will be prompted for the range of IP ranges available.
You can alter your available IP addresses by clicking the cog next to each address.
For each IP address, you may perform the following operations:
- Edit;
- PTR record - used for reverse DNS lookups. This is assigned by default;
- DNS record;
- Add tag - a metadata label to help organize and manage your IPv6 addresses;
- AutoConfig on Rebuild - set this IP address to automatically be configured upon your next server rebuild action.
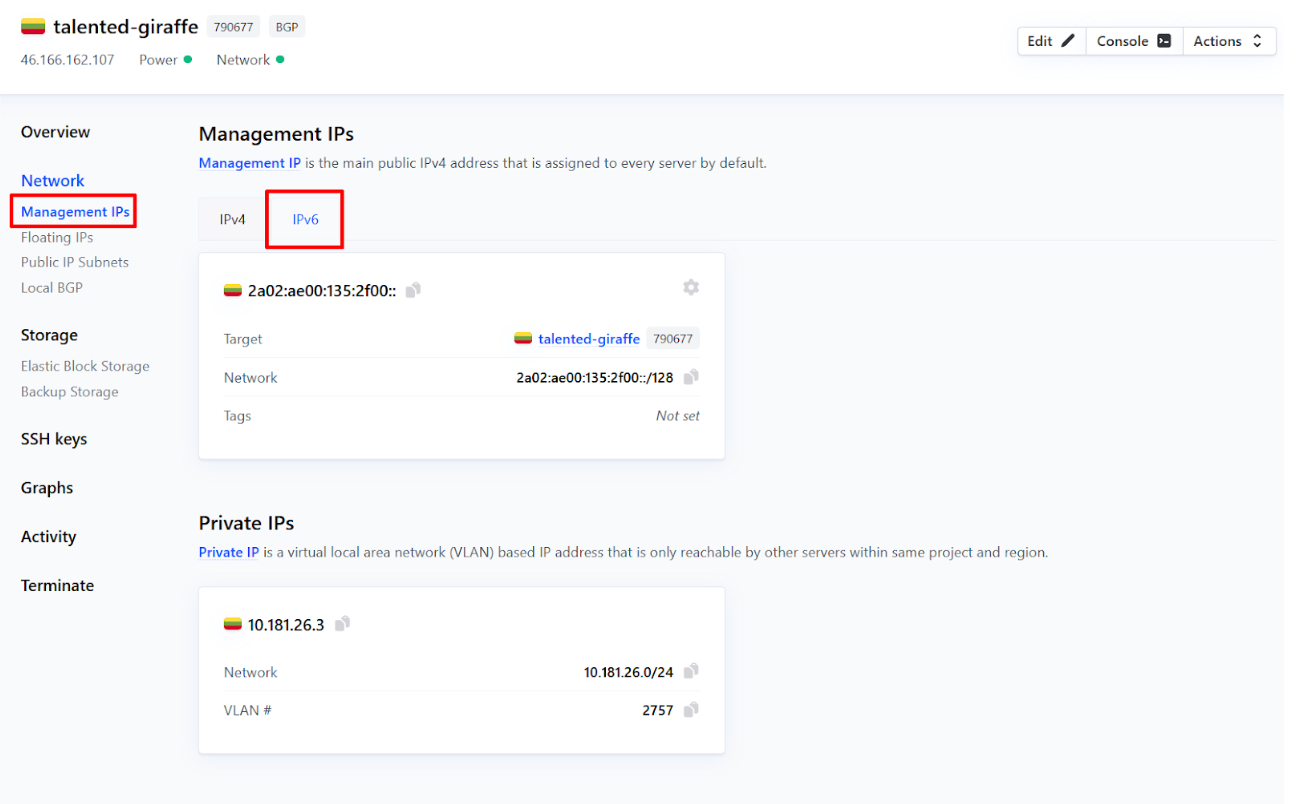
IPv6 addresses marked for auto configuration on server rebuild will be shown in the “Management IPs” tab of the linked server’s overview.