Create An Account
Creating an account with Cherry Servers is the first step to working with highly customizable, flexible servers tailored to your needs.
The process is straightforward, simple, and allows you to connect crucial accounts to manage your workloads and teams.
#Instructions to Create an Account with Cherry Servers
You can make an account from anywhere on the Cherry Servers website, By providing your name, contact email, and business details if applicable, you can deploy customizable infrastructure in just a few clicks.
Click the “Sign Up” button in the top right hand corner on the website.

You will be redirected to a new page, please provide the following information to complete the signup process:
- Your first and last name,
- Your Date of Birth,
- Your contact email which will be used to log in,
- A secure password, including at least one capital letter and one number,
- Your country of residence.
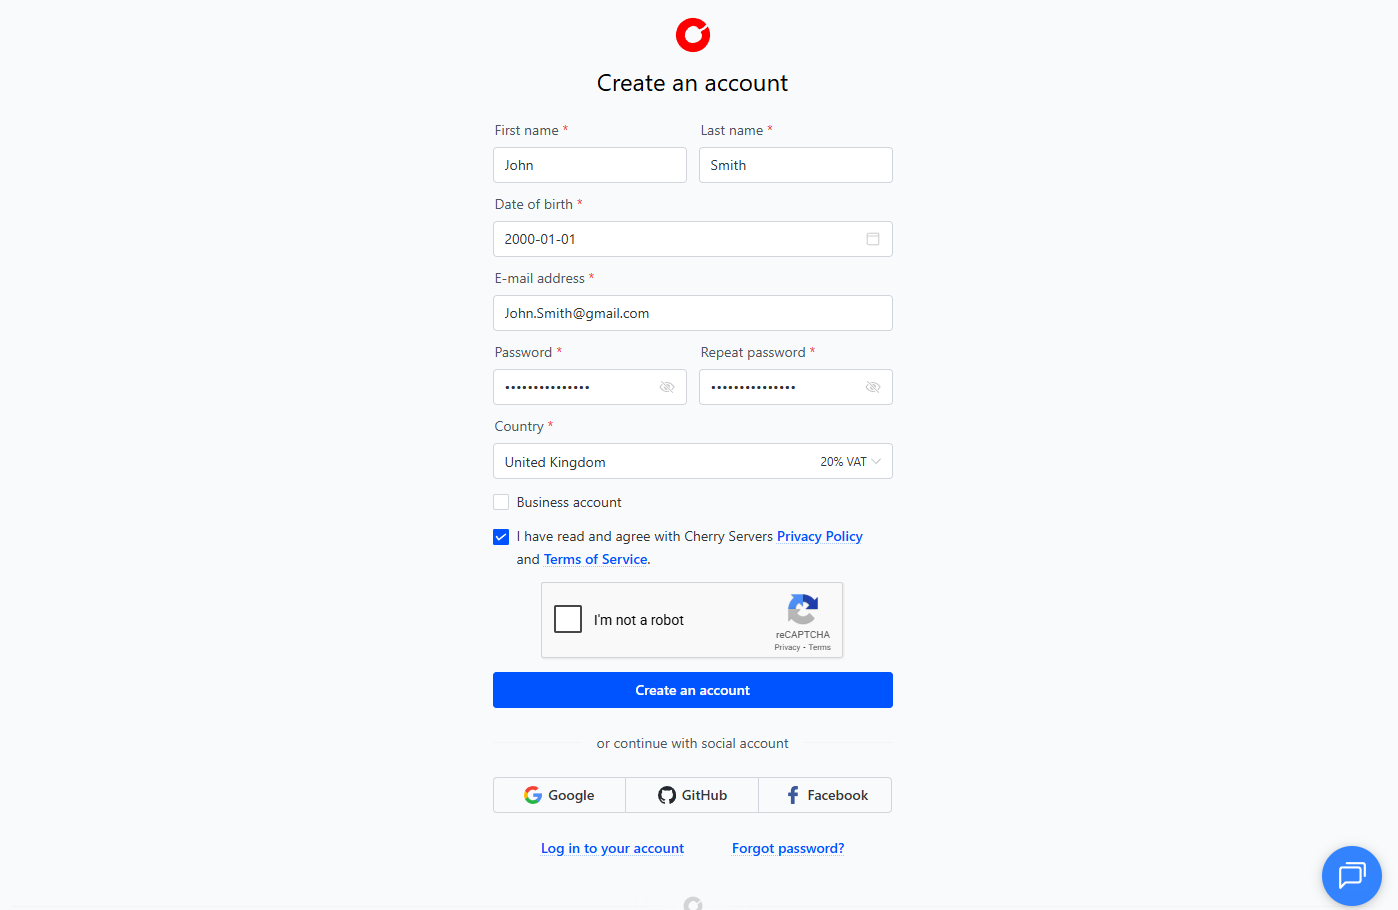
Once you have answered the fields, you will be asked to complete a short captcha, which may provide a short visual task.
Read Cherry Servers’ privacy policy and terms of service and tick the box to indicate that you agree to them.
Click “Create an account” to finish the process.
Optionally, you may instead choose to sign up using your Google, Facebook, or Github accounts. Doing so will automatically provide us with the information used for those accounts, and connect them to your Cherry Servers account. You can unlink them at any time in your profile.

#Business Accounts
If you are creating a business account, you will be asked to provide some additional information.
Please tick the box labeled “Business account”.
New fields will appear, please provide the following information.
- The name of the business,
- The company registration number,
- A contact phone number,
- OPTIONAL: the company’s VAT number.
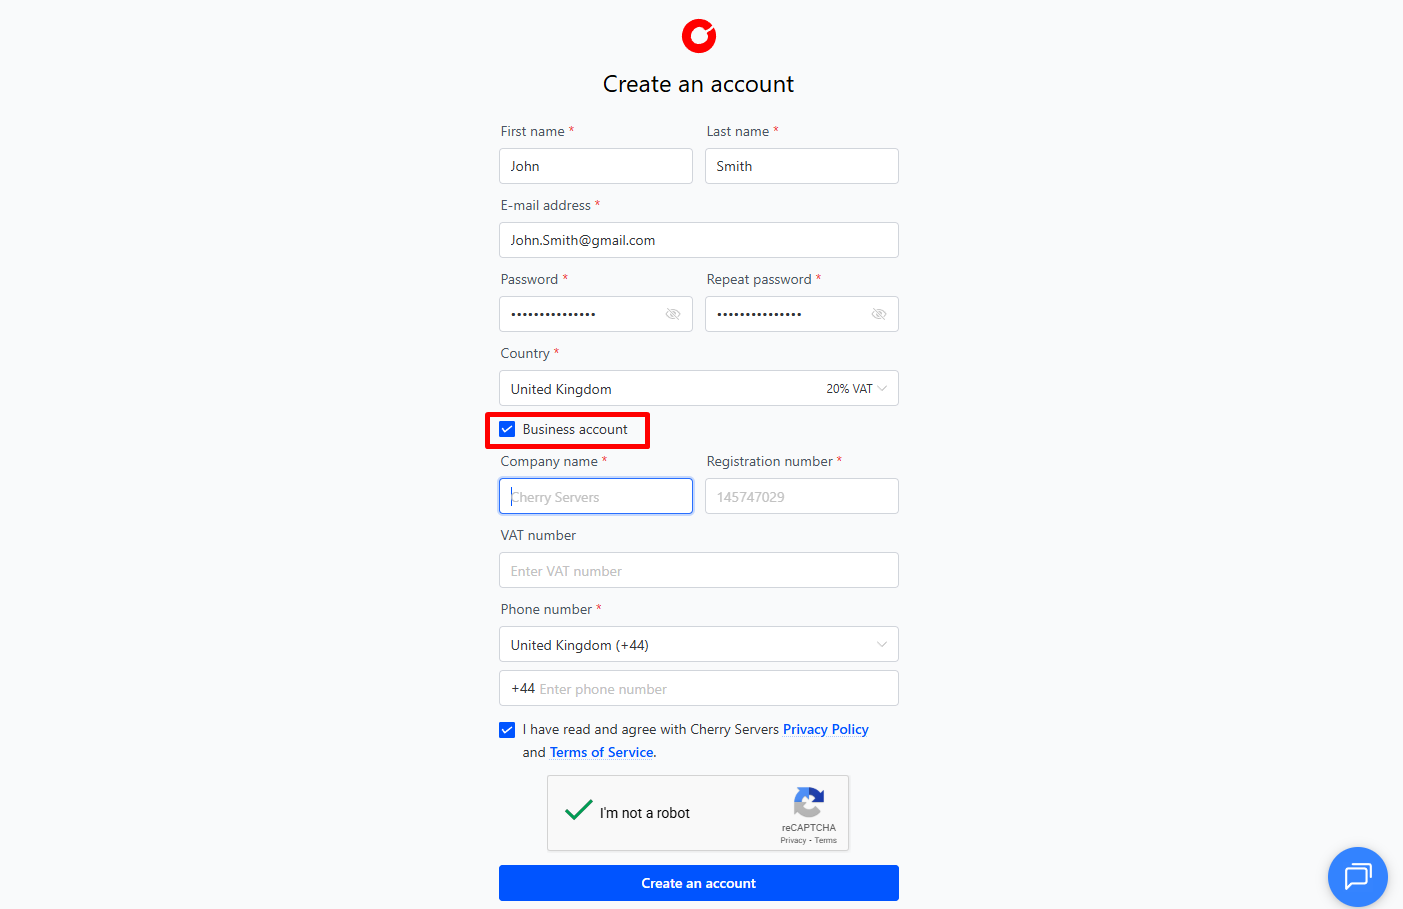
After providing the requested information, please ensure you have completed the steps listed in the section above to finish the process.
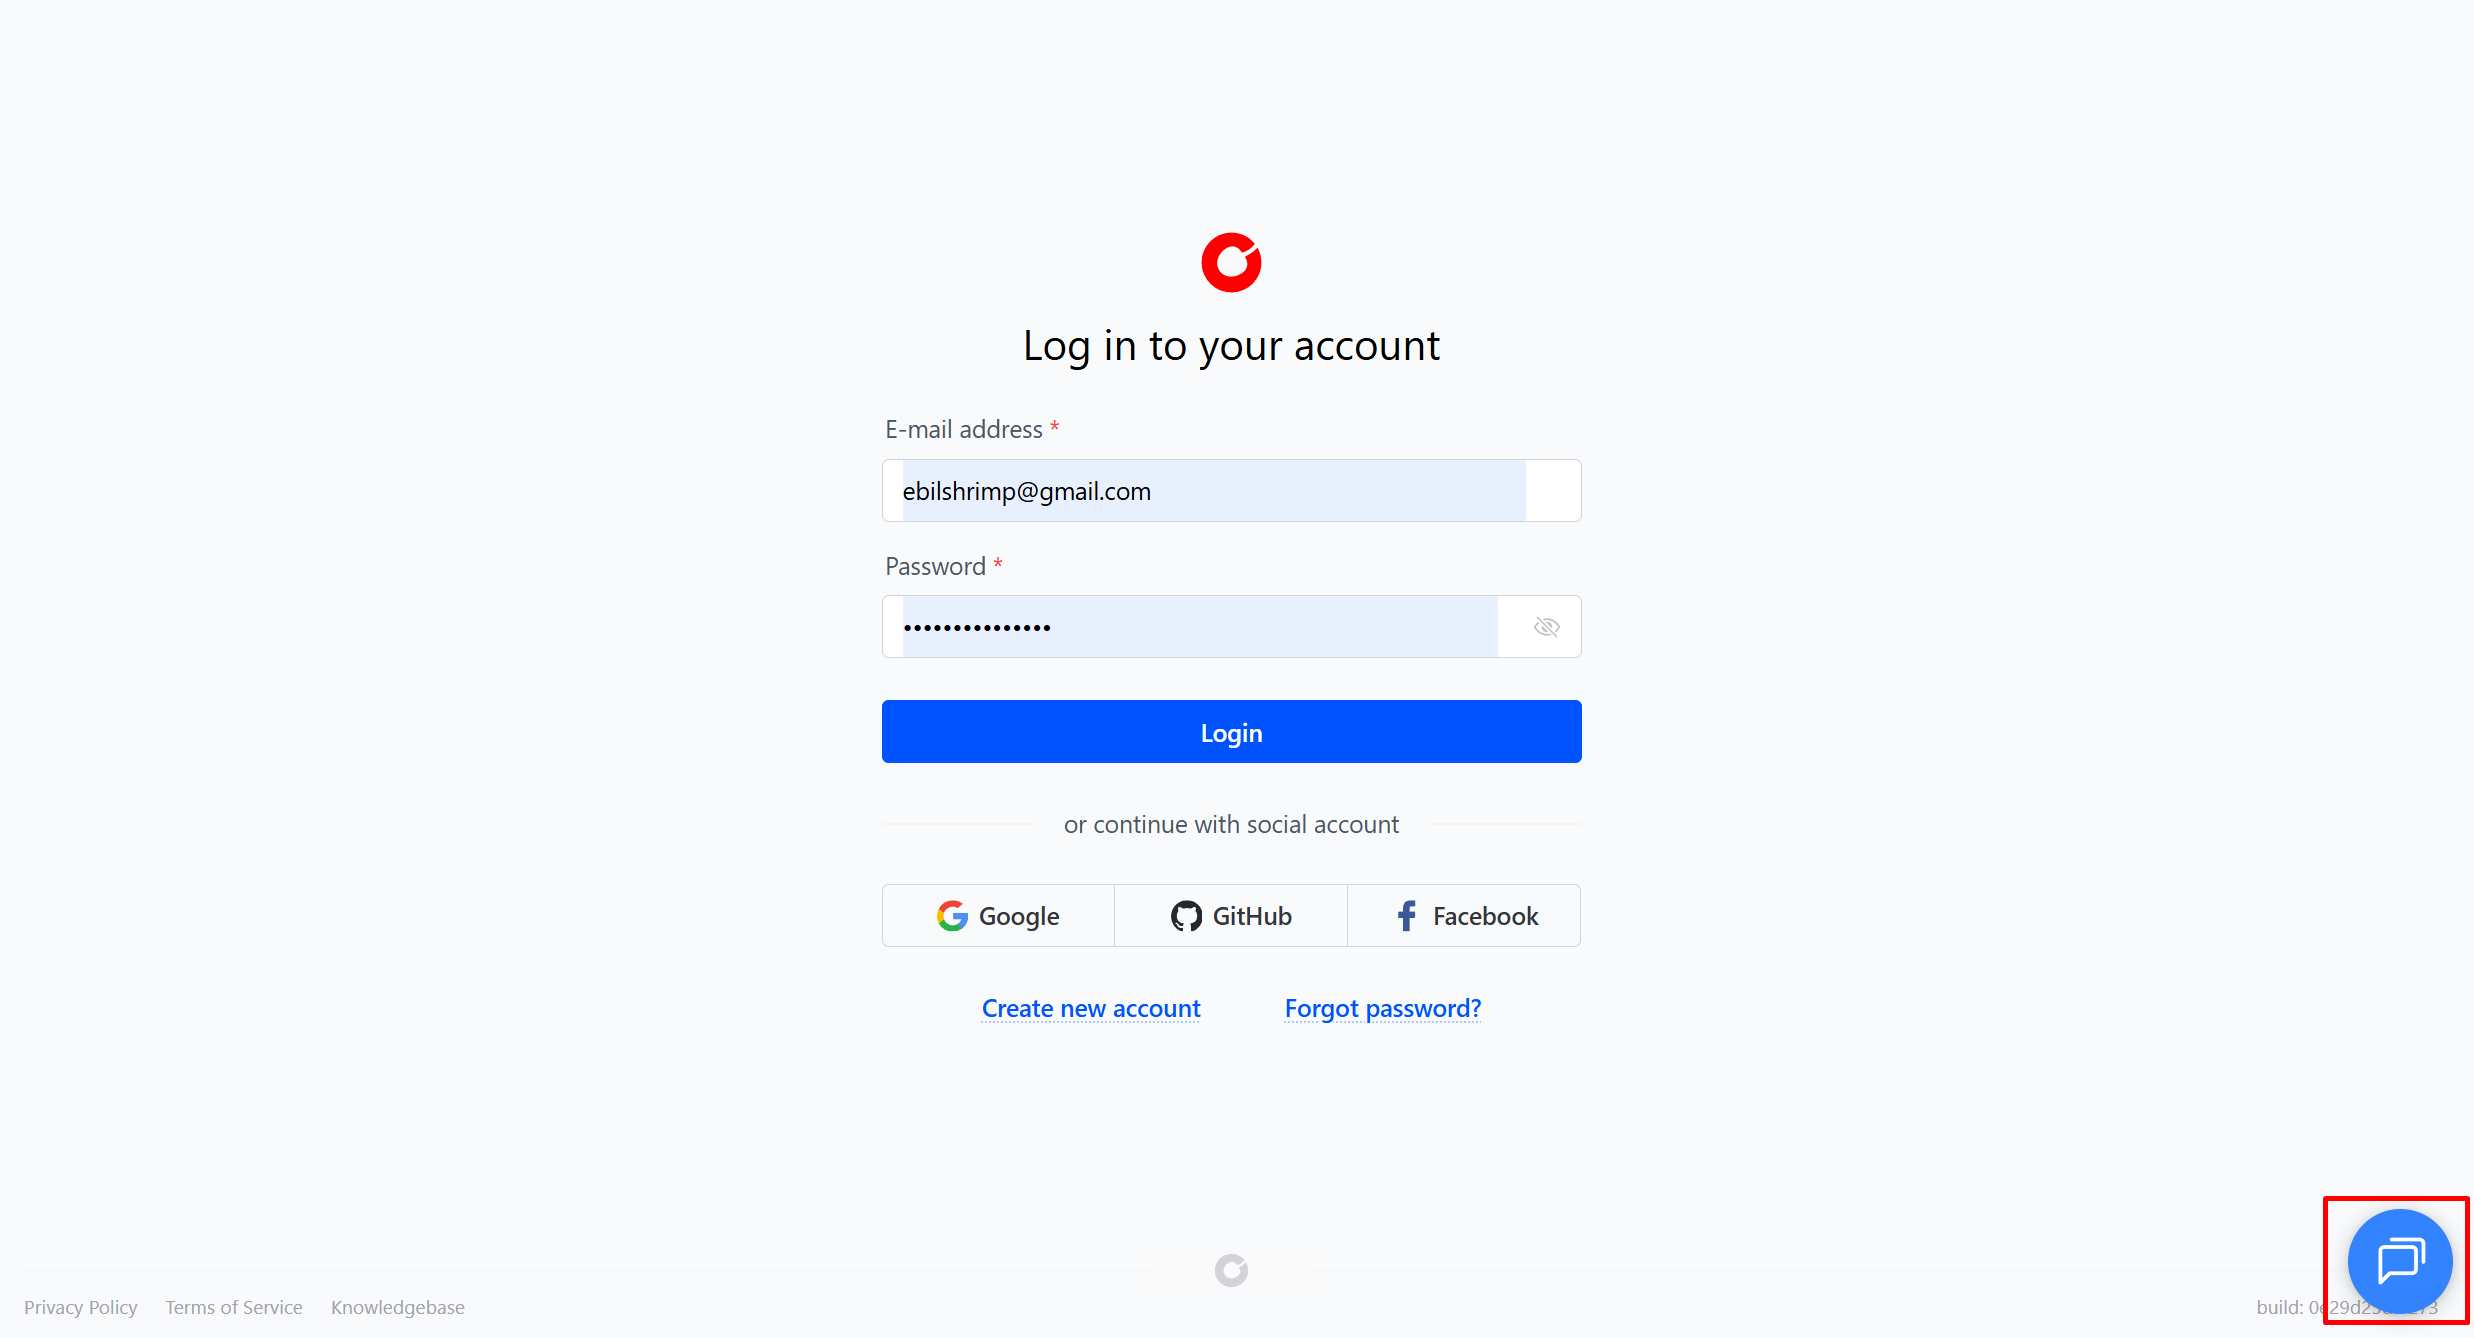
#Logging In
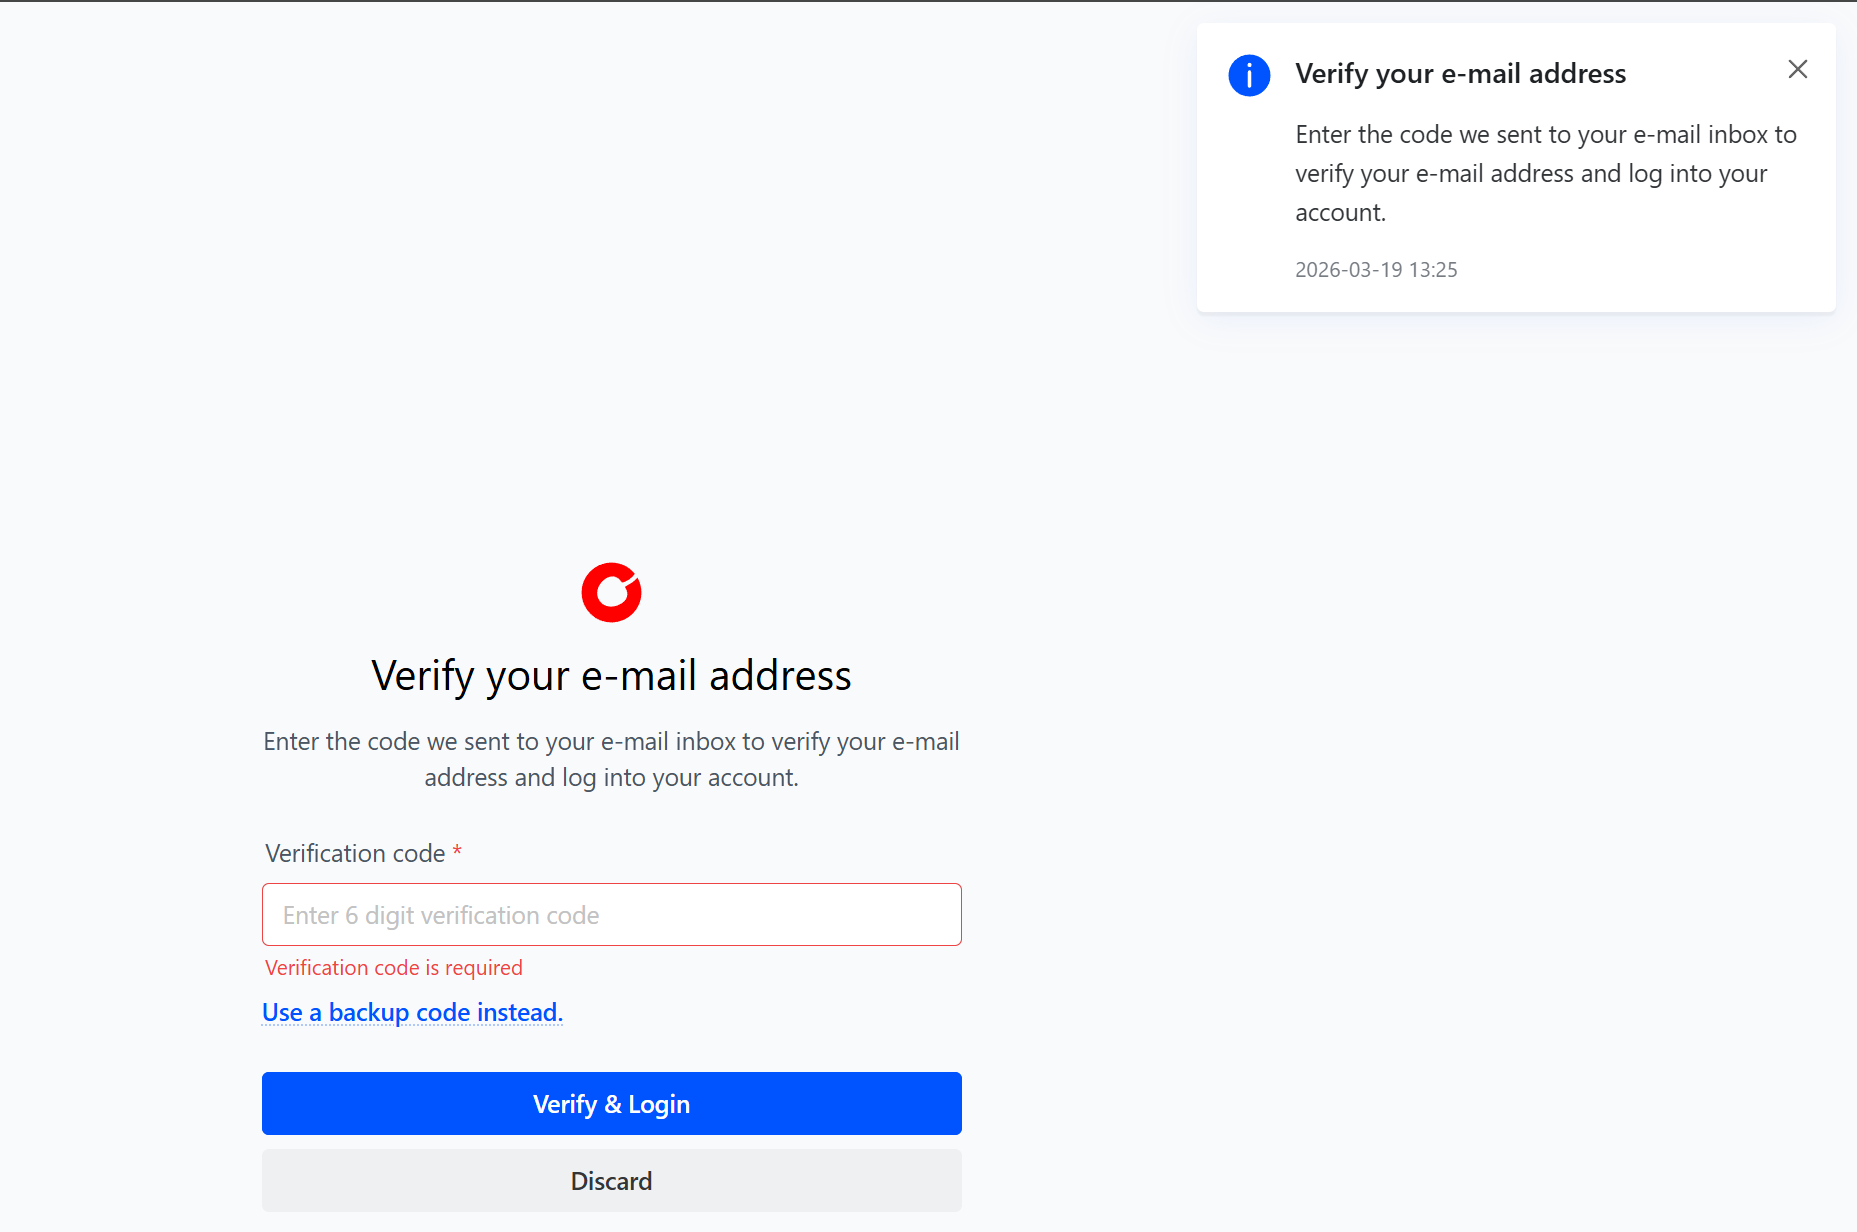
The first time you log in, you will be asked to verify the email address used to create the account. We will send you a 6 digit code that will be valid for 10 minutes. Please provide this code to verify and log in.
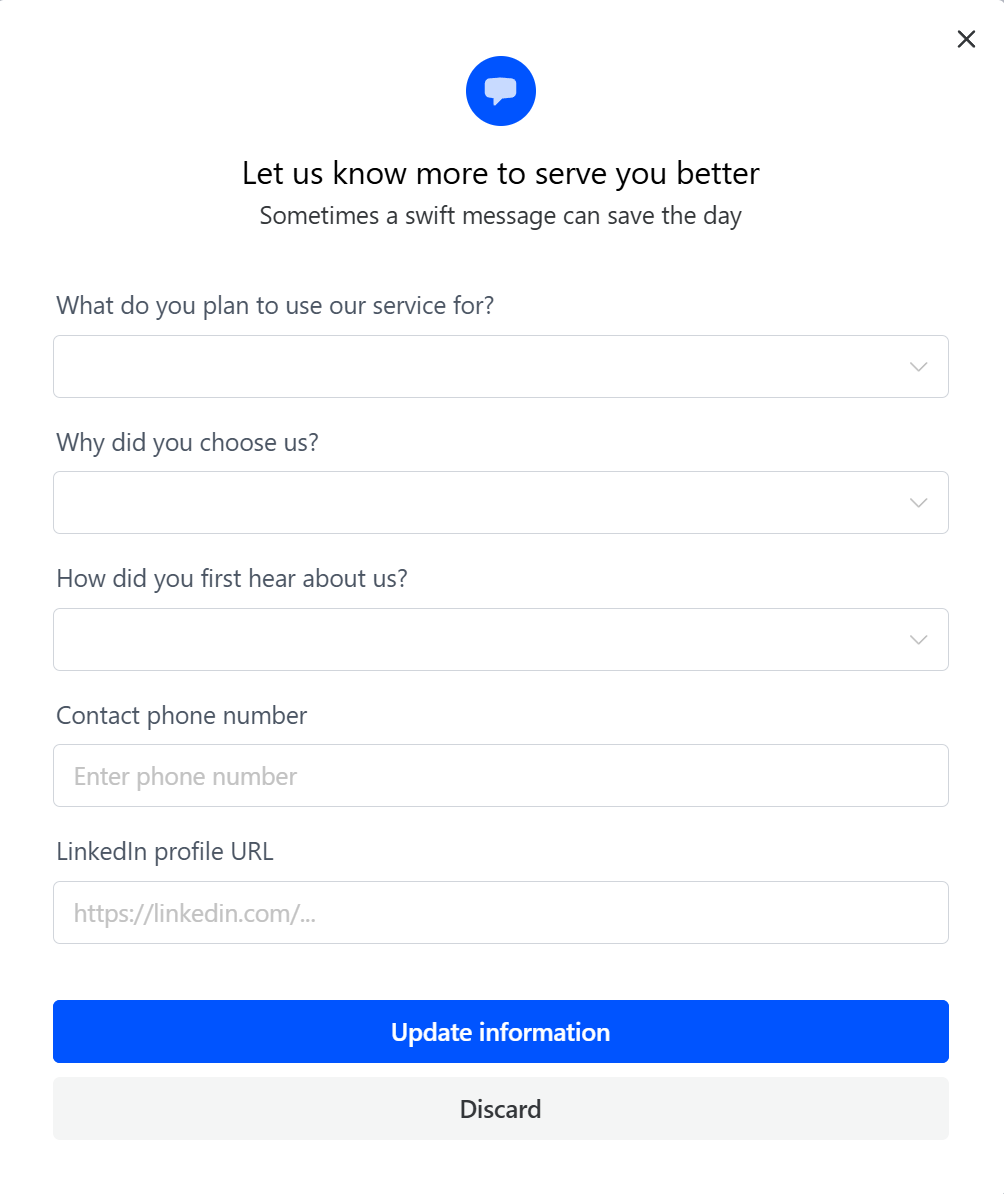
You will be greeted with a quick three question survey, please consider filling it out to help us better serve your needs.
Once you have logged in, you can freely use the Cherry Servers client portal to make orders, and manage your workload and team. For a quick guide on how to use the hub, please visit our client portal tour.
#Manage Projects and Teams
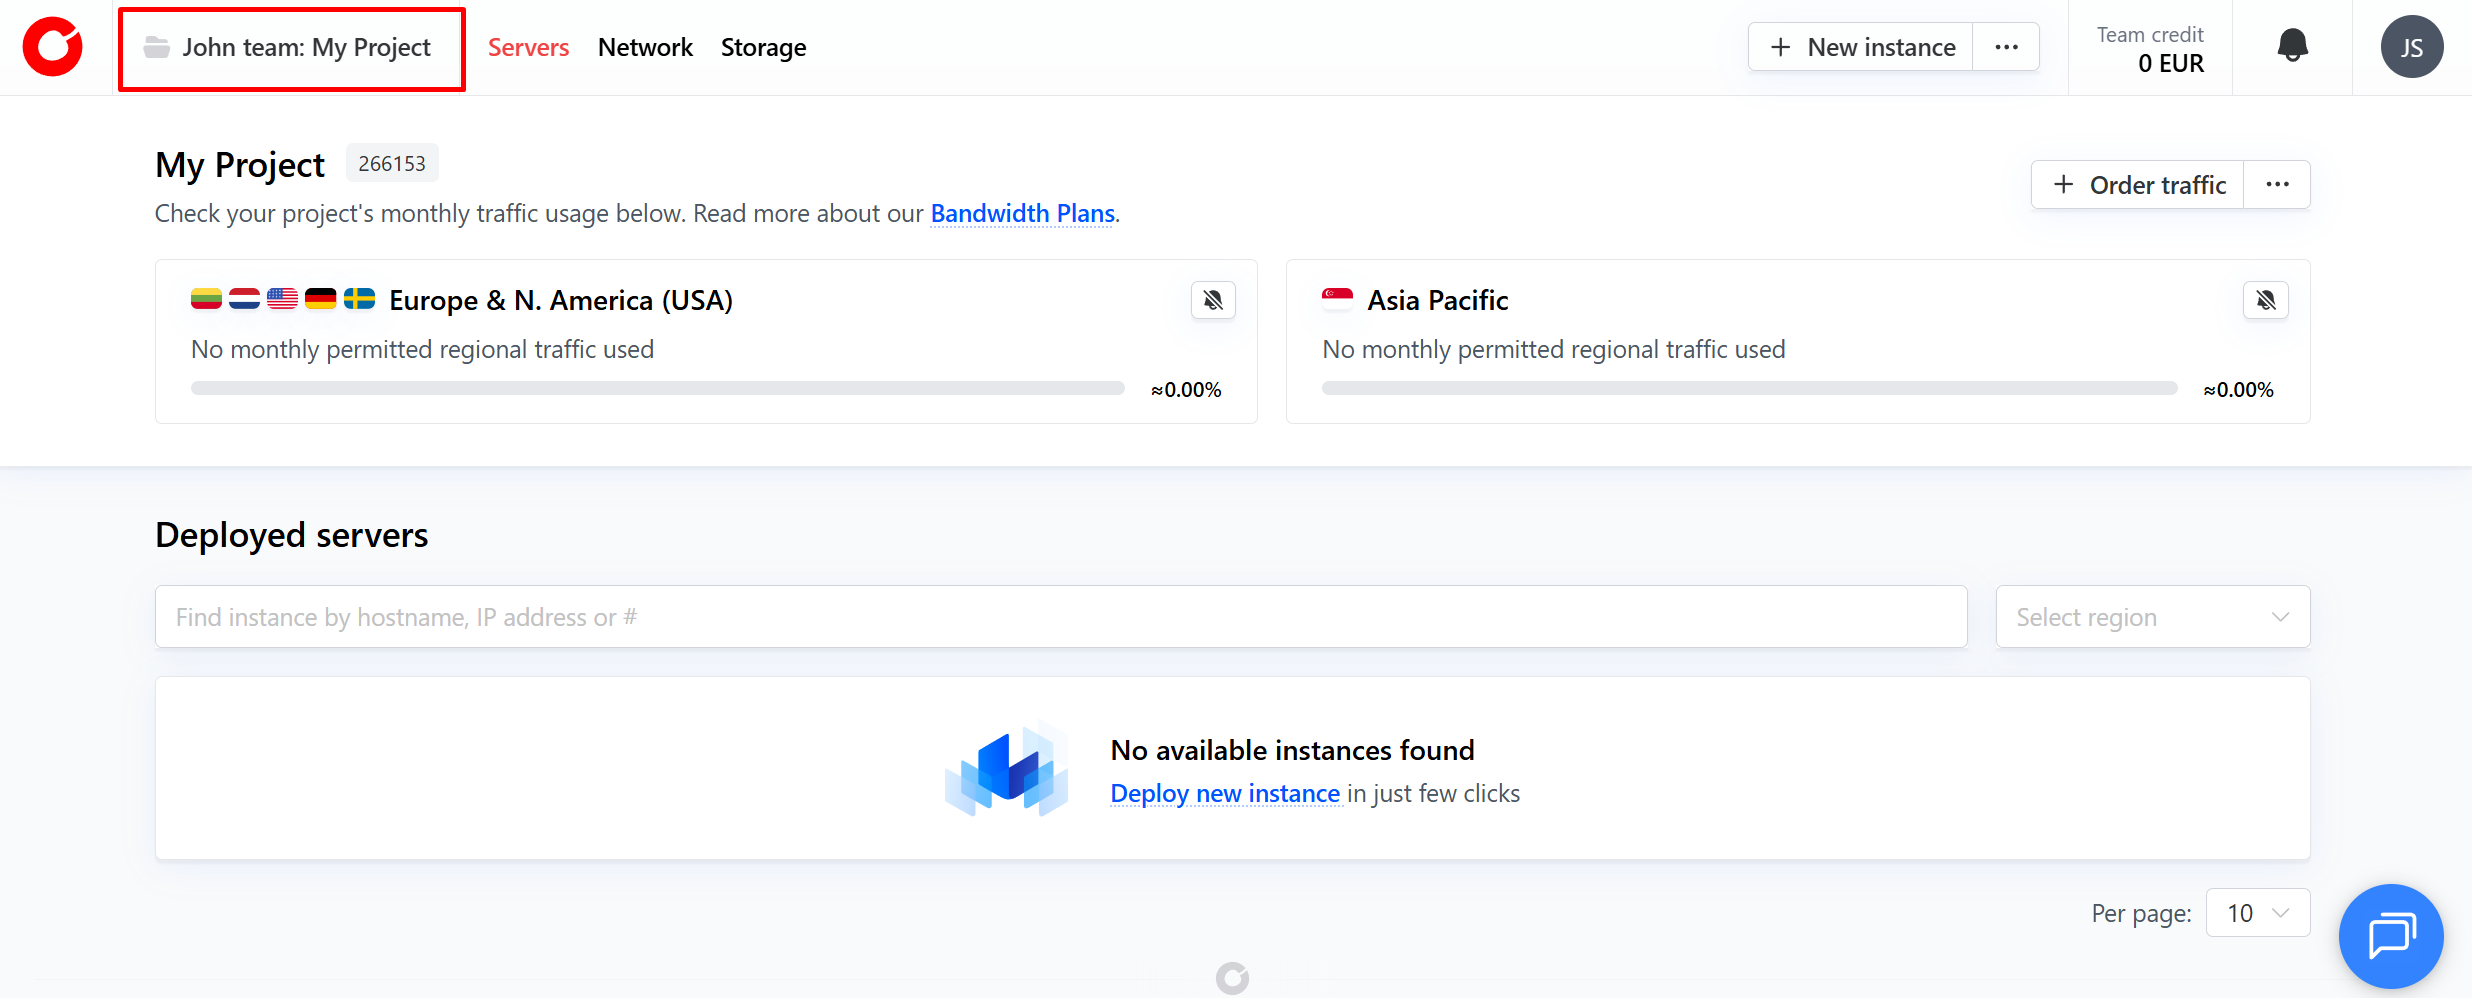
On the client portal home page, you can switch to and add new projects and teams in just a few clicks.
To get started, click the name of your project in the top left-hand corner of the page.
This will bring up a pop-up window which allows you to add a new team or project at any time.
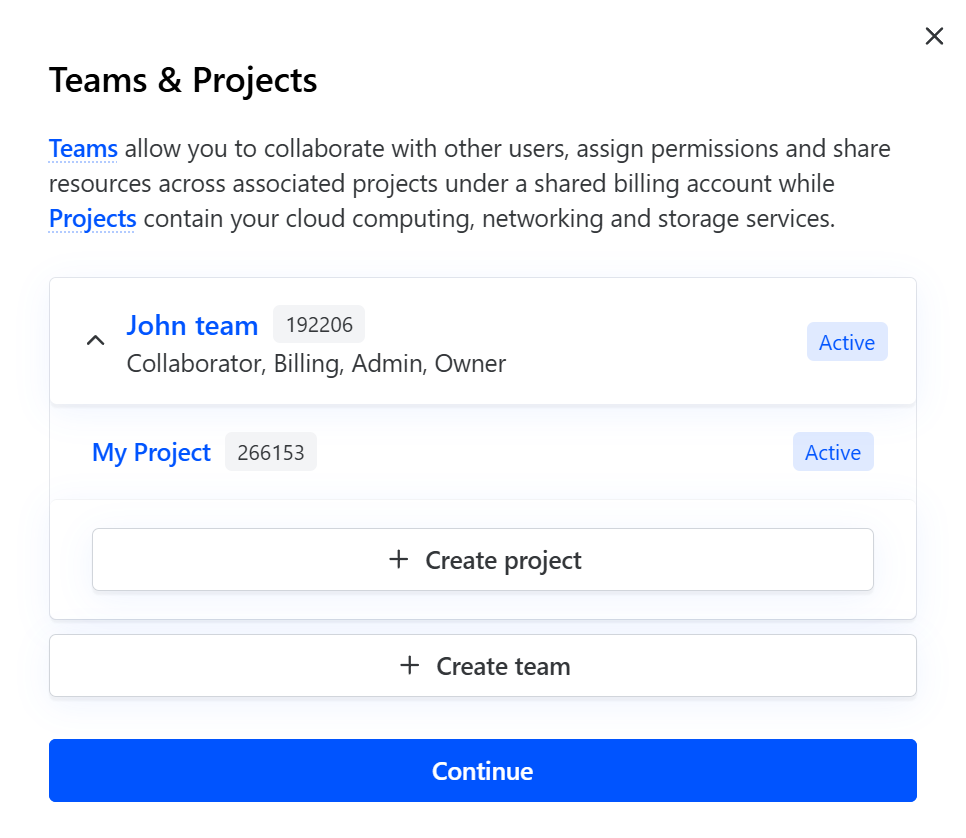
For more information on accounts, teams, and projects at Cherry Servers, please visit our dedicated article).
#Update or Change Your Account Details
On the client portal home page, you can click your icon in the top right-hand corner, then select your name from the dropdown menu that appears.

Using the sidebar, navigate to the “Profile” section.
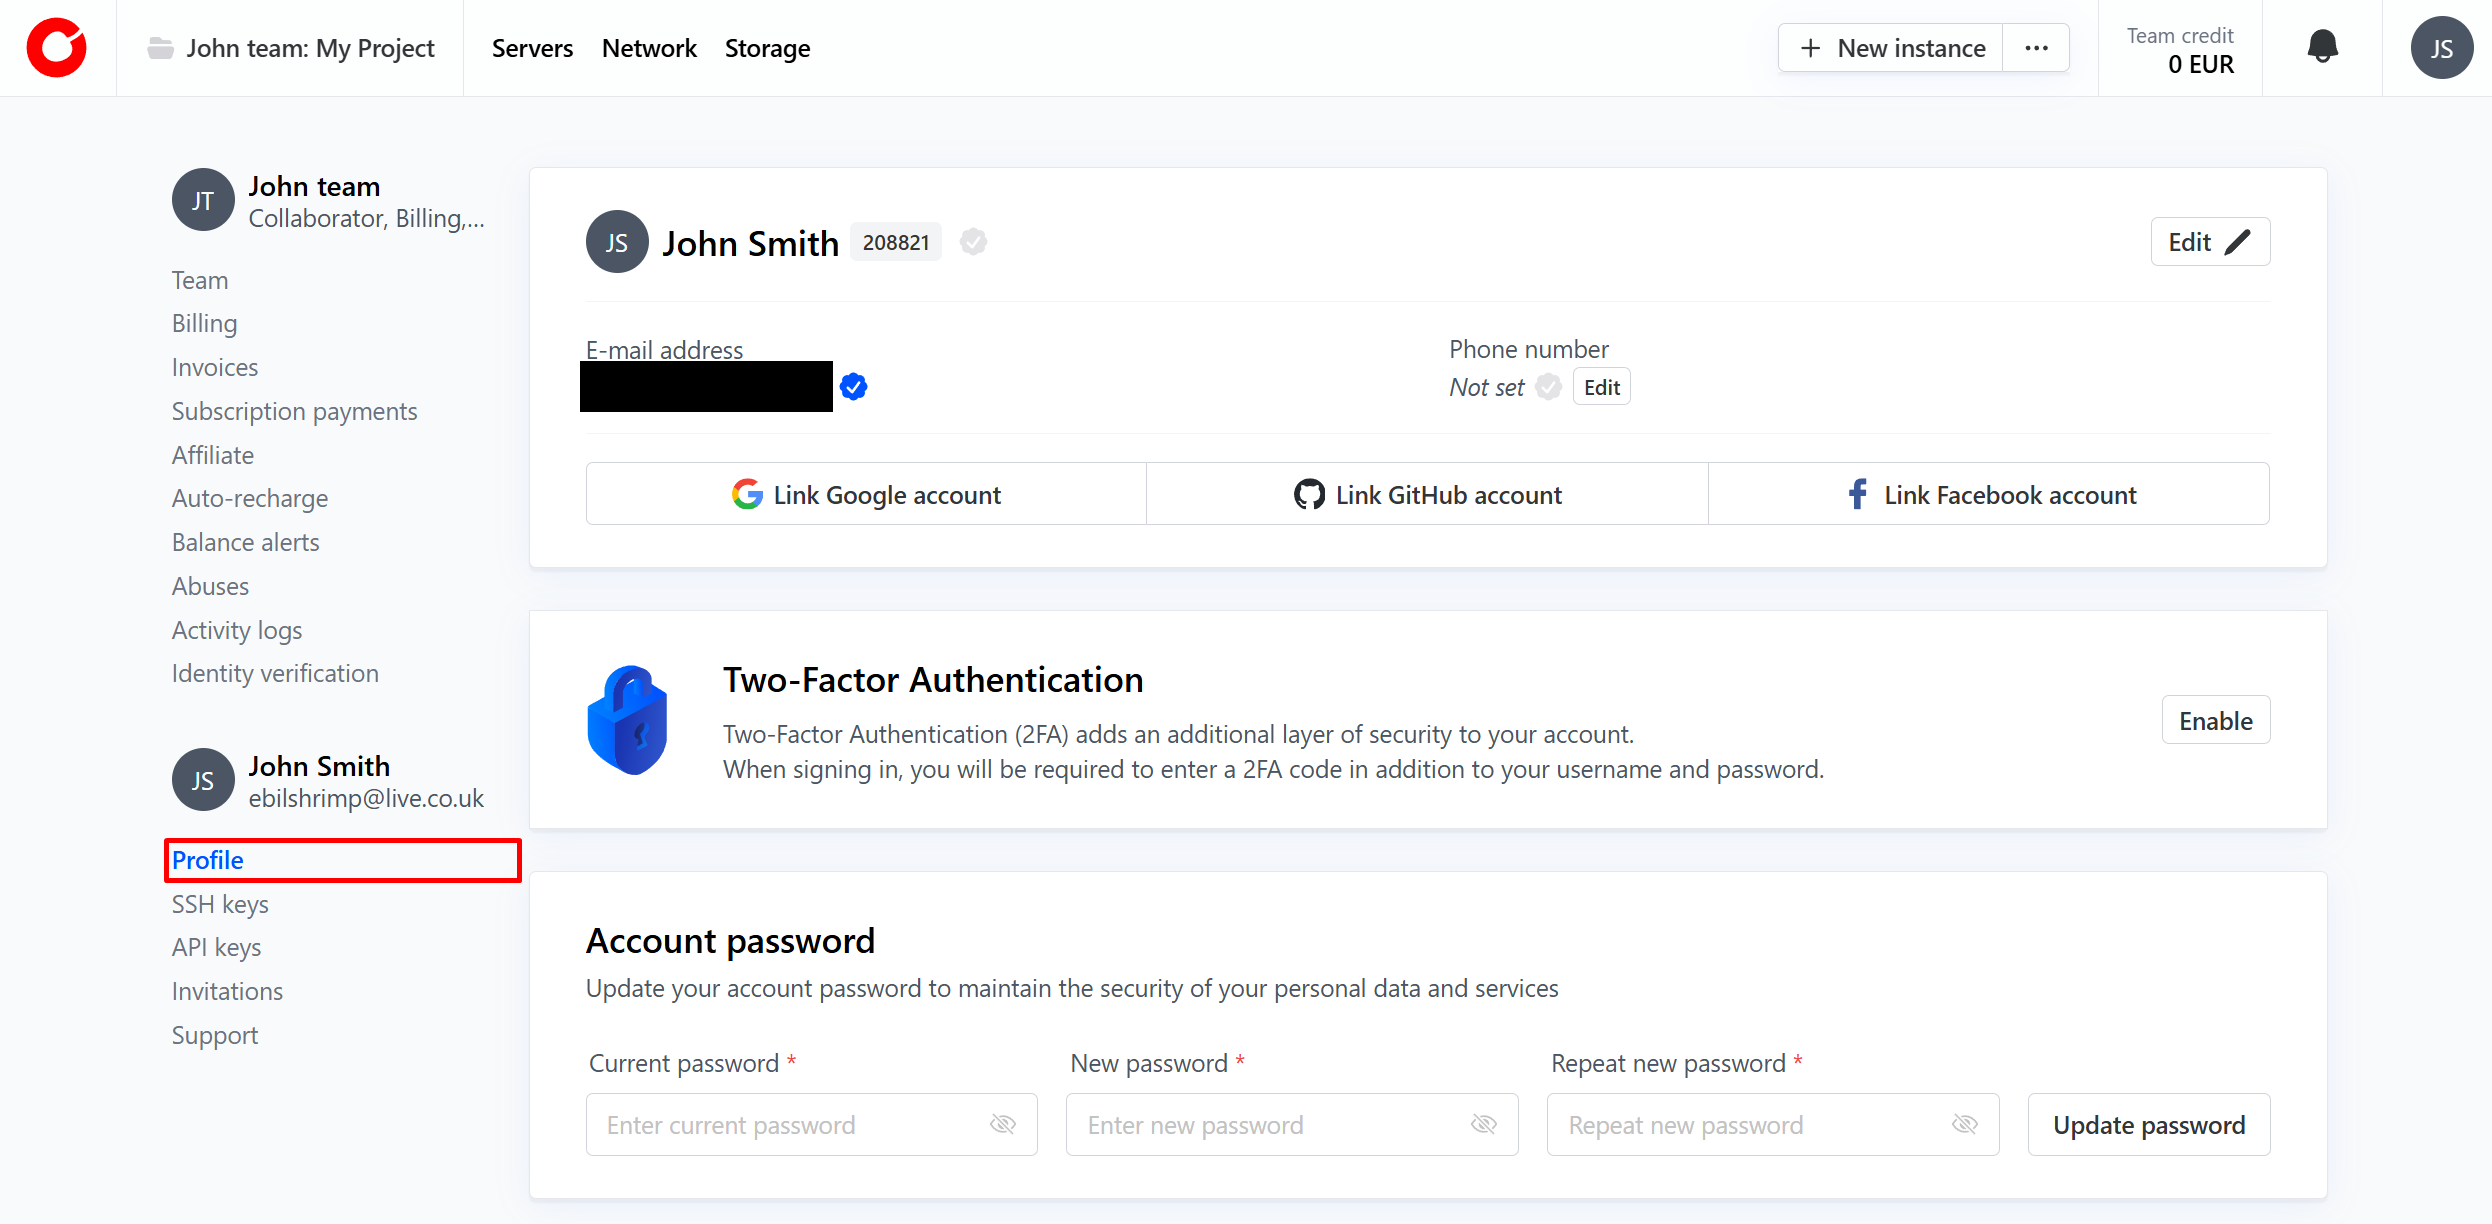
Here you can change your name and password, set up two-factor authentication, and link or unlink accounts to your Cherry Servers profile.
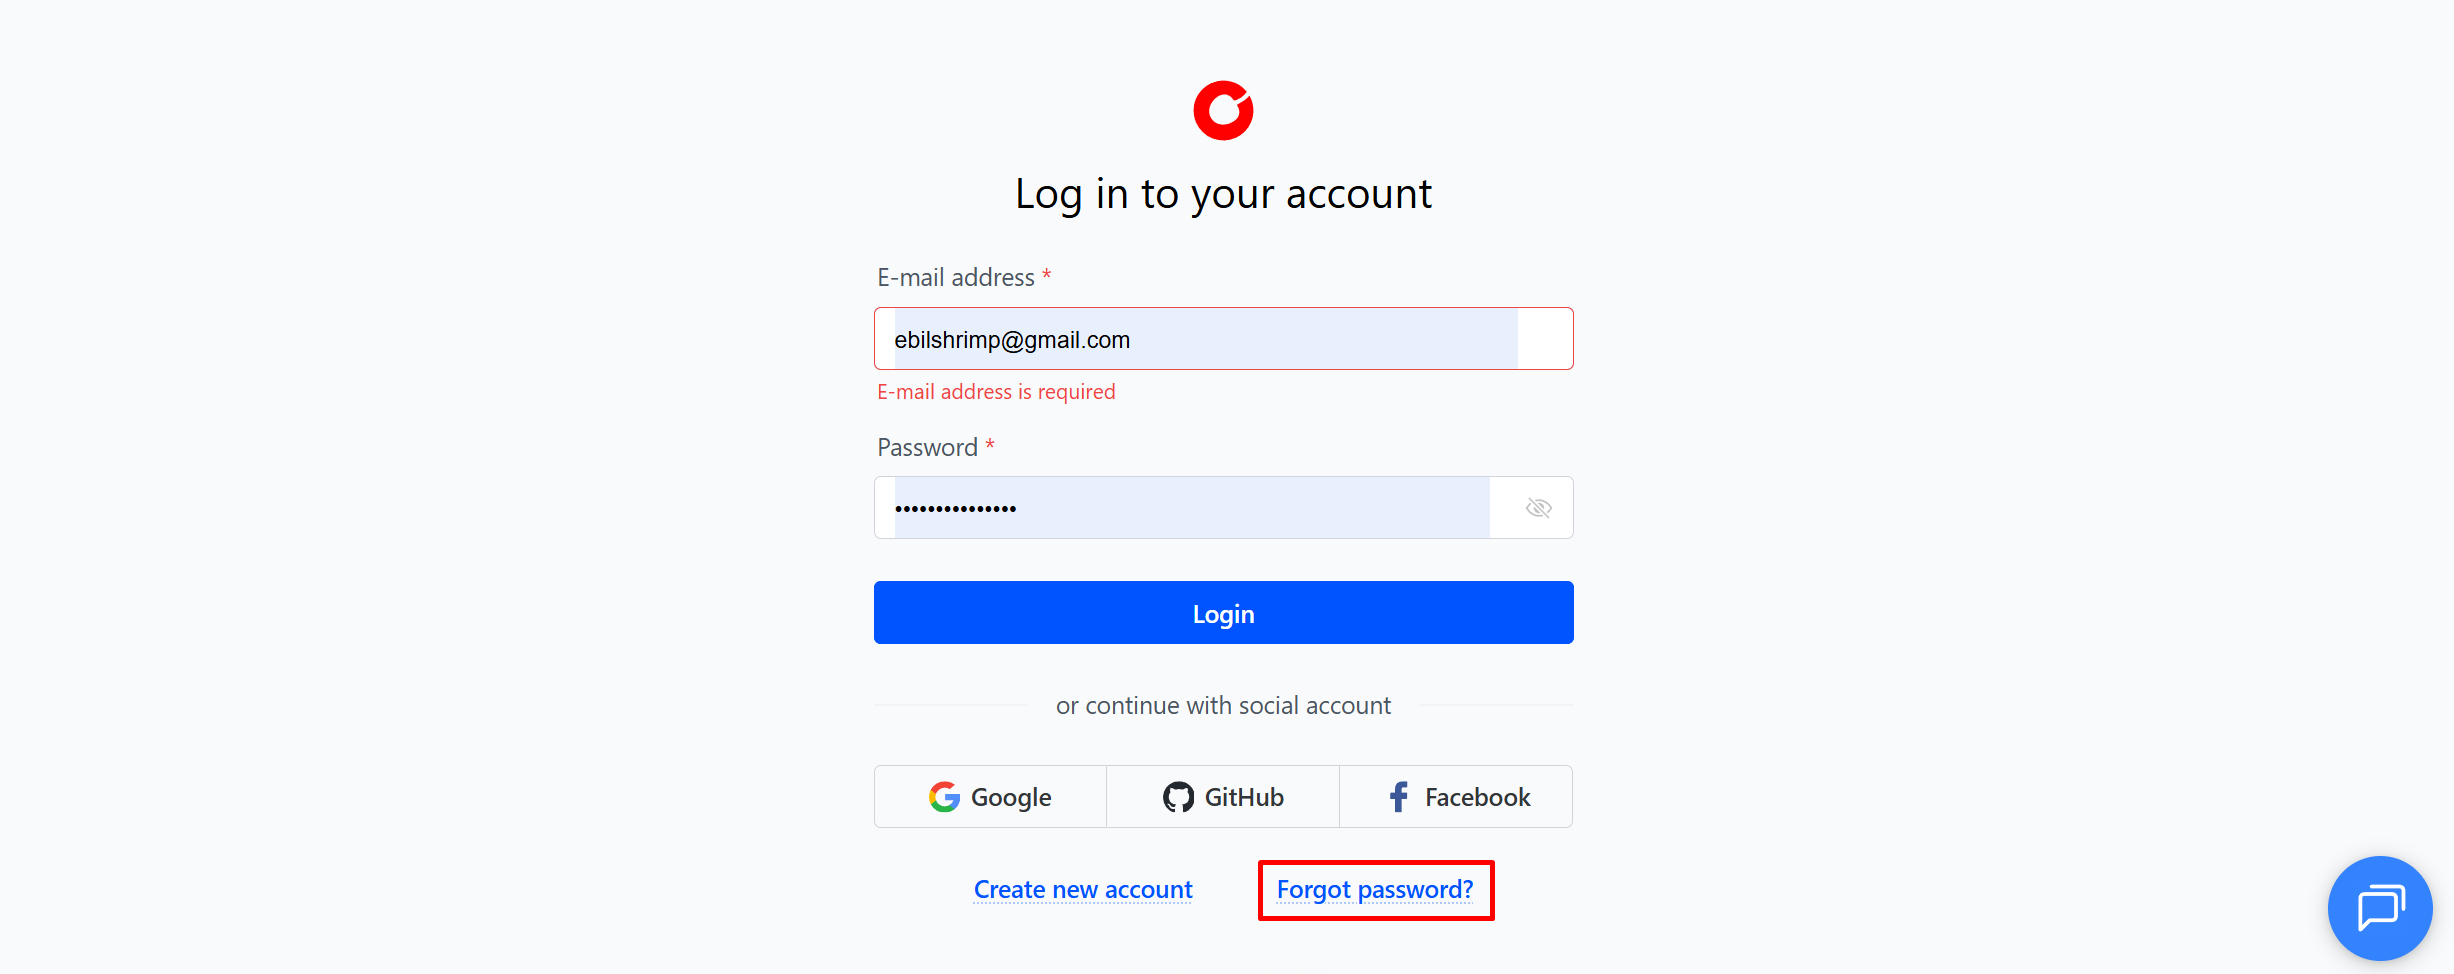
#Forgotten Password
If you forget your password, or are unable to access your account for any reason, you can reset your password.
On the Login screen, click “Forgot password?”
Enter your email address and submit. We will send you an email to begin the recovery process.
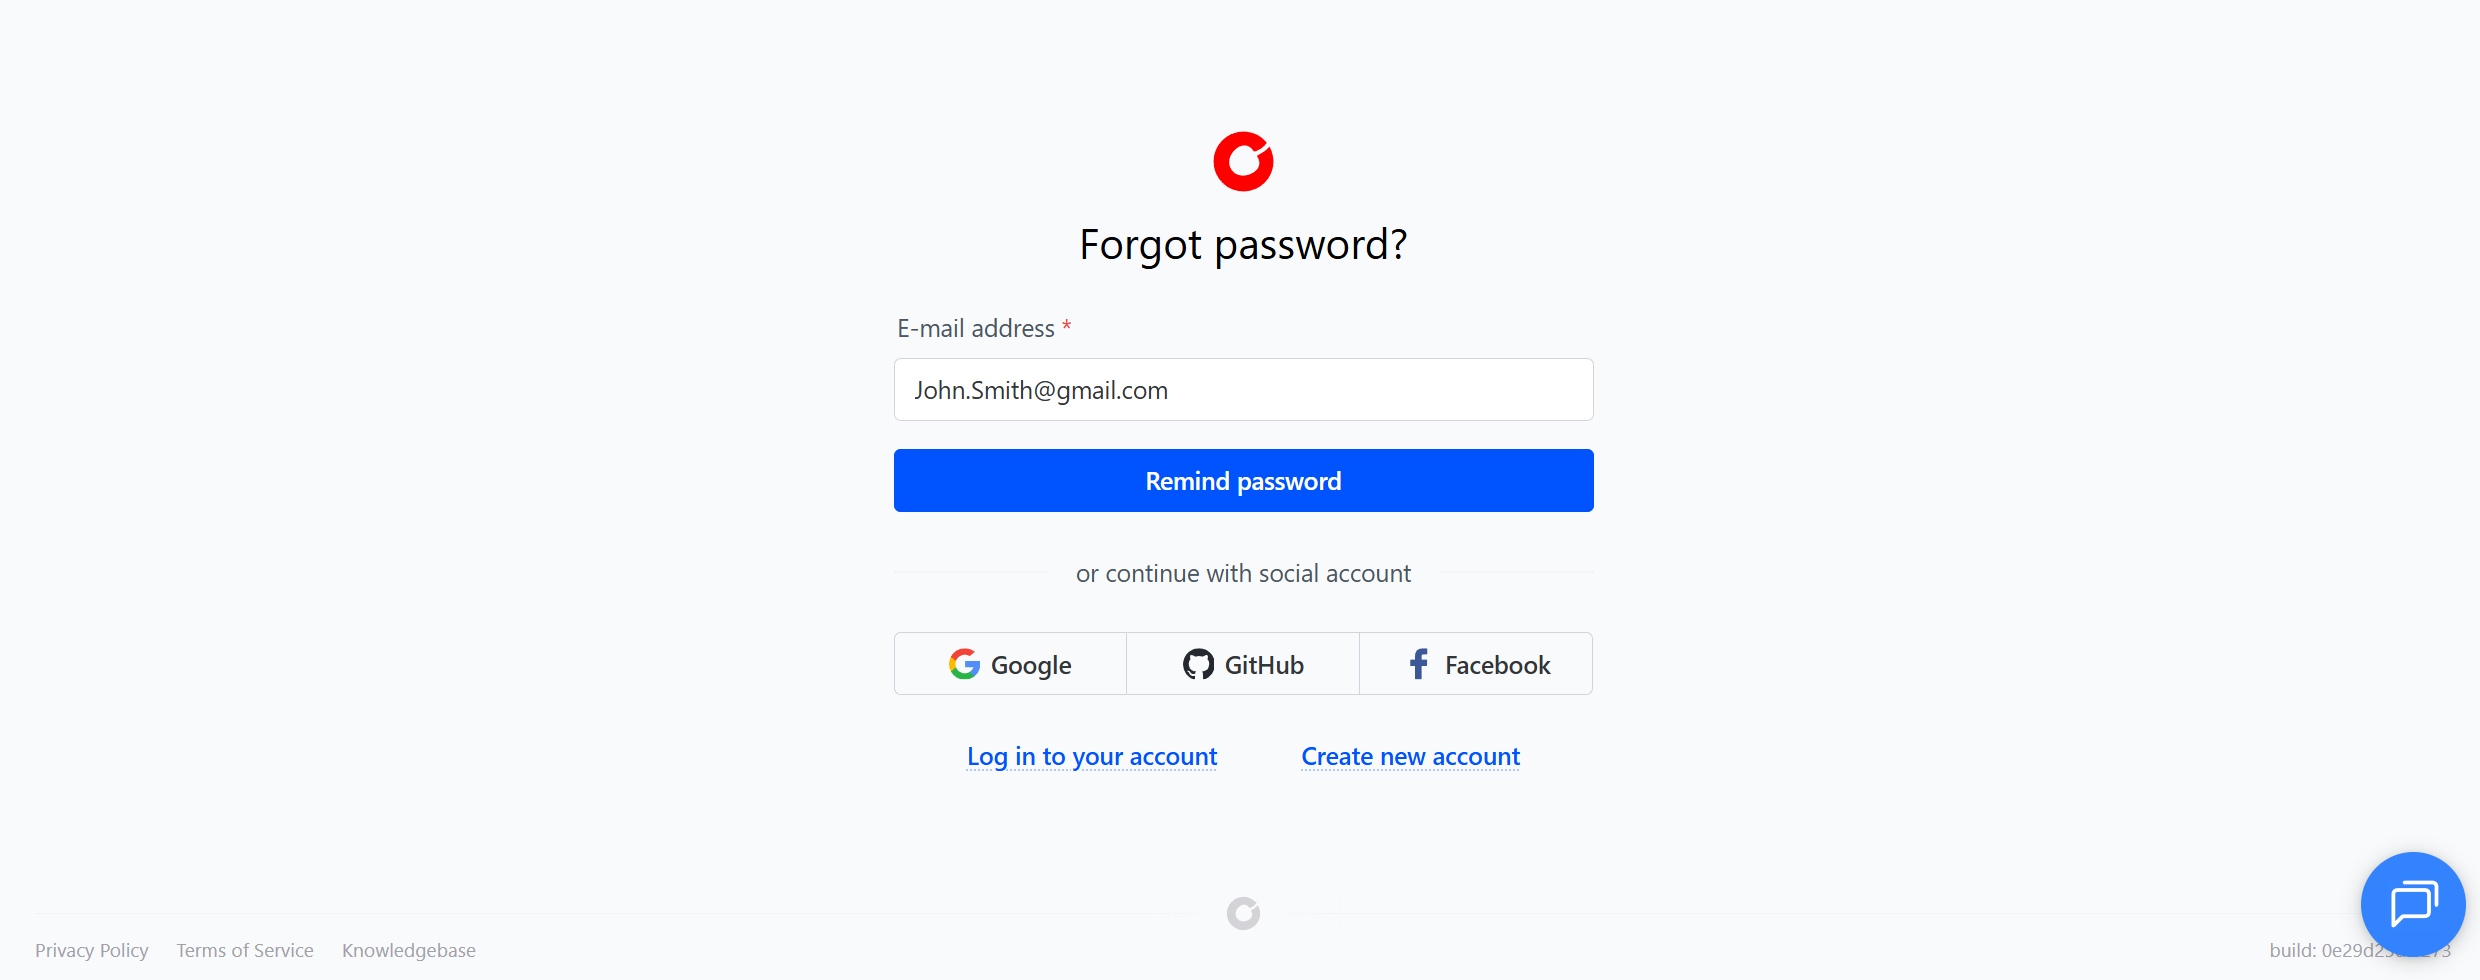
If you are still unable to log in, please contact our dedicated human support team, available 24/7, by clicking the chat box in the bottom corner of the Cherry Servers website.